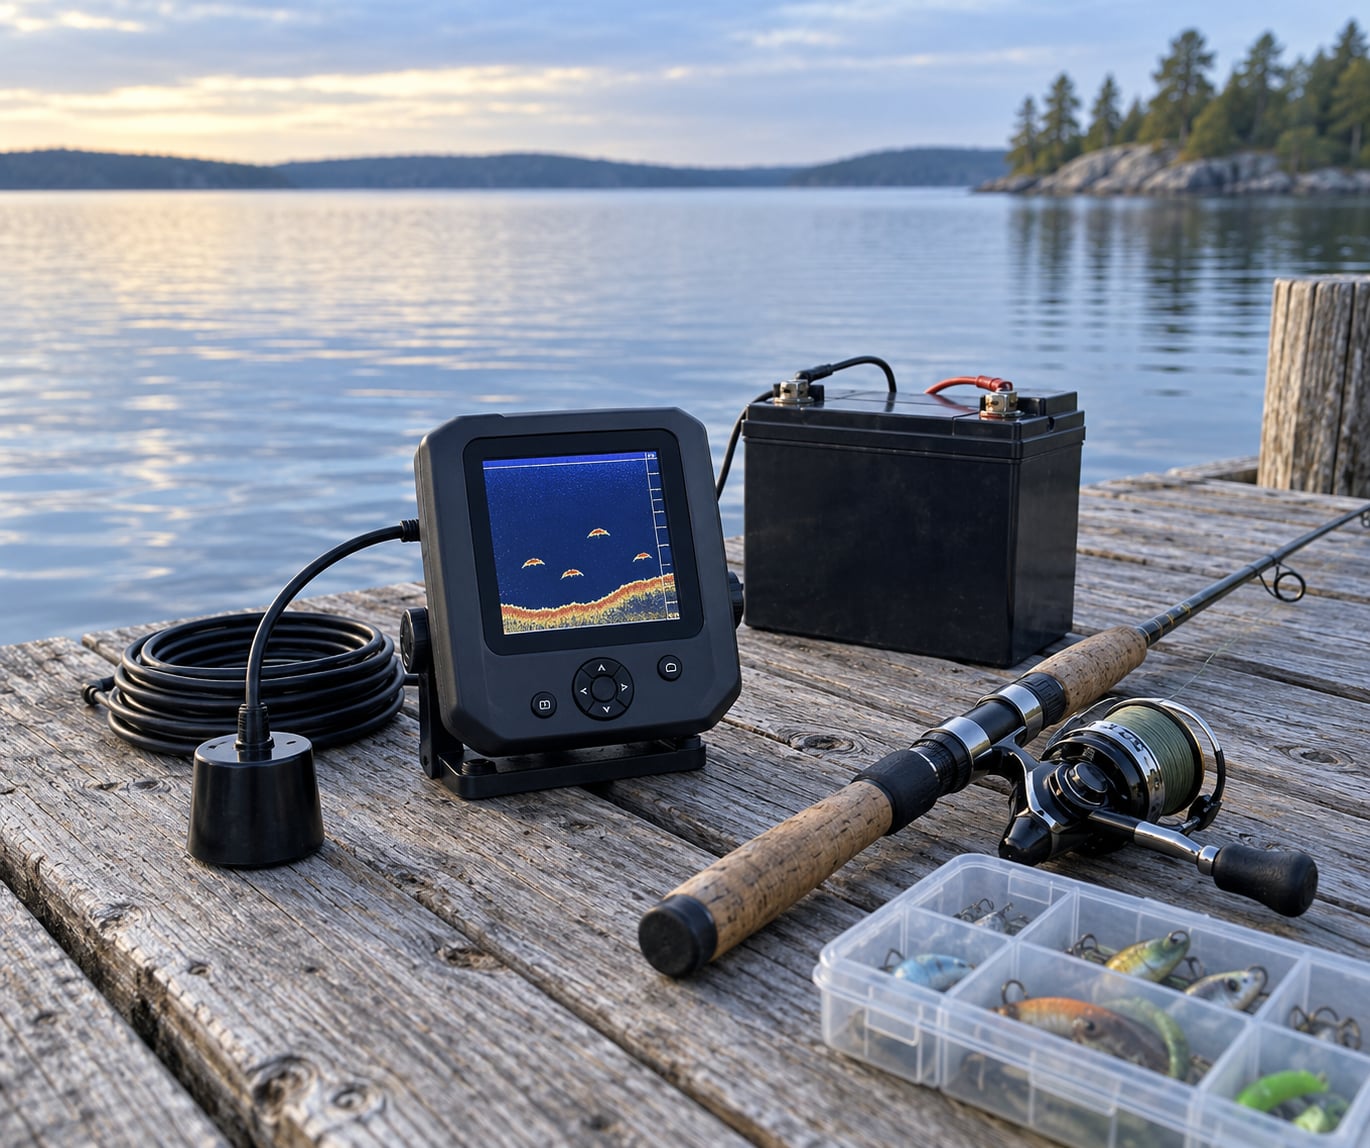
To find fish with a cheap fish finder, find water with real depth change, set gain so the screen stays mostly clean, and move slowly enough that fish draw as separate arches instead of smudges. A budget machine shows you bottom shape and passing fish just as honestly as an expensive setup. It simply asks more patience from the person operating it. Plan on one full afternoon for the first outing.
The screen confuses most beginners for one reason: it looks like a live view of what is under the boat right now, and it is not. It is a record of the last few seconds of travel, drawn newest on one edge. Once that clicks, the marks stop being mystery shapes and start being a map of where the boat has already been.
This guide covers the whole routine, from picking a setup through reading the screen to deciding where the lure goes. It assumes no brand and no model, because the useful parts work the same on almost any entry-level finder.
Table of Contents
- What You Need
- Step-by-Step
- 1. Choose a Fish-Finding Method That Fits Your Budget
- 2. Pick a Productive Lake Area
- 3. Install and Power the Unit Correctly
- 4. Set Sensitivity and Screen Controls on Your Cheap Fish Finder
- 5. Read Arches, Channels, and Bottom Marks
- 6. Scan Systematically and Mark Targets
- 7. Fish the Best Marks and Adjust Your Approach
- Common Mistakes When Using a Cheap Fish Finder
- Frequently Asked Questions
- Conclusion
What You Need
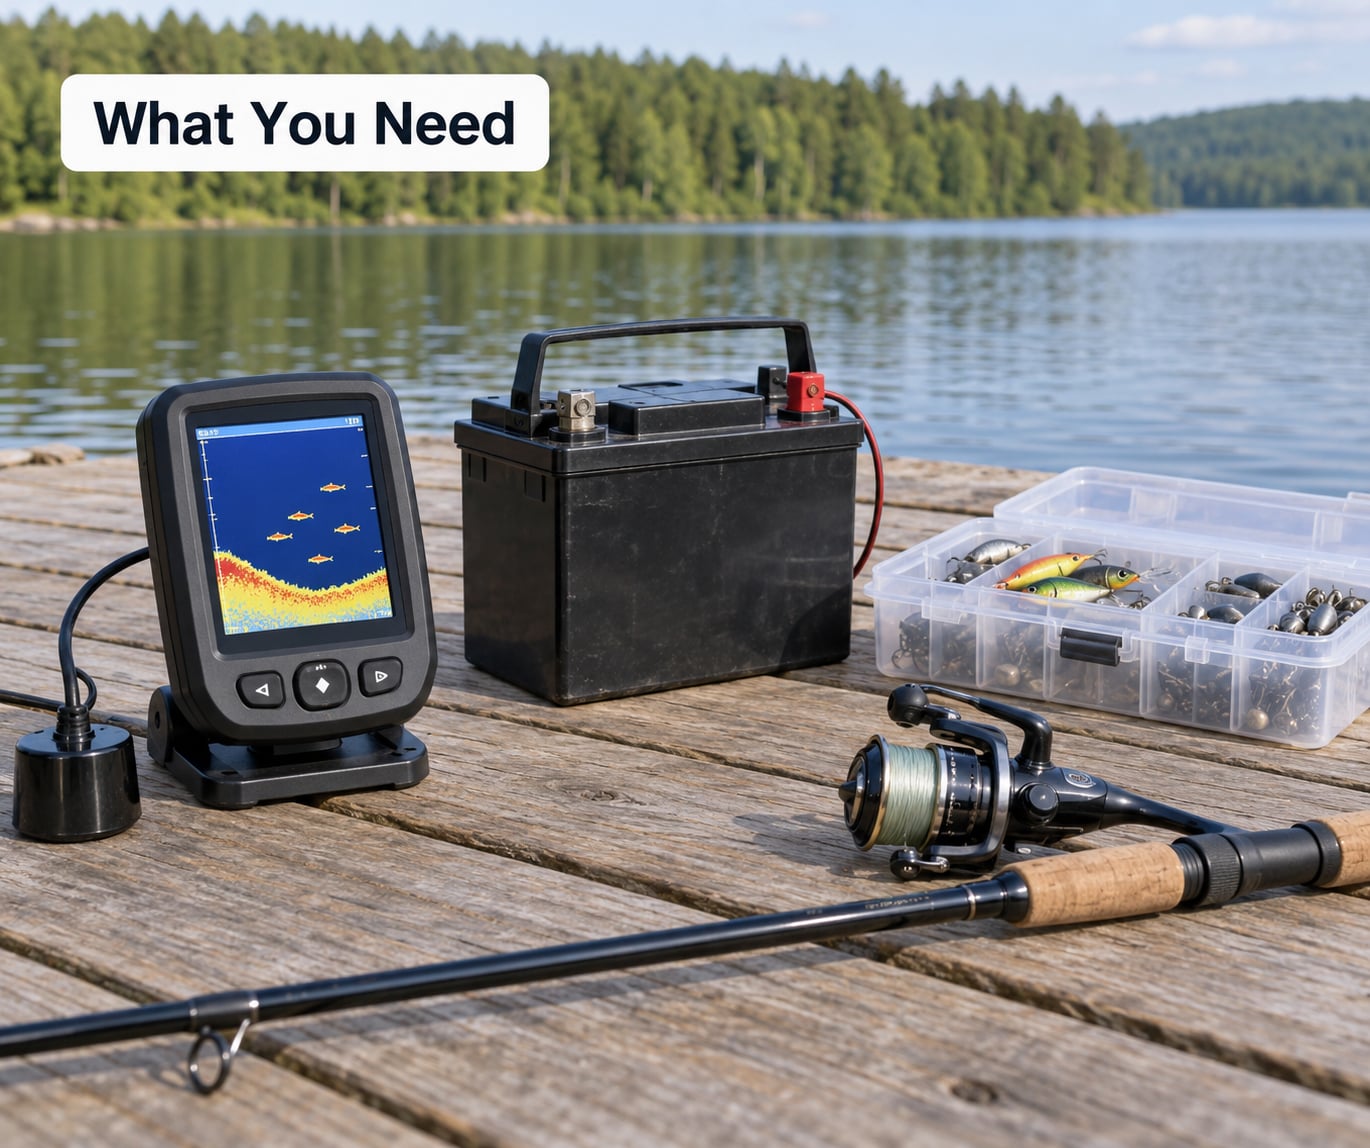
A fish finder is a depth sounder. A transducer sends a short pulse of sound down into the water, the pulse hits a fish, a rock, or the lake bottom, and the echo travels back. The unit measures how long the echo took and how strong it was, then draws that information as a colored mark. Sonar does not see fish. It sees differences in density between water and whatever is suspended in it.
Beyond the finder itself, you need five things:
- A transducer and a mount that holds it level and clear of bubbles, weeds, and prop wash.
- A power source — a sealed lead-acid battery, a lithium pack, or a boat battery with a fused connection.
- A depth map of the lake on your phone. Free bathymetry apps are the single most under-used tool in this whole process.
- A way to note and re-find spots, either GPS waypoints on the unit or a phone app that records coordinates.
- A slow way to move: a paddle, a trolling motor, or a boat you can hold at one to three miles per hour.
Now the honest part about inexpensive models. What a budget finder does well is depth, bottom shape, and bottom hardness. Those readings come from the sound return itself, so they are just as accurate as on an expensive box. It finds the drop-off and shows you the soft mud beside the rock ledge every time.
Where budget units struggle is separation and resolution. A small, low-resolution screen makes it harder to tell two fish hovering at the same depth from one fish with a thick tail, and wide side-scan beams blur detail at distance. Big lakes with heavy boat traffic also create interference that a pricier processor filters better. None of that makes a cheap finder useless. It means you slow down, stay in shallow-to-medium water, and lean on structure instead of trying to hunt individual fish in open water.
Step-by-Step
1. Choose a Fish-Finding Method That Fits Your Budget
There are four ways to put sonar under a beginner, and they differ more in convenience than in results.
A cast-around portable unit is a small puck you drop at the end of a line and retrieve. It costs the least, needs no installation, and fits in a kayak or an inflatable. You read the screen by hand, so you get narrow coverage per cast, and you have to keep the boat still while you do it.
A kayak or portable mount bolts a small display to a rail or console and routes a cable to a suction-cup or through-hull transducer. Battery life becomes the limiting factor, and cable routing on a kayak takes more planning than on a boat.
A boat-mounted through-hull install gives the cleanest picture and the steadiest mount. It also costs the most and is the least portable, which is why it suits someone who fishes the same water repeatedly.
Phone-connected options — either a wireless transducer paired with an app or a phone acting as the display — cost very little and use a screen you already own. They work well for structure and depth work. They generally give you fewer controls, so plan to spend your time on location knowledge rather than on menu tuning.
Pick the option that matches where you fish. Small inland lake and you want to try this cheaply: start with a cast-around puck. Own a boat and fish the same lake weekly: the through-hull install pays for itself in annoyance saved.
2. Pick a Productive Lake Area
Sonar confirms fish holding somewhere. It rarely tells you where to start. This is the step that separates people who catch fish with a finder from people who watch one all afternoon.
Open the depth map on your phone before you launch and look for color changes. On most bathymetry maps, lighter shades mean shallow and darker shades mean deep, so a sharp shift from light to dark in a short distance is a drop-off, a ledge, or a steep bank. Those edges matter because fish patrol along them, feeding where shallow bottom meets deep water.
Then note four specific features on the map and go look for each one with the finder:
- Channel edges where a creek enters the lake, and the drop at the channel mouth.
- Vegetation boundaries — the outer edge of a weed bed, not the middle of it.
- Isolated humps and spots that rise several feet off an otherwise flat bottom.
- Dams, creek lines, and road beds that were built across the lake and still hold fish years later.
Wind and current add the second layer. Fish face into moving water to hold position without burning energy, so a wind-blown shoreline and the upstream end of a current seam often hold fish on a day when an open flat does not. Aim your first pass across the wind, not with it.
3. Install and Power the Unit Correctly
Mounting mistakes make good hardware look broken. Follow the manufacturer’s manual for your specific unit, then check these four things before you power on.
Level and clear. The transducer face should point straight down, parallel to the surface. Tilted, it sees the water column instead of the bottom and the picture distorts. Keep it away from prop wash, paddle swish, bilge pumps, and anything streaming bubbles. Aerated water reflects sound brilliantly, which is why a transducer sitting in a wake will paint the screen with false returns.
Cable secured. Run the cable along the hull, not across it. A cable in the water gets trolled, snagged, and chewed. Strain relief at the connector matters more than it sounds; one sharp pull at a loose plug ends the trip.
Power protected. Fused connections only, and keep the battery where it stays dry. A fully charged battery that you can swap between boats beats a permanent install you have to baby.
Mount rigid. Every vibration reaches the screen as noise. A bracket that flexes under your hand will smudge arches into nothing. If your display shakes when you touch it, tighten it before you blame the electronics.
4. Set Sensitivity and Screen Controls on Your Cheap Fish Finder
New units ship on automatic settings, and most beginners never change them. That is why the screen looks noisy and the fish seem invisible. Four controls do nearly all the work.
| Control | Starting value on an entry-level finder | What it fixes |
|---|---|---|
| Gain / sensitivity | Raise until light background speckle appears, then back off slightly | A screen too faint to read, or one full of false echoes |
| Frequency | 200 kHz in water under about 30 feet; 50 kHz in deeper water | Detail near the boat versus coverage far from it |
| Range | Set slightly deeper than your deepest spot | Marks squeezed flat at the top of the screen |
| Boat speed | One to three miles per hour | Arches that smear into streaks or vanish entirely |
Gain is the one everybody gets wrong. Too low and real fish disappear into the water column. Too high and you amplify noise, litter, and bubbles until the screen is a mess of speckle. The workable point sits where a faint trail of dots appears just above the bottom line, then you back it off a touch.
The label changes with the brand but the function does not. Garmin calls it Gain. Humminbird and Lowrance call it Sensitivity. Some units separate it into a Gain for the whole screen and a Sensitivity for fine detail, which is a sensible split worth using.
Range should be set manually most days. Auto range shifts the scale every few seconds and turns your hard-won reading of the bottom shape into something you have to re-learn. Set it to a fixed depth band and the display stops moving under you.
Zoom is the tool people skip. When a fish shows near the bottom, zoom the scale so each screen foot fills more pixels. A budget finder cannot separate targets as finely as a big unit, and zoom is how you get some of that separation back.
5. Read Arches, Channels, and Bottom Marks
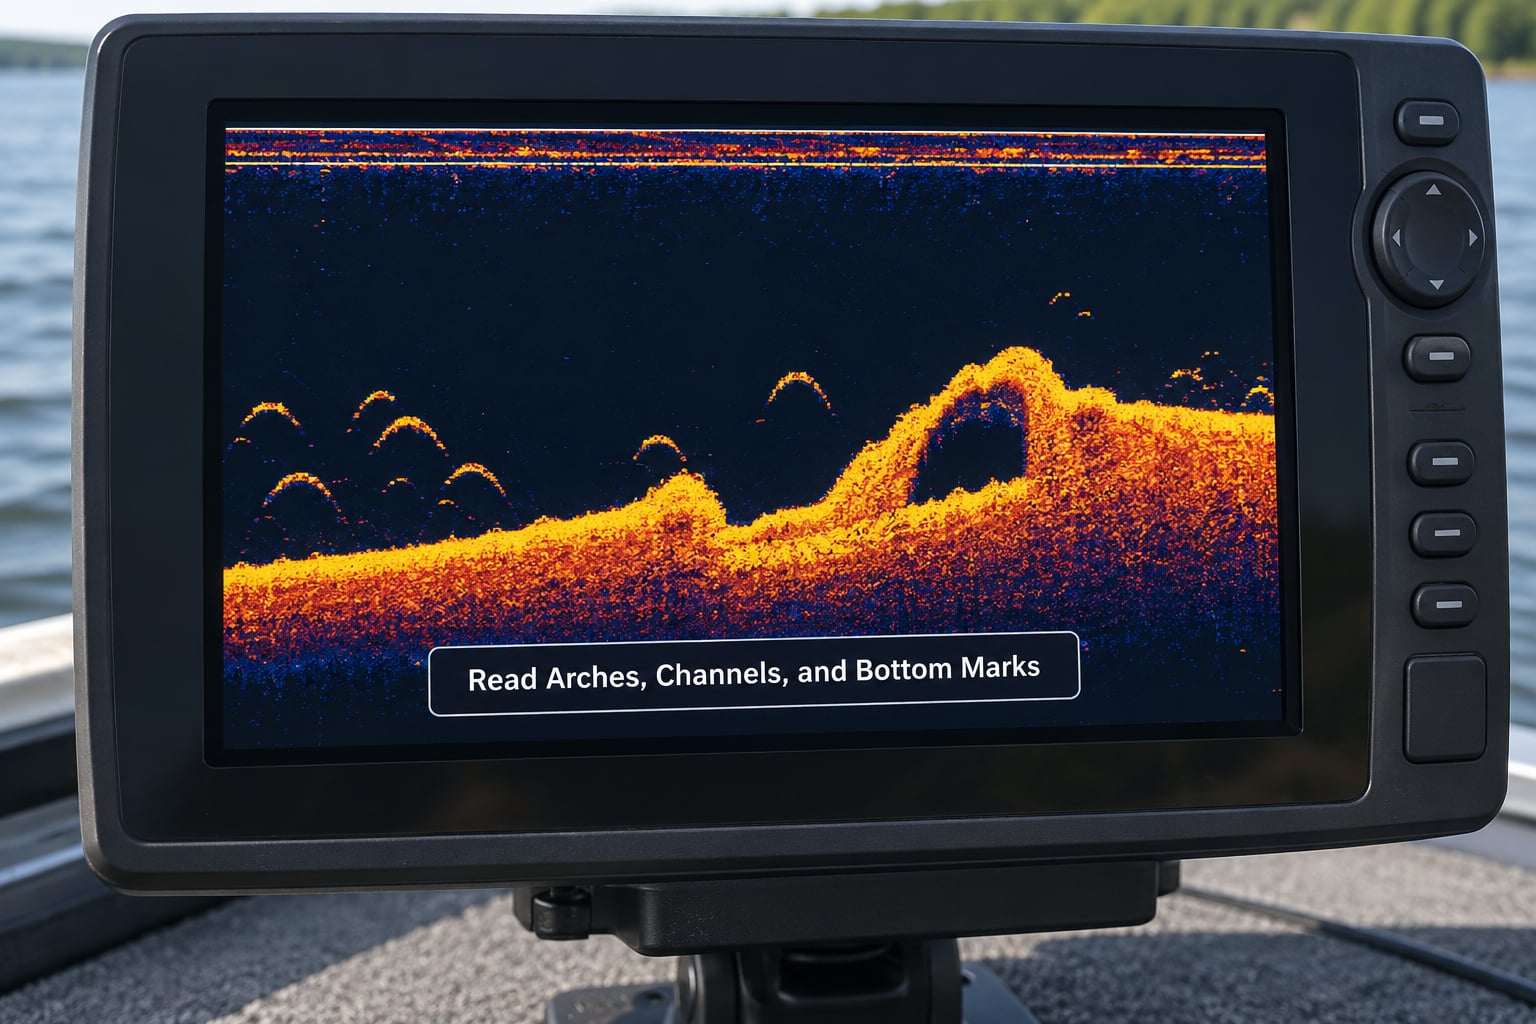
A fish arch is the upward curve the display draws when a target sits between the transducer and the bottom. The curve appears because the distance from the transducer to the target is greatest at the edges of the sonar cone and shortest at the center, so the mark stretches as the boat passes over it. A fish directly beneath the boat is one point on screen. It becomes an arch as you move past. That is also why an arch is proof of forward motion: no movement, no arch.
Below the fish level, two marks matter most on a budget screen.
The bottom line is the continuous trace of the lake floor. On a flat bottom it sits flat. Where it steps up and down you are reading structure. A steep upward slope on the display means a drop-off rising toward you; a sudden peak means a hump or a rock you can fish.
Bottom hardness shows up as color. Hard surfaces such as rock and gravel return a strong signal and render in warm colors. Soft mud and silt absorb sound and return weak, cool-colored traces. The practical read: fish often hold on the hard side of a transition, where structure meets soft bottom and forage concentrates.
Two more readings reward attention. The water column is the empty water between the transducer and the bottom, and marks inside it are fish or suspended debris in open water. A thermocline shows as a faint, uneven band partway up that column, often trailing off to one side; fish frequently sit just above it in cooler, oxygenated water.
Color carries one variable only: return strength. Warm colors mean a strong echo, cool colors a weak one. That is a physical fact of the return, not a species ID. Beginners often assume red means a big fish. It means the echo was strong, which a rock can do as well as a bass.
| Color | Return strength | What it usually means |
|---|---|---|
| Red, orange | Very strong | Hard bottom, rock, a close fish, or side-lobe reflection off the bottom |
| Yellow, green | Moderate | Typical fish arch, soft structure, mid-depth marks |
| Blue | Weak | Small targets, distant fish, soft bottom, suspended debris |
| White or black gaps | None | Nothing there, or a blank inside a colored band with color erase on |
6. Scan Systematically and Mark Targets
Random drifting produces random results. Pick a route and hold to it: two or three parallel passes across the area you marked on the map, each pass offset from the last by roughly the distance you expect between productive spots. Overlap your passes. A mark you drove past at an angle is one you cannot return to.
Hold one to three miles per hour on every pass. Slow enough that arches form cleanly, fast enough to cover ground. This speed window is the single biggest factor in whether a cheap finder shows you recognizable fish, because the arch is drawn from the movement of the boat over the target.
Watch the screen as a moving picture rather than as a still. A fish that appears briefly at mid-depth and reappears two seconds later is a swimming fish. A mark that sits in the same spot every pass, holding just above the bottom, is structure, a stump, or a pod holding tight to it.
Mark anything worth coming back to. Drop a waypoint the moment a good arch shows near structure, and note two numbers in your phone: the depth of the mark and the depth of the bottom under it. That pair is how you relocate the spot in two weeks when you have forgotten where it was.
7. Fish the Best Marks and Adjust Your Approach
Turning a sonar reading into a decision is the last step, and most beginners skip it. An arch is not a location. You still have to convert a spot on a moving screen into a position on the water.
Mark the waypoint, then circle back and find that spot by GPS rather than by eye. When you arrive, note what you are directly over and what is nearby: a weed edge, a rock, a channel shoulder. Then set your drift or your trolling line relative to that feature, not to the screen.
Depth drives the rest. A fish hanging two feet above a rock ledge in 14 feet of water gets a different presentation than one holding mid-column over open mud. Match the bait and lure size to how far off the bottom the fish is showing, and choose weight or buoyancy to hold that depth through the current.
Give it a real test before you move. Two or three passes with the same presentation tells you something; one pass tells you almost nothing. If the mark keeps producing arches and you keep getting nothing on the rod, the fish may be feeding above or beside the spot, or the difference is simply how the bait is presented. Change one variable at a time — depth, then lure, then speed — so you learn something from every drift.
And if a spot produces arches but no fish, stop scanning that way. Follow the structure line and look for the next feature. Sonar tells you where fish are, not whether they are biting today.
Common Mistakes When Using a Cheap Fish Finder
The transducer is mounted badly. Tilted, in the wake, or behind bubbles, it will return a screen full of nonsense. Fix: level it, clear it of turbulence, and check the picture at idle before you move.
Gain sits too high. Everything looks like a fish, so nothing reads as one. Fix: back the control off until the bottom line is the strongest thing on the screen.
You scan too fast. At higher speeds marks smear into streaks or disappear between pings. Fix: hold one to three miles per hour and check what the arches look like at that speed before deciding whether the unit is at fault.
The lake map gets ignored. Fish finders confirm fish. They rarely find the lake for you. Fix: spend twenty minutes on a bathymetry map before launch and pick three specific features to check.
Noise gets counted as fish. Air bubbles, prop wash, and debris all return echoes. A real arch holds its shape as you pass it, sits a consistent distance off the bottom, and moves with the boat. Noise flickers and disappears.
Auto range and auto settings stay on. The display rescales mid-pass and everything you were reading shifts. Fix: set the range by hand and set gain once you have read the water.
A second return appears under the bottom. That is usually a false echo caused by the signal bouncing between the hard bottom and the water surface, or side lobes hitting steep structure. Fix: back the gain off a little and watch whether it moves with the bottom. If it does, it is an artifact.
Side-scan reads are cast at the wrong angle. Side scan shows what is beside the boat, not directly beneath it, and a mark off the screen edge is much closer than it looks. Fix: cast slightly behind the visible mark, on the line of the beam, and retrieve slowly.
Frequently Asked Questions
Do cheap fish finders actually work for beginners?
Yes, for structure and depth work they work nearly as well as expensive units, because depth and bottom hardness come from the sound return itself. What you give up is screen size, target separation, and interference filtering. Beginners who learn gain, range, and trolling speed get most of the value; those who leave the factory settings alone struggle.
What are the best settings for a fish finder for beginners?
Start with 200 kHz in water under about 30 feet and 50 kHz deeper. Raise gain until light speckle shows above the bottom line, then back it off slightly. Set the range manually to just past your deepest spot, and hold one to three miles per hour so fish draw as arches. Turn off any automatic scaling once the picture looks right.
How do I know if a mark on my sonar is a fish?
A real fish arch holds a consistent shape as you pass over it, keeps the same distance above the bottom across repeated passes, and shifts only when your course shifts. Noise from bubbles or prop wash flickers, changes depth with speed, and will not return to the same place. Structure stays put every pass, so repeat runs separate fish from rock better than any single screen.
What do the colors on a fish finder screen mean?
Color represents return strength, nothing more. Red and orange are strong echoes, which can be a fish, a rock, or a hard bottom. Yellow and green are moderate returns, the usual range for fish arches. Blue is a weak return, often a small target or soft mud. No color identifies a species, so treat color as a strength meter rather than a fish label.
Can I find fish with a fish finder without a boat?
Yes. A cast-around portable sonar puck drops from a kayak, a pontoon, or the shore and costs the least of any option. Phone-connected units give you the same structure readings on a screen you already own. Expect less coverage per cast and a need to hold still while you read. Most of your time goes into picking spots from a depth map before you ever deploy.
Conclusion
Start here. Pick an entry-level setup that matches your water and how often you fish, mount the transducer level and clear of bubbles, then set gain and range by hand before you leave the dock. Work from a depth map, run two or three slow parallel passes over the features you flagged, and mark every clean arch you see. Fish the two best marks for a full afternoon before you decide whether you need better electronics, because in most cases the missing piece is technique rather than hardware.