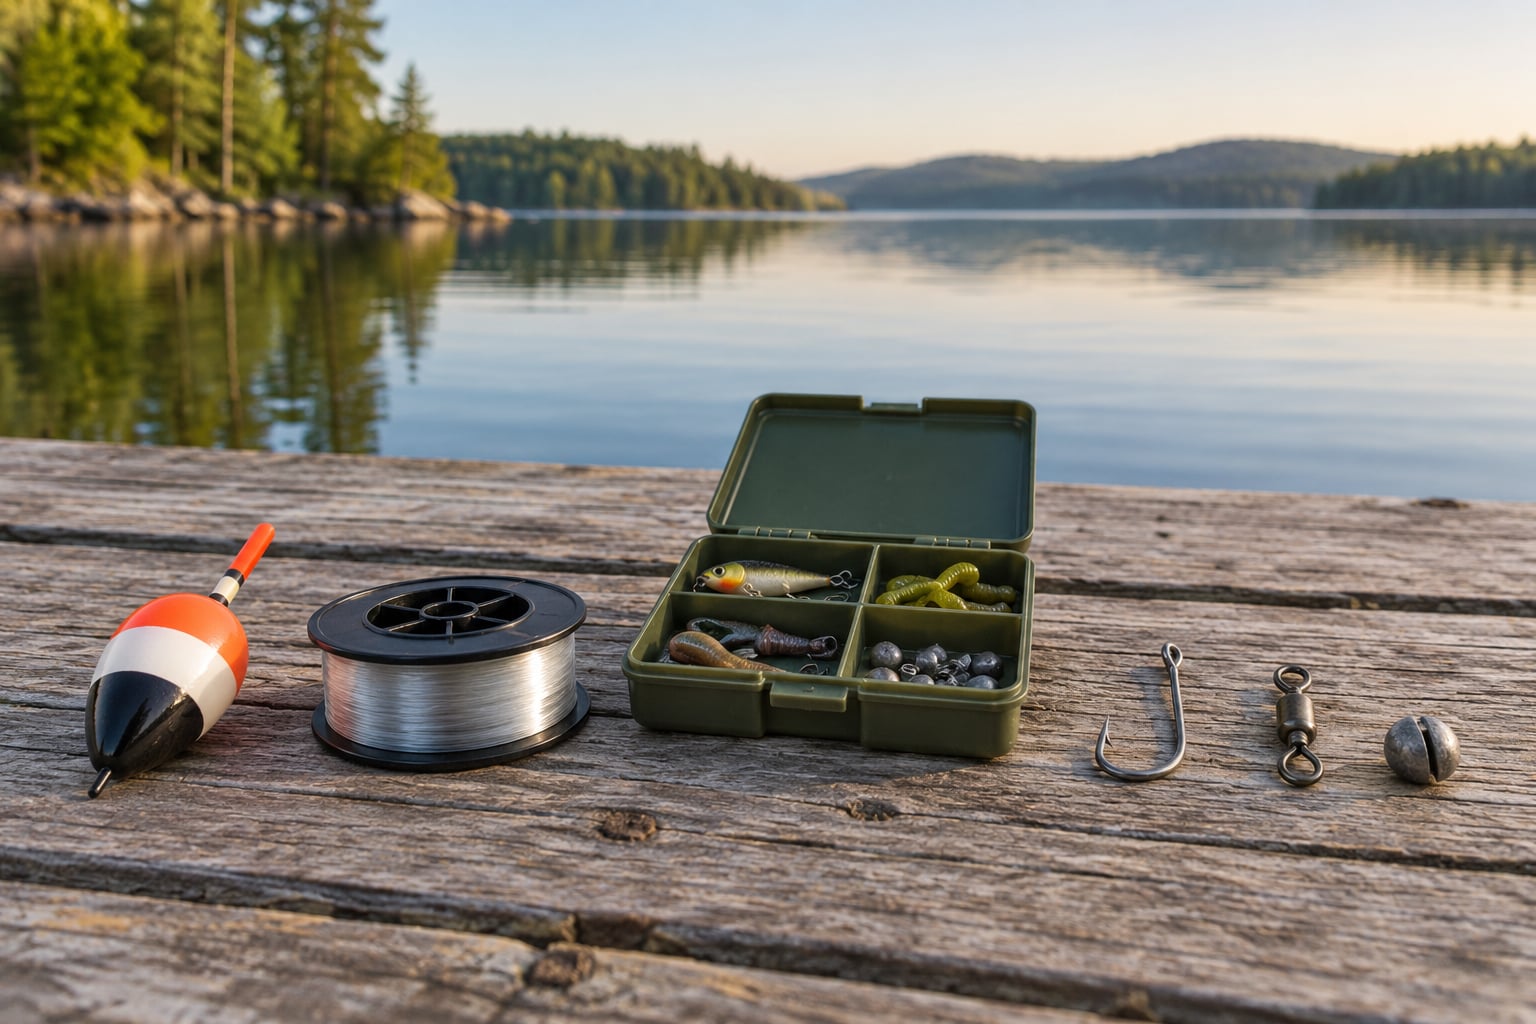
A bobber does two jobs for you: it holds your bait at the depth you choose, and it tells you the moment a fish takes it by moving. Get those two things right and you can fish a dock, a weed line or a deep channel with the precision most people never get from hand-feeling a rod tip. Learning how to use a bobber the right way takes about twenty minutes of rig work and a lot less patience than most beginners expect.
That said, a bobber is not a magic rig. The same float that locks a bite indicator onto your line is the reason your bait keeps floating back to shore, your line tangles around the float, or your float lies flat and you assume nothing is there. Almost every beginner problem with bobbers comes down to three things: the wrong float for the depth, no weight under the bait, and a line pulled tight enough to move the float by itself.
This guide walks through a complete setup, then the adjustments for different water, then the mistakes that stop bites before the first cast.
Table of Contents
What You Need
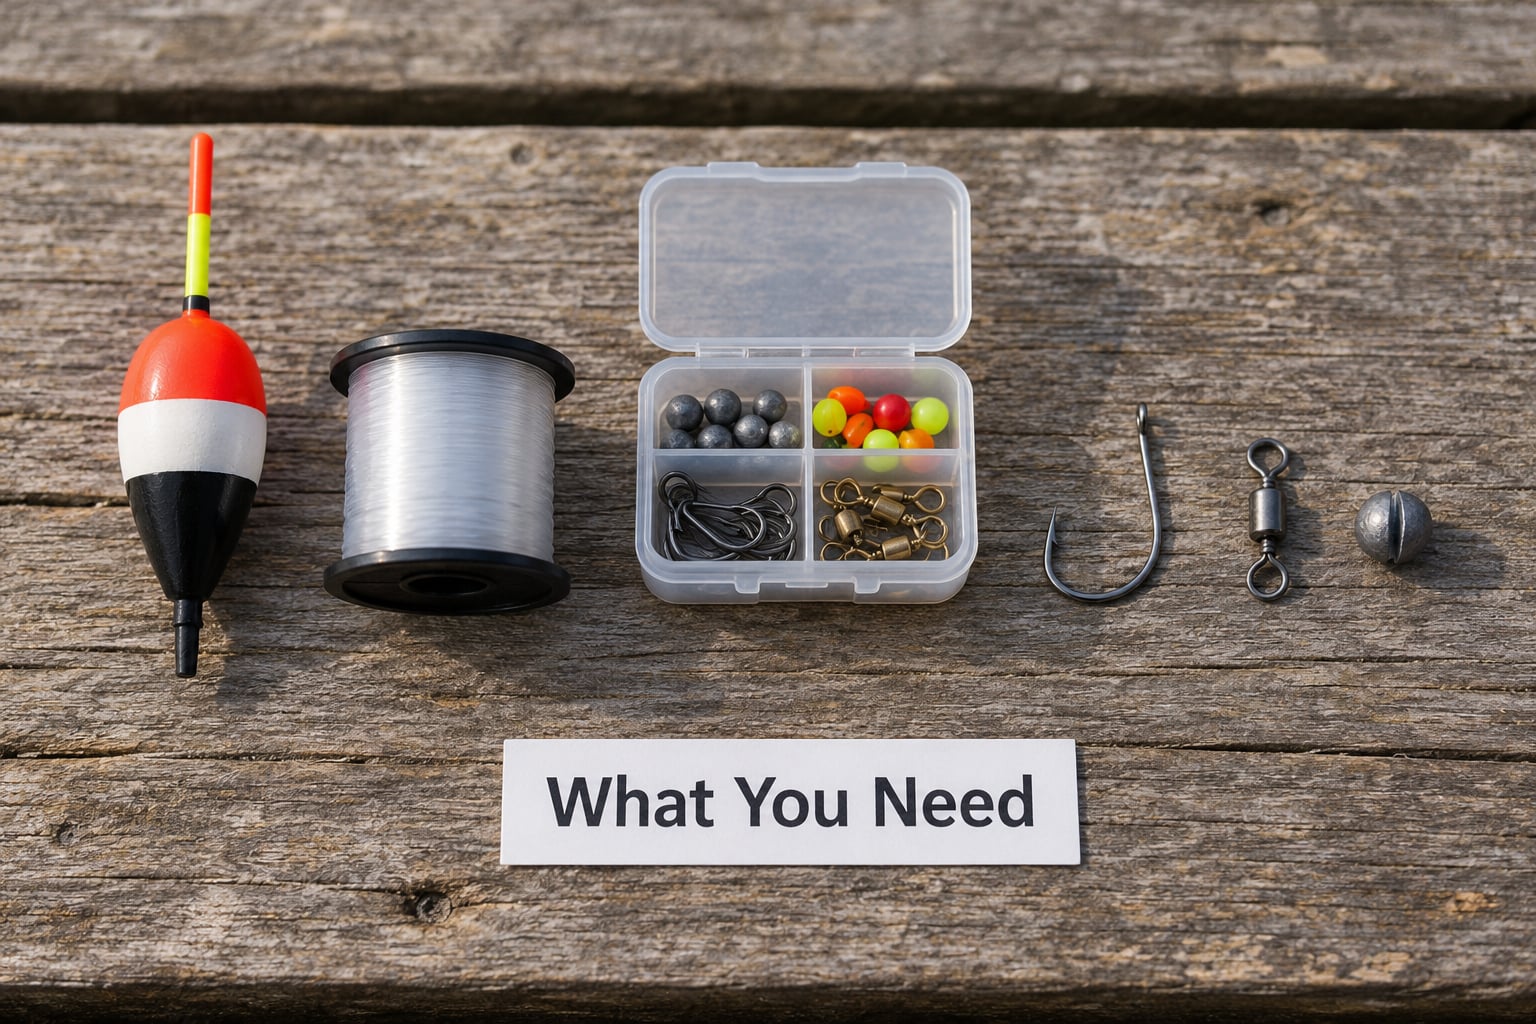
You need very little, and most beginners already own half of it.
- A float. A clip-on fixed bobber for shallow work, or a slip float for anything deeper than a couple of feet.
- Fishing line. 4 to 8 pound monofilament or fluorocarbon works for panfish through bass. Match the line to the size of fish you expect to hook.
- A weight. A split shot, or a small sinker above the swivel. This is the piece beginners skip, and it is the reason live bait floats up under the bobber instead of hanging at depth.
- A swivel and a hook. A barrel swivel ties the weight to the leader so the line cannot twist. A size 8 to 10 Aberdeen or baitholder hook suits most live bait; use a circle hook if you want the hook point buried and rely on the fish to turn.
- A bobber stop. Required for a slip float, and it is what sets your depth. Small plastic or rubber stops cost almost nothing and come in a kit with the floats.
- A bait. A nightcrawler, a small minnow, a piece of cut shad, a wax worm, or a soft plastic on a jig head.
- Optional tools. Line cutters, a small weight crimper for split shot, and a bobber stop tool. None of them are required, and all of them make tying faster.
One note on line weight. The old advice about heavy line preventing bites is mostly wrong for a float rig, because the bait is suspended and the line is slack. What heavy line does is make the float less sensitive and make casting a slip rig into a headwind harder. Pick a weight the float can actually lift.
Step-by-Step: How to Use a Bobber the Right Way
Here is the short version of the whole process, in eight steps.
- Choose a slip float for deep water, a fixed bobber for shallow water.
- Slide the bobber stop onto the line and position it at your target depth.
- Thread the slip float on, or clip the fixed bobber on below the stopper.
- Tie on a barrel swivel with a split shot 8 to 12 inches above it.
- Add a leader and a hook, and space the hook well clear of the weight.
- Bait the hook and drop the rig to check your depth before you cast.
- Cast toward structure and keep slack in the line.
- Watch the float. When it dips, twitches or slides sideways, set the hook.
The rest of this section goes slower on the four parts beginners get wrong.
How to Use a Bobber the Right Way: Choose the Right Float
Use a slip float whenever the distance from the float to your hook is longer than what your rod can cast, and use a fixed bobber for the last few feet of line. That single rule covers most freshwater lake fishing.
A slip float slides freely along the line until it meets a bobber stop that you place at a chosen depth. Because the stop is on the line rather than the float being clipped at a fixed spot, you can change depth between casts in about a second without retying anything. Anglers on fishing forums consistently describe this as the whole reason to carry one, and it is why slip floats are the standard choice for crappie, walleye and anything suspended over a drop-off.
A fixed bobber clips to the line at a fixed point, so the depth stays the same until you move the clip. That is a feature in shallow water near a dock, where you may want the bait in the first foot and a second, or third, cast. The trap is that the depth is set by the line between the clip and the hook, and a beginner will cast that same rig ten times without ever checking whether the bait is actually where the float suggests it is.
Specialized floats include spring floats, ice fishing jigs and weighted foam bodies. They solve a specific problem, mostly in current or under ice, and they are not where a beginner should start.
Match the float to the water as well as the depth. A light foam or balsa float feels every tap and works in still water. In wind, waves or a boat wake, a wider plastic body with a brighter antenna reads better on the surface. A balsa float is the most sensitive float there is, and sensitivity only matters if the water is calm enough for you to see a twitch at all.
How to Use a Bobber the Right Way: Attach It to the Line
Build the rig from the top down: bobber stop first, then the float, then the weight, then the swivel, then the leader and hook. The order matters because a slip float has to travel along the line to reach its stopper, which is impossible once the line is knotted into a rig.
Set the depth by measuring the line from the rod tip. Count out the depth you want, add a few extra inches, and place the bobber stop there. A plastic stop pinches the line and holds; a bead on top of the line above the stop gives the float something to slide against so it cannot chew the stopper off during a long cast.
Put the weight between the float and the swivel. The common advice from experienced anglers on crappie forums is to use the most weight under the bobber that will not pull it under. That sounds like a contradiction, and it is the real trade-off in the whole rig. Too little weight and your live bait rises until it is hanging under the float instead of at the depth you set. Too much and the float sinks under the surface, which makes it hard to see and easy to snag on structure.
Leave real space between the weight and the hook. Eight to twelve inches is a good floor. Weight pinned against the hook is the single most common source of tangles on a float rig, and it turns a missed cast into a mess you have to pick apart at the water.
For a fixed bobber, the sequence is different and simpler. Tie the swivel, weight and hook first, measure back from the hook to the depth you want, and clip the bobber on the main line at that point. The fixed bobber has to be moved every time you change depth, which is why it takes more attention than a slip float.
How to Use a Bobber the Right Way: Set the Fishing Depth
Set depth by measuring line off the rod, then confirm it on the water with a drop test. Measuring alone only gives you a number, not a fish holding at that number.
Start with a number you have reason to believe. For panfish in a shallow lake, 18 to 24 inches below the float is a sensible starting point. For crappie suspended over a deep drop-off, two to four feet is more realistic. Bass feeding along a weed line often want the bait closer, roughly a foot under the surface.
Then test it. Cast, let the rig settle, and watch the float. If the float is standing straight up, the bait is hanging at the depth you set. If it is tipped over, something is touching the line: a weed edge, a rock, a branch, or the bottom itself.
With a slip float, depth is a line measurement from the rod tip. With a fixed bobber, depth is the length of line between the clip and the hook. Neither one tells you the water depth, which is why a plumb weight or a fish finder helps when you are fishing water you have not fished before.
How to Use a Bobber the Right Way: Fish the Bait Naturally
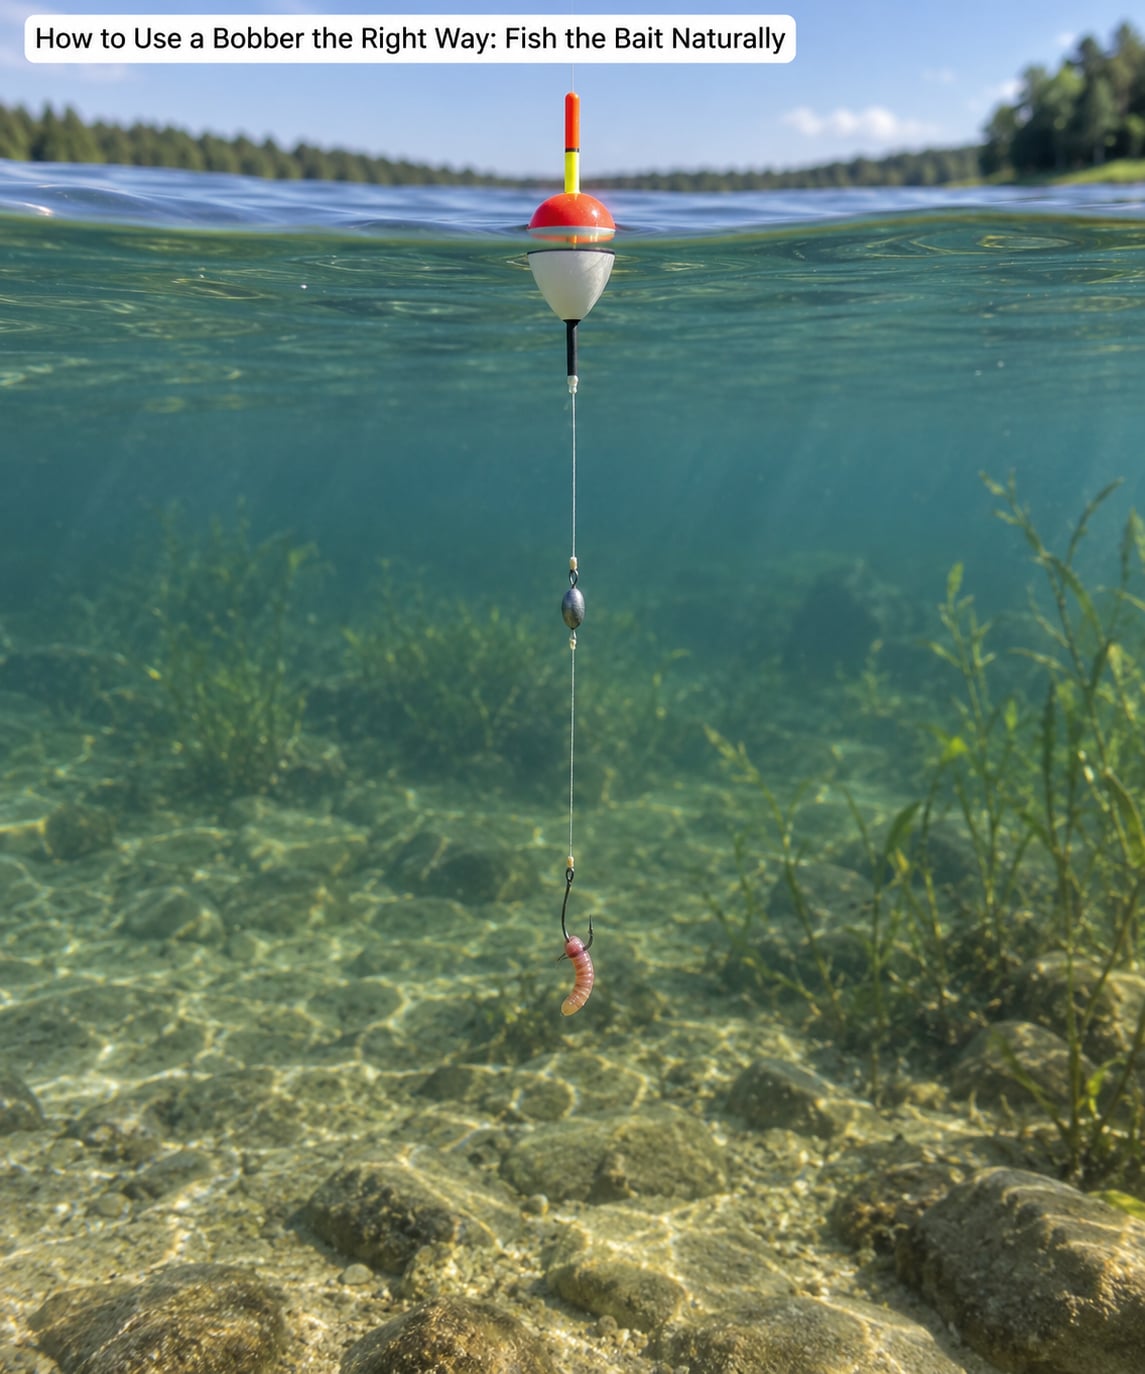
Keep the line slack and the bait moving slightly, and the rig works. A taut line pulls the bait forward and the float downwind, both of which look like bites and none of which catch anything.
Leave at least a foot of slack between the float and the rod tip, and give the line a gentle twist so the bait turns and rolls instead of hanging straight. A slow twitch on the rod tip, every ten seconds or so, keeps a lively bait moving and is often what separates a cast that gets picked up from one that sits untouched.
Keep the bait off the bottom in the places that matter. Over a drop-off or in deep water, a bait resting on the mud sits below the fish. Lift it a foot or two, and read the float: a float that is always leaned over usually means the bait is on the bottom, and a float that sits upright is doing its job.
In moving water, let the rig drift. Set your rod upstream of the float and let the current carry the bait through a seam rather than fighting it. Slack water behind rocks and inside turnouts is where trout and walleye hold, and a rig that moves a foot at a time covers far more water than one parked in one spot.
How to Use a Bobber the Right Way: Detect and Set the Hook
Set the hook when the float moves with purpose: it dips under, twitches straight down, or slides sideways and stays sideways. Set it on the move, not on the first nudge.
Different fish move the float differently, and learning the difference saves you a lot of empty hooksets.
- Bluegill and other panfish usually take the bait and swim, so the float dips and bobs in short, quick motions.
- Crappie often grab and turn, which shows as a float that slides sideways or lies on its side.
- Bass tend to pull the bait straight down and hold it, so the float sinks methodically instead of jerking.
Not every movement is a fish. Wind pushes the float, waves lift and drop it, a boat wake shoves the whole rig, and a line dragging over a rock makes the float lie over. Learn the movement your water produces on a calm day first, because you cannot read a bite against a background of noise.
When a real bite comes, react fast and firm. Pick the rod up, take out the slack with one smooth pull, and set the hook. Do not wait for the float to go under completely, and do not strike while the float is still rocking in place.
Common Mistakes
Almost every bobber complaint is a symptom with two or three possible causes. Diagnose from what the float is actually doing rather than from what you expect it to be doing.
- The bobber floats back to shore. Usually a fixed bobber set too shallow, or no weight under the bait. Add a split shot, or move to a slip float and set a real depth.
- The float lies on its side. The line is dragging on structure, or the bait is on the bottom. Move the float up the line, or cast a little further off the drop-off.
- The float pulls under and stays under. Too much weight under the bobber. Remove a split shot until the float sits upright with weight on it.
- The float slides up to the rod tip. A missing or loose bobber stop. Replace the stop and pinch it on with pliers.
- Tangles after every few casts. Weight too close to the hook, or wind turning the rig. Move the split shot 8 to 12 inches above the hook, and cast with the wind in your face.
- You get bites but never hook fish. Hookset too early, or a hook too big for the bait. Wait for the float to move, then set hard, and drop one hook size.
- Nothing happens at any depth. Bait theft, or fishing water with no structure nearby. Use a smaller piece of bait, and fish a weed edge or a drop-off instead of open water.
- The float is hypersensitive and never settles. The line is too tight, or waves and boat traffic. Add slack, cast away from the wake, or switch to a wider plastic float.
Two more errors worth naming. Striking at the first twitch of the float means hooking water, because the bait is still in the fish’s mouth and the fish has not turned. And tying the bobber on before the hook means you cannot slide the float to its stop, so you end up with a half-slip rig that neither holds depth nor resets easily.
Adjusting Your Bobber Setup for Different Conditions
Shallow water near a dock favors a fixed bobber with 12 to 18 inches of line below the clip, and it rewards a small split shot so the bait stays in the strike zone instead of drifting up. Deep water and suspended fish are slip float territory, and the depth adjustment takes a second between casts. For current, add a slightly heavier weight, set the rod upstream, and let the rig drift through slack seams rather than holding station.
Wind and waves change how you read the float more than how you rig it. In a stiff breeze, a heavier bobber, a wider plastic body, or a bright antenna reads better, and you should expect false movements until the wind lays down. A sea anchor or a second rod holder worth of line helps a boat hold position over a spot.
Slow presentations suit a bobber well. When the fish are pressured or the water is cold, lift the bait an inch or two with a light twitch and give it longer between moves. For a fast, active bite, tighten the line slightly and reel the bait to the boat instead of waiting for the float.
Depth itself changes through the season, so treat the number as a starting point rather than a fact. Crappie suspend off structure in spring and move shallower as water warms. Panfish hold on weed edges in summer and drop toward structure as it cools. When bites stop, change the depth before you change the bait.
And know when the bobber is the wrong tool. A bobber needs water that holds a fish in one place for more than a few seconds, so it works badly in heavy current, for fast-moving fish that strike and run, and for topwater presentations where you want to see the strike yourself. Those are the situations where a plastic worm, a jig, or just a sensitive rod tip serves you better.
Frequently Asked Questions
Should the bobber be tight against the hook?
No. Leave 12 to 18 inches between a fixed bobber and the hook, and never let the weight sit right against the hook. A tightly pinned bobber holds the bait at the surface where you cannot fish, and weight next to the hook causes most tangles. More line below the float also gives fish room to take the bait without feeling resistance.
How far above the hook should I put the bobber?
For panfish, 18 to 24 inches. For crappie fishing over a drop-off, two to four feet. For bass along a weed line, closer to a foot. On a slip float, that distance is fixed by the position of the bobber stop on the line, so you set it once and keep it. If the fish are not biting, change this distance before you change the bait.
What does it mean when a bobber goes under?
A float that sinks slowly and stays under usually means a fish took the bait and is holding it, which is common with bass. A float that is yanked under fast and repeatedly points to a fish swimming away with it, or a snag. A float that keeps sinking on its own after every cast means too much weight underneath, so remove a split shot.
How do I know when to set the hook with a bobber?
Set the hook when the float moves with purpose, such as dipping, twitching straight down, or sliding sideways. Wait out the first small bobbing motion, then react fast and firm on the sustained move. Do not strike at a float that is only rocking from wind, waves or a passing boat, and do not wait until the float is completely gone.
Can I use a bobber with live bait?
Yes, and live bait is the most common use for a float rig. The key is weight under the bait. A split shot placed 8 to 12 inches above the swivel holds a nightcrawler, minnow or shrimp at depth instead of letting it float up under the bobber. For panfish in the shallows, a clip-on fixed bobber with a light split shot is all you need.
Should I use a bobber in moving water?
Yes, but let the current do the work. Set the rod tip upstream of the float and let the rig drift naturally through seams, behind rocks and inside slack water where trout and walleye hold. Add enough weight that the float stays upright, and keep the line loose. In fast water, a slip float with an adjustable stop changes depth far faster than a fixed bobber.
Conclusion
Pick the float that matches your water before you tie anything: fixed for a foot or two near a dock, slip for anything deeper. Build the rig top down with a bobber stop, weight above the swivel, and eight inches of clear line between the weight and the hook, then drop it beside the boat and check that the float stands straight up.
After that, leave the line loose, cast toward a weed edge or a drop-off rather than open water, and watch the float instead of the bait. Depth control and a little patience are the whole game.