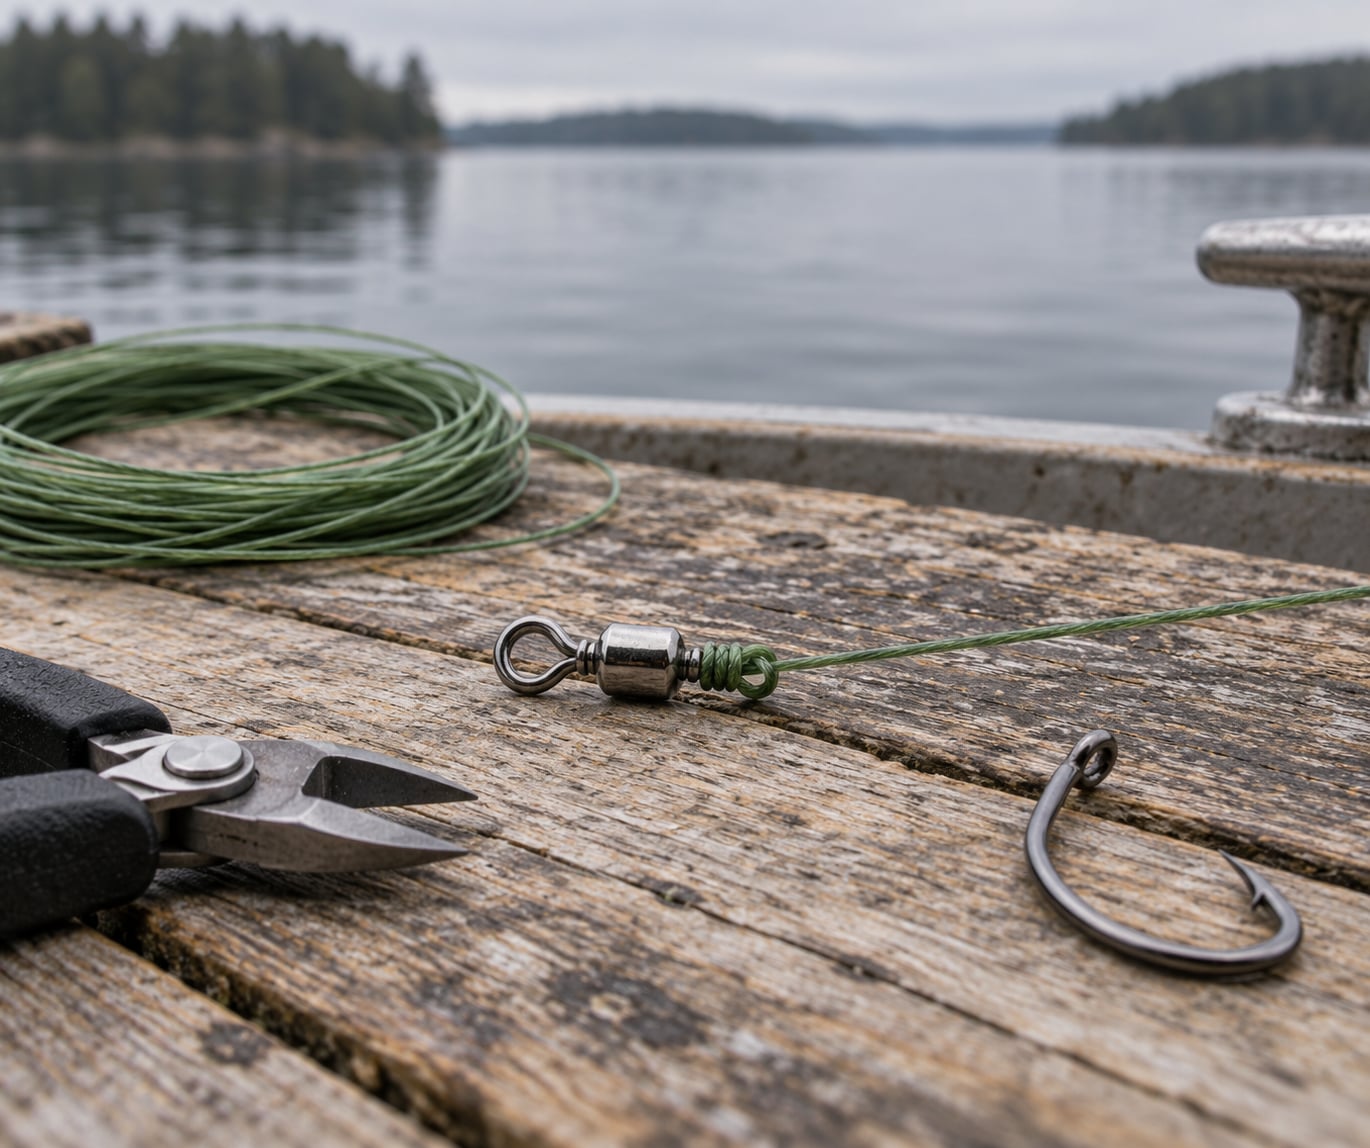
The fastest way to learn how to tie a fishing knot that holds is to master one dependable knot and use it every single time. For beginners, that knot is the Palomar: make a loop in the line, tie an overhand knot inside the loop, feed the whole standing end through it, wet it, cinch it down and pull-test it.
Five minutes at the kitchen table is all it takes, and the same knot works with monofilament, fluorocarbon and braided line. This guide walks through the whole process, plus the seven mistakes that make knots fail and how to spot whether the problem is the knot or the line itself.
It matters more than most beginners expect. Your rod, reel and line can all be rated well above the fish you are chasing, but the knot is where the load stops. A correctly tied knot keeps roughly 80 to 100 percent of a line’s rated strength. A poorly tied one on braided line can drop to about half, and that is the knot letting go on the fish you were already set up to land.
Table of Contents
What You Need
You can tie a Palomar with nothing but line and a hook, and most anglers already own everything else on this list.
- Line. 8 to 20 pound test is the working range for most lake fishing. Monofilament stretches and forgives, fluorocarbon sinks and is nearly invisible, and braid has almost no stretch, so a marginal knot failure is much less forgiving on braid.
- Terminal tackle. A hook, a jig or soft plastic, or a barrel swivel with a split ring. A swivel also gives you a clean place to build the line-to-line knot later.
- A sharp line cutter or small scissors. Dull blades crush the line instead of cutting it, and a crushed end is where mono and fluoro start fraying.
- Water. A wet thumb, a squeeze bottle, or the lake itself. Wetting the knot is not superstition; it is a few seconds of work that protects the material.
- Practice line. An old spool or a piece of spare braid. You want the first five tries to happen somewhere the fish are not.
The Palomar is the beginner default for good reason. It is quick to tie, it holds across line types, and it keeps working when the deck is wet and the wind is coming off the lake. Once you can name the knot you are tying, you can also troubleshoot it, which is half the battle when one fails.
Step-by-Step: How to Tie a Fishing Knot That Holds
Five words show up in every knot instruction, so it is worth getting them straight before you start.
- Standing end (or standing line): the length of line running back to your spool, reel or leader.
- Tag end: the short tail you are left holding after the line is threaded, which gets trimmed later.
- Loop (or bight): the U-shaped bend you form in the standing line.
- Overhand knot: the simple knot you form in the loop before passing the line through it.
- Cinch: to tighten a knot down until it stops moving and seats against the tackle.
1. Cut and Prepare the Line
For practice, cut a piece of line about 6 to 8 inches long. For real tackle, leave 10 inches or so past the end you tie off, because you will trim the tag end at the end and you want spare length if the first attempt has to be redone.
Cut at a slight angle with a sharp cutter, then pinch the fresh end between your thumb and forefinger. That pinch closes the ends of mono and fluoro, which stops them from splitting into a fuzz of fibres the moment you start wrapping. Braided line behaves differently: it will splay regardless, so press it flat and pull it back into a round shape before threading.
Try to keep the line straight and out of kinks. A sharp bend in the line is a weak point that will eventually travel to the knot.
2. Thread the Line and Tie the Overhand Loop
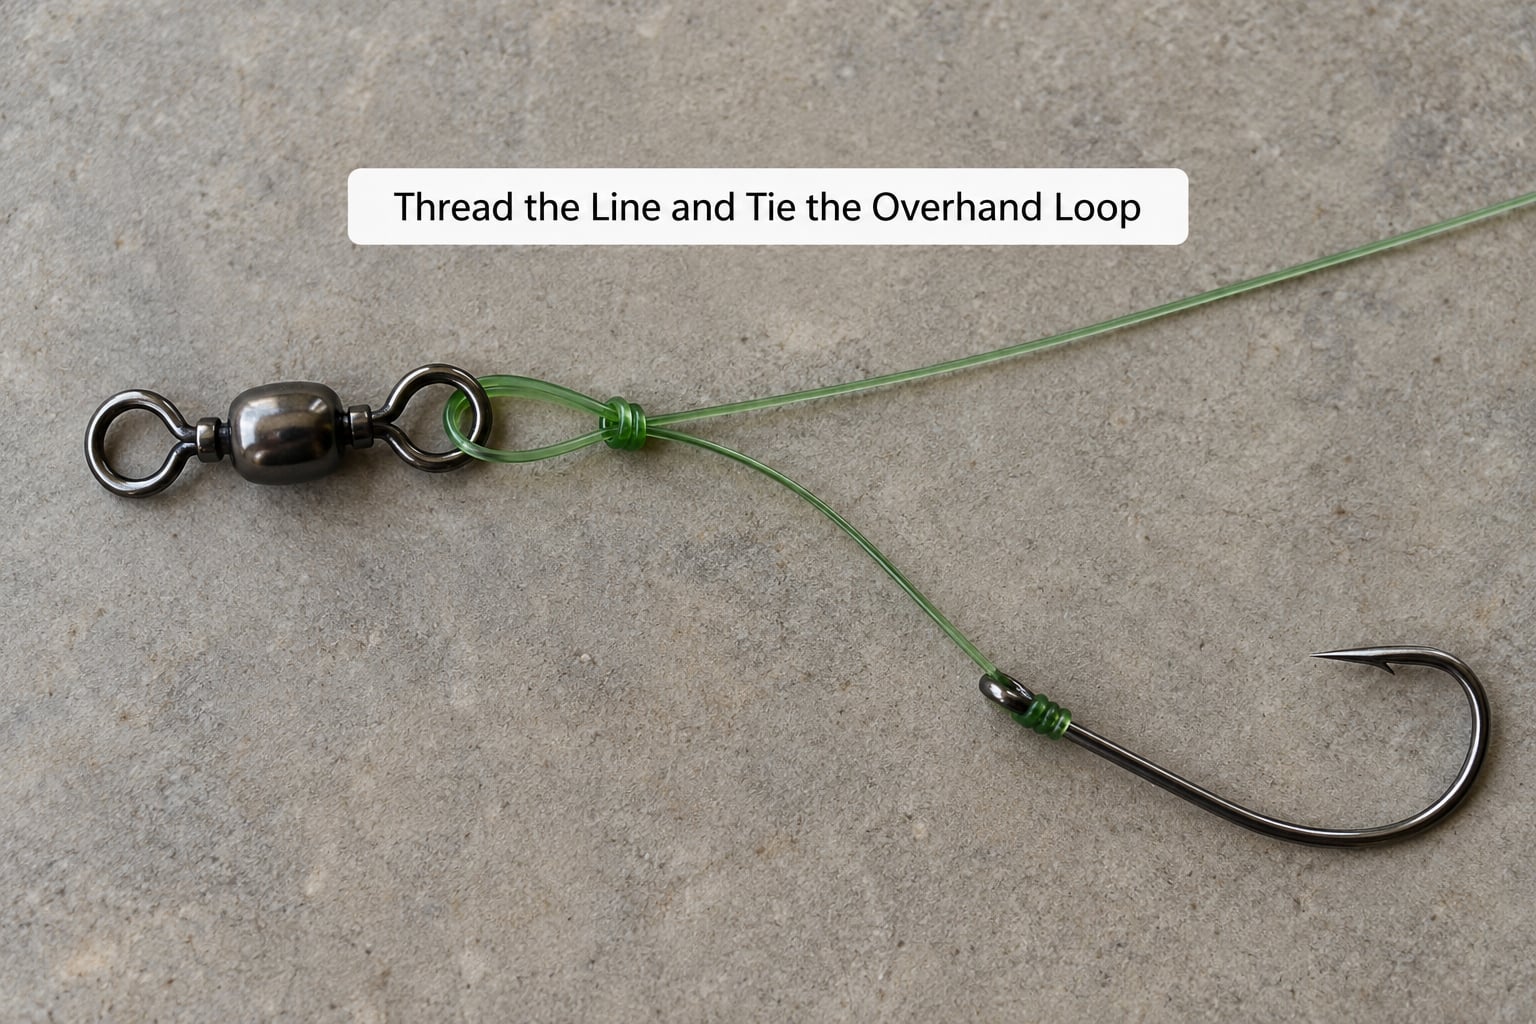
Pass the standing end through the eye of the hook or the eye of the swivel, then bring it back up through the same eye. Leave a tail of roughly 3 inches. Pinch the point where the line crosses itself, because that pinch holds the short end in place while your hands do the next part.
Now take the standing line about 6 inches above the crossing point and form a loose loop in it. Hold the loop between your thumb and forefinger so the loop stays open, then tie a single overhand knot in the middle of that loop. Make the knot with the standing line only, and keep the loop at least an inch across, because a small loop is the most common reason the next step refuses to work.
3. Pass the Entire Line Through the Loop
This is the step beginners miss. You are not passing a short piece of line through the loop. You are picking up the entire standing end, hook and swivel attached, and feeding all of it through the overhand loop you just tied.
Hold the overhand knot steady, lift the standing end, and push it through the loop from back to front. The whole tackle piece comes along with it. If the loop is too small or the hook is snagging on the line, spread the loop with a fingernail rather than forcing it, and check that you did not tie the overhand knot too far down the line.
Push the loop down the standing line until it sits below the overhand knot. Dragging it up so it rests on the hook shank instead is the classic Palomar error, and it locks the hook in place so the hook cannot rotate freely, costing you part of the knot’s strength.
4. Tighten the Knot Carefully
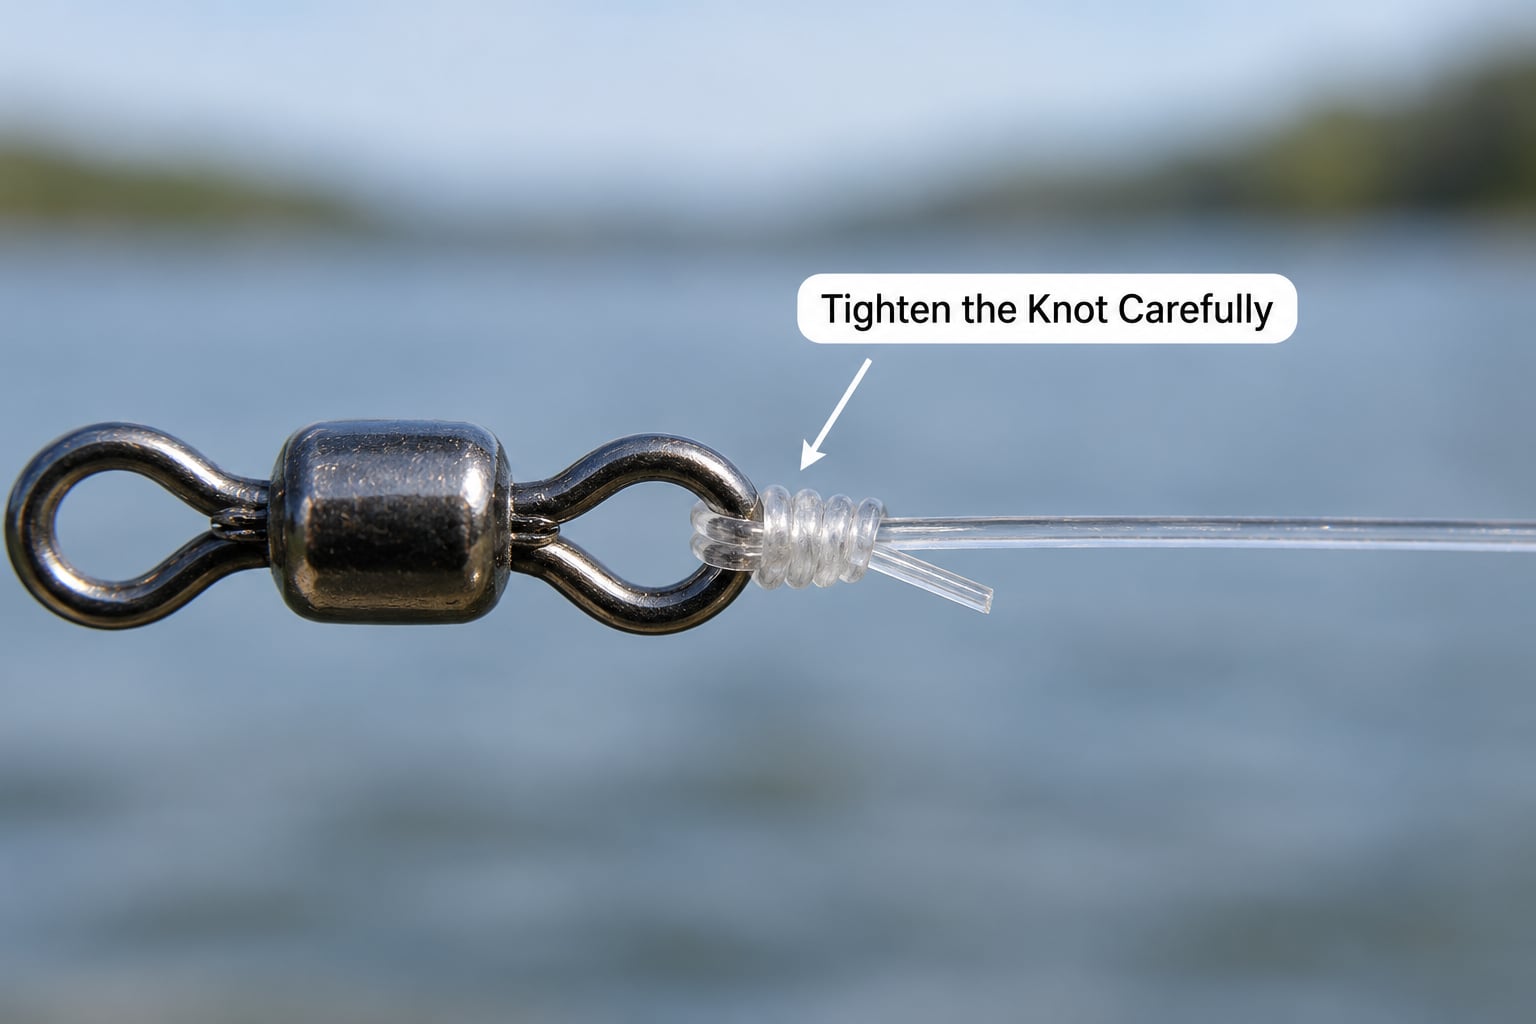
Wet the knot first. A drop of water on your thumb, a squeeze from a bottle, or a quick lick of the line is enough. As the knot seats, friction generates heat, and that heat is what softens and eventually weakens nylon and fluorocarbon. Wetting it costs nothing and takes the edge off the temperature spike.
Then pull the standing end and the tag end in opposite directions, slowly. Slow is the operative word: yanking cinches a knot unevenly and leaves one line buried inside the other. Work the knot back and forth gently while you pull, straightening the standing line so no twist sits inside the wrap.
Seat it against the swivel or against the hook eye, then look at the result. A tidy knot is a small compact bundle with the standing line entering and leaving in the same direction. If the standing line crosses over itself or kinks right at the knot, back it off and start that step again.
On braided line, stop pulling once the knot stops shrinking and the strands sit neatly together. Braid flattens under pressure, and if you keep hauling, the flattened section can cut across itself and fail at a fraction of the line’s rating.
5. Test and Dress the Connection
Trim the tag end. On mono and fluoro, about a quarter inch is enough. On braid, leave slightly longer, around a half inch, because the slick surface makes a short stub easier to catch on something snagging the bottom.
Now pull-test it: put one hand on the standing line and the other on the tackle, and pull in opposite directions with a steady, controlled grip, roughly as hard as you would comfortably lift with that same grip. Nothing should slip, creep or unravel. A knot that slides even slightly under that much pressure will not survive a hard hookset and a five-minute fight.
Then bend the tag end sharply. If it bends clean and smooth, the knot is fully seated. If the tag end kinks or pivots where it exits, the knot is loose inside and needs another pass through the tightening step.
A second test is worth doing before you cast. Hang the lure from a door frame handle or a fixed point and put a bucket of water on it, adding weight slowly. Whatever survives that, you can trust on a rod tip.
Which Fishing Knot Is Best for Beginners?
The Palomar is the best fishing knot for beginners because it is strong, quick to tie, and it tightens under load instead of loosening. Measured strength efficiency for a correctly tied Palomar sits at or above the line’s rated strength on mono, fluoro and braid, while the improved clinch has measured well below its rating on braid. That gap is why anglers who switched to braid and kept tying the old nameless knot started losing fish.
Two other knots are worth learning right after it, and knowing what each one is for saves you from tying the wrong thing at the boat ramp.
| Job | Knot | Why it fits | Watch out for |
|---|---|---|---|
| Hook or small lure on braid | Palomar | Strong on low-friction braid and ties one-handed | The loop must be big enough to pass the lure |
| Hook on mono or fluoro | Improved Clinch | Uses more line, seats well, works on tiny eyes | Collapses on braid, so do not switch line without switching knot |
| Rod line to a leader | Double Uni | Joins two lines of similar diameter and cinches together when pulled | Both halves must interlock, or it will not lock |
| Line to leader, mixed types | Double Uni, then a drop of super glue on the tag ends | Braid-to-fluoro setups need a stopper because the braid is slippery | Let the glue cure before casting |
Bulky lures are the Palomar’s one real limitation, and it is a common beginner snag. If the hook and skirt are too large to pass through the loop you tied, switch to the improved clinch for that lure, since the clinch only needs the line threaded through the eye. Plenty of anglers carry a second knot as insurance for exactly that situation.
Boat conditions matter too. Cold hands, a wet deck and a wind coming off the lake will slow anybody down, so learn the knot until your hands can do it without looking. That is also how you end up able to tie it in the dark during a slow topwater bite.
Common Mistakes and How to Fix Them
Nearly every failed knot traces back to one of a handful of errors, and all of them are fixable at the kitchen table.
- Passing only the tag end through the loop. The entire standing end, with the tackle attached, has to go through. If you fed a short piece through, the knot you have is not a Palomar and it will not hold.
- An undersized loop. If the overhand loop is barely wider than the hook, the standing end will not pass. Make the loop generously, around an inch across, before you tie the knot in it.
- Leaving twists in the line. A twisted standing line puts uneven load on the knot. Straighten the line as you cinch, and back the knot off completely if you see a kink forming.
- Pulling the wrong end. Pull the standing end and the tag end apart, never two sections of the same line. Pulling the standing line on both sides just tightens a loose loop and crushes the line.
- Overtightening braid. Braid compresses instead of swelling into a solid knot, and a hard cinch cuts the strands across each other. Snug is enough, and if it has not gone down in a few steady pulls, it is done.
- Cutting into the standing end. Trimming with a sharp blade close to the knot is how you nick the line that is doing the work. Leave the tag end long enough that a small, deliberate cut, and check the standing line for a nick before you cast.
- Trimming the tag end too short. A stub of a few millimetres can loosen, and on braid an extremely short stub is worse. Quarter inch on mono and fluoro, half inch on braid.
There is one more failure that looks like a knot problem and is not. If the line near the knot is fuzzy, flattened or covered in shiny scrape marks, the line itself is abraded and the knot is innocent. Bend a section of it between your fingers. Stiff, wiry, discoloured or gritty line is a retire-it signal, not a re-tie-it one.
Tips for a Strong, Reliable Knot
A few habits separate the anglers who rarely lose a fish at the boat from the rest, and none of them take extra time.
- Always wet, always slow. Two seconds of water, then steady pulls instead of a sharp tug.
- Match the knot to the line. Mono and fluoro: improved clinch is fine. Braid: Palomar, and never a plain clinch out of habit.
- Inspect line before it goes on the spool. Look for abrasion, kinks, stiff sections and anything that has been through a guide without a roller.
- Re-tie after a fight. If a fish rubbed line across rock, net mesh or a boat edge, that section is damaged even if the knot held. Re-tie before you fish again.
- Re-tie the knot itself, not just the lure. A worn knot keeps wearing. Every few trips, or whenever you notice it has flattened or fuzzed, retie it from scratch.
- Replace the line, not the knot, when it is old. UV exposure and storage age take the edge off mono and fluoro long before the line looks bad. If your knots keep failing on the same spool, change the spool.
- Practice with the line you actually fish. Braid behaves nothing like mono in your hands. Tie ten knots on a rainy Sunday and the tenth one will hold up on a wet, rocking deck.
Frequently Asked Questions
Is the Palomar knot hard for beginners to tie?
No. The Palomar is one of the easiest terminal knots to learn, and most beginners tie a serviceable version on the third or fourth attempt. The only fiddly part is passing the whole standing end, hook included, through the loop, which becomes automatic quickly. Practice with a spare piece of line a few times before you rely on it on the water.
What fishing knot is best for heavy braided line?
The Palomar knot. Braid has a hard, slippery surface and almost no stretch, so traditional clinch-style knots can score each other and collapse. Measured efficiency on braid puts the Palomar at or above the line rated strength, while a clinch knot can drop to roughly half. Always wet the knot and cinch slowly, because hard cinching can also cut braid strands.
How tight should I pull a fishing knot?
Pull steadily with the same grip you would use to lift something heavy, not a sharp jerk. A well-tied knot will not slip or creep at that pull. The most common test is to hang a bucket of water from the tackle and add weight slowly until something gives, either the knot, the eye, or the line. That tells you where your setup is actually weakest.
How much line should I leave when tying a Palomar knot?
Leave 6 to 8 inches for practice, and about 10 inches past the tackle when tying for real, since the tag end gets trimmed off at the end. A short tail makes the final trim cut into the standing line, and a long tail is easier to keep out of the way while you pass the standing end through the loop. Plenty of spare line is better than having to start again on the dock.
How do I know if a fishing knot is strong enough?
Learning how to tie a fishing knot that holds comes down to three checks: the knot is compact with the standing line entering and leaving in the same direction, the tag end bends clean instead of pivoting, and steady two-handed pressure produces no slip. If all three pass, the connection is stronger than most fish you will hook. Any wobble in the knot means seating it again.
When should I replace a fishing knot?
Retie whenever the knot looks flattened, fuzzy or has begun to spin on the hook eye, and always after a fish has rubbed line against rock, netting or a boat edge. As a rule, retie terminal tackle every few trips even if it looks fine. Once a knot has been tightened and released repeatedly it never returns to its original shape or strength.
Conclusion
Start at the kitchen table, not the boat ramp. Cut a clean 6- to 8-inch piece of line, thread your hook, tie one overhand loop, pass the entire standing end through it, wet it, and cinch it slowly through all five steps.
Check it with steady two-handed pressure and a sharp bend on the tag end before it goes anywhere near terminal tackle. Ten slow ties on a quiet evening will save you the one fish you were already set up to land.