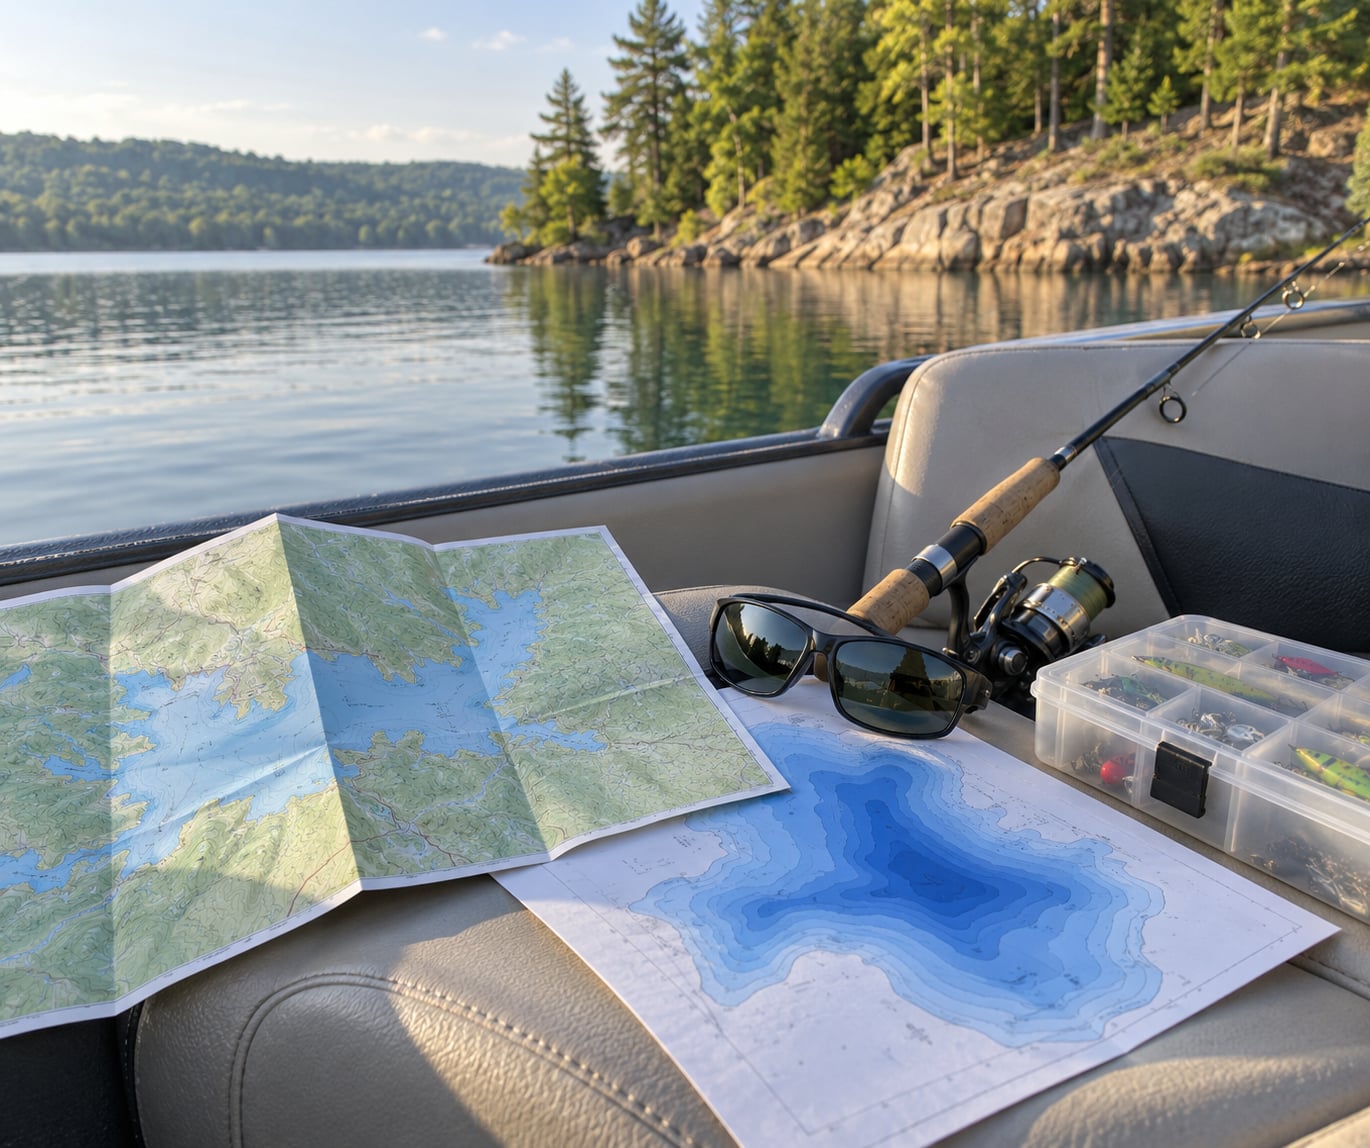
The fastest way to find fishing spots on a new lake is to read a depth chart before you leave the driveway, mark every place where shallow water meets deep, and then test two or three of those spots instead of covering the whole lake. Points, drop-offs, creek channels, weed edges and man-made cover hold most of the fish, and the map tells you where they are for free.
That knowledge gap is exactly why an angler standing next to a local, using the same rod and the same soft plastic, can pull ten fish to your one. Anglers on r/bassfishing describe it plainly: same bait, same gear, totally different results, because the regulars know where to go. This guide turns that local knowledge into a repeatable process you can run on any lake you have never fished.
It takes about an hour of research at home and a full morning on the water. Nothing here needs a boat, a down-imaging unit or a paid subscription, though each one speeds things up. Last updated October 2026.
Table of Contents
What You Need
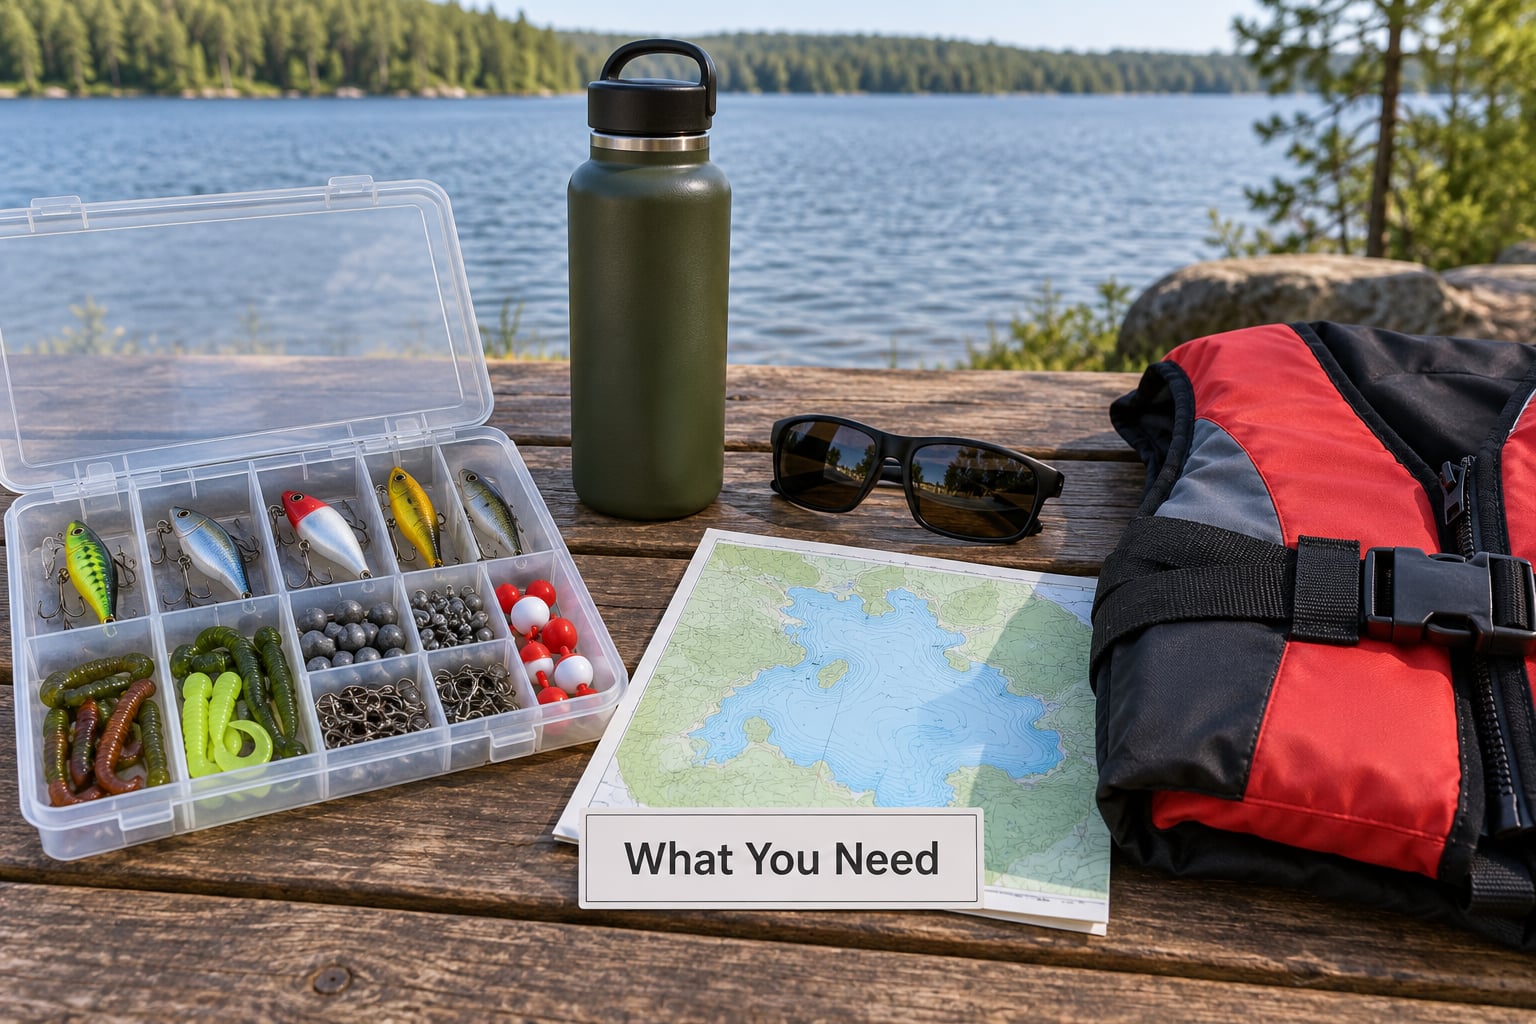
You need very little to scout a new lake well. A few things, though, decide whether a trip is productive or wasted.
- A depth chart or bathymetric map. A state DNR lake map, a USGS or US Army Corps of Engineers sheet, or a free app chart with depth shading. Any one of these works if you know how to read it.
- Current conditions. A weather forecast, the wind direction, recent rainfall, and whether the water level is rising or falling.
- Access and regulation details. Whether the ramp is public, whether you can park, and the bag and size limits for the species you are after.
- Polarized sunglasses. On clear water they cut glare and let you see weed tops, rock and timber under the surface.
- Sun protection, water and proper footwear. Bank scouting is a lot of walking, often on uneven ground.
- A basic tackle setup. A rod that reaches the water, a reel you can afford to get wet, line, a few hooks and a jig or soft plastic.
If you are wading, add a wading belt and cleated boots. If you are on a boat, add a life jacket and a working anchor, because you will want to sit still on a good spot instead of fighting current.
Step-by-Step: How to Find Fishing Spots on a New Lake
Seven steps, in order. The order matters, because each step saves you time on the next one.
1. Study the lake map before you arrive
Open the chart and look for depth changes, not for the middle of the lake. The places worth marking are boat ramps, walk-in access points, channel bends, points, drop-offs, coves, tributary creek mouths and dam areas.
Mark five or six candidates rather than committing to one in advance. A chart that looks convincing in the living room can be wrong at the ramp, and one verified feature is worth more than a perfect-looking guess. Anglers who have fished the same water for 30 years report that adding three-dimensional depth mapping to their usual paper chart still turned up new favorite spots, so the newest tool is not a substitute for the old one.
2. Check current conditions and fishing reports
Where fish sit on a lake changes day to day. Check the forecast, the wind, recent rainfall, water temperature where the state publishes it, and whether lake levels are rising or falling after rain.
Then read recent reports from local sources before you go. They will tell you what is being caught and where, which narrows your five candidates down to two. Treat reports as a filter, not a guarantee; a report from four days ago in different weather is a hint, not a fact.
3. Start near structure and drop-offs
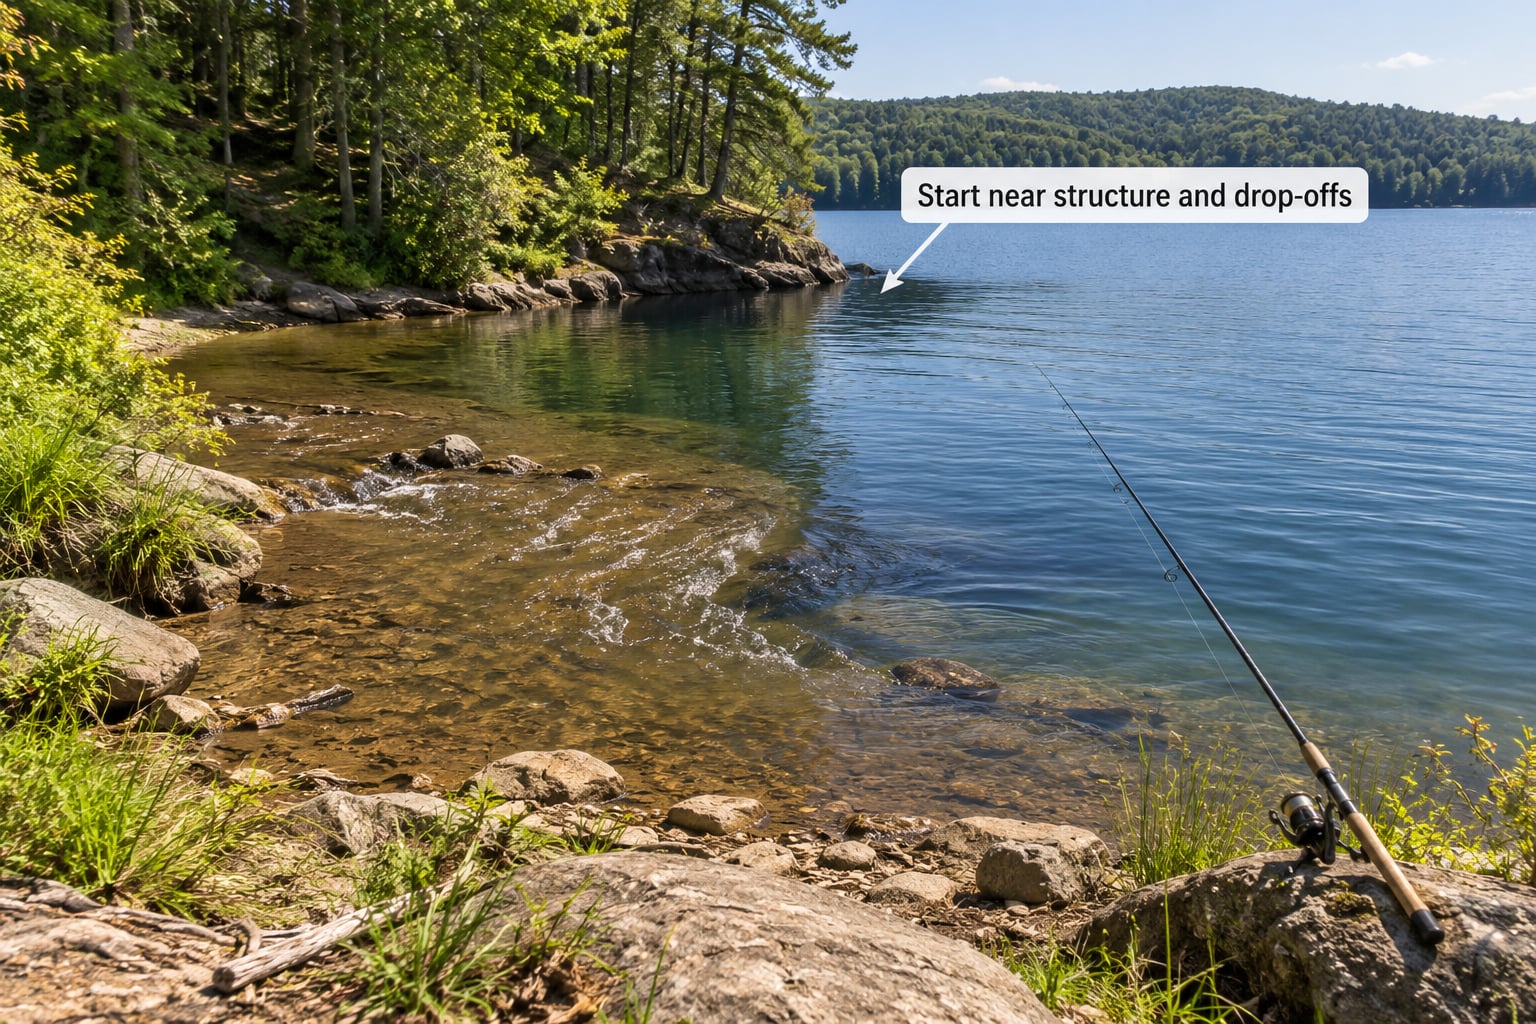
Fish feed where shallow and deep water meet. Start by looking for places where depth changes quickly: the tip of a point, the outer edge of a creek channel, a rock ledge, submerged timber, a stump field or the riprap below a dam.
The reason is simple. Bait and smaller fish gather along the edge where they can move between safety and food, and predator fish set up on that edge to feed. A drop-off only works for you if you know which side of it the fish are on, so read the contour spacing: lines bunched tight together mean a steep face.
4. Observe wind, current, and water movement
Wind pushes surface water and pushes it toward the downwind shore, which concentrates bait along that bank. So plan to work the upwind end of your chosen area and let the boat drift toward the pressure point.
Inflowing water carries food. Creek mouths and the downstream side of dams are worth time because current brings bait, and seams where two water colors meet on the surface often mark the edge of that current. Watch for eddies behind points and around structure. While you are reading all this, check the current before you wade or launch, because the same seam that feeds fish can sweep an angler downstream.
5. Fish different depths as conditions change
Pick one mapped feature and work it at several depths rather than covering new water. On a drop-off, try the top, the middle and the bottom of the face. On a channel, try the edge and the middle.
Keep track of which depth produced the most consistent bites, not just the first fish. A feature that produced nothing at two depths on a windy afternoon is not a bad feature, and a single early hit is not proof the rest of the day will hold.
6. Work the most promising area slowly
Crowd water. Cast well past the spot and reel back through it, slow down the retrieve, and change it every few minutes rather than every few seconds. Match the size and color of the bait to what you saw on the chart and in the water.
From a boat, troll a deep-diving crankbait along the drop-off contour instead of zigzagging across it. Then hold position with the anchor and work the same water while the fish decide whether your presentation is food.
7. Record successful spots and adjust your plan
Write down what worked while you still remember it: the spot, the depth, the lure, the weather, the time of day and the water conditions. Save a waypoint on your phone or GPS so you can find it again from the launch.
That log is how a first trip becomes ten trips. Without it you will re-find the same spot from memory in two years, usually in the wrong wind. And leave the place better than you found it: take your line and hooks with you, do not disturb the bank, and remember that the structure you want to fish next season is something you should not be tearing apart.
Common Mistakes
Nearly every wasted trip on new water comes down to one of these.
- Picking one spot and staying all day. If two hours in, nothing is biting, move. Verified spots beat stubbornness on water you have never seen. Fix: set a time limit, then go to the next candidate on your list.
- Arriving after the wind picks up. By mid-morning a calm surface is chopped and bait has already packed against a bank. Get on the water early. Fix: be at the ramp at first light, before the boat ramp queue.
- Ignoring access and regulations. Driving two hours to a private ramp or fishing past a closed-season limit ruins the day. Fix: check the state DNR site and the access listing before you load the truck.
- Bringing gear that cannot reach the best water. A spinning rod and a bottle of worms will not reach a ledge 40 feet off the bank. Fix: match the rod to the distance you marked on the chart.
- Moving too fast to read the water. Racing up the shoreline wastes the ten minutes of observation that told you where the fish were. Fix: slow down, watch the water for two minutes before the first cast.
- Fishing a map instead of verifying it. Charts have errors, especially on reservoirs where the old survey predates the current water level. Fix: check the depth finder at every marked feature and trust the instrument.
One more worth naming: treating a free app as gospel. Community maps and satellite imagery are a starting point and a great way to spot creek mouths and tributary lines, but depth shading quality varies by lake. Cross-check at least one feature before you build a whole day around it.
Frequently Asked Questions
How do I read a contour map for fishing?
Every contour line connects points of equal depth, and the contour interval is the depth step between lines. When lines are far apart the bottom is flat; when they bunch together the slope is steep, and that tight spacing usually marks a drop-off. Look for lines that suddenly crowd, stop or change direction. Those spots are where shallow and deep water meet, which is where fish feed.
How can I use Google Maps to find fishing spots?
Google Maps and Google Earth give you the shoreline, the access points and often the creek channels and tributary lines, which is exactly what you need to narrow the search. Zoom in and look for points of land jutting into the lake, narrow necks of water and spots where a stream meets the lake. Each one is worth cross-checking against a depth chart before you drive out.
How do I find fish without a boat or electronics?
Use the surface and the shoreline. Watch for baitfish rippling in calm water, circling birds, a seam between two water colors, foam and debris collecting against structure, and exposed weed tops in clear water. On a windy day pick the upwind bank, where the wind has pushed bait and the surface is sheltered. Steep bank, rocky shoreline and standing timber all hint at a drop-off underneath.
What are the three types of contour lines on a map?
Index contours are the thick, labelled lines that show the main depth values. Intermediate contours sit between them and carry no label, so they count up from the nearest index line. Supplementary or depression contours are the extra lines drawn inside a closed shallow bowl or depression that has no room for a full intermediate line. Counting from a labelled line tells you the depth of every unmarked line.
How do I map the depth of a lake before fishing it?
Start with the state Department of Natural Resources lake portal, then try USGS, NOAA and US Army Corps of Engineers records for the waterbody. Many states publish downloadable bathymetric charts for their lakes and reservoirs at no cost. If no chart exists, check apps with depth shading, use satellite imagery to find tributary lines, and verify each candidate with a depth finder on the water.
What is the 80/20 rule in fishing?
It is an angler’s rule of thumb that roughly 20 percent of the available water holds most of the fish at any given time, so your effort should go into that 20 percent instead of being spread evenly. On new water the practical version is: mark six candidates from the chart, pick the two most promising, give each real time, and only then expand the search. It is not a law of nature, just a sensible way to stop burning a day on empty water.
Conclusion
Start tonight, not on the boat ramp. Pull the depth chart for the lake, mark five or six places where depth changes, check the weather and confirm the access is public. On the water, pick the one spot you can reach, work it at three depths, and give it real time before moving. Log what happens. The second trip to a new lake should go far better than the first, and that is the whole point.