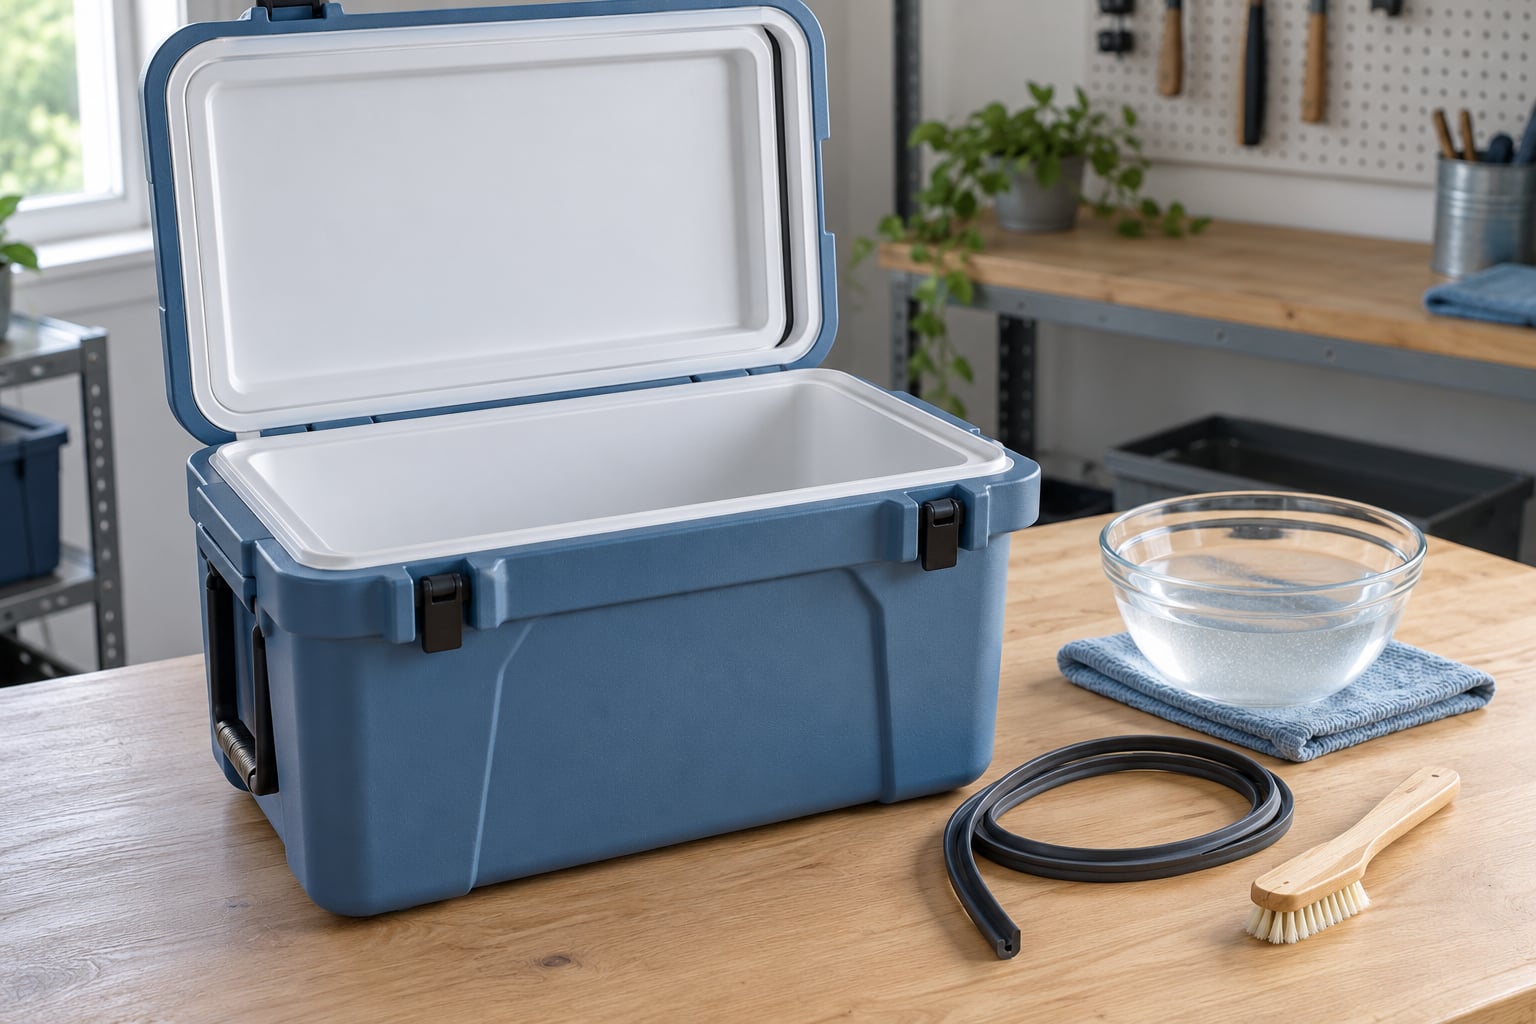
If you want to fix a leaking cooler lid seal, start by cleaning the gasket channel and the cooler rim, then check latch and hinge tension before you buy anything. Most leaks I have chased turned out to be grit and dried salt, not a dead rubber strip.
The fix takes between 15 minutes and an hour depending on what you find. Cleaning and realigning are easy; a gasket swap is a little more fiddly but still a job you can do on a tailgate with a screwdriver and warm water. No power tools, no special skills.
One warning before you start. Owners on r/YetiCoolers complain constantly that marketing says leakproof and their cooler still drips when carried. Some of that is a real failure, and some of it is the pressure-relief design that lets dry-ice coolers vent on purpose. Step one below tells the two apart, because it saves people from replacing a gasket that was never the problem.
Table of Contents
- What You Need
- Step-by-Step: How to Fix a Leaking Cooler Lid Seal
- Common Mistakes That Ruin a Cooler Lid Seal
- Frequently Asked Questions
- Can I fix a leaking cooler lid seal without replacing it?
- What should I use to clean a cooler gasket?
- Is petroleum jelly safe for a cooler lid seal?
- How do I know if the cooler gasket is too damaged to repair?
- Why does my cooler lid stop sealing after it is closed?
- How should I store a cooler so its lid seal lasts longer?
- Conclusion
What You Need
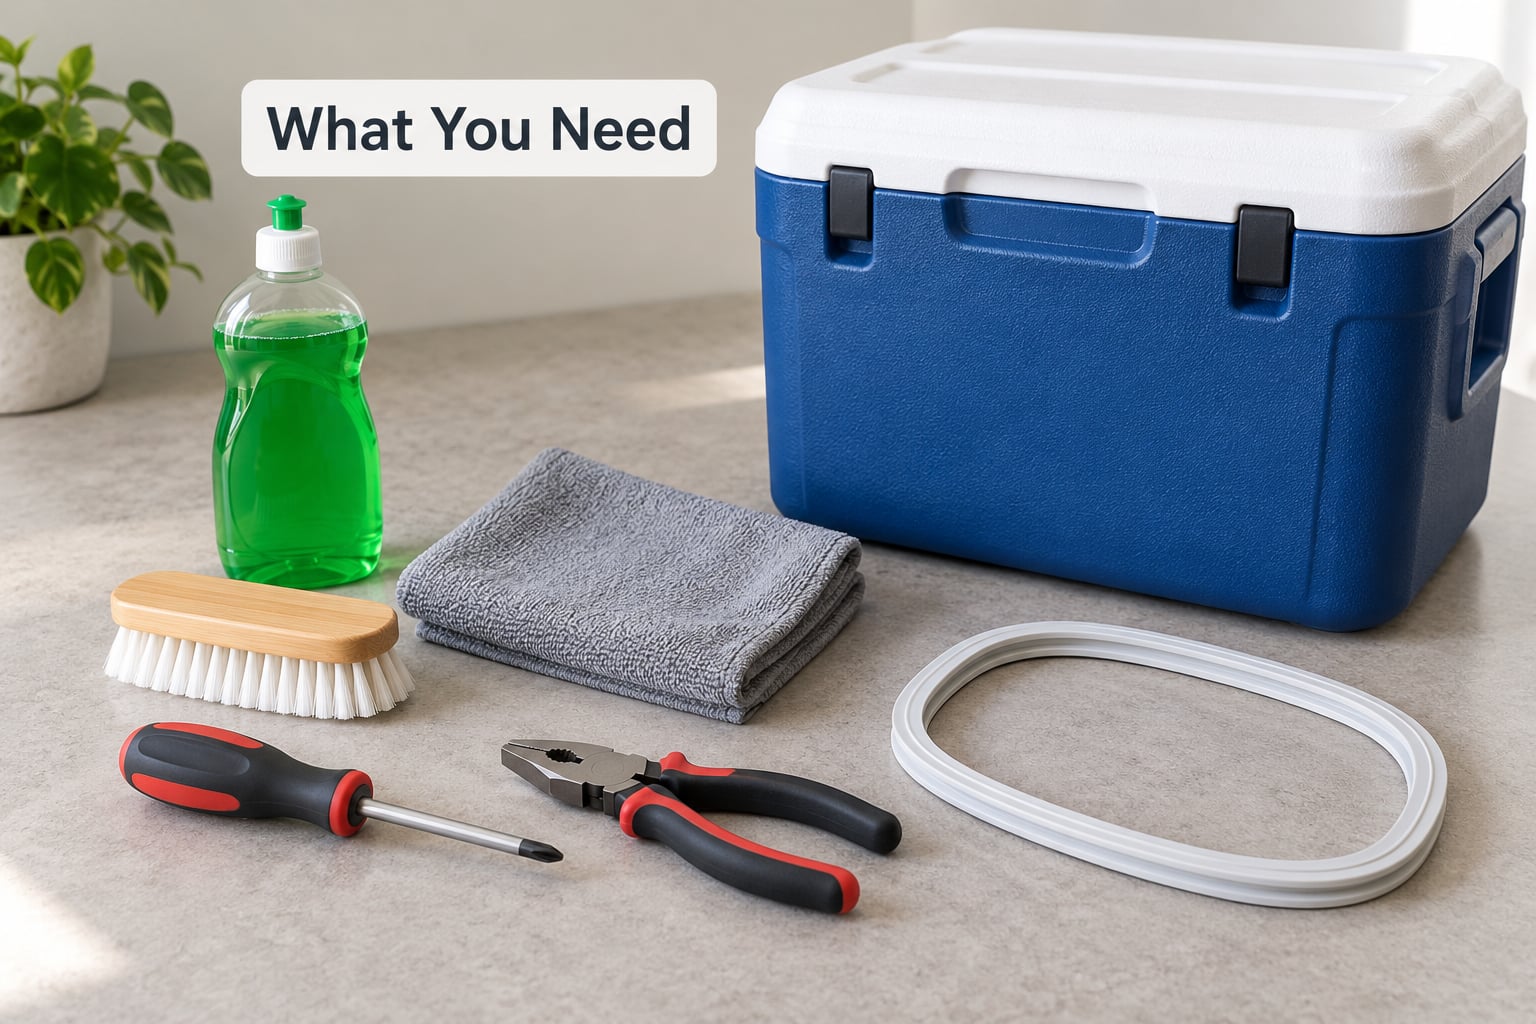
Gather everything before you open the lid, because half of these repairs need two hands and a wet surface.
- Warm water and mild dish soap for washing the gasket channel, the sealing rim and the gasket itself.
- A soft brush or an old toothbrush to get into the groove and along the profile of the seal.
- A clean towel or shop rag for drying the rim completely before the lid goes back on.
- A screwdriver or hex key that fits the hinge screws for tightening loose hardware and adjusting alignment.
- Pliers for removing a stubborn latch or pulling a pin.
- A replacement gasket strip if the old one is cracked, flattened, split, or will not stay seated.
Paper towels and a paper cup are worth having too. They turn guesswork into a real test, and they cost nothing.
Step-by-Step: How to Fix a Leaking Cooler Lid Seal
Work in this order. Every step that costs nothing comes before the step that costs money, and two of the five steps fix the majority of leaks on their own.
1. Identify Where the Cooler Is Leaking
The leak is not always in the lid seal, and replacing a gasket on a cooler that is leaking from the drain plug solves nothing. Confirm the location before you touch a single screw.
Start with a paper towel test. Set the cooler upright on a dry surface, open it, run a little water around the inside of the gasket, close and latch the lid, then wait 15 minutes. Wetness around the rim means the lid seal. Wetness under the front edge or at the base points to the drain plug or a body crack instead.
Next, run the paper bill test. Close the lid on a bill without latching it. Correct compression grips the bill firmly, and you cannot slide it out with a light pull. A bill that slides freely in one spot, or jams hard in another, means the seal is uneven or the lid is crooked.
Finally, set the cooler in a bathtub or shower with a few inches of water and weight inside. Bubbles rising at the gasket mean a lid-seal leak. Bubbles at a corner, the drain plug, or the spigot mean the fix belongs somewhere else.
One more thing to rule out. Many rotomolded coolers sold for dry ice have a small vent or a relief feature in the lid so pressure never builds. A faint weep from that opening in cold weather is by design. Close that vent if your model has a cap, and stop looking for a leak there.
2. Clean the Lid Seal and Sealing Surface
Warm water, mild dish soap and a soft brush will fix more leaking cooler lid seal complaints than any replacement part. Sand, salt, sunscreen and dried food hide in the channel and hold a wedge of air against the rubber so the lid never fully closes.
Lift the gasket out of its channel if your model allows it, then scrub the empty channel, the underside of the lid and the entire rim of the cooler body. Work along the full length rather than in one spot, because the grit is usually spread thin.
Rinse with clean water, then dry both surfaces completely with a towel. Water trapped in the channel looks like a leak the next morning. Leave the lid open in the shade until the rim is dry to the touch, not just to your hand.
3. Reset a Flattened Gasket on a Leaking Cooler Lid Seal
A rubber gasket that stays compressed develops what is called compression set. It looks fine lying on a bench but can no longer fill a gap, so the lid leaks even with a full load of ice inside.
Soften it. Lay the gasket in warm tap water for five to ten minutes. Not boiling water, which can damage some rubber compounds. The strip should turn pliable and slightly thicker while it soaks.
Reshape it by hand, working slowly along its length, then reinstall it so the profile faces the same way it came out. Start each end in the channel and press the middle down last, so you do not stretch it.
Do not force it. A gasket pinched, folded or twisted into the channel will sit unevenly forever, and that unevenness is exactly the leak you are trying to remove. If it will not seat by hand, the old strip has lost its shape and belongs in the bin.
Close the lid and check it sits level. Look across the gasket line at eye level. An even gap all the way around means the reset worked.
4. Repair the Hinge, Latch, or Lid Alignment
Lid latches do the actual sealing. They press the rubber down so it compresses slightly and springs back into every microscopic gap. When they lose tension, a perfect gasket still leaks.
Tighten loose hinge screws with the tool that fits them snugly. On roto-molded coolers the hinge is a flexible plastic or polymer pin rather than a metal barrel, and it needs alignment rather than brute force.
If one corner of the lid rides high when closed, loosen the hinge screws slightly, shift the lid until the gap is even, then retighten. If the hinge is sagging under load, add a thin shim of closed-cell foam under one arm of it.
Check latch tension by hand. A latch should need real thumb pressure to engage and stay engaged without you holding the lid down. If it closes too easily, swap it for a rubber T-style latch of the same pivot size. Keep spare latches in a bag in the truck.
Never overtighten plastic hardware. Cracked hinge ears do not compress a gasket better, they just let the lid rock, which produces a gap the seal cannot close.
5. Replace the Gasket and Test for Leaks
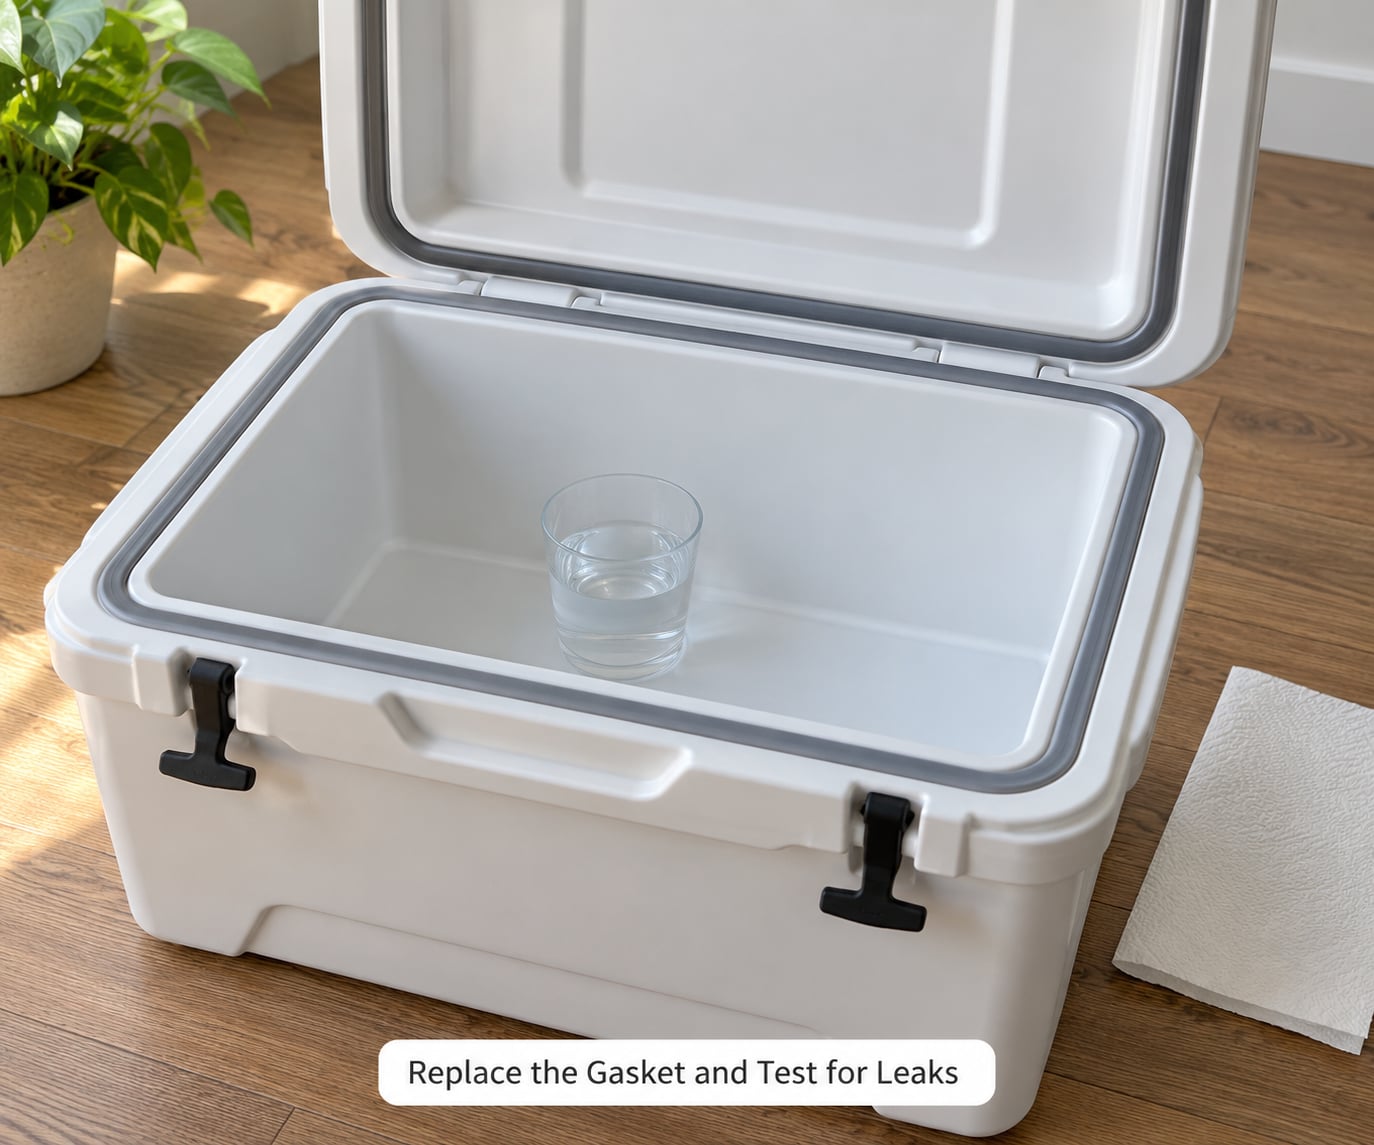
Replace the gasket when it is cracked, split, permanently flattened, or so loose that you cannot press it into the channel and have it stay. At that point no amount of soaking or reshaping brings the compression back.
Match the replacement by cooler size and profile. Cut-to-fit D-strip weatherstripping, which is what most third-party sellers list, comes in these common lengths:
- 6 ft strip for roughly 20 to 45 quart hard coolers.
- 8 ft strip for roughly 65 to 110 quart hard coolers.
The strip needs a D-shaped profile to roll into the channel and a foot that locks into the retaining teeth or adhesive. Foam tape from a hardware store is a poor match for a channel with no adhesive, because it compresses unevenly and peels loose in heat.
Soak the new strip in warm water for a few minutes before fitting so it is pliable. Press it into the channel with the rolled edge toward the lid, starting at one corner and working in both directions toward the middle.
Do not stretch it to reach the last section. Trim it slightly long, let the extra overlap sit at the least visible corner, and the strip will compress against itself rather than pull away from the rim.
Then test before you load it. Put a dry paper towel on the rim inside the cooler, close and latch the lid, leave a cup of ice water inside for an hour, then lift the towel. Any dampness on the towel means the seal is not done. Repeat the paper bill test too, and look for even grip all the way around.
Test the way you actually use the cooler. Clip it into a truck bed, carry it up a boat ramp, and watch for a drip at the corners. A cooler that holds still but weeps when tilted needs more latch tension, not another gasket.
Common Mistakes That Ruin a Cooler Lid Seal
Most failed cooler repairs come down to a handful of habits. Here is what goes wrong and what to do instead.
- Using harsh chemicals to clean the gasket. Solvents, bleach and degreasers swell and crack the rubber, and they can dull a plastic lid. Use warm water and mild dish soap only.
- Closing the lid with the rim still wet. A thin film of water under the gasket blocks the seal completely. Towel it down, then wait until it feels dry to a fingertip.
- Slathering petroleum jelly or grease on the seal. Petroleum products gum up the channel, hold dirt and degrade rubber over time. If you want a lubricant, use a light coat of silicone grease twice a year.
- Overtightening hinge and latch screws. Plastic hinge hardware cracks instead of sealing. Snug is enough.
- Forcing a stuck lid or prying the gasket with a screwdriver. You will cut the strip and scar the channel. Warm water and patience loosen a gummy seal far better than leverage.
- Testing only after the cooler is full. Weight hides a bad seal. Test empty, then test loaded.
- Putting silicone caulk or duct tape in the sealing channel. Both fail in heat and both make a later gasket swap nearly impossible to clean. Use caulk only on a cracked body wall, never on the sealing surface.
Two habits prevent most repeat leaks. Wipe the gasket and rim with a damp cloth when you get home, and store the cooler with the lid cracked open rather than latched shut, so trapped heat and pressure cannot set the rubber.
Soft coolers fail differently
If yours is a soft cooler, the same diagnostic logic applies but the parts change. A leaking zipper is cleaned with a soft toothbrush and a degreaser safe for the fabric, then the slider is worked open and closed until it runs freely. Roll-top and snap closures depend on the plastic snaps and the D-ring haul handle seal, not on rubber in a channel.
Frequently Asked Questions
Can I fix a leaking cooler lid seal without replacing it?
Usually yes. If the gasket is intact but dirty, softened out of shape, or not being compressed, cleaning and reshaping will restore the seal. Warm water and mild dish soap clear the channel, and a few minutes in warm water resets a flattened rubber strip. Only replace the gasket when it is cracked, split, or too loose to stay in its channel.
What should I use to clean a cooler gasket?
Warm water, mild dish soap, and a soft brush or old toothbrush are enough. Work along the full length of the gasket channel and the cooler rim, then rinse and dry both surfaces completely. Skip bleach, solvents, and degreasers, which swell and crack rubber and can dull a plastic lid.
Is petroleum jelly safe for a cooler lid seal?
No. Petroleum products gum up the sealing channel, trap dirt and grit, and break down rubber over time. Silicone grease is the safer choice, applied lightly to the gasket twice a year to keep it supple. Never put petroleum jelly or grease into the groove before fitting a new strip.
How do I know if the cooler gasket is too damaged to repair?
Run your thumb along it. If it is cracked, split, gummy, or permanently flat so that it no longer fills the channel when the lid closes, reshaping will not bring the compression back. A strip that will not stay seated in the channel by hand pressure is finished. That is the point to replace it.
Why does my cooler lid stop sealing after it is closed?
Three usual reasons: the gasket is not being compressed enough because latch tension has dropped, the lid is sitting crooked because of hinge play, or the rim is wet or gritty. Run the paper bill test to check compression at several points around the lid. An even grip means the problem is cleaning or alignment, not the seal.
How should I store a cooler so its lid seal lasts longer?
Store it empty, clean and dry with the lid cracked open rather than latched shut. Avoid a hot garage or a damp shed, since heat sets rubber and damp grows mold in the foam insulation. A bowl or block under the lid keeps air moving. Wipe the gasket down when you get home from a trip.
Conclusion
To fix a leaking cooler lid seal, work in order: find the leak, clean and dry both sealing surfaces, correct hinge and latch alignment, reshape or replace a damaged gasket, then test with a paper towel and a paper bill before you trust it outdoors.
Start with the least invasive fix. Cleaning and reshaping take under 15 minutes and solve most leaks, and only a cracked or permanently flattened strip needs a new one.