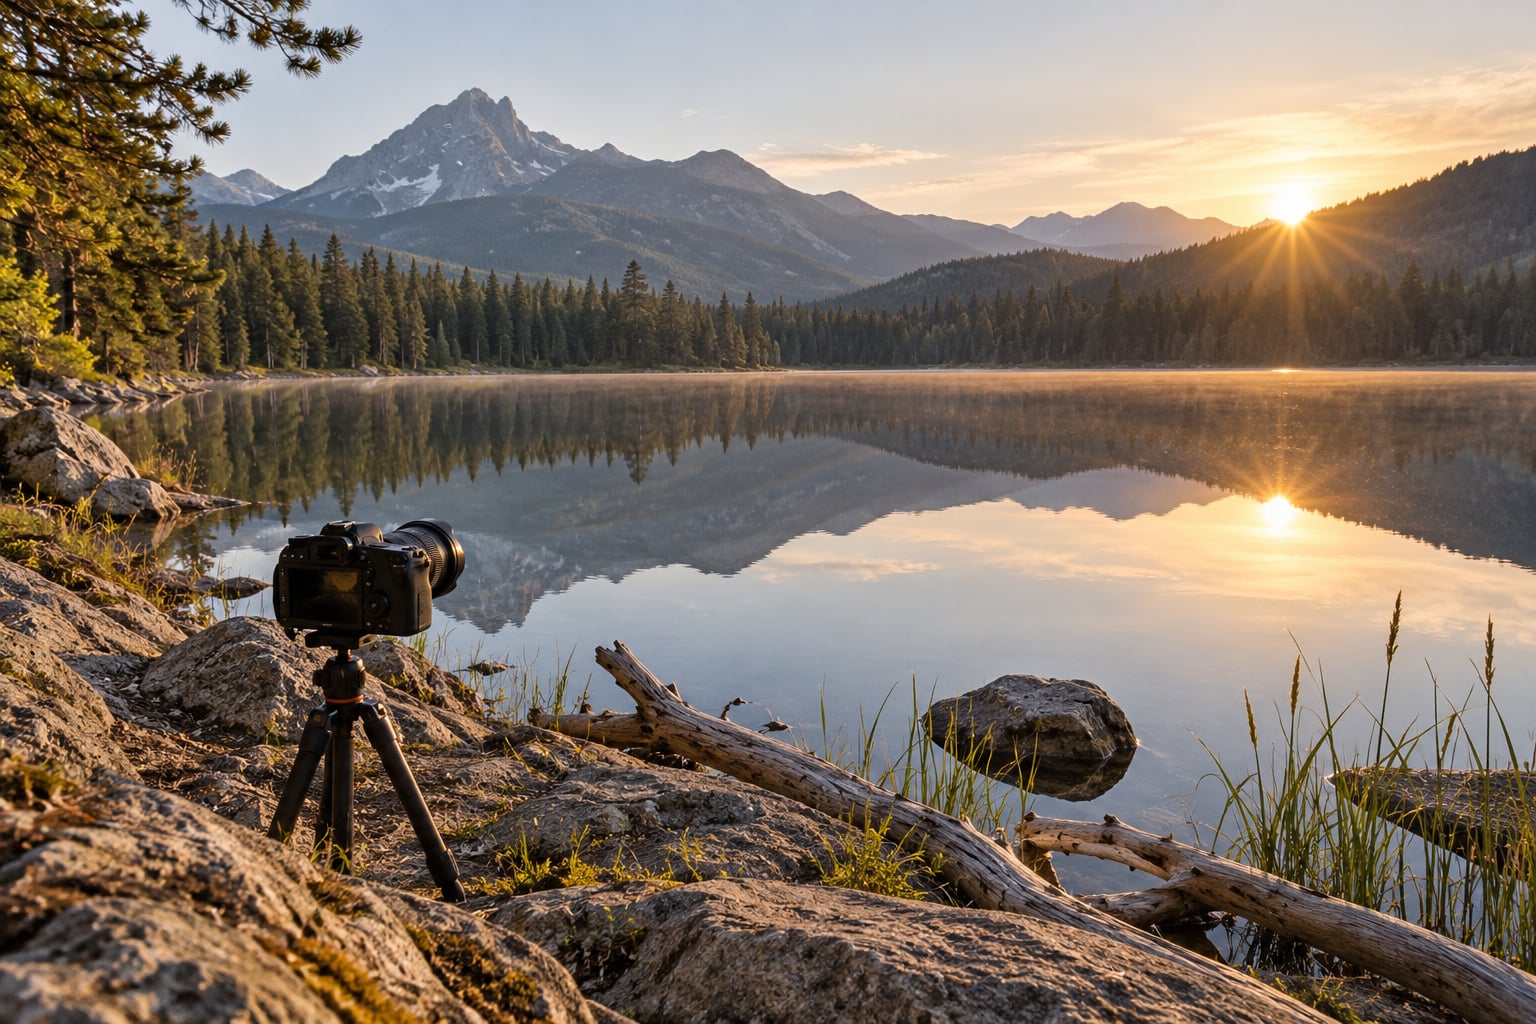
Better lake photos come down to three things: a foreground worth looking at, a water surface calm enough to mirror the scene, and low directional light from shortly after sunrise through golden hour. Get those right and almost any camera, including a phone, produces a shot worth keeping. The eight steps below take about 20 minutes to learn and work whether you shoot on a phone or an interchangeable-lens camera.
Here is the honest version first. Most disappointing lake photos were not ruined by bad gear. They were shot from standing height with an empty near half, on a windy afternoon, with a horizon tilted a degree or two. None of that is expensive to fix.
Table of Contents
- What You Need
- Step-by-Step: How to Take Better Photos at a Lake
- 1. Plan Around the Light for Better Lake Shots
- 2. Choose a Clear Point of View
- 3. Use the Foreground for Depth
- 4. Control Water, Wind, and Movement
- 5. Expose for the Lake
- Camera settings cheat sheet for lake photography
- 6. Compose Wide Views and Action Shots Separately
- 7. Keep People and Wildlife Natural
- 8. Edit for Consistency and Mood
- Common Lake Photo Mistakes and How to Fix Them
- Frequently Asked Questions
- Do I really need a tripod to photograph a lake?
- How do I get mirror-like reflections when the water is choppy?
- Should I use a polarizing filter for a lake?
- What are the best camera settings for golden hour lake photography?
- How do I keep the horizon straight in a photo?
- Can a phone take good lake photos as well as a camera?
- Conclusion
What You Need
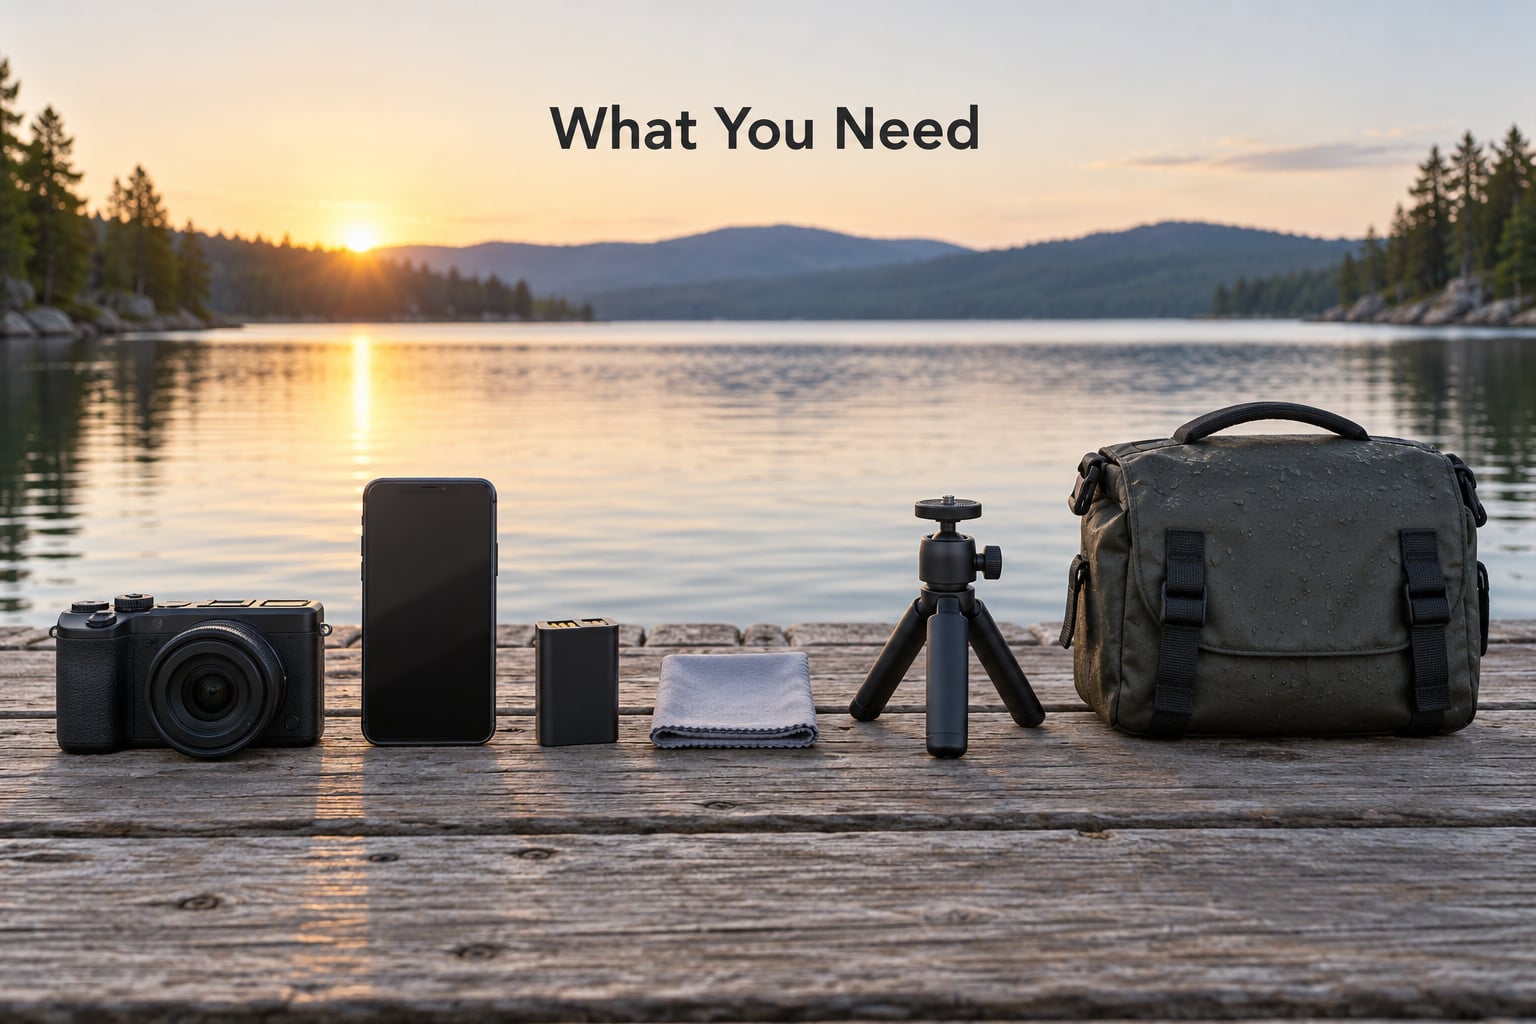
Start with what you already own. A phone with a good main camera genuinely handles most of what follows if you keep it steady and clean the lens. Everything else on this list is optional, and the order roughly matches how much it buys you.
Phone only
- The phone itself, plus whatever low-cost grip or mini tripod keeps it from wobbling. A pocket tripod or a flat rock works fine for dawn reflection shots.
- A microfiber cloth. Lake spray and fishing-line dust haze a lens faster than most people expect.
- Headphones are optional but a cold dawn is long if nobody else is awake with you.
Camera kit
- A weather-sealed body with a wide-angle lens for the big views, and a short telephoto if you own one. The telephoto is the tool most people leave in the bag, and it is the one that isolates a lone dock or a far treeline from a busy lake.
- A tripod with a ball head, plus a remote release or the camera’s two-second self-timer. Any shutter speed below about 1/60 second wants one.
- A lens hood. It blocks flare from off-axis sun and cuts the cost of a dirty front element.
- A circular polarizing filter for glare off the water and a deeper sky, and a neutral density filter if you plan to shoot long exposures that smooth chop. Note the trade-off: a polarizer also cuts the reflection you may have driven out for, so shoot both ways.
Comfort and protection
- Spare batteries, kept in a jacket pocket in cold weather. Cold drains them faster than the camera drain.
- Something to kneel on. A folded towel or a plastic bag beats mud on your jeans and beats crouching badly.
- A rain cover or a large zip bag, plus a lens cap you can drop on fast when rain starts.
- Enough storage to shoot freely. Nothing slows a dawn session down more than checking the card at the one moment the light turned.
Leave the second and third tripod at home unless you know you need them. Fumbling with gear while the good light is happening is the most common way people miss the shot they came for.
Step-by-Step: How to Take Better Photos at a Lake
The process runs in order because each step makes the next one easier. Light and water come before framing, framing comes before exposure, and editing comes after all of it. Each step works with a phone; where a phone cannot do something, the difference is stated plainly.
1. Plan Around the Light for Better Lake Shots
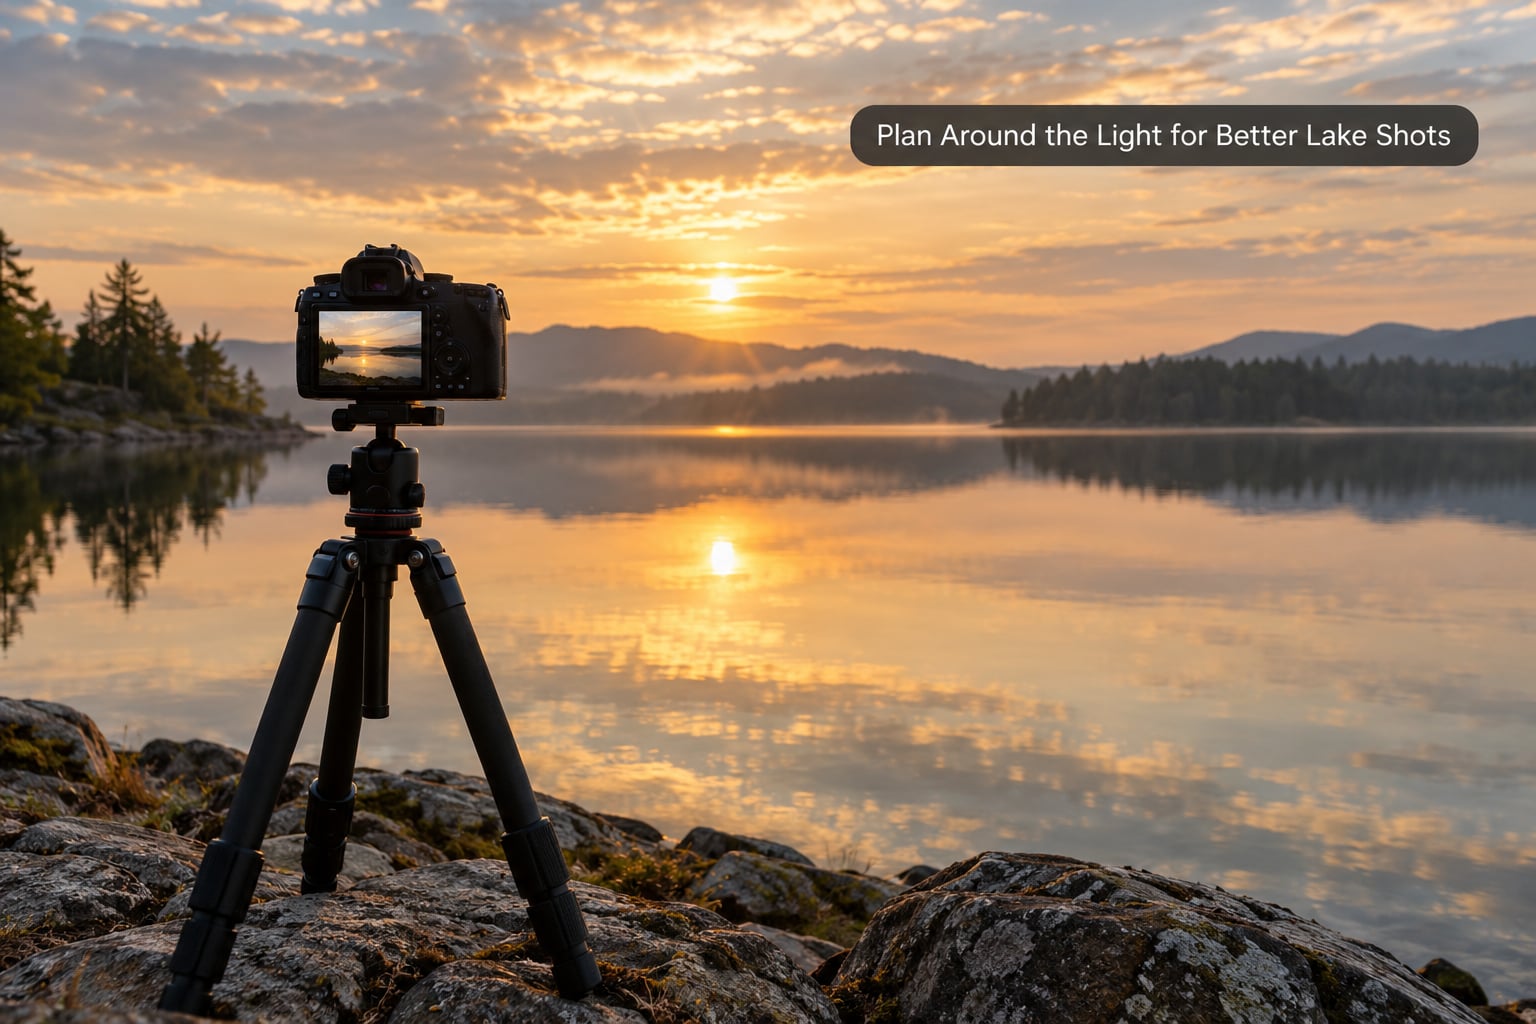
Check the sunrise and sunset times for the day, then look at cloud cover and wind. That forecast drives everything else: flat clear skies give you a clean but hard light, broken cloud gives you color and long soft shadows, and low wind gives you the reflections.
Then figure out which direction the sun will be. Side light, where the sun is roughly 45 degrees to one side of your subject, shows texture in rock and ripple. Back light, shooting into the sun, gives you silhouettes, glow on the water and rim-lit spray, and it costs you sky detail unless you bracket. Front light flattens things, so use it only when the sky is doing the work.
Arrive 30 to 45 minutes before the light you want. The dpreview landscape photography thread makes the point well: the scenery can change from minute to minute, and you cannot chase that from a parking lot. A photographer in the same discussion put it bluntly, get lots of sleep, eat properly, and make sure your eyes work, because if you are tired you will not get up or notice the light.
2. Choose a Clear Point of View
Walk the shoreline before you lift the camera. Look for spots where the near bank gives you something to stand on that is not a tangle of branches, where the background has a single clean subject instead of six competing ones, and where you can stand without backing toward water.
Dock edges, boat launches, short trails, and low overlooks all give different options. Move a few paces left or right of the obvious spot more often than you expect, because a small sideways move removes a branch from behind your subject or lines the far shore up more cleanly.
Changing your viewing angle also changes the water itself. Looking down from a hill, the surface reads textured. Crouching near the waterline, the same surface reads reflective. That difference is free, and it is the single fastest way to make the same lake look like a different place.
3. Use the Foreground for Depth
The most repeated critique on lake photos is featureless foreground, where the bottom half of the frame is empty water or bare sand. In one beginner critique thread, a commenter picked out a shot for having a good deal of featureless foreground, and that is a common note.
Fix it by putting something in the near third. Wet rocks, dock planks, overhanging branches, reeds, leaves, a colourful buoy, a pine cone, an anchor chain. Get low and let one of those elements sit close to the lens, slightly out of focus, leading into the frame.
Keep it sparse. One strong foreground shape beats five competing ones. And watch the bottom corners, since that is where stray bits of grass and gravel sneak in.
4. Control Water, Wind, and Movement
Calm water is the whole game for reflections, so engineer it instead of hoping for it. Shoot downwind, so the wind pushes surface ripples away from your position. Pick a sheltered cove, a bay behind an island, or a shoreline sheltered by trees. Check the hourly wind forecast and aim for the calmest window, which is usually the smallest hours before dawn and again after the evening wind dies down.
Once you are there, get the camera as low as the water as possible without wetting it. Lower viewpoint means the far shore compresses and the reflection takes up more of the frame. When the legs go into shallow water, waves can shift them mid-frame and cause shake, so plant the feet firmly on sand or rock and hang your bag from the centre column to add weight.
For movement, decide whether you want it sharp or smooth. A one-second exposure with a neutral density filter turns chop into a soft blur and small ripples into mist. A shutter speed around 1/500 second freezes a paddler, a loon or a splash. On a phone, use the burst mode for anything that moves and hold the phone against something solid.
5. Expose for the Lake
Lakes are high contrast. Bright sky, dark treeline, and water that tricks the meter into underexposing the whole scene. Turn on the highlight warning or check the histogram and make sure the sky is not clipping, then lift the shadows in the edit or bracket on the spot.
Exposure compensation of about minus two-thirds of a stop usually recovers the sky without wrecking the water, and it is the setting beginners skip most. Shoot RAW so you can pull detail back from both ends later. If you shoot JPEG, bracket three frames at different exposures and merge them, which is the simple version of HDR.
The reason your eye sees more than the camera is that your brain stitches a bright sky and a dark shore together automatically. Your camera cannot. Bracketing, a graduated filter, or simply accepting a silhouette gives you the choice back.
Camera settings cheat sheet for lake photography
These are starting points, not rules. Change one variable at a time and watch what happens on the back screen.
| Goal | Aperture | Shutter | ISO | Filter | Tripod |
|---|---|---|---|---|---|
| Mirror-like reflection at dawn | f/8 to f/11 | 1/4 to 2 sec | 100 to 400 | None, or polarizer rotated off for reflection | Yes |
| Silky water and soft mist | f/11 to f/16 | 5 to 30 sec | 100 | 3-stop or 6-stop ND | Yes |
| Freezing birds, swimmers, paddles | f/5.6 to f/8 | 1/500 to 1/1000 sec | 400 to 1600 | None | Optional |
| Backlit sunset over water | f/8 to f/11 | 1/125 to 1/500 sec | 100 to 400 | Hood, no polarizer | Recommended |
| Star trails over the lake | f/2.8 to f/4 | Bulb, 15 to 60 min | 800 to 1600 | 10-stop ND | Required |
| Bright midday sun | f/8 to f/11 | 1/1000 sec | 100 | Polarizer for glare | No |
For a first dawn reflection shot, start at f/8, 1 second, ISO 100, RAW, tripod, two-second timer, and no filter. Then make three variations and pick the one where the trees line up best.
6. Compose Wide Views and Action Shots Separately
A wide frame, a vertical shoreline shot and a tight detail shot are three different photographs. Trying to get all three from one position is why frames feel busy.
For the wide view, put the horizon on a third rather than the middle, and check that it is level. When the sky is the subject, give it about two-thirds of the frame. When the reflection is the subject, centre it and let the symmetry do the work. Off-centre feels energetic, centred feels calm, so pick based on the mood you want rather than by rule.
Then move. Walk closer for a detail of a dock cleat with the water behind it. Turn the camera vertical and shoot up the shoreline with the trees as a frame. Use a longer focal length to squeeze the far shore and separate layers. One viewpoint rarely serves all of it.
7. Keep People and Wildlife Natural
Posed group shots at the lake look posed because people are standing in rows and squinting. Keep a comfortable distance from wildlife, never feed birds to get closer, and stay off nesting areas in spring.
For people, photograph during the activity rather than before or after it. A frame with someone paddling, casting or carrying a cooler is alive in a way a line of smiling faces is not. Get the camera to eye level and step back a bit so people do not feel crowded. Then give one short prompt, something like turn towards the light, and let them go back to what they were doing.
For birds and mammals on the water, use a long lens, shoot from a low and quiet position, and be patient. The first good frame often arrives thirty seconds after you decide the bird has gone.
8. Edit for Consistency and Mood
Start with the keepers, not the whole folder. Keep the frames where the horizon is level, the focus is on the subject and the gesture or ripple is right, then discard the rest quickly.
For each keeper, recover highlights first, then lift shadows, then set white balance so the water reads as the colour it really was. Add moderate contrast and a touch of dehaze if mist looked flat. Crop out the stray branch and straighten if needed.
Then apply the same adjustments across the set so the whole trip looks like one afternoon. If the saturation turns electric blue, you have gone too far, and viewers notice before they can say why.
Common Lake Photo Mistakes and How to Fix Them
These are the defects that come up again and again in critique threads. Each one has a fix you can apply in the field.
| Mistake | Why it looks bad | Fix |
|---|---|---|
| Tilted horizon | The eye reads it as an accident and loses confidence in the whole frame | Turn on the camera level, or align the frame in a live view screen; correct the last degree in edit |
| Featureless foreground | The bottom half has nothing to look at and the shot feels empty | Get low and put one rock, plank, branch or plant in the near third |
| Blown-out sky above dark trees | Detail is gone in the sky and shadows go black | Check highlight warnings, pull exposure compensation down, or bracket three frames and merge |
| No focal point | The frame is a view with nothing holding it together | Put a subject on a third: a boat, dock, bird, person or the brightest reflection |
| Dirty or fogged lens | Everything looks soft and milky, and you blame the settings | Wipe the front element with a microfiber cloth before every session and again between shots |
| Shooting in harsh midday light | Short shadows and hard contrast flatten the scene | Wait, work in shade, or come back at golden hour and shoot the same spot |
| Tripod shifting in shallow water | Waves move the legs and shake the frame mid-exposure | Plant the feet on sand or rock, keep legs out of moving water, hang your bag from the centre column |
| Digital zoom or heavy cropping | Detail never existed and the result looks soft at print size | Walk closer, or use the 2x or 3x lens on your phone instead of zooming in software |
Two more worth naming. Arriving after the light has gone is the most common beginner frustration, and the only fix is planning your arrival time backwards from the light rather than forwards from breakfast. And cleaning the lens on the way in, not after the first disappointing frame, saves the whole session more often than any setting does.
Frequently Asked Questions
Do I really need a tripod to photograph a lake?
For dawn reflections and any shutter speed below about 1/60 second, yes. A tripod plus a two-second timer or remote release is what turns a soft, slightly shaky frame into a crisp mirror shot. For wide views in bright light you can shoot handheld at 1/500 second and skip it. On a phone, a pocket tripod or a flat rock does the same job.
How do I get mirror-like reflections when the water is choppy?
Shoot downwind, choose a sheltered cove or a shoreline behind trees, and pick the calmest window in the hourly wind forecast, usually before dawn. Move the viewpoint lower, close to water level, since a lower angle reflects more. If ripples remain, a one-second exposure softens them and an ND filter lets you reach five to thirty seconds, which turns moving water into mist.
Should I use a polarizing filter for a lake?
Use it for glare off the surface, wet rocks and a deeper blue sky, and rotate it to find the best angle. Know the trade-off first: a polarizer cuts surface glare but also reduces the reflection you may have driven out for. Shoot one frame with it and one without, compare them, and keep the one you prefer. It only works in daylight, not at night or blue hour.
What are the best camera settings for golden hour lake photography?
Start at f/8 to f/11 with a shutter speed around 1/125 to 1/250 second and ISO 100 to 400, on a tripod. Shoot RAW, keep the highlight warning on, and pull exposure compensation down by about two-thirds of a stop when you are shooting into the sun. If the sky is still clipping, bracket three frames a stop apart and merge them in edit.
How do I keep the horizon straight in a photo?
Turn on your camera level or the grid lines in live view and align the frame before you shoot, rather than correcting afterwards. On a phone, level the device against a level boat rail, a dock edge or the horizon in live view. A degree or two is easy to miss on a small screen, so check the sides of the horizon separately, near the frame edges.
Can a phone take good lake photos as well as a camera?
Yes, for most lake work. Tap the horizon area to focus, then pull the exposure slider down to hold the sky, clean the lens, and use the 2x or 3x lens instead of digital zoom. Night mode and ProRAW or the highest-resolution mode help in low light, and a tripod or stable surface makes long exposures possible. The limits are raw light, not the camera body.
Conclusion
Begin with the light, then the water, then the frame. Arrive early, look for calm water and a foreground worth photographing, keep the horizon level, and protect the sky while you do it. Then take several variations of the same view and edit only the keeper.
If you change one thing on your next visit, make it the first one: get low and give the foreground something to do. It costs nothing, works with whatever you already own, and fixes the critique that lake photos get most often.