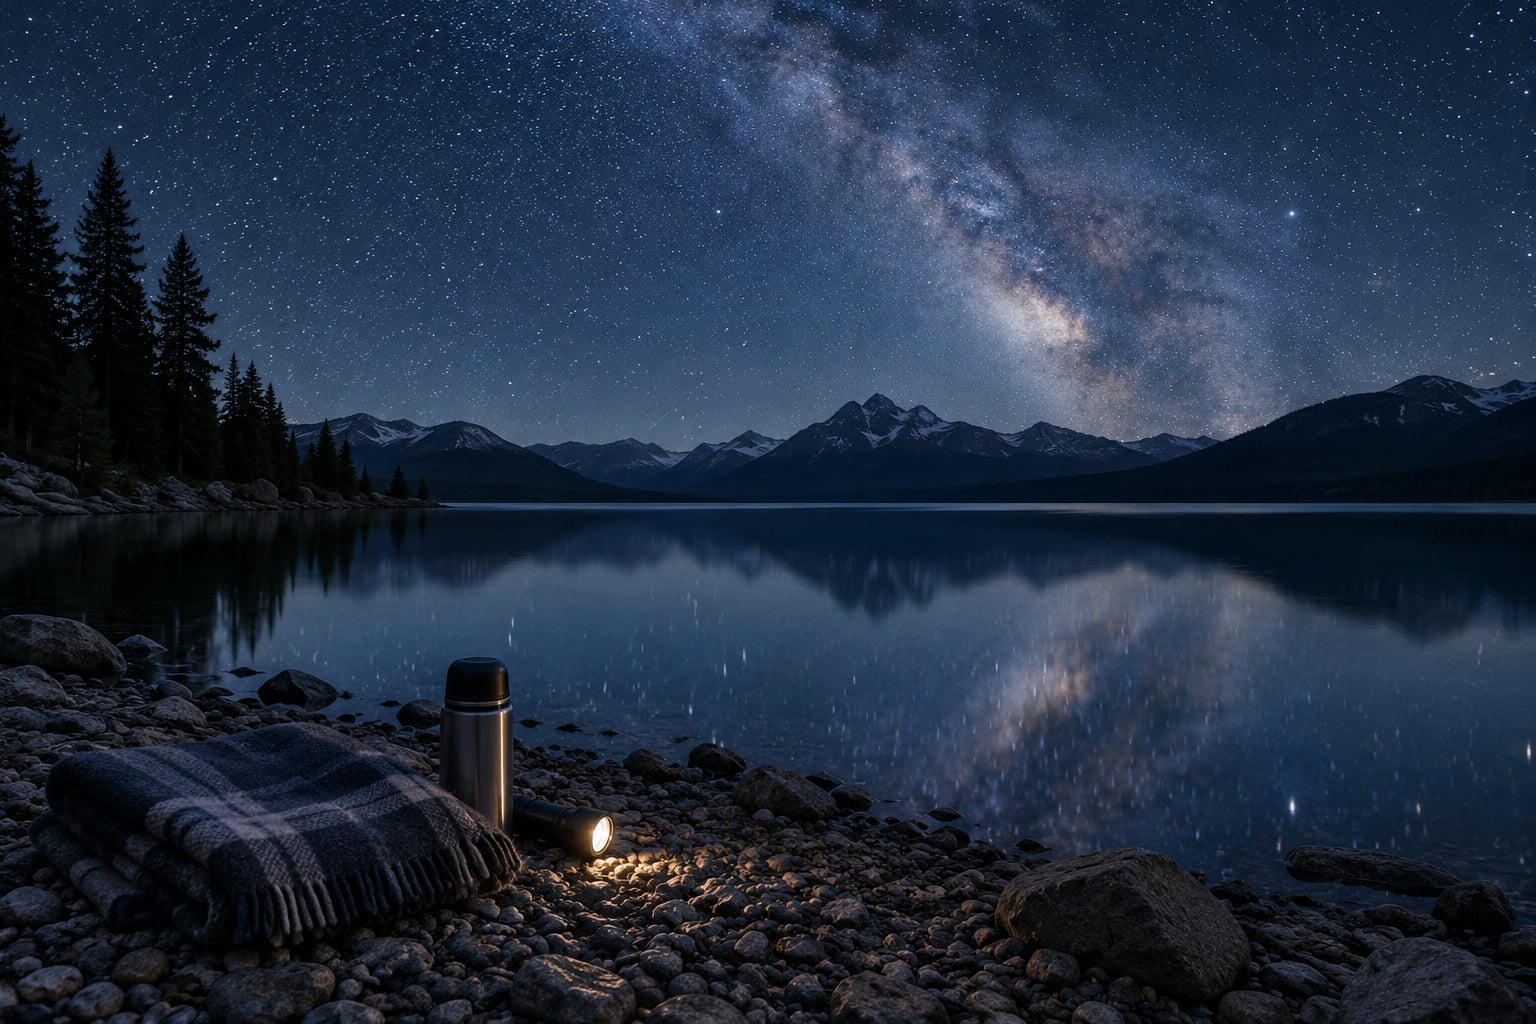
To stargaze at a lake without gear, you need three things: a dark stretch of shoreline away from streetlights, about 20 minutes of uninterrupted darkness for your eyes to adjust, and the patience to look rather than fiddle. No telescope, no binoculars, no camera. That is genuinely the whole list.
The lake is a good place to do this. Water gives you an unbroken horizon on every side, and a still surface doubles the star field underneath you for free. Beginners often report that the same dark sky looks twice as impressive from a boat or a quiet bank because there is nothing in the way and no building lights bouncing back at you.
What follows is the process I would give anyone: seven stages, in order, that take about an hour from parking to packing up. The whole thing costs nothing beyond the drive and a flask of something warm.
Table of Contents
- What You Need
- Step-by-Step: How to Stargaze at a Lake Without Gear
- 1. Choose a clear, moonless night
- 2. Find a dark, safe spot along the lake
- 3. Arrive before sunset and get settled
- 4. Let your eyes adjust to the darkness
- 5. Start with the brightest objects when you stargaze at a lake without gear
- 6. Use the sky to tell your direction
- 7. Watch for movement and make your own star map
- Common Mistakes and What to Do Instead
- Tips for a Comfortable First Night
- Frequently Asked Questions
- Do I need binoculars or a telescope to stargaze at a lake?
- How long does it take for my eyes to adjust to the dark?
- What is the best time of year to see the Milky Way from a lake?
- How can I find a safe dark-sky spot without going far from home?
- Can children stargaze at a lake without any astronomy equipment?
- Conclusion
What You Need
Nothing here is astronomy equipment, and that is the point. Everything on this list is about comfort, footing and getting home safely, because a cold wet back after ninety minutes ruins a good night faster than any missing instrument.
- Layers. Air off a lake moves fast and feels colder than the forecast suggests. A fleece over a shirt, plus a windproof outer layer, covers most autumn and spring nights.
- Something to sit or lie on. A folding blanket, a camp chair, or even a folded jacket on dry grass. Without it you will end up standing, and standing is the worst position for looking up.
- Water and a snack. You will be still for an hour. Most people are hungrier and thirstier than they expect after twenty minutes of sitting still in cold air.
- Insect repellent. Mosquitoes find lakeside air and still water. Repellent applied before you leave beats swatting halfway through a meteor shower.
- One dim light you can cover. A small torch with a red mode, or a normal flashlight you can cup in your palm. It lets you check the time and find your footing without ruining your night vision.
- A charged phone in your pocket. For navigation and emergencies, not for looking at. Put it on airplane mode or leave it in the car.
- A rough plan shared with someone. Tell a person which lake, which access point, and roughly when you will be back. Ten seconds of typing removes an enormous amount of risk.
A free sky map on your phone is genuinely useful, but it is optional and it is not part of the method. Set it up before sunset, learn to point the phone at the sky without turning its brightness up, then leave it alone.
Step-by-Step: How to Stargaze at a Lake Without Gear
Seven stages, roughly an hour end to end. The order matters: darkness before night vision before looking. Most disappointing nights come from breaking that sequence, not from the sky.
1. Choose a clear, moonless night
Pick a night with a thin or absent moon and no cloud cover, then start at the end of astronomical twilight, roughly 60 to 90 minutes after sunset. Cloud is the harder limit: a hazy night hides everything faint regardless of how dark the ground is, and you cannot see through it.
The moon matters just as much. A bright moon washes out the Milky Way and all but the brightest stars, so a full-moon night is genuinely wasted for this. The exception is early in the night or late in the night, when you can time your visit around the moon being below the horizon.
Your work here is a 15-second check: cloud forecast, moon phase, and moonrise time. If you have never done it before, the first and last quarter moon nights are forgiving, and a couple of nights either side of a new moon are as dark as a casual observer will ever get.
2. Find a dark, safe spot along the lake
How to stargaze at a lake without gear comes down to one decision: which patch of shoreline has the least light hitting it. Walk a short distance past the boat ramp, past the last parking-lot lamp, and past any homes whose windows face the water. Light pollution is the thing most likely to ruin your night, and it is the one thing you can fix before you arrive.
Look at the whole bowl of sky, not just overhead. A single light on a far shoreline can spoil a great patch, and the glow from a town reflects off clouds and off the water surface, so it reads much stronger than the map suggests. Face your back to the brightest light source wherever that is, and turn in a slow circle to find the darkest direction.
On footing, pick flat, firm ground. Rocks, wet boards and drop-offs are hard to judge in the dark, and a sloping bank makes lying on a blanket uncomfortable. Stay well clear of an exposed dock edge with no railing, and if you are going out on a small boat, wear a life jacket and keep your light off the water so you are not blinding anyone else on the shore.
3. Arrive before sunset and get settled
Get there in daylight. Once it is fully dark, choosing a spot turns into an awkward walk over unfamiliar ground, and you want to see the slope, the footing and the path back to the vehicle before the light goes.
Spend the last of the daylight finding your spot, spreading the blanket, and confirming the walk back to the car. Check that the park gate or lot will still be open when you leave, which is the single most common reason an evening turns into a bad one. If you do have cell service, confirm it now; after dark it often reads as zero simply because nobody is calling.
Then put the phone away. Genuinely away, not face-down on the blanket where you will keep turning it over.
4. Let your eyes adjust to the darkness
Your eyes need roughly 20 minutes in true darkness to fully adjust, and up to 30 if you came out of a bright house. In that time your pupils widen fully and your vision shifts from colour-sensitive cone cells to the dimmer rod cells that pick up faint light. This is dark adaptation, and it is entirely automatic.
The catch is that it resets instantly. A white phone screen, a headlight, or a normal white flashlight throws all of it away in a second, and you start the 20 minutes again. That single habit is the most common reason a group decides after ten minutes that stargazing does not work.
So use the light discipline for the whole session: phone in airplane mode and inside a pocket or a bag, torch red or cupped, no headlamps turned on near anyone else. Do not look at anything bright, and hold onto the image of where the brightest stars were before you sat down, because that is your map.
5. Start with the brightest objects when you stargaze at a lake without gear
Once your eyes have settled, work from bright to faint, and give each thing a full minute before moving on. Beginners fail by aiming first at the faintest target, seeing nothing, and quitting.
- The Moon. Brightest by a huge margin, and it sets the tone for the night. A few days before full, the terminator line, the boundary between lit and unlit surface, throws the craters into relief instead of flattening them under full glare.
- Bright planets. Steady, colour-bright points that do not twinkle much. Venus is the easiest of all and is often visible near the horizon shortly after sunset or before sunrise.
- Star clusters. The Pleiades look like a tiny dipper of stars once your eyes adapt, and they hold up even from a sky with moderate light pollution.
- The Milky Way. Visible as a pale mottled band overhead from a genuinely dark lake. If you cannot find it in the first ten minutes, check the other two causes: a moon that has since risen, and light on the horizon.
- The International Space Station. The one moving object that is not a plane. It crosses the sky steadily and does not blink, and a free pass predictor will tell you whether it is even up tonight.
Meteor showers are the one that rewards patience most. The Perseids in August, the Quadrantids in January and the Geminids in December all put streaks above your head with nothing but your eyes, provided you are patient and the moon is not washing them out.
6. Use the sky to tell your direction
You can get your bearings with no compass, but only after your eyes have adjusted. Look for two shapes that work as each other’s reference.
The Big Dipper is the easy one: seven bright stars in a ladle shape, and in the northern hemisphere it circles the pole star, which sits more or less above the northern horizon. Cassiopeia is the harder one, a rough W or M on the opposite side of the pole, and the two shapes sit at roughly equal distances around Polaris.
Once you have Polaris, north is below it. The horizon on that side is the direction to face if you want to spot stars that rise later and sit highest in the sky.
Be honest about the limits of this. Both shapes wheel around the pole at different heights depending on your latitude, they are low or absent in much of the southern hemisphere, and their position shifts completely with the season and the hour. Use them to orient yourself on a given night, not as a fixed expectation for every night.
7. Watch for movement and make your own star map
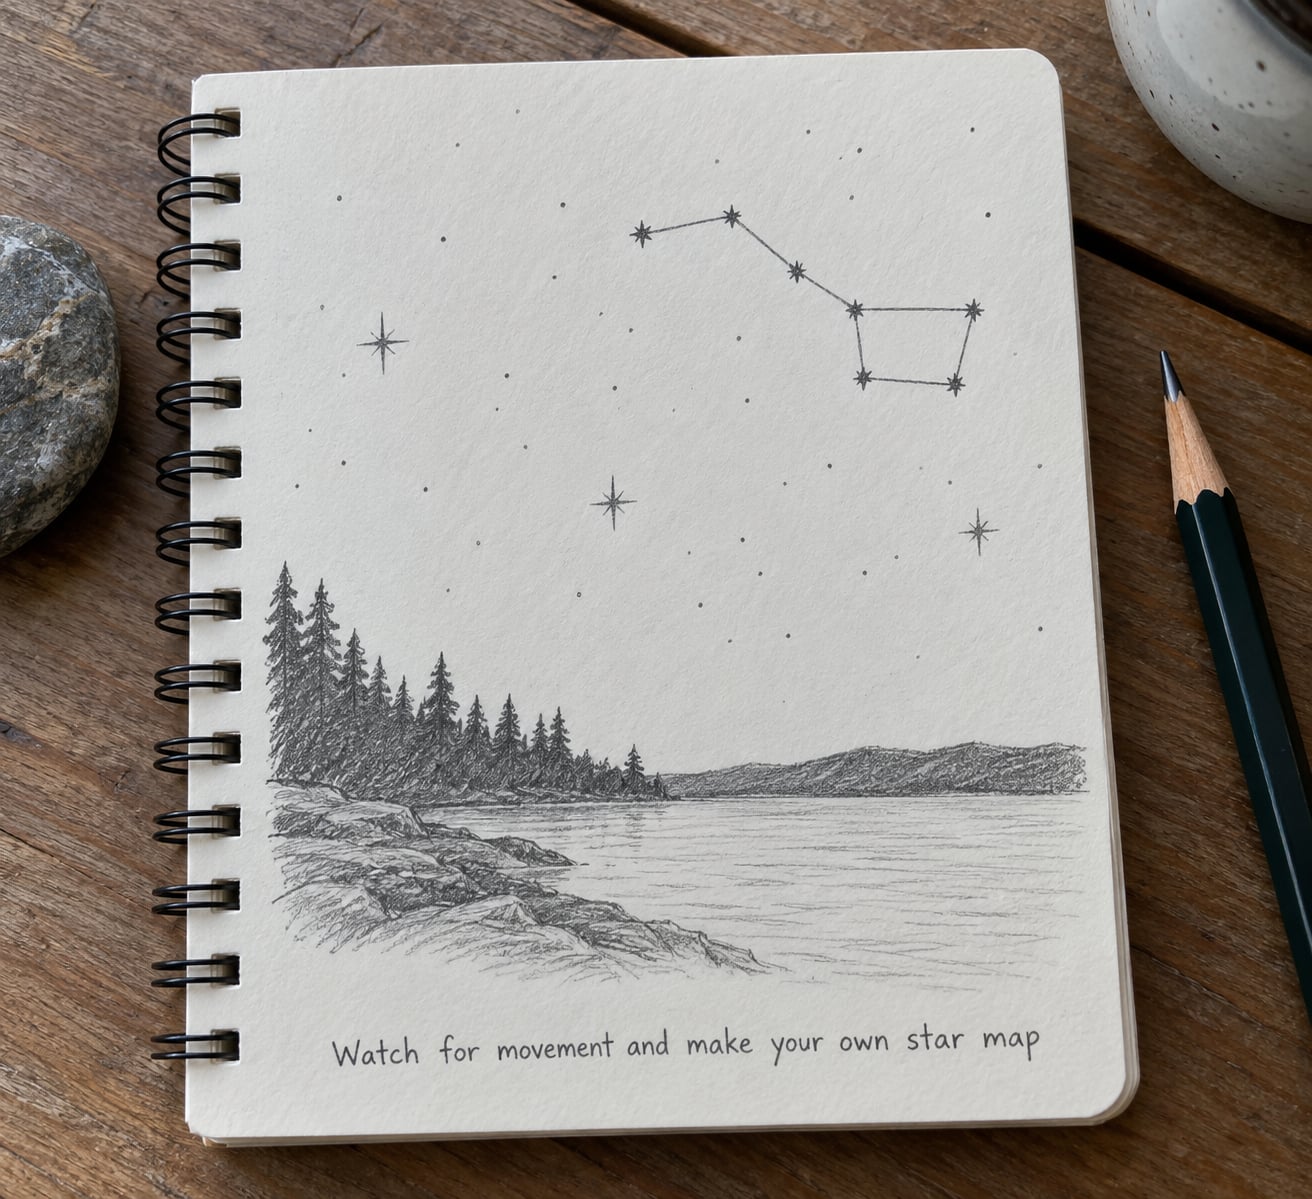
Your eyes are the instrument here, and the most satisfying thing they do is track change. Watch one bright star for five minutes and you will see it sink toward the horizon. Watch a planet for an hour or two against a fixed star pattern and it will clearly slide, which is how you tell planets from stars without learning a single constellation.
Then draw what you saw, badly if necessary. Sketch the shoreline outline, mark the few brightest points you actually recognised, and draw the arc of the Dipper if you found it. Do it from memory, not by peeking, because the memory version is the part that teaches you.
Do the same thing again within a couple of weeks and the second drawing will tell you what moved. That is genuinely the whole of observational astronomy as a beginner: a horizon, a handful of landmarks, and the changes between them. Repeat it a third time in a different season and you will start recognising patterns without trying, which is the moment most people get hooked.
Common Mistakes and What to Do Instead
Arriving beside a light. A parking-lot lamp or a dock light ruins dark adaptation from fifty metres away, and the glow off the water makes it worse. Walk past the last one before you settle.
Looking before your eyes are ready. The first five minutes always look disappointing. This is normal, it is not a cloudy night, and it resolves itself if you wait.
Checking a phone. One screen check costs you the 20 minutes you just spent earning. Set an alarm before you sit down if you need a timer.
Choosing a slick or steep bank. Firm, flat, slightly damp grass beats a beautiful rocky point every time. Rock looks solid and is not, and slope makes lying still uncomfortable.
Expecting a full sky tour. With no optics, you will see the Moon, bright planets, the Pleiades, the Milky Way from a dark site, and the occasional satellite or meteor. You will not see the Andromeda Galaxy as anything but a smudge, and that is a normal limit rather than a failure. Aiming at faint targets first is the classic beginner trap: start bright, get your bearings, let the faint stuff come to you.
Ignoring weather and clothing. A clear forecast matters more than the moon, and cold matters more than the forecast. Check both before you leave the house, not from the car park.
Overthinking direction. You do not need to know your cardinal direction to have a good night. Facing whatever looks darkest and lying back is a perfectly complete method.
Tips for a Comfortable First Night
Bring the family, but set the goal low. Children do not need to identify constellations. Give each one a job: spot the Moon, find the brightest star, count how long the space station takes to cross. Doing nothing but lying there gets boring at around ten minutes old, and a small task buys you another forty.
Deal with insects before you sit down. Repellent on exposed skin, and check the blanket for anything living before you lie back on it. This sounds trivial and it is the difference between a good night and a scratchy one.
Keep moving to a minimum once seated. Your eyes settle while you are still. Shivering, stamping your feet and shifting position all reset the process, so take a spare jacket rather than fighting the cold.
Expect dew. Ground-level moisture soaks a blanket and everything on it within an hour. Bring something cheap for your feet and be ready to leave before the temperature drops far enough for it to be a problem.
Talk quietly. If anyone else is on the shore, conversation and car doors destroy the quiet for everyone. Most lake stargazing etiquette is simply this: low voice, no headlights until you are leaving.
Make it educational for free. A notebook, a pencil and a printed moon phase calendar cost almost nothing and turn the night into something your kids remember. You can learn the same material from any library or free app if you want it written down, but nothing replaces having drawn the sky yourself.
Frequently Asked Questions
Do I need binoculars or a telescope to stargaze at a lake?
No. Almost everything people expect to need a telescope for is visible with your eyes alone from a dark shoreline: the Moon with its craters along the terminator line, the brighter planets, the Pleiades cluster, the Milky Way band from an unlit lake, and meteors during a shower. Optics only add detail to objects you have already found. If you want to try them later, begin with a dark site rather than an expensive instrument.
How long does it take for my eyes to adjust to the dark?
About 20 minutes of uninterrupted darkness, sometimes closer to 30 if you have just come from a brightly lit house. During that time your pupils widen and your vision shifts to low-light rod cells, which is why faint detail keeps appearing. Any white light resets the process instantly, so keep phones off and use a red or covered light for the whole session.
What is the best time of year to see the Milky Way from a lake?
Any time of year, as long as the moon is down and the site is genuinely dark. The core of the Milky Way sits highest in the sky roughly from late spring through early autumn in the northern hemisphere, which makes summer evenings the easiest first attempt. Away from that window you are seeing a fatter, lower portion of the band, which still works. Meteor showers are the exception: Perseids peak in August, Quadrantids in January, Geminids in December.
How can I find a safe dark-sky spot without going far from home?
Check a light pollution map, look for lakes rated Bortle 3 or darker, then visit in daylight and pick a shoreline that faces away from the nearest town and the last parking-lot lamp. Confirm gate hours and night parking rules before you drive out, since many lots close at dusk. Most people see a real difference after a 20 to 30 minute drive from a city centre, and a gravel beach or small lot near a lodge works fine.
Can children stargaze at a lake without any astronomy equipment?
Yes, and children usually need less help than adults expect. Give each child a simple task such as finding the Moon, spotting the brightest star, or counting how long the space station takes to cross the sky. Bring a blanket, warm layers and insect repellent, keep phones away from faces so night vision is preserved, and avoid exposed dock edges and slippery rocks in the dark.
Conclusion
Start here: check the cloud forecast and the moon for a night in the next two weeks, find a lake an evening’s drive away with a dark Bortle 3 or better shoreline, and arrive in daylight so you can choose your spot safely. Settle in, put the phone away, and give your eyes the full 20 to 30 minutes before you judge the sky. That is the whole method, and it is enough.