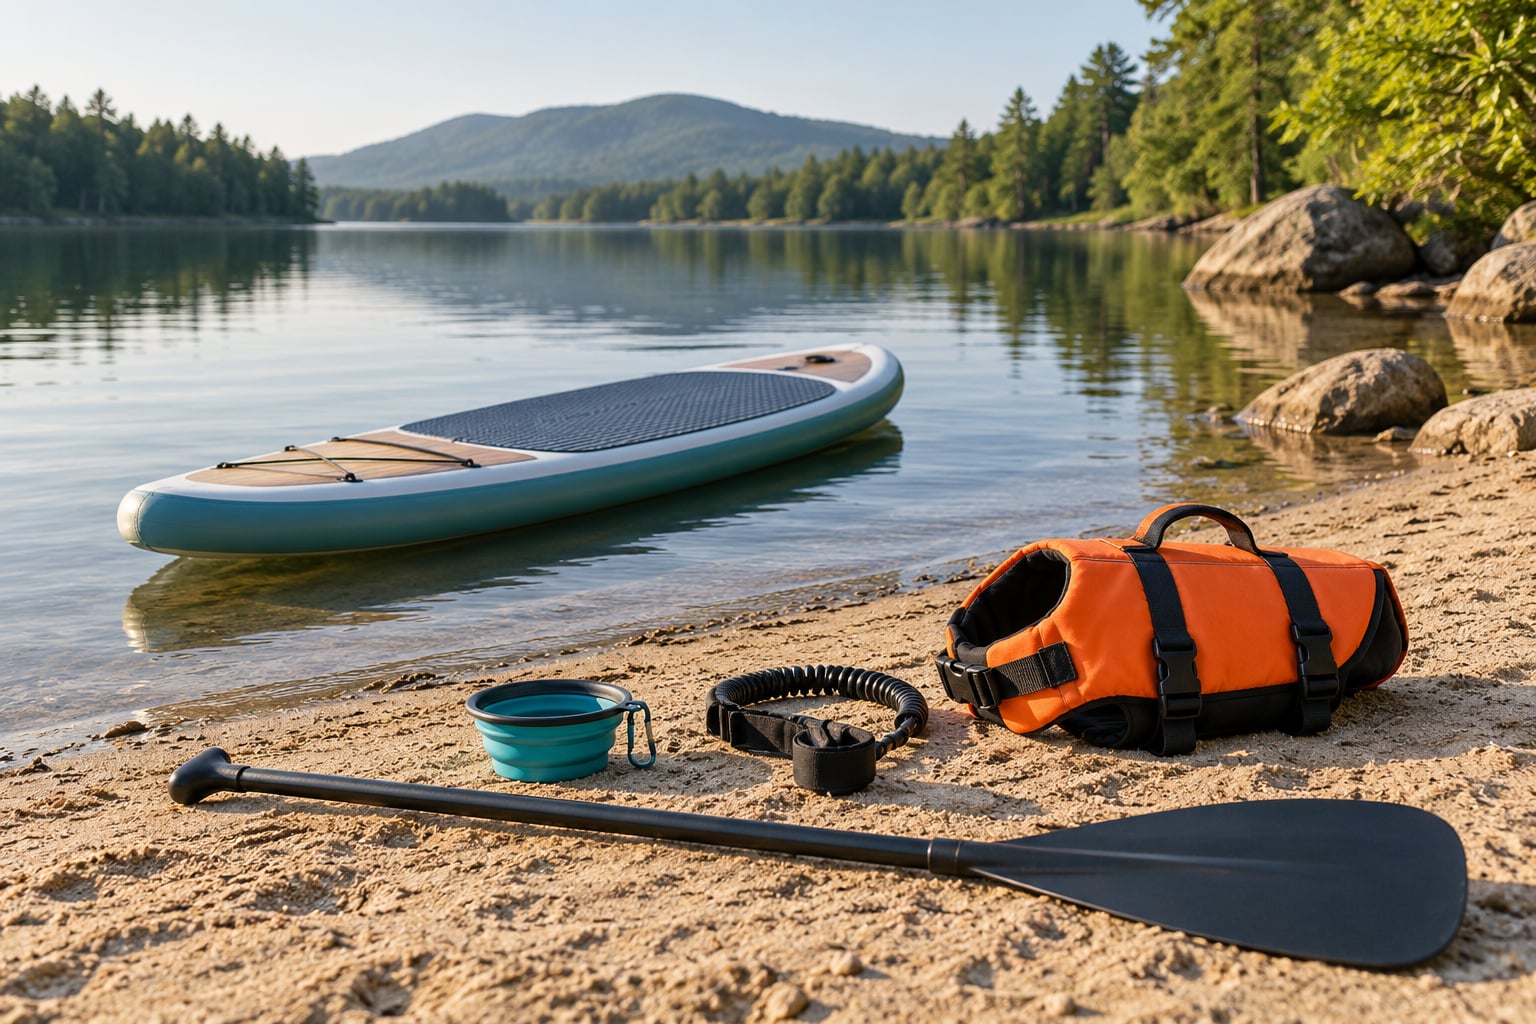
Learning how to paddleboard with a dog comes down to three things: cue your dog onto a board while it lies flat on dry land with treats, pick a wide and stable all-around board, and fit a life jacket with a top grab handle. Start in water so shallow the board still rests on the bottom, and open up the distance only once your dog is relaxed and recalls reliably. This guide was reviewed and updated in October 2026, and it walks the whole progression one step at a time.
The reason this works slowly is simple. The surface moves under your dog’s feet, the board spins when weight shifts, and sun plus wind plus open water wear a dog out far faster than they wear a person out. Pushing too early gets you a dog who is afraid of boards instead of a dog who enjoys them.
Most owners spend two to four weekends on land before the first real paddle, and the dogs who end up loving this are the ones who were never forced onto a floating board while it moved.
Table of Contents
- 1What You Need
- 2The gear checklist for how to paddleboard with a dog
- 3Does dog size or breed matter?
- 4Will your dog’s nails pop an inflatable paddle board?
- 5Step-by-Step: How to Paddleboard with a Dog
- 6Step 1: Check the lake and weather
- 7Step 2: Fit the life jacket and test the handle
- 8Step 3: Practice beside the board
- 9Step 4: Start in shallow, calm water
- 10Step 5: Teach a stable position
- 11Step 6: Paddle slowly and keep control
- 12Step 7: Watch for stress and fatigue
- 13Step 8: Finish with a gradual return
- 14Common Mistakes
- 15Frequently Asked Questions
- 16What size paddle board is best for a dog?
- 17Do I need a life jacket for my dog when paddleboarding?
- 18Should I use a leash when paddleboarding with my dog?
- 19Can my dog swim, but still need a life jacket?
- 20How do I introduce a nervous dog to a paddleboard?
- 21How far should I paddle with my dog from shore?
What You Need
The gear checklist for how to paddleboard with a dog
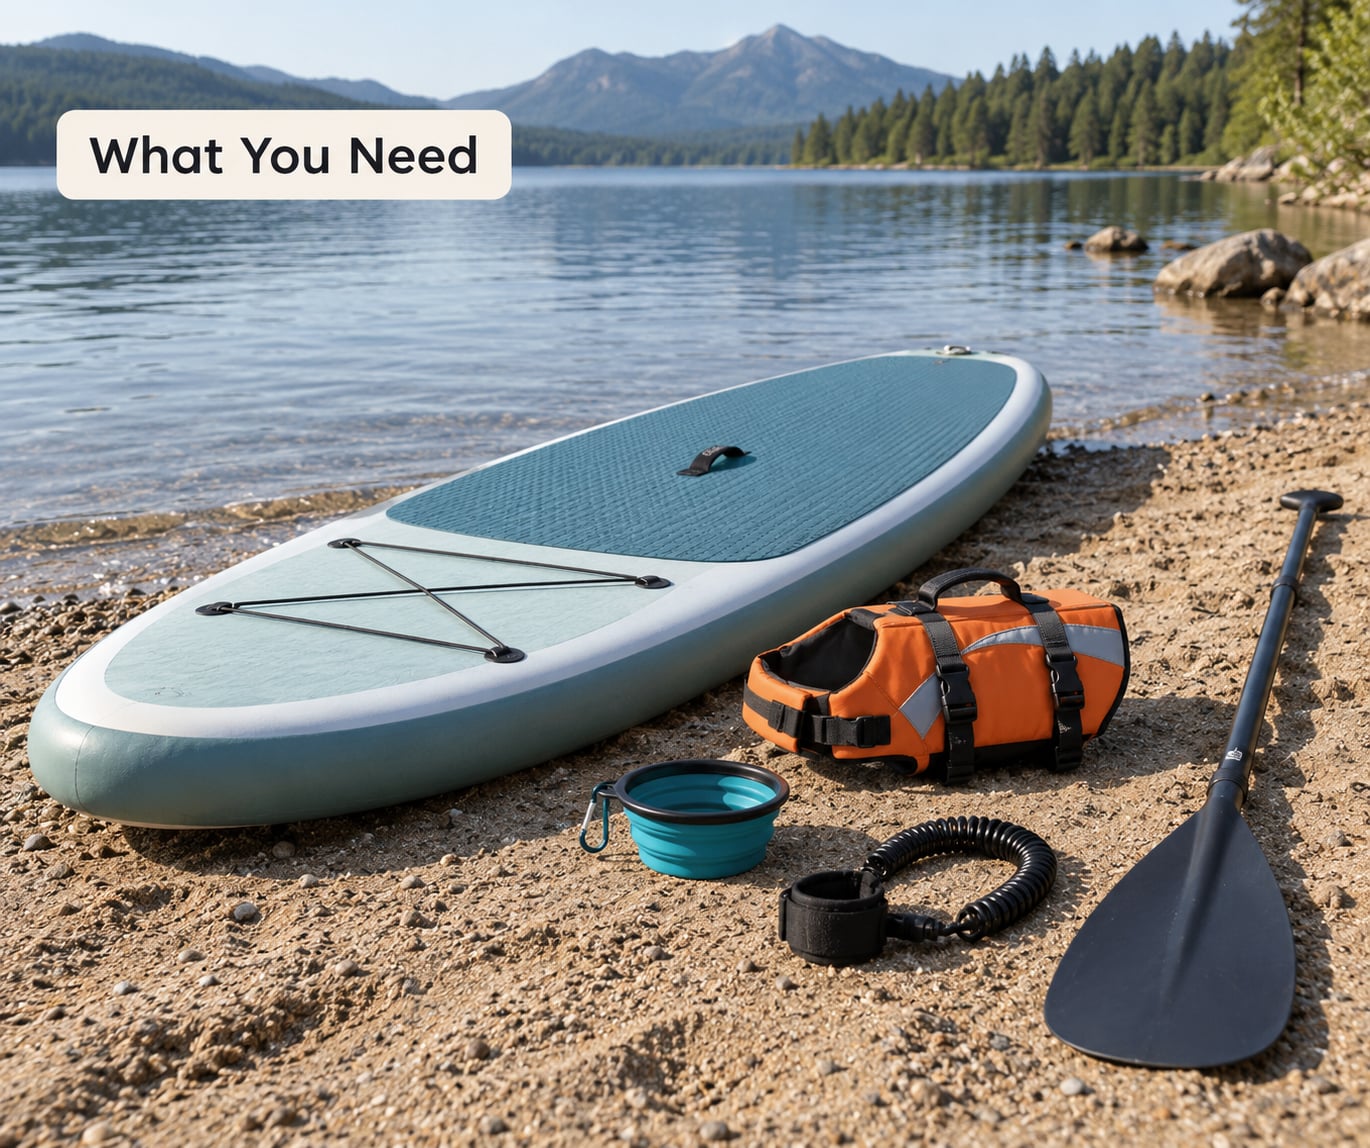
Pack this list the first time out and refine it once you know your dog’s habits. Specific numbers matter more than brand names here, so I’ve written what to look for under each item.
- Stable board — an all-around shape, at least 10 feet long and 32 inches wide, 6 inches thick, with a wide tail, soft rails and a full-length deck pad. Touring boards are narrow and fast, which is the opposite of what you want under a dog’s weight shift.
- Dog life jacket — a canine PFD with a sturdy top grab handle. The handle is how you lift the dog back onto the board or out of the water, so check it takes a full tug before you rely on it.
- Coiled leash — clipped to your own ankle or waist, never to the board or the dog. A straight leash drags in the water; a coiled one stays out of the way. More on that below.
- Fresh water — a collapsible bowl plus a jug, because windless sunny lakes have no shade and dogs overheat fast.
- Treats and a release word — the whole training plan runs on them. Pick one word your dog does not hear anywhere else and use it to end every session at the right moment.
- Dog booties or a board sock — optional, but they cut claw wear on soft boards and stop nails catching the deck pad texture.
- Repair kit — a small patch kit lives in the board bag. If a claw ever does nick a seam, you seal it minutes later instead of hiking home.
- Paddle leash — keeps the paddle from drifting when you are kneeling or sitting to steady the board.
Does dog size or breed matter?
Weight matters more than breed. A 25 lb beagle and a 95 lb shepherd both need the same three core skills — confidence in water, a reliable stay, and a recall — but they shift the board very differently.
Think of it this way: the dog’s weight plus your own body weight should leave real spare capacity in the board. A 30 lb dog and a 70 lb paddler sitting on a board rated for 180 lb gives you very little margin before the deck starts to feel soft and tippy.
As a rough guide, a dog under 30 lb is comfortable on a 10-foot board that is 32 inches wide. Between 30 and 60 lb, push for 34 inches wide and 10’6″ to 11′ long. Above 60 lb, look at the widest all-around board you can carry, or consider a tandem-width board that fits both of you comfortably.
Breed only shapes temperament. Labradors, golden retrievers, retrievers and most water-spaniel breeds tend to settle fast. Short-nosed breeds like pugs and bulldogs overheat quickly and struggle in chop, so their sessions should be shorter and mornings only. Brachycephalic dogs also can’t swim well, which makes the life jacket non-negotiable rather than a nicety.
Will your dog’s nails pop an inflatable paddle board?
Usually no. Inflatable SUPs are drop-stitch construction — hundreds of thousands of internal threads bonded between PVC or TPU skins — and that flexible layered shell handles claws far better than the soft EPS foam core of a hard board. Most punctures come from a sharp rock, a shell edge or a valve, not a paw.
That said, keep the deck pad full length so nails land on traction rather than fabric, rinse off grit after sandy sessions since sand is the real abrasive, and check seams and the valve area for lifting if you see delamination. A cheap repair patch fixes a small nick in minutes. Two habits reduce the odds further: booties for dogs with long nails, and trimming nails a week before a trip.
Step-by-Step: How to Paddleboard with a Dog
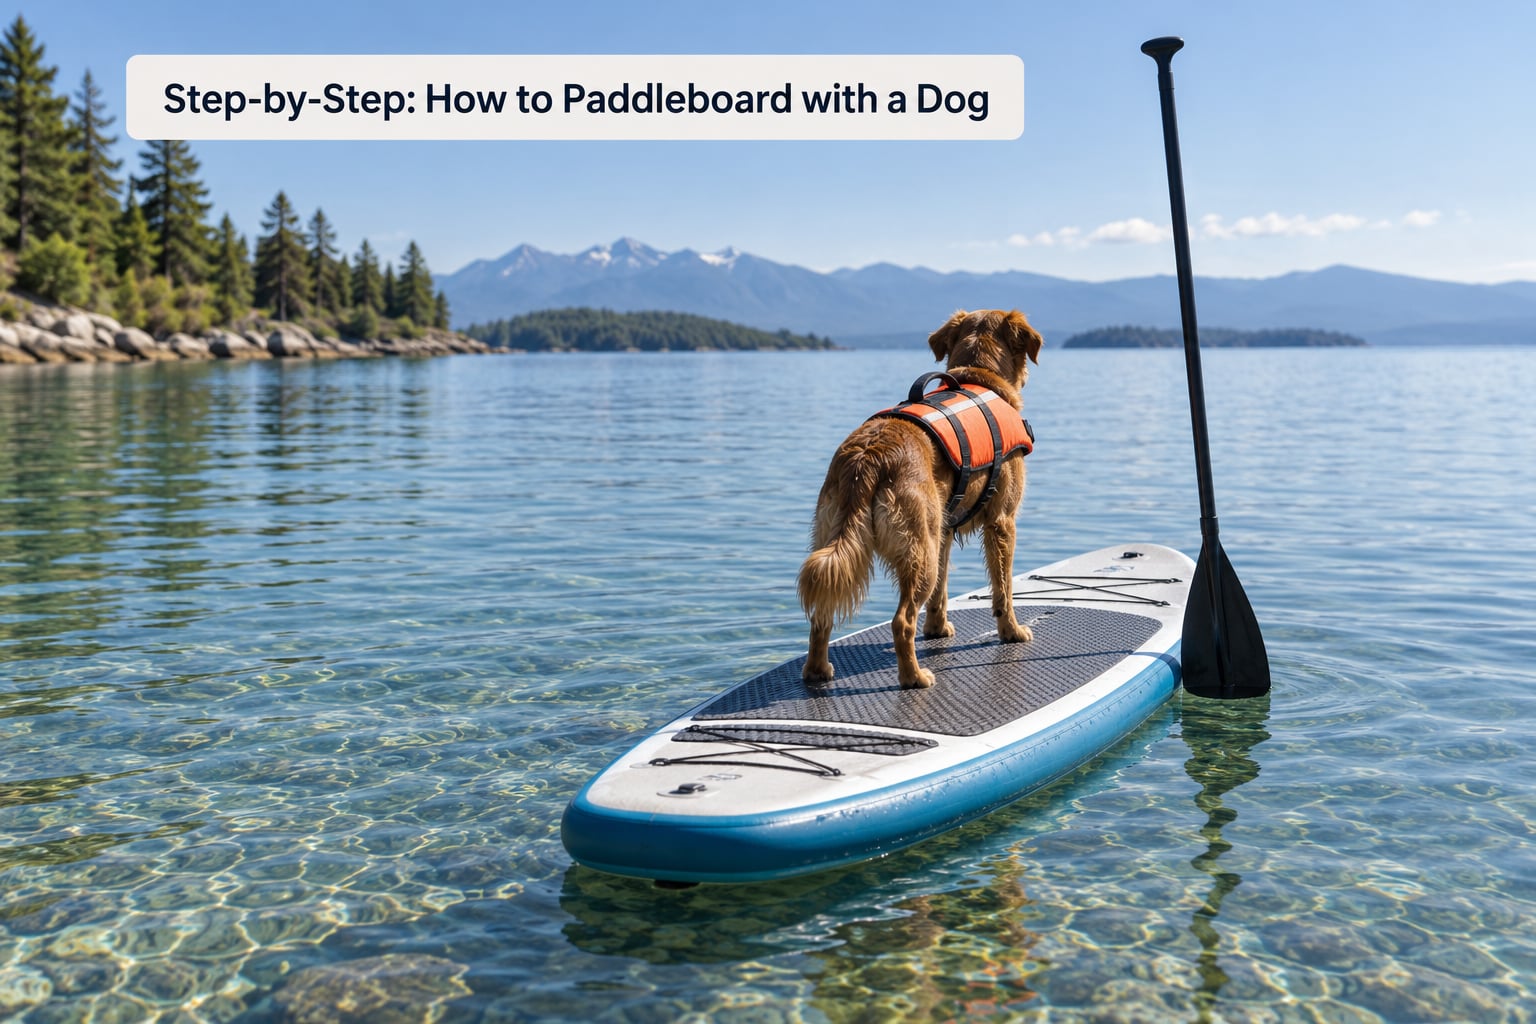
Each step below includes how to tell it worked. Move on only when the check passes — rushing this sequence is the single biggest reason dogs end up disliking boards.
Step 1: Check the lake and weather
Go to the lake and read the conditions before you unload anything. Look at the wind direction and its effect on the open water, note boat traffic patterns and where they pass, check whether the launch has a gentle beach or is a slippery dock, and read any posted rules for the waterway.
Check water temperature too. In cold water, many owners shorten the outing or add a dog wetsuit, because a dog that falls in stays cold far longer than you do.
How to tell it worked: you can name the spot you’ll paddle back to, you know which way the wind is pushing you, and the launch is shallow enough to stand in. If any of that is unclear, pick a different day or a different water.
Step 2: Fit the life jacket and test the handle
Measure the chest girth with a tape and size to the chart rather than by eye. Two fingers should slide between the jacket and the dog’s body, snug enough that it won’t ride up over the head when the dog swims. Straps should sit flat, not cut into the armpits or the throat.
Now the important part: lift the handle. Hold the dog under the belly with both hands and pick the whole dog up using the top handle. The dog should hang without the jacket shifting or the strap digging in.
How to tell it worked: the handle bears the weight, the jacket stays put, and your dog is comfortable wearing it around the house for a full day before it ever touches water.
Step 3: Practice beside the board
Lay the deflated or grounded board flat on dry land, on grass or sand. Lure your dog onto it with treats, ask for a sit, then a down. Keep the session short and end it while your dog is still willing.
Add motion next. Rock the board gently under your dog’s feet, bump it with your hand, slide it a few inches across the grass. You are teaching the dog that movement underfoot is boring rather than alarming.
How to tell it worked: your dog steps onto the board on cue, stays for a short sit or down while it rocks, and steps off when you say your release word. Owners who rush the rocking phase usually see a spinning board a week later.
Step 4: Start in shallow, calm water
This is the mechanic the best advice in this whole topic repeats, and it’s the one brand guides tend to phrase vaguely. Start in water so shallow the board is still touching the ground underneath.
Walk the dog onto the board, reward, then paddle a few inches and back. Over several sessions, let the water deepen by a few inches at a time until the board floats free. Use a helper holding the board steady for the first few minutes if your dog hesitates.
How to tell it worked: your dog stays put while the board floats free for a full minute and still gets on and off on cue. That’s when you move to the next step.
Step 5: Teach a stable position
Pick one position and keep it. Sitting near the front third is easiest to balance and lets your dog see where you’re going; lying down near the center is even lower and calmer for heavy dogs. Whichever you choose, your dog should hold it while you paddle, and you reward the stillness rather than the movement.
Train the two cues separately on land first: a “stay” that means stay put even when the board shifts, and a recall that means come back to the board and climb on. Owners on Reddit who tackle this topic keep repeating the same baseline — a confident swimmer with solid stay and recall, in a life jacket, before any of it starts.
How to tell it worked: your dog shifts to the stay position unprompted when it feels the board start moving, and comes back and climbs aboard when called.
Step 6: Paddle slowly and keep control
Kneel or sit on a wide board when your dog is aboard. A kneeling paddler barely disturbs the deck, which matters more than it sounds. Take short strokes, look at the horizon rather than down at the water, and keep your weight centered.
Steer away from wind and current rather than fighting them, and give boats a wide berth well before you need to. Never stand up with a dog aboard until your dog has been calm on many trips and the board is wide enough for both of you.
How to tell it worked: the board tracks straight, your dog doesn’t brace or scramble, and you finish a ten-minute loop feeling like you had control the whole way.
Step 7: Watch for stress and fatigue
Most dogs are having a much harder time than they look. Watch for heavy panting with no recovery, trembling, frantic scratching at the deck, a lowered head and tail, repeated attempts to jump in, or turning to check on the shore constantly.
Any of those means stop. Return to shore and end the session there, not five minutes later. The 7 7 7 rule people mention for dogs is a general guideline about age, weight in pounds and years active, but on a paddleboard the simpler rule wins: cool, calm and settled means continue, anything else means paddle in.
How to tell it worked: your dog recovers breathing within a minute of slowing down, and still wants to get back on the board afterwards. If not, cut the sessions shorter next time.
Step 8: Finish with a gradual return
Paddle back into the same protected water you launched from, keeping the board parallel to shore as you approach. Say your release word before your dog steps off so leaving becomes a trained behavior rather than a scramble.
Then check the dog over: paws and nails for redness or a torn pad, skin for irritated areas where the jacket rubbed, and behavior for lingering shivering or lethargy. Rinse salt and sand off the board and the dog, reward calm on the beach, and note how long the session lasted.
How to tell it worked: your dog walks off the board, shakes off, and gets on again when invited later the same day. If they don’t, shorten the next outing.
Common Mistakes
Almost every problem I see in launch areas traces back to one of these. Each has a simple fix.
Using a narrow or fast touring board. The same board that’s nimble without a dog feels twitchy with one. Prioritize an all-around shape at least 32 inches wide with a wide tail and soft rails, as general SUP buying guides do recommend when a dog is aboard.
Tethering the dog to the board. This is the most dangerous habit people ask about, and owners in dog-and-SUP forums are rightly not keen on it. A tether can trap a dog under the board, hold a dog underwater, or drag a panicking dog behind you. Keep the leash on your own body instead — clipped to your ankle on flat water — so you can move but never pull the dog under.
Skipping the life jacket. Dogs swim in a dog paddleboard outfit far worse than they swim on land, especially with cold, current or boat traffic. The grab handle is what makes recovery possible, so it needs a test lift before the first paddle.
Launching into wind. Paddle with a light breeze behind you on the way out and into protected water on the way back. Launching straight into an offshore wind strands you further out than you planned.
Forcing a nervous dog. Lifting, shoving or carrying a reluctant dog onto a floating board creates a fear response that takes weeks to undo. Go back to land cues and treat the board as boring.
Paddling too far from shore. Stay close enough that you can paddle back in under two minutes at a comfortable pace. Beginners do not need long trips to have a good one.
Ignoring fatigue and heat. A windless sunny lake with no shade cooks dogs fast. Offer water every ten minutes, keep the first outings under twenty minutes, and stop at the first stress signal even if the dog seems fine.
Two habits make the biggest difference in practice: practicing the fall in shallow water so your dog learns to swim back and gets lifted home by the PFD handle, and keeping sessions short enough that your dog always finishes wanting more.
Frequently Asked Questions
What size paddle board is best for a dog?
Look for an all-around board at least 10 feet long, 32 inches wide and 6 inches thick, with a wide tail, soft rails and a full-length deck pad. Under 30 lb is comfortable on that size. Between 30 and 60 lb, go 34 inches wide and 10’6u0022 to 11′ long. Above 60 lb, pick the widest board you can carry, or a tandem-width model. Add your own body weight to your dog’s and keep real spare capacity.
Do I need a life jacket for my dog when paddleboarding?
Yes. A properly fitted canine life jacket with a top grab handle is the single most important piece of gear, even for a strong swimmer. Dogs tire faster than people, get cold quickly, and can panic in open water. The handle is what lets you lift them back onto the board or recover them from the water. Fit for two fingers of slack, keep the straps flat, and do a full test lift before the first outing.
Should I use a leash when paddleboarding with my dog?
Keep the leash, but clip it to yourself, never to the board or the dog. On flat water a coiled leash on your ankle or waist lets you move freely while your dog stays alongside. Never tether your dog to the board: the line can trap them under it or pull a panicking dog behind you. If your dog doesn’t swim calmly or ignores recall, paddle without a dog until that changes.
Can my dog swim, but still need a life jacket?
A confident swimmer still benefits, because paddleboarding asks more than swimming. Your dog has to hold a position on a moving surface, get tired from staying still rather than swimming, and recover if the board spins. Owners with strong swimmers and solid recall and stay usually have the easiest sessions, and the life jacket stays on the whole time. Treat the PFD as the backup for a bad moment, not as a sign the dog cannot cope.
How do I introduce a nervous dog to a paddleboard?
Start on dry land with the board flat and treat every step onto it heavily. Build a sit and a stay on the deck, then rock the board gently so movement underfoot becomes boring. Once that’s reliable, move to water shallow enough that the board still rests on the bottom, and deepen it a few inches per session. Ending each session with your dog eager to get back on is the signal you’re moving at the right pace.
How far should I paddle with my dog from shore?
Close enough that you can get back in about two minutes at an easy pace, which is usually a few hundred yards on calm water. Beginners gain nothing from distance. Paddle out with a light breeze behind you and return into protected water, keeping the board parallel to shore as you approach. If the wind is pushing you offshore, turn around early instead of paddling into it.
Do one thing before anything else: lay the board on flat ground at home and get your dog to step on it, sit and stay for a minute. That session costs an evening, and it decides whether the rest is easy. Once the dog is comfortable on land, move to water shallow enough that the board still touches the bottom, keep sessions short, and clip any leash to yourself rather than the board. Repeat it on a calm lake until the dog is asking to go out.