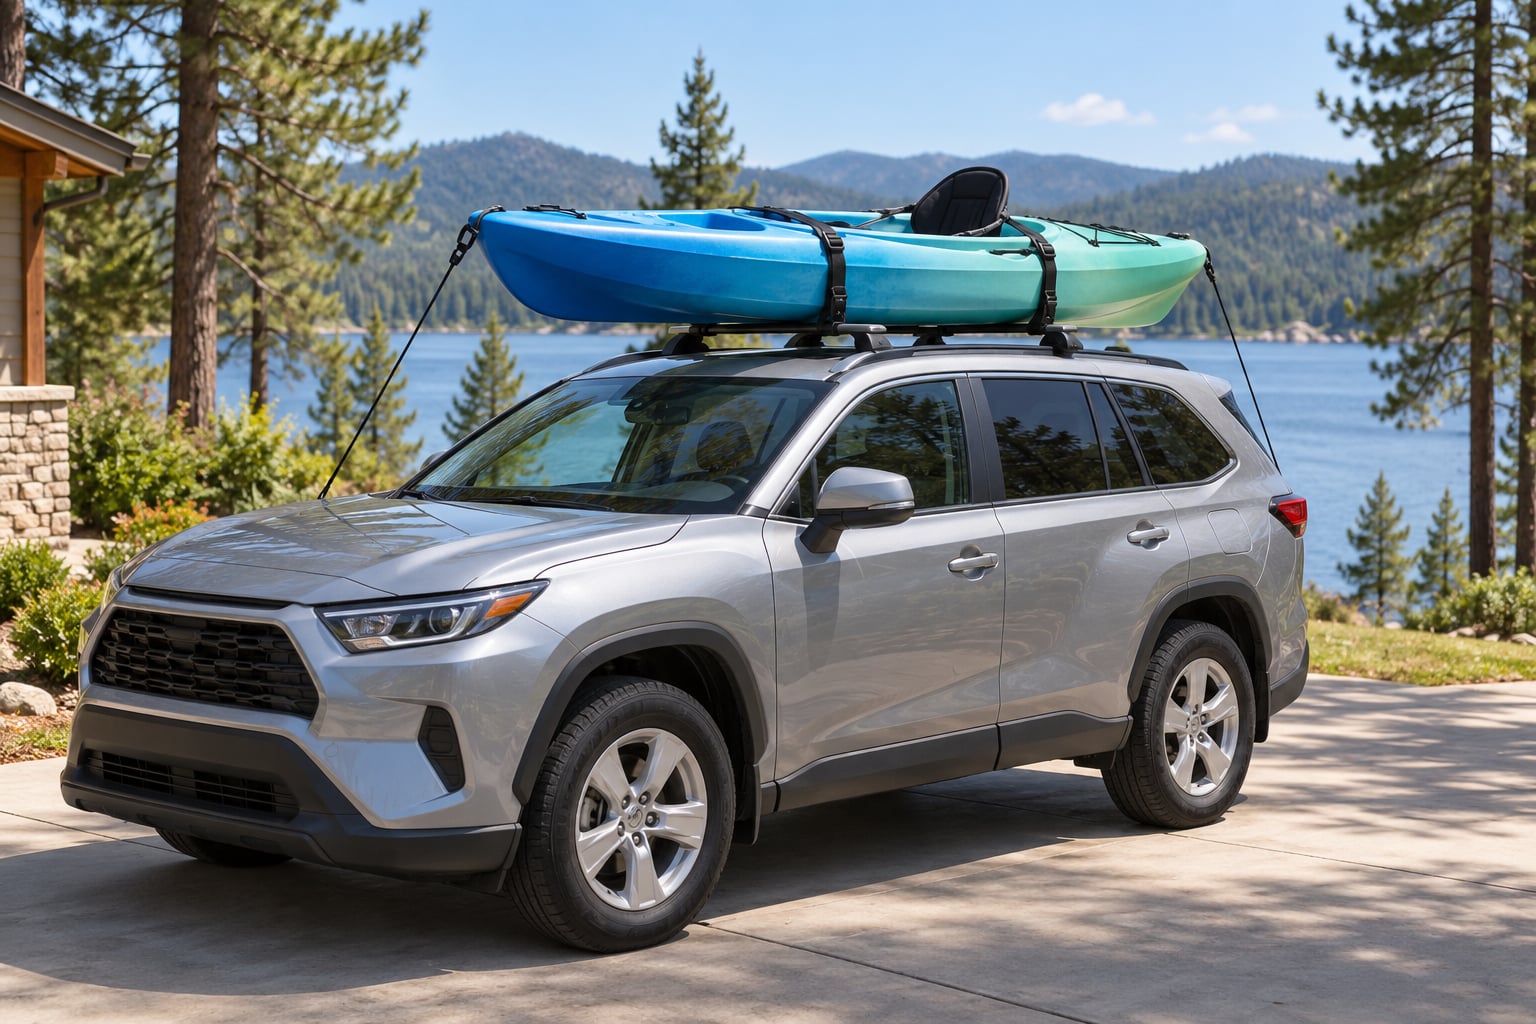
To tie down a kayak on a car, center the boat hull-down on your crossbars or foam blocks, pull two heavy-duty cam straps over the hull and under both bars, then anchor the bow and stern to the car’s metal frame. Give it 15 minutes on the driveway, and check everything again after the first 20 miles.
That last part is where most people skip ahead. The straps go on, the kayak looks fine from the driver’s seat, and the boat shifts a few inches somewhere past mile 30 when a crosswind gets under the hull. Small movement is normal and worth watching; real movement means you stop and re-tighten.
This guide walks through the whole rig: what to gather, the six steps that actually secure the boat, the mistakes that show up in paddling forum threads every single time, and a 30-second check you can run before you pull out of the driveway. It works for a 10-foot recreational kayak and a 17-foot tandem. Last updated October 2026.
Table of Contents
- 1What You Need
- 2Roof setup
- 3Straps
- 4Bow and stern lines
- 5Protection
- 6Step-by-Step: How to Tie Down a Kayak on a Car
- 71. Choose and Position the Correct Tie-Down Points
- 82. Center and Protect the Kayak
- 93. Tie Down a Kayak on a Car With Two Cam Straps
- 104. Add Bow and Stern Security
- 115. How to Check the Straps Before and During Driving
- 126. Test the Final Setup
- 13Common Mistakes
- 14Bungee cords as the main restraint
- 15Ratchet straps on a kayak hull
- 16Anchoring to a door frame or hood bolt
- 17Loose strap tails left hanging
- 18A single strap over a single bar
- 19Worn hardware
- 20Skipping the recheck stop
- 21Using the roof rack as storage
- 22Frequently Asked Questions
- 23Should I use bungee cords to tie down a kayak on a car?
- 24Do I need bow and stern lines if the kayak has two cam straps?
- 25How tight should kayak tie-down straps be?
- 26Can I secure a kayak on a car without a roof rack?
- 27How often should I check a tied-down kayak while driving?
- 28Final Check Before You Drive
What You Need
Grouped the way it makes sense to buy it. The rack and the kayak have to be compatible, and the vehicle and equipment makers’ own instructions always outrank anything on this page, including mine.
Roof setup
- Rack-mounted crossbars with J-cradles or J-bars — the standard setup for a sedan, hatchback or SUV. Look for bars rated for the load, mounted at the points the vehicle manufacturer specifies.
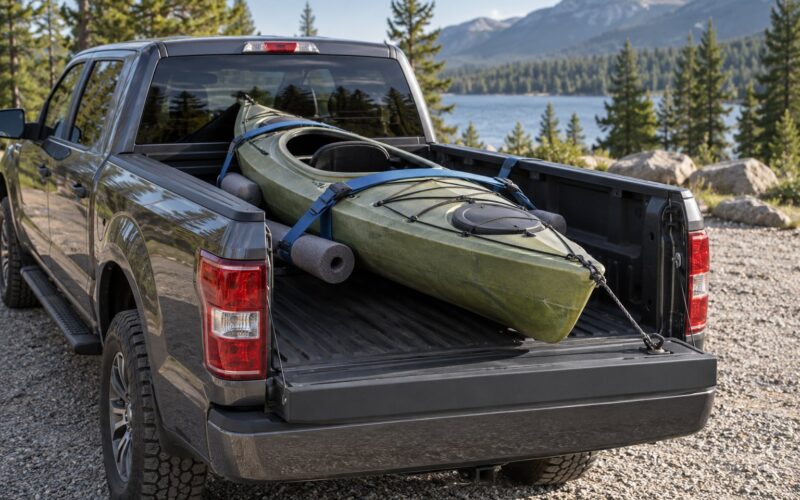
- Foam blocks or pool noodles — for a car with no rack. Two 12-foot foam blocks strapped to the bare roof work, though they need a slower drive and gentler crosswind handling.
- Bow and stern covers — padded covers that keep straps and buckles off the deck, the cockpit rim and the hull edges.
Straps
- Two cam buckle straps, 12 feet or longer — this is the reason cam straps are the recommendation over ratchets. A cam buckle releases under rising load rather than crushing into the hull, so you physically cannot overtighten a composite or plastic boat with one. Paddling forum regulars repeat that line constantly, and it is good advice.
- Short bungee cords — fine for cinching a loose strap tail out of the way. Never as the primary restraint.
Bow and stern lines
- Soft nylon tubular webbing or 3/16-inch nylon rope, roughly 8 to 10 feet per end, long enough to reach an anchor with slack left over.
- Tow hook, frame rail or tow loop under the bumper as the anchor point. See the step-by-step below for which ones to skip.
- A taut-line hitch — the setup most experienced paddlers land on, since it lets you trim tension after the strap is set and it will not creep loose under vibration.
Protection
- Small rubber or neoprene pads for buckle ends that hang near paint or glass.
- A soft cloth for the roof if you are running foam blocks on a bare painted roof.
That is the full kit. Anything else you turn up in a forum thread about strap strategy or hull crushing is a refinement, not a requirement.
Step-by-Step: How to Tie Down a Kayak on a Car
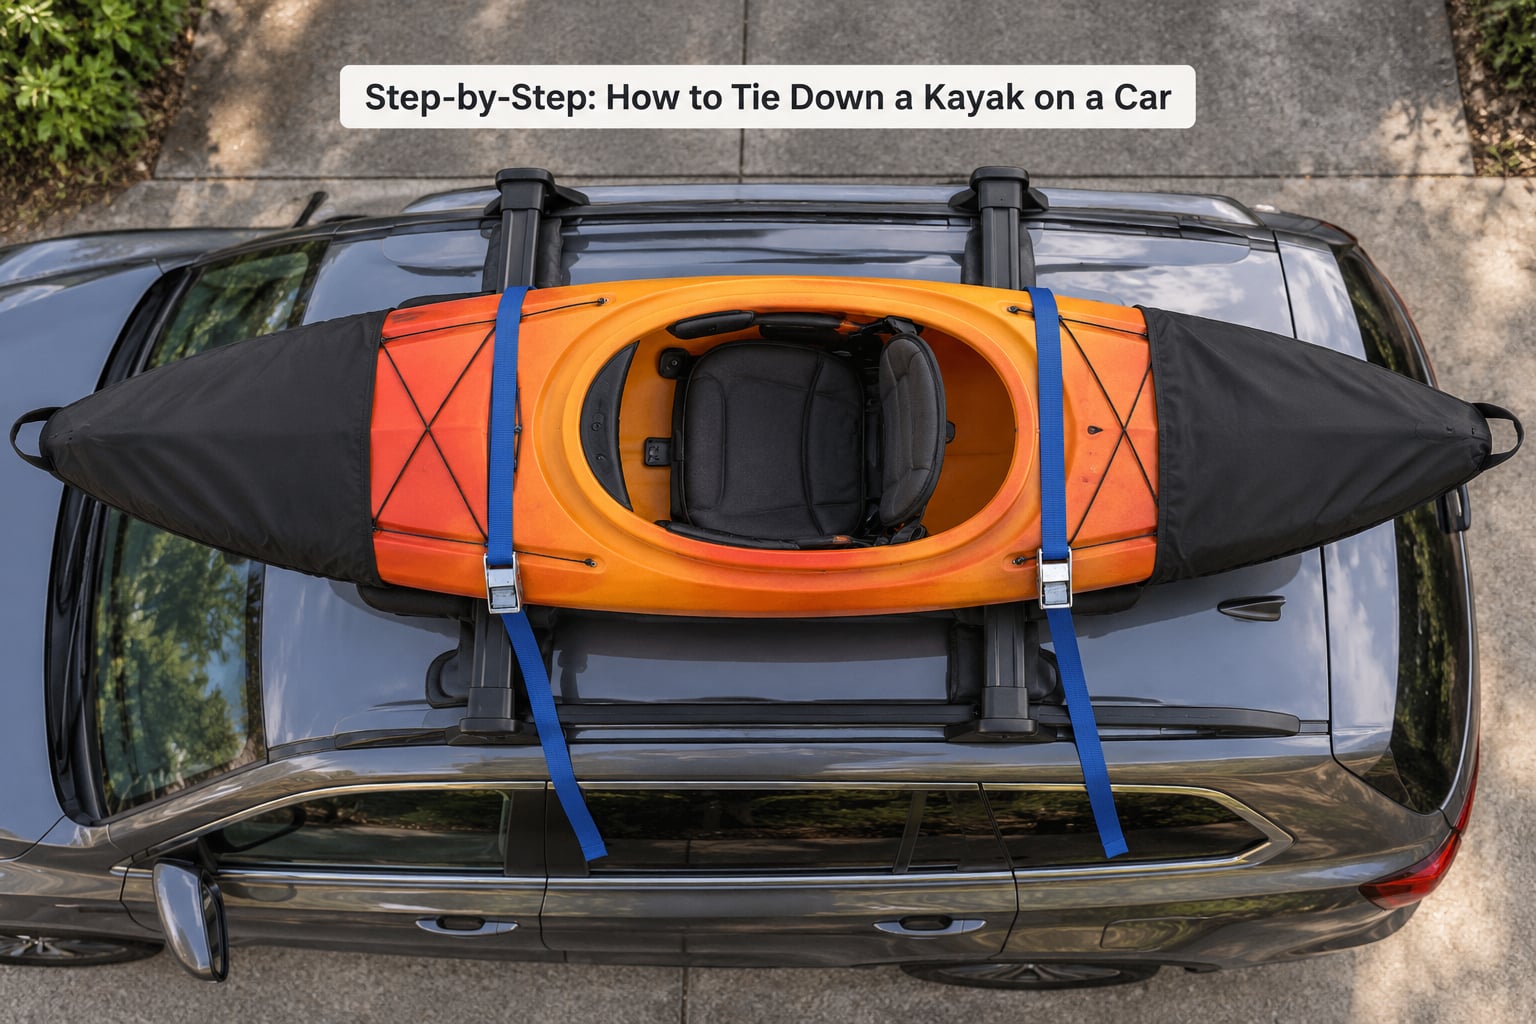
Six steps, in order. The order matters. Bow and stern lines go on after the straps because their tension depends on where the boat finally sits.
1. Choose and Position the Correct Tie-Down Points
Straps attach to designated rack tie-down points or to the bars themselves, never to a door frame, a window, a bare roof edge, a door hinge or an unrelated bolt. Frame rails, tow hooks and tow loops under the bumper are the legitimate vehicle anchors for bow and stern lines, and a tow hook is usually the strongest point on a truck or SUV.
Hood bolts come up constantly in advice threads and they are a bad choice. They are meant to hold a hood closed, not to take a load pulling in two directions. If your bow line has nowhere good to attach, run it back to the frame rail or the front tow loop instead of improvising.
Set the bars where the vehicle maker specifies, then spread your two cam straps roughly a third of the boat’s length apart, near the cockpit and the rear hatch, but not so far apart that the bow or stern swings free like a lever.
How to tell it worked: each strap’s hardware slides freely along the bar, and the bar itself is clamped to the roof with the mounting feet tight against the mounting track.
2. Center and Protect the Kayak
Set the kayak on the rack hull-down, cockpit facing forward, with the keel in the channel of the J-cradle. Center it on the vehicle’s centerline so both sides of the roof carry equal load, then seat it fully so the hull is not perched on an edge.
Put the bow and stern covers on before you tighten anything. They protect the deck fittings, the cockpit rim and the hull from a hard strap edge, and on a composite hull that is the difference between a scuff and a crack.
Check the clearance now, with your hand, not your eyes. The kayak should not rock front to back, should not shift a full inch side to side under a firm push, and should not touch a bare crossbar anywhere along its length.
How to tell it worked: one hand on the cockpit rim, a hard shove with the other, and the boat barely moves. If it does move, recenter it before you strap.
3. Tie Down a Kayak on a Car With Two Cam Straps
Run each cam strap under the near bar, up and over the hull, down and under the far bar, then back to the cam buckle sitting on top of the deck. That over-and-under path is what clamps the boat to the bars rather than just holding it down.
Thread the tail through the buckle and pull it down in a short, sharp pull to take up the slack, then a second pull to set the cam. Repeat on the second strap until both are snug. Leave only a few inches of loose tail once the cam locks, and cinch that tail down with a bungee so it cannot whip in the wind.
Tension should be firm and even, not a bodybuilder effort. You want to slide a flat hand under the strap at the hull but you should not be able to slip a fist under it, and the hull should not visibly flex or dimple. Two straps pulling at uneven angles will walk the boat off-center, so set one, check the boat’s position, then set the second.
One strap is the single most common failure in roadside photos. A boat held by one strap over one bar is a single point of failure: one soft buckle release and the kayak is loose. The one-strap method still exists for two kayaks carried together on a rack, where one strap captures both hulls and a second one braces them. For a single boat, use two.
How to tell it worked: pull hard on each strap and it does not move or squeak, and the loose tail is short enough to be tied down.
4. Add Bow and Stern Security
Cam straps deal with downward pressure. Bow and stern lines deal with the other direction: highway uplift and a crosswind trying to lift the kayak off the bars entirely. That upward force goes straight into the towers and crossbars, which is why lines matter most at speed.
Attach the stern line first. It stops the boat sliding forward when you brake, and it leaves the bow line free to trim last. Then run the bow line. Use a grab loop, the rescue loop, a carry handle, or a soft loop around the hull — never a hard metal hook clipped straight into the deck.
Keep the lines short and angled down and away from the vehicle so they cannot swing into a door, a mirror or a wiper. Leave just enough slack that the boat can lift about half an inch, then snug with a taut-line hitch. Lines that go dead tight pull the kayak out of center and can rack your roof.
Do you actually need them when the boat already has two straps? It depends on the boat and the trip. Add them if the kayak is over about 12 feet, if you are running open crossbars instead of cradles, if the roof is a soft rack or an add-a-bar system, if the trip includes highway miles, or if you have ever had a strap loosen on you before. On a quality rack with true J-cradles, two well-tensioned straps on a short regional drive to a local launch is a defensible setup, and plenty of owners have carried boats that way for years without incident.
How to tell it worked: the lines stay put when you push the kayak up under the hull, and the boat still sits centered.
5. How to Check the Straps Before and During Driving
Do a firm tug test on each strap and each line before you get in. Then walk around the car and look at the buckles: the handle should lie flat against the strap, not standing up where a gust or a passing truck could catch it.
Drive the first few miles slowly. Wind load builds with speed, and the first 20 miles is when a strap set up on a cold driveway settles into its final position. Pull over safely after 20 to 30 miles, tug each strap and line again, and confirm the kayak is still centered and the tails are still tied down. On a longer drive, make that a habit every hour or so and after any severe weather.
If a strap loosens on the highway, you can usually re-set it at the next safe stop. If a cam buckle has taken a set or the webbing is stretched, replace the strap rather than trying to compensate.
How to tell it worked: the kayak moves a small amount under a hard push at the pull-over, nothing more.
6. Test the Final Setup
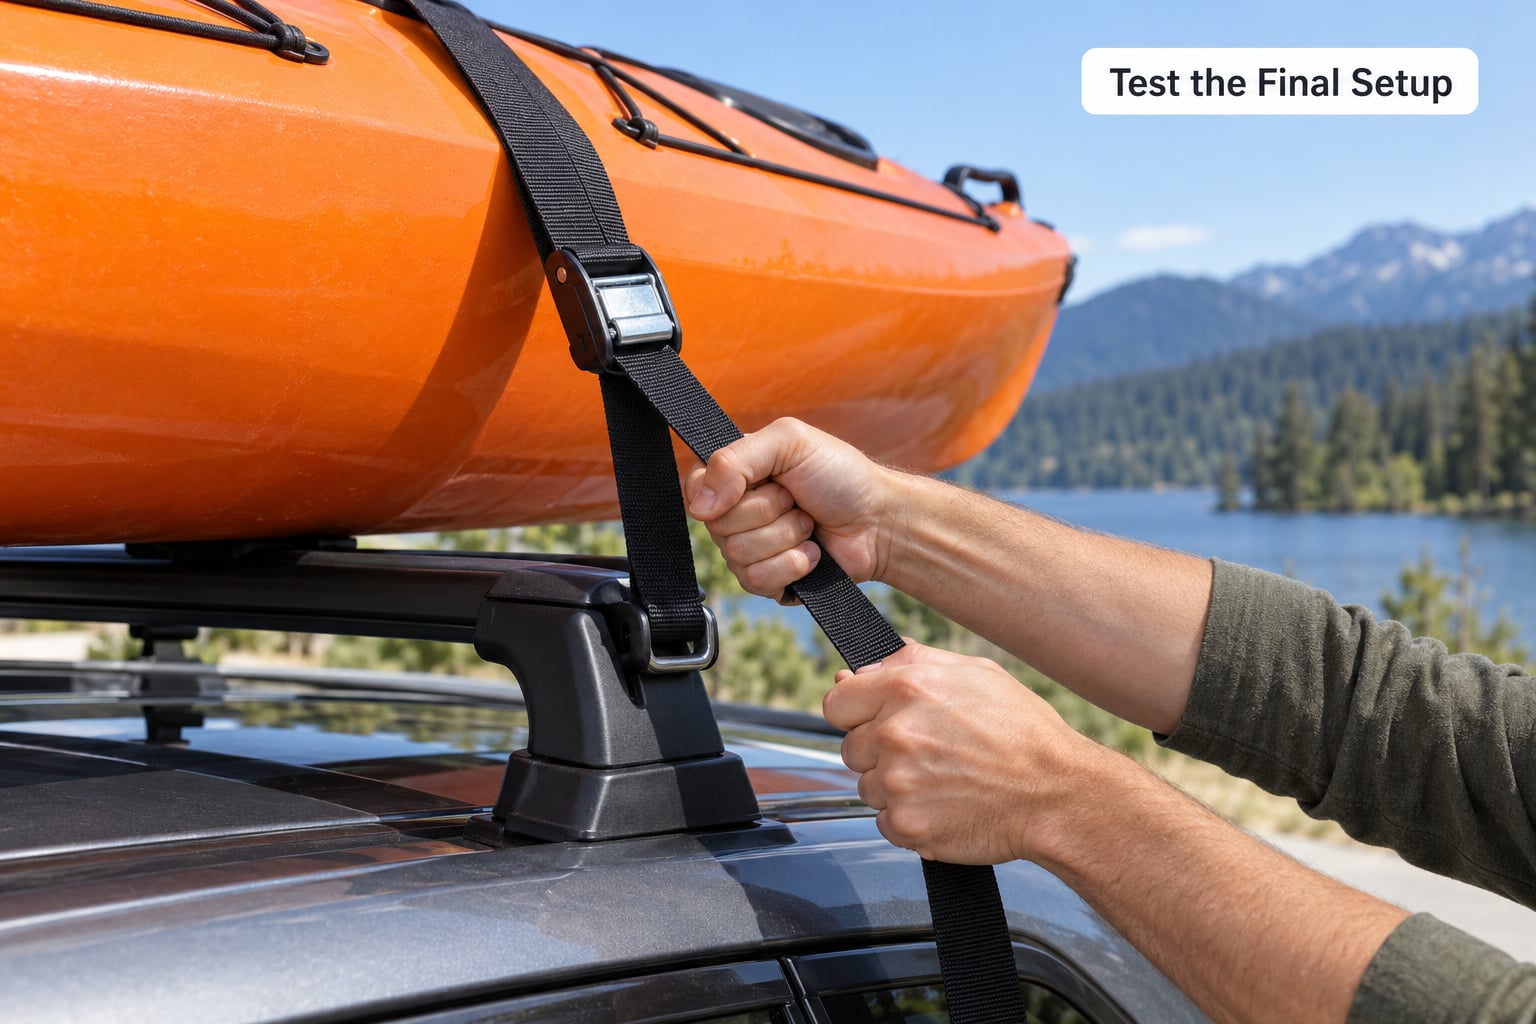
Push side to side. Lift the bow. Nothing should shift more than a fraction of an inch, and nothing should lift. The kayak should also be centered on the roof, with no loose tails hanging over a door or window.
Check clearance before you move the car at all. Open both front doors fully, work the hatch or trunk, and look for the kayak in your mirrors and rear window view. If the boat overhangs the front or rear, glance up at it in a garage doorway or a parking garage clearance bar before you commit to the space.
Overhang is common and usually fine. Vehicle codes vary by state, and most treat anything projecting past the rear of the vehicle as needing a red or orange flag in daylight, with the exact wording set by your own state’s rules. Keep total vehicle length plus boat length inside roughly 120 inches and you stay clear of most flagging thresholds.
How to tell it worked: doors open fully, the garage clears it, the boat is centered and immovable, and any part projecting past the vehicle carries a flag.
Common Mistakes
Every one of these comes up repeatedly in paddling forums, usually from someone who learned the hard way.
Bungee cords as the main restraint
Elastic cord stretches under load, then lets go all at once. Bungees belong on strap tails and nowhere else. Two cam buckle straps are the restraint, full stop.
Ratchet straps on a kayak hull
A ratchet has no self-release, so you will eventually win that fight and crush the hull. That warning shows up in nearly every forum thread on the topic, and it applies just as much to plastic hulls as to composites, where the damage shows up later as a crease that never quite goes away.
Anchoring to a door frame or hood bolt
Door frames flex in a side impact, which is not what you want carrying a line from your roof. Hood bolts are not structural. Use a frame rail, a tow hook or a tow loop under the bumper.
Loose strap tails left hanging
A ten-inch tail flapping over a door at highway speed is a paint scratch and a cracked window waiting to happen. Cinch every tail to the strap with a short bungee, and pad any buckle that hangs near glass.
A single strap over a single bar
Boat, rack and road all become one failure mode. Two straps, spaced apart, on a boat that is longer than about eight feet.
Worn hardware
Sun-rotted webbing, a cam buckle with a grooved cam, or an anchor loop that frays at the ring. Replace it. A strap that snaps over a highway at highway speed is the worst possible time to discover the age of the webbing.
Skipping the recheck stop
The routine that saves you is thirty seconds: tug every strap, check every buckle, confirm the kayak has not shifted. Do it after the first 20 to 30 miles and then periodically after that.
Using the roof rack as storage
A long-term load on a hull warps it, ages the deck fittings and bakes the outfitting under UV. Tie down for the trip, then bring the boat inside when you get home.
Frequently Asked Questions
Should I use bungee cords to tie down a kayak on a car?
No. Elastic bungee cords stretch under steady load and then release all at once, which is the opposite of what you want over your windshield. Use two cam buckle straps as the main restraint and save the bungees for cinching loose strap tails to the deck so they cannot slap the paint.
Do I need bow and stern lines if the kayak has two cam straps?
For a boat under about 12 feet on true J-cradles, two properly tensioned cam straps can be enough for a short local drive. Add bow and stern lines if the kayak is longer than 12 feet, you are using open crossbars or a soft rack, or the trip includes highway miles and crosswinds.
How tight should kayak tie-down straps be?
Firm and even, not aggressive. You should be able to slide a flat hand under the strap but not a fist, and the hull should not visibly flex or dimple. Cam buckles make over-tightening hard because they release under rising load, which is the main reason paddlers prefer them to ratchet straps.
Can I secure a kayak on a car without a roof rack?
Yes, using two foam blocks or pool noodles strapped to the roof, usually one near the cockpit and one behind the rear seat, with bow and stern lines to a tow hook or frame rail. Expect more noise, more wind load and a lower top speed, so drive slower on exposed highways.
How often should I check a tied-down kayak while driving?
Tug every strap and line before you leave the driveway, then pull over safely after the first 20 to 30 miles and check again. After that, stop roughly every hour on a long trip, and always after severe weather. Re-tension anything that has loosened rather than waiting for the trip to end.
Final Check Before You Drive
Six things, in order, every single time. Pull each cam strap hard and confirm it does not move. Check that every buckle lies flat and every loose tail is cinched down. Push the kayak side to side and lift the bow to confirm it is immovable. Open both doors and the hatch to verify clearance. Look up at the overhang in a mirror before you pull out of the space, and make sure a flag is fitted if anything projects past the vehicle.
Then drive the first 20 to 30 miles at moderate speed and pull over for a second look. Most strap problems announce themselves early and quietly, and thirty seconds at a safe roadside stop costs almost nothing compared with a kayak coming loose on a highway.
If you only remember one thing from this guide, make it the cam buckle strap. It is the single upgrade that makes the whole rig harder to get wrong.