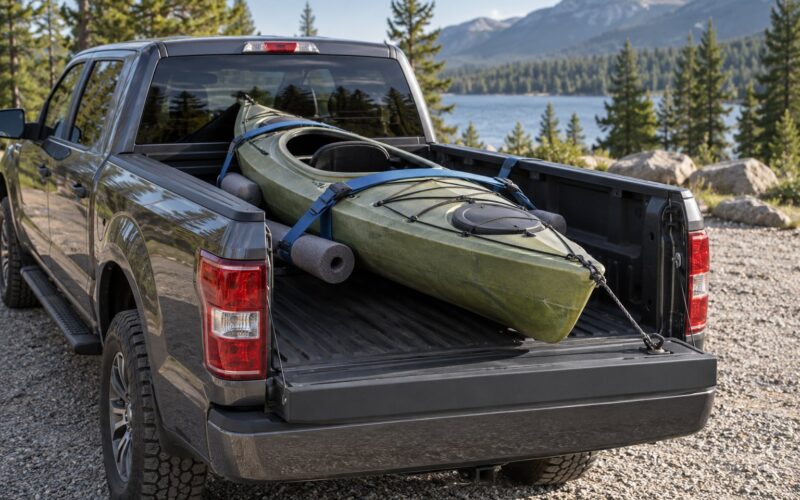
To clean a kayak after lake use, flush it with fresh water, wash it down with mild boat-safe soap, rinse the soap off, and let the hull and cockpit dry completely before you cover or store it. Ten minutes of work at the truck tailgate is enough for most lake days.
The reason is that lake water is never just water. It carries sediment, algae, tannins and small organisms that settle into the cockpit, under the seat and inside the storage hatches, then sit there wet for days. A cared-for polyethylene or fiberglass kayak can last 10 to 15 years. A neglected one fades, cracks and smells like a wet locker long before that.
Updated for October 2026.
Table of Contents
- 1What You Need
- 2Step-by-Step: How to Clean a Kayak After Lake Use
- 31. Unload and Inspect the Kayak
- 42. Rinse Off Loose Mud, Sand and Debris
- 53. Wash the Hull and Deck Gently
- 64. Clean the Cockpit, Seats and Storage Areas
- 75. Rinse Thoroughly and Dry Completely
- 86. Check and Protect Fittings Before Storage
- 9Common Mistakes
- 10Frequently Asked Questions
- 11How soon should I clean my kayak after lake use?
- 12Can I use a pressure washer to clean a kayak?
- 13What is the best way to remove algae from a kayak?
- 14How long should a kayak take to dry after cleaning?
- 15Can I use dish soap to clean a kayak?
- 16Should I clean the inside of a kayak after every trip?
- 17Conclusion
What You Need
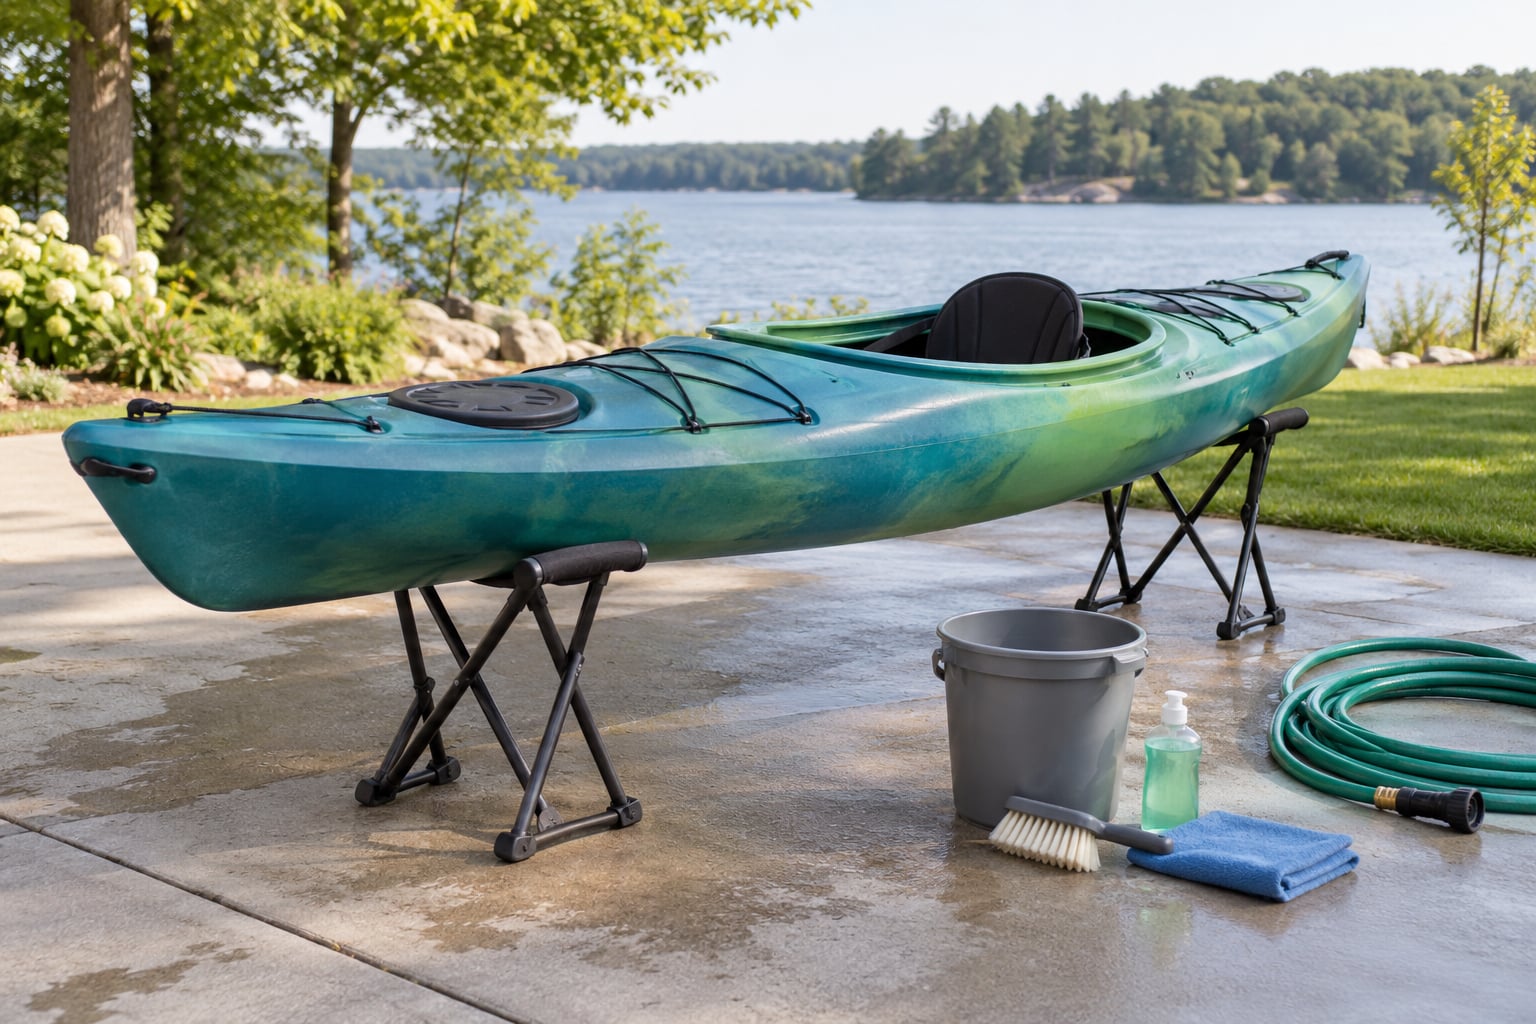
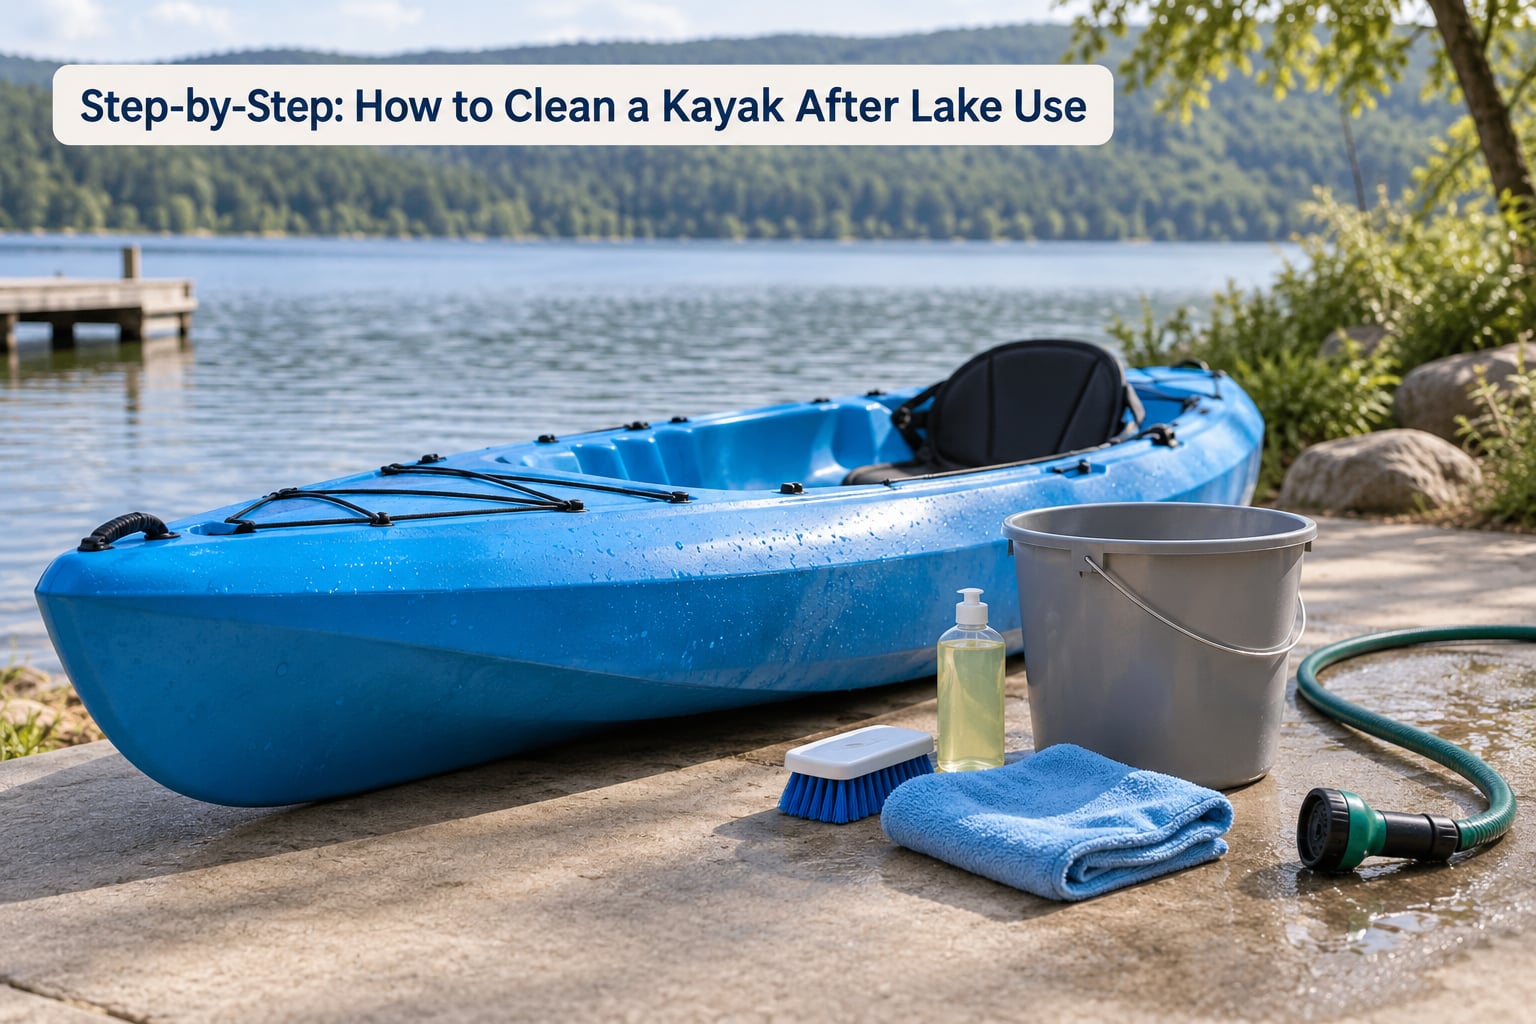
A garden hose and a bucket of freshwater are the minimum, and on a warm day with clean water a rinse alone will do. Everything else makes the job faster or gets a dirtier boat truly clean.
- Freshwater from a hose, plus a bucket for mixing soap and for catching bilge water
- Boat-safe soap, car wash soap, or a small amount of mild dish detergent diluted in a bucket
- A soft-bristle brush or non-abrasive sponge for the hull, tracks and footrests
- A microfiber towel or chamois for the final wipe-down
- Kayak stands, or a pair of lawn chairs to cradle the hull off the gravel
- Shop vac or bilge pump for water that will not drain out of the footwells
- A leaf blower, box fan, or a driveway with sun on it for drying
- Kayak-safe lubricant for the rudder, skeg and seat tracks, applied only where the manufacturer says
Clean-drain-dry is the phrase state agencies use, and their guidance is simple: remove debris, drain every bit of water, and let the boat dry fully before it goes anywhere near another body of water.
Step-by-Step: How to Clean a Kayak After Lake Use
1. Unload and Inspect the Kayak
Pull all gear out before you put water on it. Anything you leave soaking turns into a mildew problem later.
Run your hands along the hull and inside the cockpit looking for hooks, fishing line caught in the seams, or a leash that snagged under the deck. Cut line away rather than pulling it, because a hook raked through gel coat leaves a scratch you cannot undo.
You’re looking for loose fitting screws, cracked footrests, and any new abrasion in the plastic or gel coat. It’s much easier to fix a problem you find at the ramp than one you find in June when you pull the boat down for the season. You’re done when the cockpit and storage hatches are empty and nothing is snagged anywhere on the boat.
2. Rinse Off Loose Mud, Sand and Debris
Start with a plain freshwater rinse before any soap. Low pressure is plenty, and it’s the step people skip.
Work top to bottom: deck, gunwales, tracks, then hull. Aim the hose into the cockpit, footwells and hatches so grit runs out instead of grinding into the plastic on the next pass. Hand pressure is strong enough for mud; you are not trying to strip a hull coating.
Skip the pressure washer. A jet drives water past the deck seal and into the closed compartments where it has no way to drain, and that trapped water is the single biggest cause of the smell people complain about. Experienced paddlers on the forums mention hot water as the practical upgrade, but a cold hose does the job. You’re done when the runoff runs clear.
3. Wash the Hull and Deck Gently
Mix a squirt of mild soap with warm freshwater in the bucket. More foam does not mean more clean.
Apply it with a soft sponge or soft-bristle brush and work in long strokes down the length of the hull. Scrub harder around the tracks, footrests, cup holders and anywhere mud has dried onto the surface. Rinse the sponge often so you are not dragging grit across the plastic.
Plastic, fiberglass, composite and inflatable hulls all respond to this same mild soap, provided you skip anything abrasive. It’s finished when the water running off the hull is clear, not when the surface squeaks. You’re done when a dry towel comes away clean.
4. Clean the Cockpit, Seats and Storage Areas
This is where lake dirt actually lives. Pull the seat out if it’s removable and rinse the foam separately with a marine vinyl cleaner or plain water and mild soap.
Wipe down foot braces, seat tracks, bungee rigging, cup holders and the floor of every compartment. A damp cloth with a little diluted soap handles algae film on the cockpit rim. Don’t flood the cockpit with a bucket and don’t soak closed compartments longer than you need to.
For a seat that already smells, sunlight does more than any product. Set the cushion in direct sun for an hour while you finish the boat. If the odor persists after a full dry, a dilute vinegar and water wipe on the vinyl followed by another dry-down usually clears it. You’re done when your hand runs the length of the cockpit and comes up dry.
5. Rinse Thoroughly and Dry Completely
Second rinse, same as the first, low pressure, top to bottom. Any soap you leave behind stays on the hull and slowly dulls it.
Then chase the water out. A bilge pump or shop vac gets the footwells and hatches where a hose can’t reach. A leaf blower or a box fan pointed into the cockpit cuts the drying time dramatically on an overcast day. Wipe the hull with a microfiber towel to catch the water that beads in the texture of plastic.
On a sunny day, plan four to six hours of sun before you cover anything. Mid-morning is the best start because the boat gets a full day of drying. If the boat is stored in a humid garage, treat it as still damp until the cockpit and the hull under the deck are cool and dry to the touch. You’re done when nothing is cool, wet or heavy-sounding when you lift the bow.
6. Check and Protect Fittings Before Storage
While the boat is still out, check bungees, handles, straps, seats and foot braces for loosened fittings and tighten only what the manufacturer specifies. Over-tensioning a track or a handle mount cracks the plastic.
Apply kayak-appropriate lubricant to the rudder and skeg mechanisms only as the maker recommends. WD-40 is not a lubricant for those parts; it gums up the linkage and attracts dirt. Leave hull wax alone on a polyethylene boat; wax and UV protectant belong on fiberglass, composite and wood hulls.
If you find a crack, a lifting deck seam, or a fitting that will not hold, this is the moment to book a repair rather than guess. Once the boat is covered and forgotten, a small problem has another season to grow. You’re done when the boat is dry, sound, and sitting on its side or its stands the way the manufacturer specifies.
Common Mistakes
Almost every kayak cleaning mistake comes down to being too aggressive with water, too harsh with soap, or too quick with storage.
- Using a pressure washer. It forces water past deck seals into compartments that never fully drain. Stick with a hose at household pressure.
- Using abrasive brushes or steel wool. They scratch rotomolded plastic permanently and cut gel coat. A soft bristle brush does everything a lake hull actually needs.
- Leaving dish soap as the long-term routine. A small amount for a one-off wash is fine. Repeated use of harsh degreasers strips UV protectants and leaves a dull film on the hull.
- Storing the boat damp. A hull put away wet invites mildew, and cockroaches move into a damp hull after a single trip. Dry it fully, and if it must sit closed, leave the cockpit slightly open.
- Soaking gear in the cockpit. Cold-water paddlers especially leave neoprene and water shoes sitting in a puddle of lake water. Rinse them separately and hang them up.
- Rinsing once at the end and skipping the first rinse. Soap applied over dry grit acts as sandpaper. Rinse, wash, rinse.
- Covering before the boat is dry. A cover traps the last of the moisture and holds it against the hull.
- Ignoring the care guide. Material and hardware recommendations differ between brands. When the manufacturer says something specific, follow that.
Which cleaner suits your hull matters as much as the rinse does:
| Kayak material | Clean with | Avoid |
|---|---|---|
| Polyethylene (rotomolded plastic) | Freshwater, mild soap, soft brush | Abrasives, bleach, pressure washing, epoxy repairs (it will not bond) |
| Fiberglass with gel coat | Boat wash, soft sponge, marine polish | Abrasive powders, harsh degreasers, wax meant for paint |
| Composite or carbon fiber | Freshwater, mild soap, soft cloth | Solvents, abrasive brushes |
| Inflatable | Mild soapy water while inflated, soft cloth | Solvents and anything on the pressure valves |
| Wood | Freshwater, mild soap, dry fast, oil per maker | Soaking, standing water in the bilge |
Frequently Asked Questions
How soon should I clean my kayak after lake use?
Clean it the same day if you can. Mud and algae start to set as soon as the water evaporates, and warm sun bakes a tannin stain onto a hull in a few hours. If you cannot wash it at the ramp, at least drain the bilge, hose out the cockpit and stand the boat open to the air until you get home. A full wash can wait a day; a hull stored wet cannot.
Can I use a pressure washer to clean a kayak?
Avoid it on most kayaks. High pressure drives water past deck seals and into closed compartments and along bulkheads, where it sits and grows algae and mildew in a space you cannot reach. A hose at normal household pressure removes lake sediment just as well. If you own a trailer and pressure wash the whole rig, keep the wand pointed away from hatches and wipe the cockpit out afterward.
What is the best way to remove algae from a kayak?
Wash the hull down with warm freshwater and mild soap first, then treat what remains with a paste of baking soda and a little water scrubbed on with a soft pad, or a straight white vinegar wipe on plastic. Rinse thoroughly afterward and dry in full sun. Avoid bleach on gel coat and never use a wire brush or scouring pad on any hull finish.
How long should a kayak take to dry after cleaning?
Four to six hours of direct sun on a warm, breezy day is a realistic target. On an overcast day use a leaf blower or box fan aimed into the cockpit and expect closer to a day. Use a bilge pump or shop vac to clear the footwells and hatches first, because pooled water in those low spots is what keeps a boat damp long after the hull feels dry.
Can I use dish soap to clean a kayak?
For an occasional wash, a small amount of mild dish soap diluted in a bucket is fine and many paddlers use nothing else. What you want to avoid is building a routine around harsh detergent or degreaser, which can strip UV protectant from a hull and leave a dull film over time. For regular use, a dedicated boat wash or car wash soap is the safer choice.
Should I clean the inside of a kayak after every trip?
Yes, at minimum hose the cockpit out and dry it, because that is where water, mud and algae collect and where odor starts. State invasive species programs are even more emphatic for trips between lakes: clean, drain and dry the boat so you are not moving mussels, plants or eggs from one waterbody to another. A full interior wash is only needed when the inside is visibly dirty or smells.
Conclusion
The first thing to do when you learn how to clean a kayak after lake use happens right at the ramp: hose off the loose mud and sand before you load the boat. Back home, wash with mild soap and warm water, rinse until the runoff runs clear, then let the hull and cockpit dry completely before anything goes on top of it or underneath it.
That is the whole routine. Ten minutes at the tailgate, done most trips, keeps algae out of the storage hatches, mildew out of the seat and odors out of the garage. When a step seems unclear for your particular boat, the manufacturer’s care instructions win.