Learning how to swim safely in open water comes down to five habits: check the conditions before you enter, pick a spot you can exit from, tell someone your plan, wear the right flotation for your ability, and leave the water early when anything feels off. Open water means lakes, rivers, bays and the ocean — anywhere without a pool wall, lane lines or a shallow end to stand in.
That sounds obvious until you’re standing on a boat ramp at 7am in October with a lake at 50 degrees and nobody around. Pools let you stand up, see the bottom and stop whenever you want. Open water removes all three, and that changes the maths more than most first-timers expect.
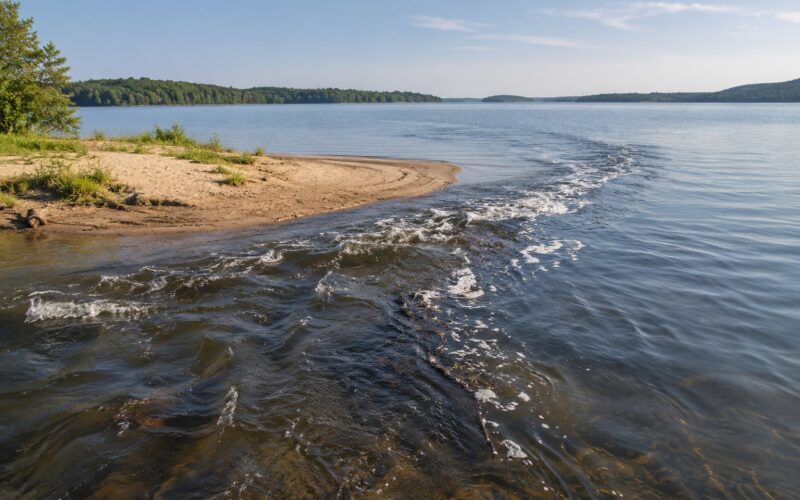
A few things worth knowing before we get into the steps. Drowning is often quiet — no splashing, no shouting, and in a group of people it can happen right in front of you without anyone noticing. Most open water drownings happen within yards of where the swimmer entered, not somewhere far out. And the hazards differ by water: a lake hides stumps, rocks and drop-offs, a river moves you downstream whether you want it to or not, and an ocean adds tides and breaking surf.
This is general safety information, not rescue or medical training. Formal water safety and first aid certification is how you actually build these skills.
Table of Contents
- 1What You Need
- 2Step-by-Step: How to Swim Safely in Open Water
- 31. Check the Conditions Before You Enter the Water
- 42. Choose a Safe Swimming Area With a Reachable Exit
- 53. Tell Someone Your Plan and Set a Check-In Time
- 64. Use the Right Protection for Your Ability and the Water
- 75. Start Shallow and Build Confidence Gradually
- 86. Swim With Visibility, Pacing and a Clear Route Home
- 97. Know When to Get Out
- 10Common Mistakes That Get Swimmers Into Trouble
- 11Safety and Comfort Tips
- 12Frequently Asked Questions
- 13Can a strong swimmer safely swim alone in a lake?
- 14What should I do if I get caught in a current while swimming?
- 15How cold is too cold to swim in open water?
- 16Is wearing a life jacket enough to make open-water swimming safe?
- 17How should children be supervised when swimming in a lake?
- 18Should I swim after drinking alcohol?
- 19Conclusion
What You Need
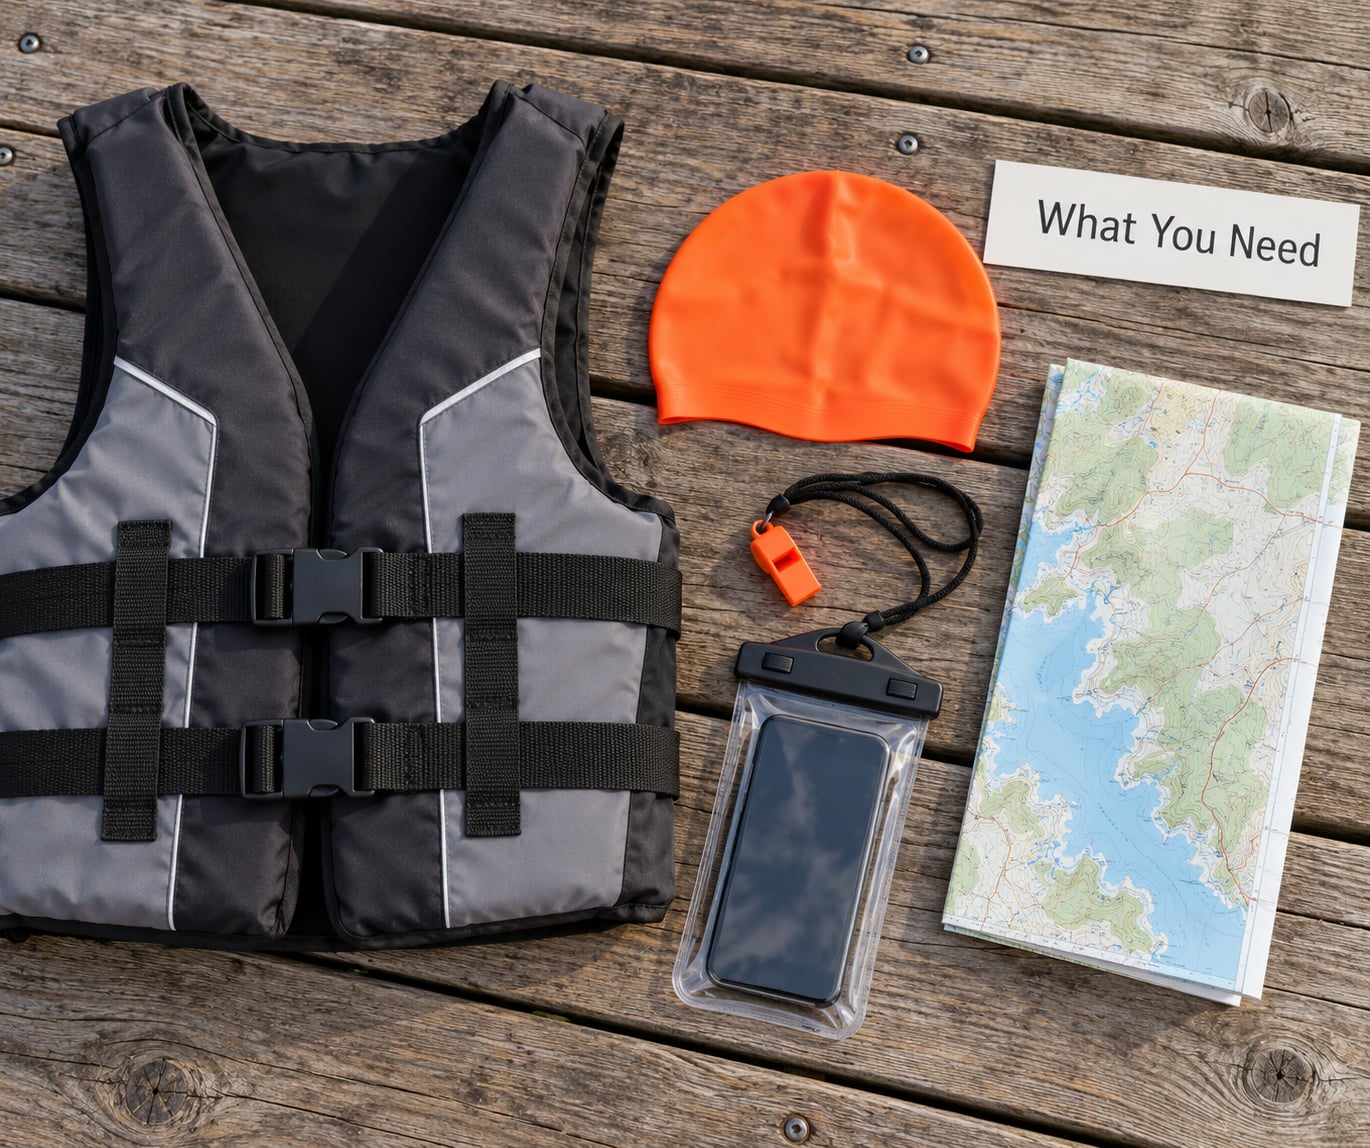
Before anything else, work out who you’re swimming with and where you’ll get out. Those two answers decide what gear you actually need.
A buddy, or a group. Never swim alone in open water. A buddy sees what you can’t — a cramp, a slide into darkness, a boat that didn’t see you. If your buddy is in trouble, you have a witness and a chance to raise the alarm.
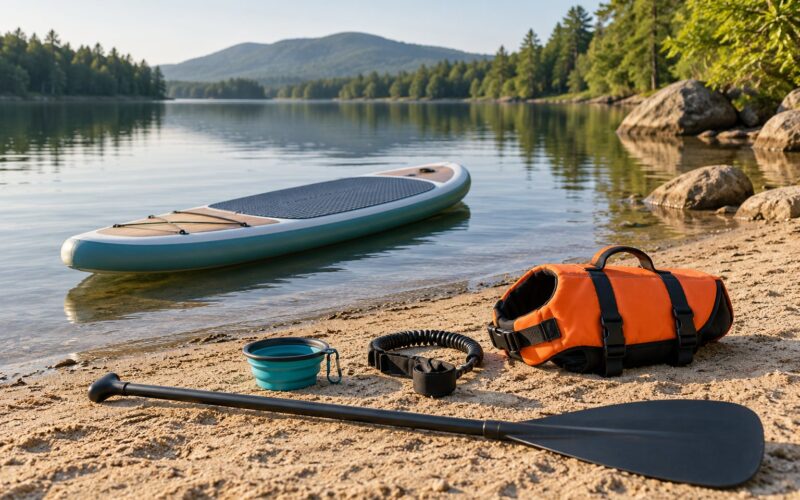
A properly fitted personal flotation device where it makes sense. That means children, non-swimmers and weak swimmers, anyone on a board or in a small craft, cold water swimmers, and anyone swimming near a boat channel, marina or launch. A buoyancy aid holds you at the surface so you can breathe and recover. It does not make an average swimmer safe in a current, and it does not replace supervision or swimming ability. Inflatables are toys — they are not safety equipment.
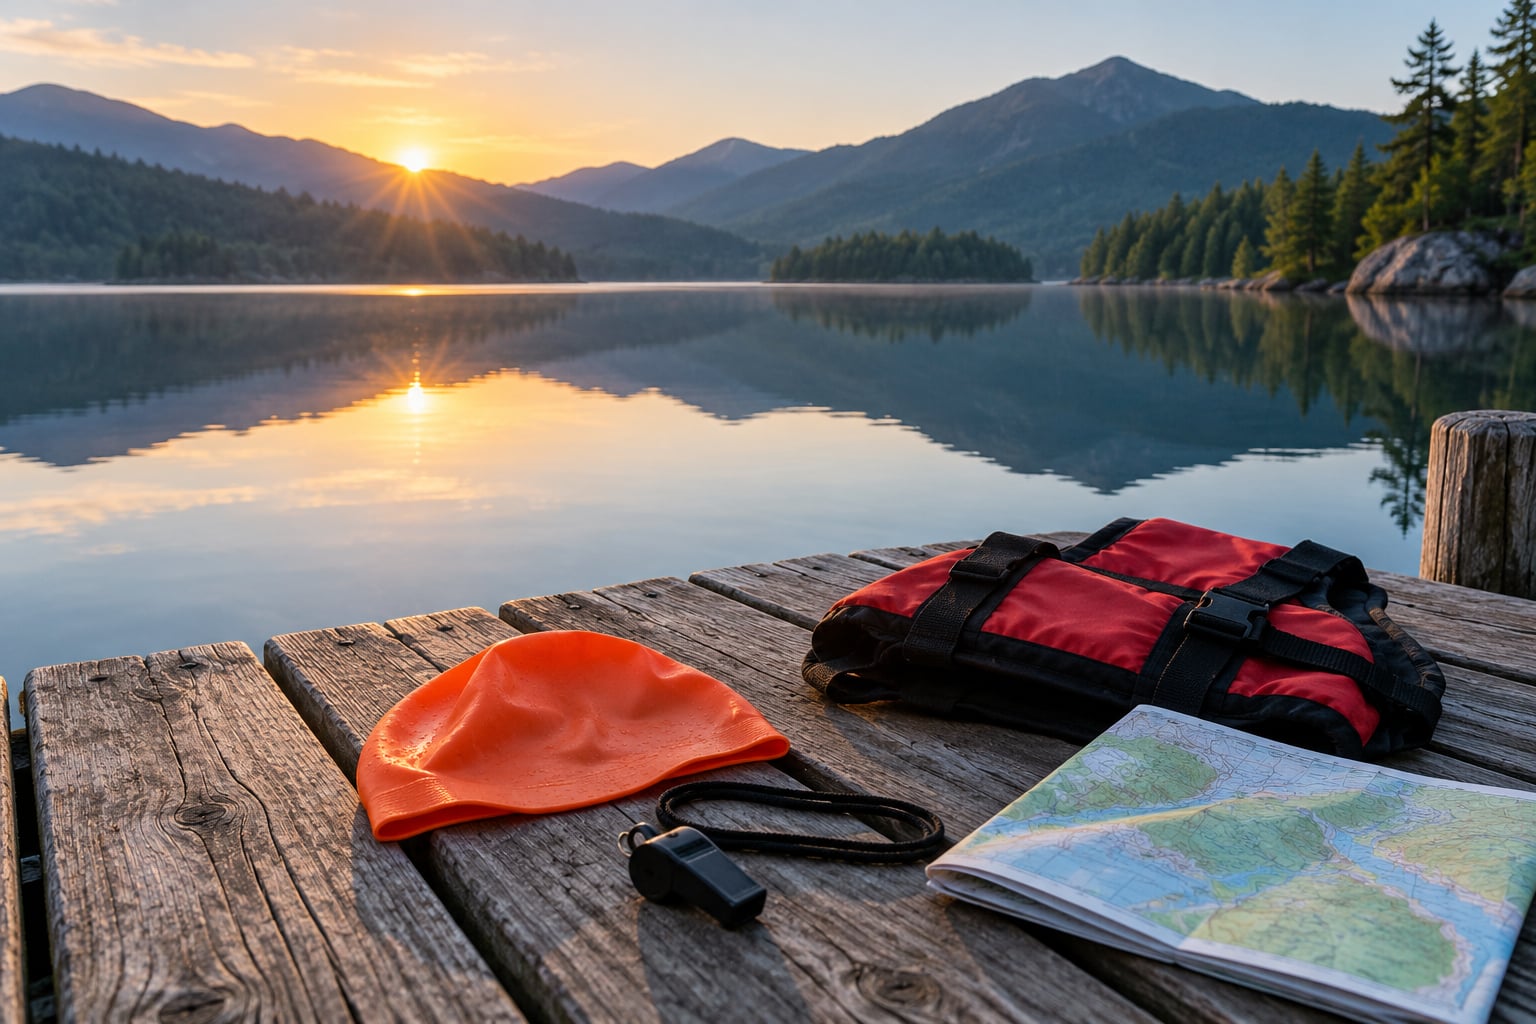
Something bright. A fluorescent swim cap, a tow float or a safety buoy on a waist belt. Powerboat skiers and paddlers need to see you well before you see them. On a busy lake this is the difference between being spotted and being a surprise.
Throwable flotation at the shore. A ring buoy, a throw line, or a sturdy floating object near your entry and exit point. If someone goes in trouble, reaching and throwing costs you nothing and puts nobody else in the water.
A phone in a waterproof pouch and a whistle. The whistle carries. The phone tells someone where you are.
Warm dry clothes waiting at the exit. Not in the car. At the spot you’ll actually come out, because shivering stops people from making decisions.
A written plan. Entry point, exit point, route, companions, expected return time, and who to call if you’re late. Five lines in your phone is enough.
Step-by-Step: How to Swim Safely in Open Water
1. Check the Conditions Before You Enter the Water
Stand at the shore and look before you swim. What’s the forecast — wind, thunder, rain arriving? Is the water clear enough to see the bottom at chest depth? Are there boats, and where’s the channel? Is the water temperature something you can handle for the length of time you plan to be in?
Check for the lake-specific stuff too: green or brown water suggesting an algae bloom, water that looks unusually dirty after heavy rain, floating debris near culverts and storm drains, and post signs about water quality or E. coli advisories. Runoff carries bacteria, and local advisories exist for a reason.
You’ll know it worked when you can answer three questions out loud: how long am I in, where do I come out, and what would make me turn back. If you can’t, postpone the swim. Uncertain conditions are a reason to wait, not a reason to push through.
2. Choose a Safe Swimming Area With a Reachable Exit
Use a designated swimming area where one exists — a lifeguarded beach, a supervised dock, a marked zone at a managed venue. They’re zoned precisely because currents, boat traffic and drop-offs are predictable there.
On wild water, pick your exit point first and choose where you enter based on it. You want a spot where the bottom is visible, the bank is firm rather than crumbling, and you can climb out without jumping from a height or scrambling over a ledge.
Walk the water rather than guessing. Feel for drop-offs, rocks, stumps and weed beds with your feet before you commit to swimming over them. A lake can go from knee deep to over your head in two steps. Note where the boat lane runs, and stay out of it. In a river, work out where the current takes you and whether there’s an eddy or a bank on the far side that lets you get out.
You’ll know the spot is right when you can point at where you’ll leave the water and describe the ground you walked over.
3. Tell Someone Your Plan and Set a Check-In Time
Say who you are, where you are going, who you’re with, how long you expect to be gone, and when you’ll check back. If nobody checks in by a set time, that person calls emergency services or the park office.
Make it specific enough to act on. “Swimming at the lake” is useless at 6pm when it’s getting dark. “Entering at the north boat ramp, swimming the shoreline to the point, out by half past four, tell Dana, she calls the ranger station if I’m not answering by five” is a plan someone can act on.
For a group swim, agree on who counts heads and how often. For a child, that’s not optional — a designated water watcher with their phone and no other job. If a swimmer goes quiet, check the water first rather than assuming they’re just cold.
4. Use the Right Protection for Your Ability and the Water
Match protection to the swimmer, not to the weather. A child learning to swim needs a Coast Guard-approved life jacket and an adult within arm’s reach. An adult who can swim but is cold, tired or in a current is better off in a wetsuit plus a tow float than in a thin vest.
Know what each thing does and doesn’t do. A buoyancy aid keeps your face and chest out of the water. A tow float gives you something to hold onto and makes you visible. An inflatable provides nothing you should rely on once you’re in moving water. A wetsuit buys you exposure time — it also needs to fit well or it drags.
For visibility, wear a cap in a colour nobody would mistake for a buoy, and put goggles under the cap strap so they stay on your head. A little anti-chafe balm on your neck, armpits and groin pays off on a long swim, but petroleum jelly breaks down neoprene, so keep it off the wetsuit itself.
5. Start Shallow and Build Confidence Gradually
Cold water triggers an involuntary gasp — cold water shock — before your body can think about it. You can reduce it by entering slowly: walk in to waist depth, stand there for a minute or two, breathe normally, let water run down the back of your wetsuit so your spine registers the cold first, then wade deeper until you’re comfortable putting your face in.
Get your breathing and floating sorted in chest-deep water before you swim anywhere. Practise floating on your back with no kicking. A wetsuit adds buoyancy, so most swimmers can find that position in one.
Your first swim should be short — 10 to 15 minutes, close to shore, within sight of the entry. Build from there. Everyone starts near the bank; the swimmers who look like they were born in the water are the ones who spent a season ten metres out.
How cold is too cold? As a rough guide, below about 50°F (10°C) treat cold water as a serious exposure risk regardless of fitness, and keep sessions short. Between 50 and 60°F (10-16°C), most adults are fine for 30 minutes in a wetsuit. Above 60°F (16°C), the cold-water risk drops sharply. Nobody should set a personal limit based on someone else’s cold tolerance.
6. Swim With Visibility, Pacing and a Clear Route Home
Pick a landmark before you start — a buoy, a flag, a tree, a building, a jetty — and check it regularly. That’s sighting, and it’s how you stay oriented when there’s no wall and no lane rope. In flat water with glare it can take real practice, so try the drill on land: stand in your swim spot, pick three landmarks, turn around, and find them again.
Keep your buddy within talking distance. Stay inside the marked area or parallel to the shore rather than crossing open water, so your exit stays close. Swim at a pace you could hold for twice the planned distance, and pick the stroke that lets you breathe without lifting your head out of the water — a relaxed, even rhythm stops small worries turning into panic.
Watch the sky and the water as you go, not just at the start. Wind can turn a flat lake into a rough one in twenty minutes.
7. Know When to Get Out
Most trouble starts with a swimmer deciding to push on when the sensible move was to turn back. Warning signs include a cramp, uncontrollable shivering, dizziness, confusion, chest pain, unusual fatigue, blurred vision, cold hands that won’t close, or a current that keeps strengthening.
The response is always the same: stop, get your breathing under control, and head for the nearest exit. Not the planned one — the nearest one. Staying put to preserve the plan is how plans turn into incidents.
If you get a cramp mid-swim: stop kicking, float on your back or hold the buoyant aid, stretch and massage the muscle gently, and swim back slowly with short strokes on the cramping side. Cramps usually come from fatigue, cold or dehydration rather than a sudden fault in the muscle.
And if you’re in trouble yourself, the priority is staying buoyant, not moving. Lean back, let your body float, keep breathing, signal for help. Swimming a tired swimmer out of trouble is what turns one accident into two.
Common Mistakes That Get Swimmers Into Trouble
Swimming alone. A small, calm lake is still water you can’t see the bottom of, and the reason we insist on a buddy is that most emergencies are medical or sudden — a cramp, a slip, a cold-water incident. Fix: no swimming alone, no exceptions, however well you know the lake.
Entering unfamiliar water. People die on submerged stumps and rock shelves a foot below the surface, in places they swam last summer without looking. Fix: walk it first.
Ignoring flags, signs and local advice. A red flag at a beach means the water is unsafe for swimming today, not that conditions are interesting. Fix: check posted warnings and closures before you change.
Treating a life jacket as a guarantee. A flotation device manages risk. It doesn’t make an exhausted swimmer able to fight a rip current, and an inflatable certainly doesn’t. Fix: wear the right device for the situation and still swim within your ability.
Overestimating your ability. Pool fitness doesn’t transfer. You can’t see the bottom, you can’t stand up, and there’s no wall to push off from. Fix: start in a supervised area, close to shore, and repeat the same route until it’s boring.
Swimming after drinking. Alcohol impairs judgement, coordination and the ability to stay warm, and it increases the risk of hypothermia. Fix: don’t swim after drinking, full stop.
Ignoring a weather front. Storms build fast over open water, and lightning can reach a swimmer well before the rain arrives. Fix: check the forecast and radar, and get out early if a front is coming.
Trying to rescue someone by swimming to them. This is how a single drowning becomes a double. Fix: reach, throw, don’t go. Reach out with a stick, a branch or a boat hook. Throw a ring buoy, a throw line, a ball, or anything that floats. Don’t enter the water to save someone unless you are trained, equipped and there’s no other option.
Under-supervising children. Open water needs touch supervision: an adult within arm’s reach, watching the water and not the child. Fix: assign one sober, undistracted watcher and rotate them out regularly — a fifteen minute break every fifteen minutes keeps attention sharp.
Safety and Comfort Tips
Apply sunscreen before you enter and reapply after, because water strips it off faster than you’d expect. Wear a rash vest or top under your cap if the sun is strong; sunburn on a long swim ruins the next day and the recovery.
Bring a drink and take it before you’re thirsty. Hydration matters more in open water than in a pool because you’re working against current and sun with no shaded break.
Build distance gradually — add time in small increments rather than doubling a swim. Keep recovery breaks short and stay inside sight of shore while you take them, because a break is where people let conditions creep up on them.
Swim with a bright cap or buoy whenever boats are nearby, and check whether your local rules require watercraft to keep a specific distance from swimmers. Some lakes and channels have separate lanes marked for paddlers.
Keep a head torch and a whistle for dawn and dusk swims, and skip dusk swimming entirely until you’re comfortable reading the water in low light.
Frequently Asked Questions
Can a strong swimmer safely swim alone in a lake?
No. Even strong swimmers get cramps, cold-water incidents and sudden medical events that they cannot manage alone. A buddy sees what you cannot see, and if something goes wrong, someone needs to raise the alarm. If you want to swim alone, the safer compromise is a supervised venue or a swim group, plus a written plan left with someone on shore and a check-in time.
What should I do if I get caught in a current while swimming?
Stay calm and stop fighting it. Float on your back until you can breathe and think clearly. Then swim parallel to the shoreline, out of the flow and toward breaking waves or calmer water, rather than straight at the shore. Once you feel the current ease, angle back in and head for the nearest exit point you can reach safely.
How cold is too cold to swim in open water?
There is no safe universal number, because fitness, wetsuit thickness and acclimatisation all change the answer. As a rough guide, treat anything below 50F as a serious exposure risk and keep the session short. Between 50F and 60F most adults manage 30 minutes in a wetsuit. Set your own limit rather than copying someone else who seems comfortable.
Is wearing a life jacket enough to make open-water swimming safe?
No. A life jacket or buoyancy aid keeps you at the surface so you can breathe, but it will not stop you being pulled into rocks by a current, and it does nothing for hypothermia or a medical emergency. Flotation reduces risk in specific situations, especially for children, weak swimmers and cold water. It never replaces supervision, swimming ability or good judgement.
How should children be supervised when swimming in a lake?
Use touch supervision: one sober, undistracted adult within arm’s reach of the child the entire time. Assign a designated water watcher rather than rotating loosely, and give them a break roughly every fifteen minutes because attention fades quickly. Keep the child in shallow, visible water, and remember that a life jacket reduces risk without making the risk zero.
Should I swim after drinking alcohol?
No. Alcohol impairs judgement, coordination and balance, and it speeds up heat loss in cold water, which raises the risk of hypothermia. It also makes it far more likely that you will swim too far or ignore a warning sign. Leave the alcohol for after you are out of the water, dried off and safely home.
Conclusion
Start with the five habits that prevent almost every open water problem. Check the conditions and postpone if they’re uncertain. Pick an area you can exit from and walk the bottom before you commit. Tell someone your route and your check-in time. Wear flotation that suits your ability and the water temperature. Stay visible, stay close to shore at first, and keep a landmark in sight the whole way.
Then listen to what your body is telling you. Cramp, shiver, dizzy or confused — that’s your cue to turn back, and no distance is worth swimming on. Getting out early feels fine. It’s the swim you push through that turns into the call you don’t want to make.