Winterizing an RV is draining and protecting every water line, tank, heater and drain so nothing freezes and splits while the rig sits unused. How to winterize an RV after lake season comes down to two things: get the water out, then keep electricity, propane and critters out. Plan on most of a weekend day, and do it before the first hard freeze rather than on a calendar date.
Lake rigs are a slightly worse case than inland ones. Your fresh tank has been filled from a campground well or a marina tap, so it carries mineral residue, warm-water algae and the start of an odor that gets worse all winter. If the rig is going to a marina slip or a campground pad, add damp humidity and whatever lives in the woods behind the pad to the list.
Below is the sequence I use. It is the same order most manufacturer service guides describe, with the lake-specific bits folded in.
Table of Contents
- 1What You Need
- 2How to Winterize an RV After Lake Season Step by Step
- 31. Before You Go: How to Winterize an RV After Lake Season
- 42. Clean and Dry the RV
- 53. Drain and Protect the Fresh-Water System
- 64. Protect Wastewater and Plumbing Lines
- 75. Service the Battery and Electrical System
- 86. Stabilize Propane, Gas, and Appliances
- 97. Prepare the Exterior for Lake-Season Storage
- 108. Choose Indoor or Outdoor Storage
- 11Common Mistakes
- 12Fix Mistakes Before the RV Goes Into Storage
- 13Quick Final Checks Before Storage
- 14Frequently Asked Questions
- 15Do I need to winterize my RV every year?
- 16Is it too cold to keep an RV plugged in during winter?
- 17Can I use RV antifreeze in the fresh-water tank?
- 18Should I leave the RV battery connected while it is stored?
- 19What should I do with propane before storing an RV?
- 20How do I keep mice and insects out of an RV stored outdoors?
- 21Conclusion
What You Need
Gather everything before you open a valve. Halfway through a drain job with no wrench in the truck is how the job gets rushed, and rushed winterization is how lines burst.
- Your owner’s manual and the RV-specific winterization sheet for your model. Bypass valves and low-point drains move between model years.
- Non-toxic RV antifreeze (propylene glycol) in a quantity matched to your plumbing layout. Never automotive antifreeze.
- Basic hand tools – open-end wrenches and a socket set that covers your gate valve and petcock fittings, plus a screwdriver and pliers.
- A blow-out plug that fits your city water inlet, or a capped hose connection.
- An air compressor, oil-free preferred, if you plan to blow the lines dry instead of filling them with antifreeze.
- Battery maintainer or a smart charger matched to your battery chemistry, plus a wrench for the terminal clamp.
- Pest deterrence – baited traps, mesh vent covers, dryer sheets or a rodent-repellent product, and sealing caulk.
- An RV cover if the rig will live outdoors and uncovered.
On quantity, most owners land somewhere around half a gallon per wet fixture, and a full galley bath travel trailer usually eats three to five gallons total once you include the outdoor shower, toilet and traps. A Class C or Class A with a larger kitchen, two baths and an outdoor kitchen can run eight to twelve. Buy one extra gallon over your estimate. Nobody has ever complained about a leftover jug.
Non-toxic RV antifreeze is rated far below zero, commonly to minus fifty degrees or lower, which is well beyond any lake-region winter. The catch owners argue about in every forum thread is that mixing antifreeze with residual water raises the effective freeze point, and that is the argument for blowing the lines dry instead.
How to Winterize an RV After Lake Season Step by Step
1. Before You Go: How to Winterize an RV After Lake Season
Start with a manual read and a walk-around, not with tools. You want to know where your bypass valve, low-point drain, water pump inlet and petcock valves live before you are lying under a cabinet in the dark.
Check the ten-day forecast for overnight lows. Once lows dip below freezing, you are on a clock. Inspect the undercarriage and belly panels for leaks, water staining, fresh rodent damage or chewed wiring, because a leak you find now takes ten minutes and a leak you find in April takes the floor out.
Also decide now whether you are storing indoors or outdoors, and whether the RV stays connected to shore power. Both answers change the electrical and propane steps below, so make the call before you start rather than halfway through.
2. Clean and Dry the RV
Pull everything out. Food, opened packages, canned goods, paper towels, cleaning chemicals, pillows, towels and soft goods all go home with you or into the trash. What stays is what does not spoil or attract animals.
Wash the interior, launder the bedding, and wipe down counters and the fridge. Then leave every cabinet, closet and storage bay open for a day or two so trapped damp can move out of the wood. After a lake season there is usually a film of grit and damp in the corners that will smell badly in February if you close it up wet.
Run the fans and open the windows on a dry, breezy day. You are trying to get the interior below outdoor humidity before anything is sealed up.
3. Drain and Protect the Fresh-Water System
Shut off the water at the source. Disconnect the city water hose or the campground supply entirely, then open the main supply valve inside so you are not holding pressure against an open fitting.
Turn on the water pump and run every faucet, shower and fixture – hot and cold – until the pump stops priming and the last of the water comes out. That last spurt is the part people miss.
Open every low-point drain and petcock, starting at the lowest point in the system and working upward, and let the fresh tank and the lines empty. If your fresh tank holds a well-water fill, flush it rather than just draining it; a stagnant warm-water tank with algae in it will re-seed the whole system in spring. Bypass or remove the inline water filter cartridge, because antifreeze ruins it.
For the water heater, close the cold supply valve at the heater, open the drain valve or petcock on the heater itself, and let it empty. On a tank that uses an anode rod as its drain, pulling the rod is how it empties.
4. Protect Wastewater and Plumbing Lines
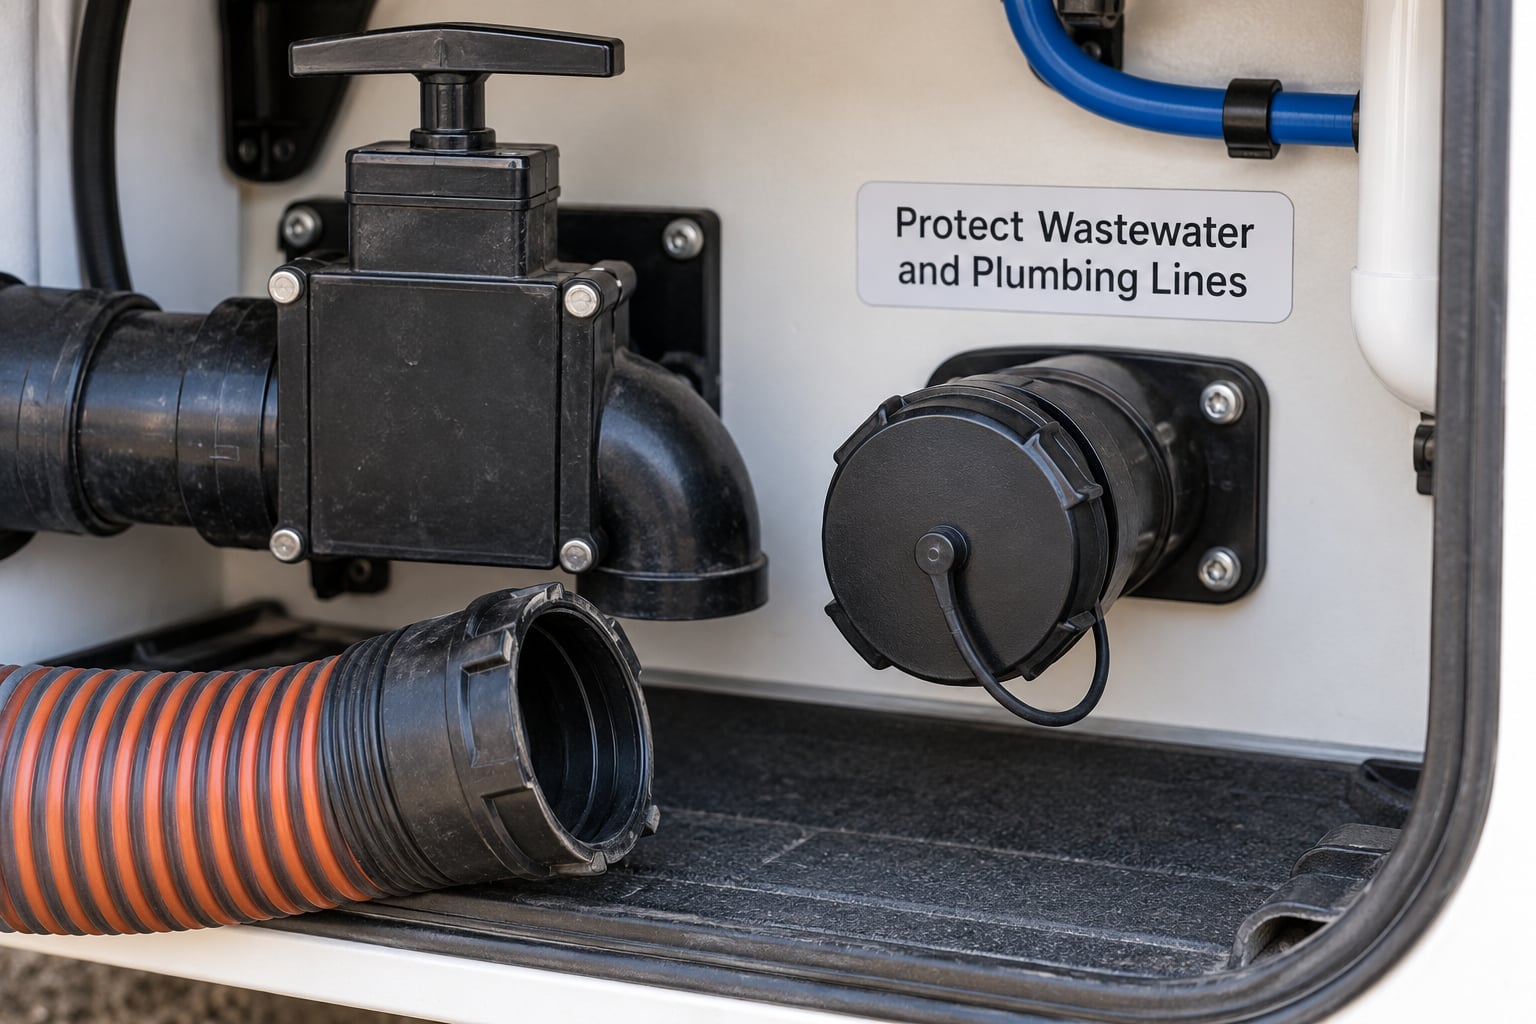
Empty the grey and black tanks completely and run the tank flush if your model has one. Fill them with water, add the flush treatment, run the wand, and drain until the discharge runs clear. Anything left behind freezes solid and can split the tank body.
Confirm every drain valve is fully closed by hand, then disconnect the sewer hose and cap the fitting so sewer gas cannot come back up the line. Do the same with the exterior shower hose and any outdoor kitchen sink, which gets forgotten more than it should.
Now protect the lines themselves. On a wet method you run antifreeze through the system until pink fluid appears at every faucet, then pour about a pint down each drain, P-trap and the toilet bowl. Leave every faucet and valve open so nothing is trapped under pressure.
On a dry method you attach the compressor, blow each line out one fixture at a time until nothing but air comes out, and repeat until it stays dry. A lot of owners do both: air first, then antifreeze, then air again as a safety margin.
The water pump is the weak spot in the air-only method. Air pushed through the inlet does not reliably clear the pump head, and owners across the RV forums keep flagging it as the one place a blow-out leaves water behind. If you blow out only, disconnect the pump inlet and tip the pump to drain it, or accept that you should have used antifreeze.
5. Service the Battery and Electrical System
Clean the battery terminals with a wire brush and a baking-soda solution, then check the cable routing so nothing chafes against the frame over a winter of vibration.
Then pick one of two paths. If the rig stays on shore power at a marina pedestal or a campground pad where you trust the circuit, leave the battery connected and put a quality maintainer on it. If it is stored somewhere unattended or outdoors with questionable power, disconnect the negative terminal so a slow parasitic draw cannot flatten the batteries over three months.
Make sure any maintainer you use matches the battery chemistry. A charger that is wrong for the battery can do more harm than a full disconnect.
6. Stabilize Propane, Gas, and Appliances
Shut off the propane at each appliance – the valve on the water heater, the valve on the range, the valve on the fridge – then close the valve on the cylinder or on the regulator. The order matters; closing the tank first just leaves the appliance valves open to a line that still reads as live.
For storage where the cylinders stay in place, close the regulator and secure the cylinders so they cannot shift. Where the rig is stored away from the cylinders, disconnect them and store them upright outdoors in a shaded, ventilated spot away from the RV. Never store a cylinder inside a closed vehicle or enclosed space.
Clear the fridge of food, leave a door or two ajar if you are keeping it powered, and cover the outside vent and the range hood so nothing nests in them. Follow your manual’s gas-system instructions if your model uses a different arrangement.
7. Prepare the Exterior for Lake-Season Storage
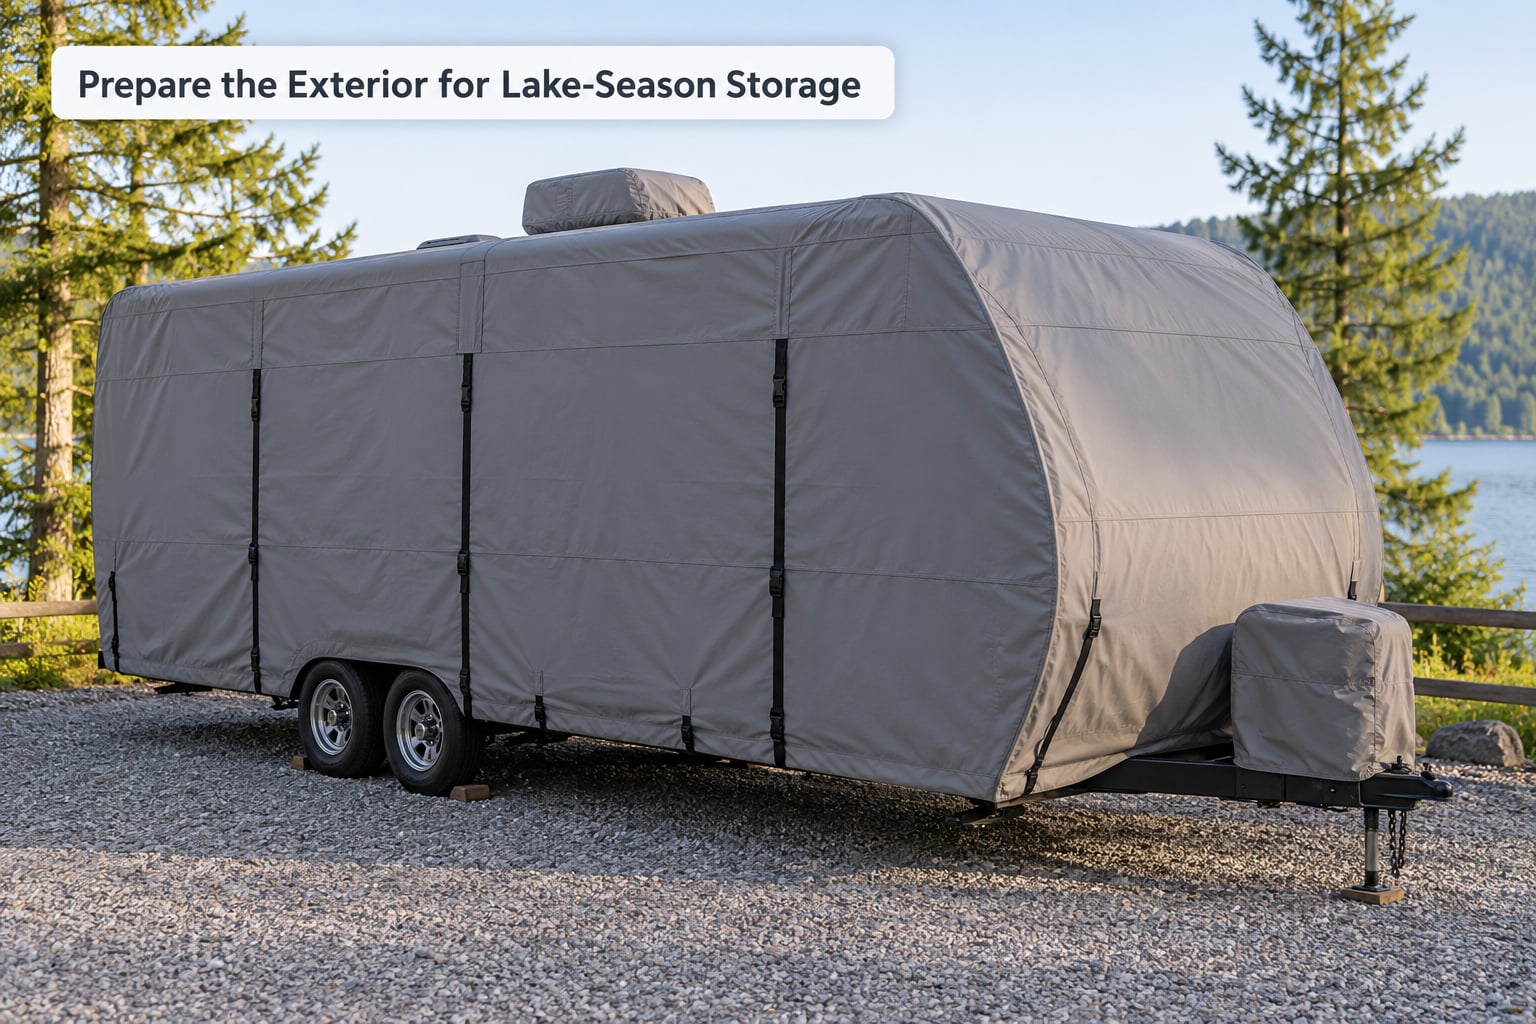
Wash the body and undercarriage before you cover anything. Lake mud holds salt and moisture against the frame, and covering a dirty rig just seals that against the paint for the whole winter.
Walk the seals. Look at roof seams, window gaskets, around the sewer vent, at plumbing bay doors and at every place the body panels meet. Reseal anything open or tired, and seal any gap larger than a pencil with exterior-grade sealant or mesh. That is the pest work, and doing it now is far easier than doing it with a flashlight in March.
Inspect the tires. Check pressure cold, look for cracking or bulges, and confirm the spare is sound. A rig that sits on one spot for months can develop a flat, so move it a few inches every few weeks if you can, and use the RV’s own jacks or stands rather than a cheap stack of lumber if the surface will not carry the load.
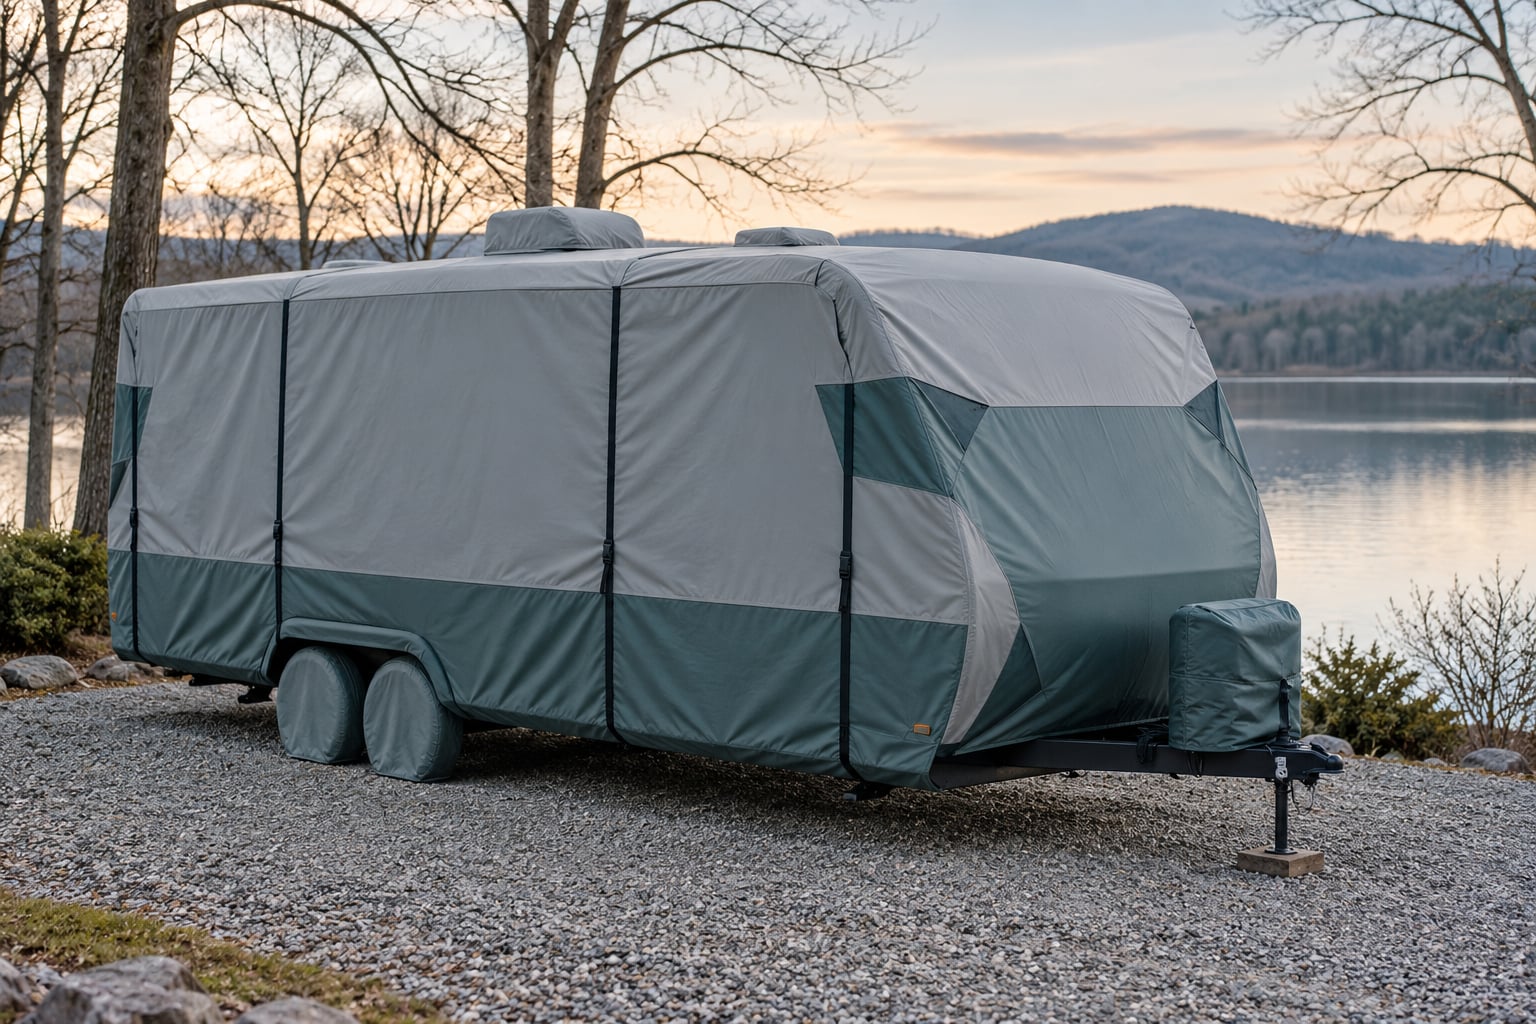
Close vents and windows without trapping moisture. Inside a sealed coach the temperature swings with the sun, and warm humid air condensing on a cold roof is how mildew starts. If you are covering, leave a breather vent cracked and put the cover on loosely enough not to pinch anything.
8. Choose Indoor or Outdoor Storage
Indoor, climate-controlled storage is the simple answer. Temperatures stay above freezing, no freeze protection is strictly required, pests are largely out of the picture and the paint and seals take far less abuse. It is the only real option for a Class A with hydraulics that should not sit.
Outdoor is the common one, and it is fine with the steps above. Use a firm, level, well-drained surface so the coach does not settle unevenly, and avoid parking under trees where you will be fighting sap, birds and rodents all winter.
Then close the loop on pests. A mouse can get through a quarter-inch gap and will nest inside a wall cavity where you will not see it until the smell. Baited traps inside the bay, mesh over the fridge and furnace vents, sealed penetrations, and no stored paper or food inside.
Finally, decide how often someone will walk it. A monthly 10-minute visit to check the battery, look for leaks, look for new entry holes and confirm the cover is still on is the difference between a rig that comes out of storage ready to go and one that needs repairs first.
Common Mistakes
Fix Mistakes Before the RV Goes Into Storage
- Leaving water in the lines. One split line behind a cabinet releases a lot of water into the subfloor. Blow out or fill every line, and do not trust a single pass.
- Storing a battery fully discharged. Lead-acid batteries lose charge sitting cold and disconnected, and deeply discharged batteries often do not recover. Disconnect only if you are putting a maintainer on, or charge fully and top off monthly.
- Using automotive antifreeze. Ethylene glycol is toxic, tastes sweet, and belongs nowhere near a potable system. Propylene glycol RV antifreeze only.
- Putting antifreeze in the fresh-water tank. This is the single most repeated warning across owner forums and manufacturer guides. Never. Pump it through the lines instead, with the tank empty.
- Failing to cap or close an opening. An uncapped city water inlet, an open sewer fitting or an open petcock will either leak or draw in pests.
- Covering a wet or dirty RV. Wet surfaces under a cover turn into mildew, and a cover over lake mud holds it against the frame.
- Closing the propane valves but leaving the cylinders loose. An unsecured cylinder shifts, and a regulator left open can vent.
- Neglecting tires and pests. Flat spots and chewed wiring are cheap to prevent and expensive to fix.
Quick Final Checks Before Storage
Do one last pass with the checklist in your hand before the cover goes on.
- Fresh, grey and black tanks are empty and drain valves are closed by hand.
- Every faucet, shower, valve and trap is filled with antifreeze or verified dry.
- Water heater is bypassed and drained; inline filter is bypassed or removed.
- Battery is connected to a maintainer or disconnected and fully charged.
- No leaks under the rig, and no damp on the floor.
- Tires inflated to the pressure on the door-jamb label, with no visible cracking.
- Appliance valves, cylinder valve and regulator are closed.
- Cover is on, vents are appropriate for the method you chose, and the storage surface is level.
- Traps are baited and vent mesh is in place.
Note the date of that inspection and the method you used on the job order. In spring, that note is the difference between remembering to sanitize the tank and wondering why the water tastes like a chemistry lab.
Frequently Asked Questions
Do I need to winterize my RV every year?
If your RV sits unused for more than a few weeks and nobody is running a heater or keeping the plumbing warm, yes. The trigger is temperature, not the calendar: winterize before forecast overnight lows dip below freezing. If the rig is stored indoors above freezing or you run it monthly just to keep everything moving, you can get by with draining the tanks and topping off the battery instead.
Is it too cold to keep an RV plugged in during winter?
No, plugging in during winter is one of the better things you can do. It keeps the batteries charged, lets you run a maintainer, and preserves interior electronics. The rule is that the outlet must be on a circuit you trust, with working ground fault protection, and the pedestal or pad must be maintained so the connection does not corrode or freeze.
Can I use RV antifreeze in the fresh-water tank?
No. Never put antifreeze in the fresh-water tank. It is a plumbing protection fluid, not a potable one, and getting it out of a tank is a miserable job. Pump it through the lines with the tank empty instead, and collect it at each fixture to confirm it arrived. Automotive antifreeze is worse, not better.
Should I leave the RV battery connected while it is stored?
Leave it connected only if a maintainer or smart charger is on it and the shore power is reliable. Otherwise disconnect the negative terminal so parasitic draw cannot flatten the batteries over a cold winter. Whatever you choose, the cables should be clean and secured so they cannot chafe, and the charger must match your battery chemistry.
What should I do with propane before storing an RV?
Shut off each appliance valve first – water heater, range, fridge – then close the cylinder or regulator valve last. If the cylinders stay with the rig, secure them so they cannot shift. If they come off, store them upright outdoors in shade and ventilation, well away from the RV. Follow your manual if your model has a different gas arrangement.
How do I keep mice and insects out of an RV stored outdoors?
Seal first, then trap. Close and reseal roof seams, window gaskets, plumbing bay doors and any gap larger than a pencil, and cover the fridge, furnace and roof vents with mesh. Remove all food and paper from inside, set baited traps in the bay and closets, and re-check monthly. A mouse nests inside a wall cavity where you will smell it long before you see it.
Conclusion
If you only remember three things from how to winterize an RV after lake season, remember these. Find the bypass valve and low-point drains in your owner’s manual before you touch anything, get every last drop out of the lines and traps, and never put antifreeze in the fresh-water tank.
Do the water system first because it is the part that causes the expensive damage, then the battery, then the gas. Schedule a monthly walk-around for the whole storage season, and do not close it up until the leaks are fixed and any pest problem is handled. Updated for 2026.