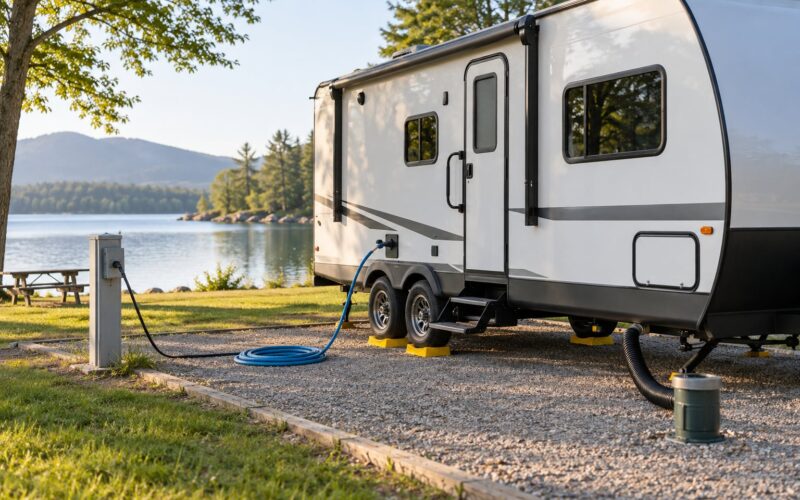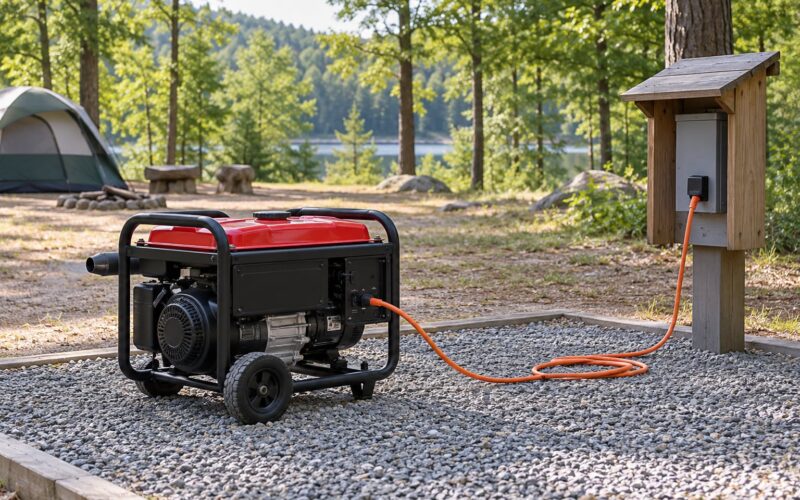
Filling an RV fresh water tank safely comes down to four things: a water source you have confirmed is potable, a hose dedicated to drinking water, a pressure regulator on the connection, and a slow fill so trapped air can escape. Do it at your home driveway with the rig level, and the whole job takes about 15 minutes for every 40 gallons.
Most tanks are gravity filled. Water runs from the source through the fill neck and settles into the tank underneath the floor, while a vent line pushes air back out. Get any one of those three things wrong and the tank under-fills, the hose blows apart, or you end up with water you would not want to drink.
Last updated October 2026. We run this process on our own rig at the start of every trip, and the mistakes below are the ones we have actually made.
Table of Contents
- 1What You Need
- 2Step-by-Step: How to Fill RV Fresh Water Safely
- 3Check the RV and Freshwater Tank First
- 4Use a Potable Water Source
- 5Fill the Tank Slowly and Monitor the Level
- 6Flush the System If the Tank Was Stale or Contaminated
- 7Close, Inspect, and Sanitize the Fill Area
- 8Common Mistakes
- 9Frequently Asked Questions
- 10Can I fill my RV with non-potable water?
- 11Is potable water at a campground drinkable?
- 12How long does it take to fill a freshwater tank on an RV?
- 13Why is my RV fresh water tank not filling up?
- 14Do I need a pressure regulator to fill my RV fresh water tank?
- 15What additive should I put in my RV fresh water tank?
- 16How Long Can RV Fresh Water Stay in the Tank?
What You Need
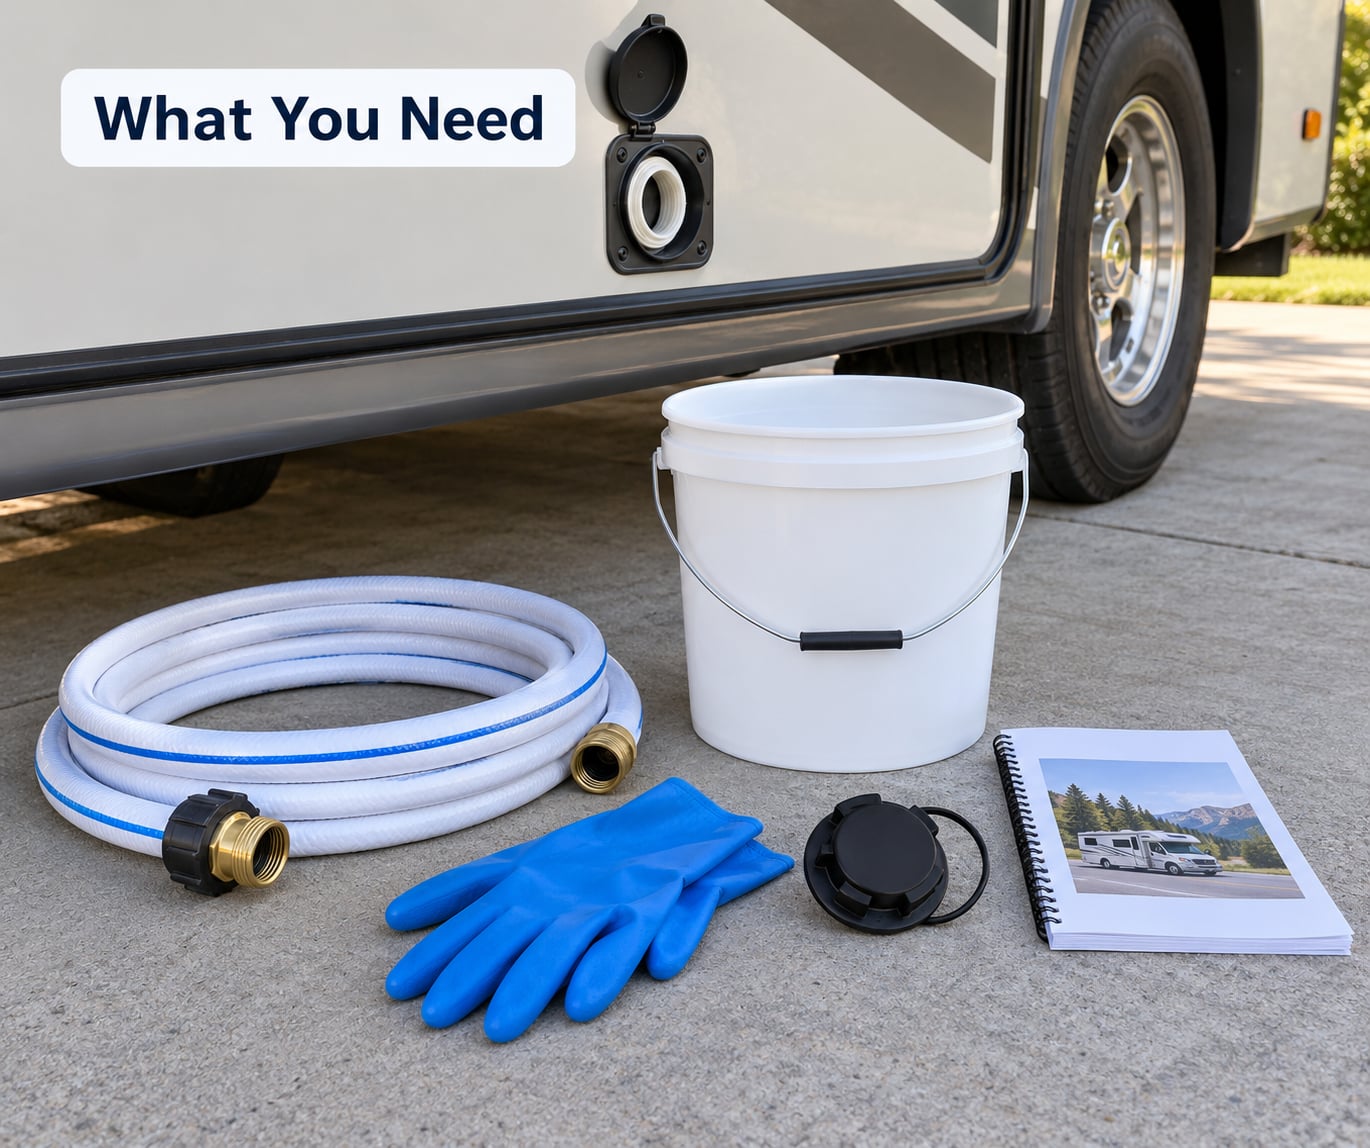
Gather everything before you open the cap. Running out to the spigot halfway through a fill because the adapter is in the truck bed is the most common way this job turns into a mess.
- The owner’s manual. Your RV manufacturer is the only authority on where your fill port is and which valve has to be open.
- A dedicated potable water hose. Many owners use a short drinking-water-safe hose or a Zero-G style hose kept permanently in a clean bag, never anything used on the RV wash station or the garden.
- A pressure regulator. Campground and travel-center pressure is often higher than a tank wants.
- A water spigot tool or an on/off adapter. Campground spigots are frequently non-threaded, and a rubber adapter without a clamp can pop off under pressure.
- An inline filter if you plan to drink from the tank without a canister system.
- Gloves, a clean bucket and a spare cap. The bucket also doubles as an air-gap vessel when you fill from containers.
- A confirmed potable water source. Municipal spigot, campground fill station, or a bulk potable fill station you have personally verified.
Step-by-Step: How to Fill RV Fresh Water Safely
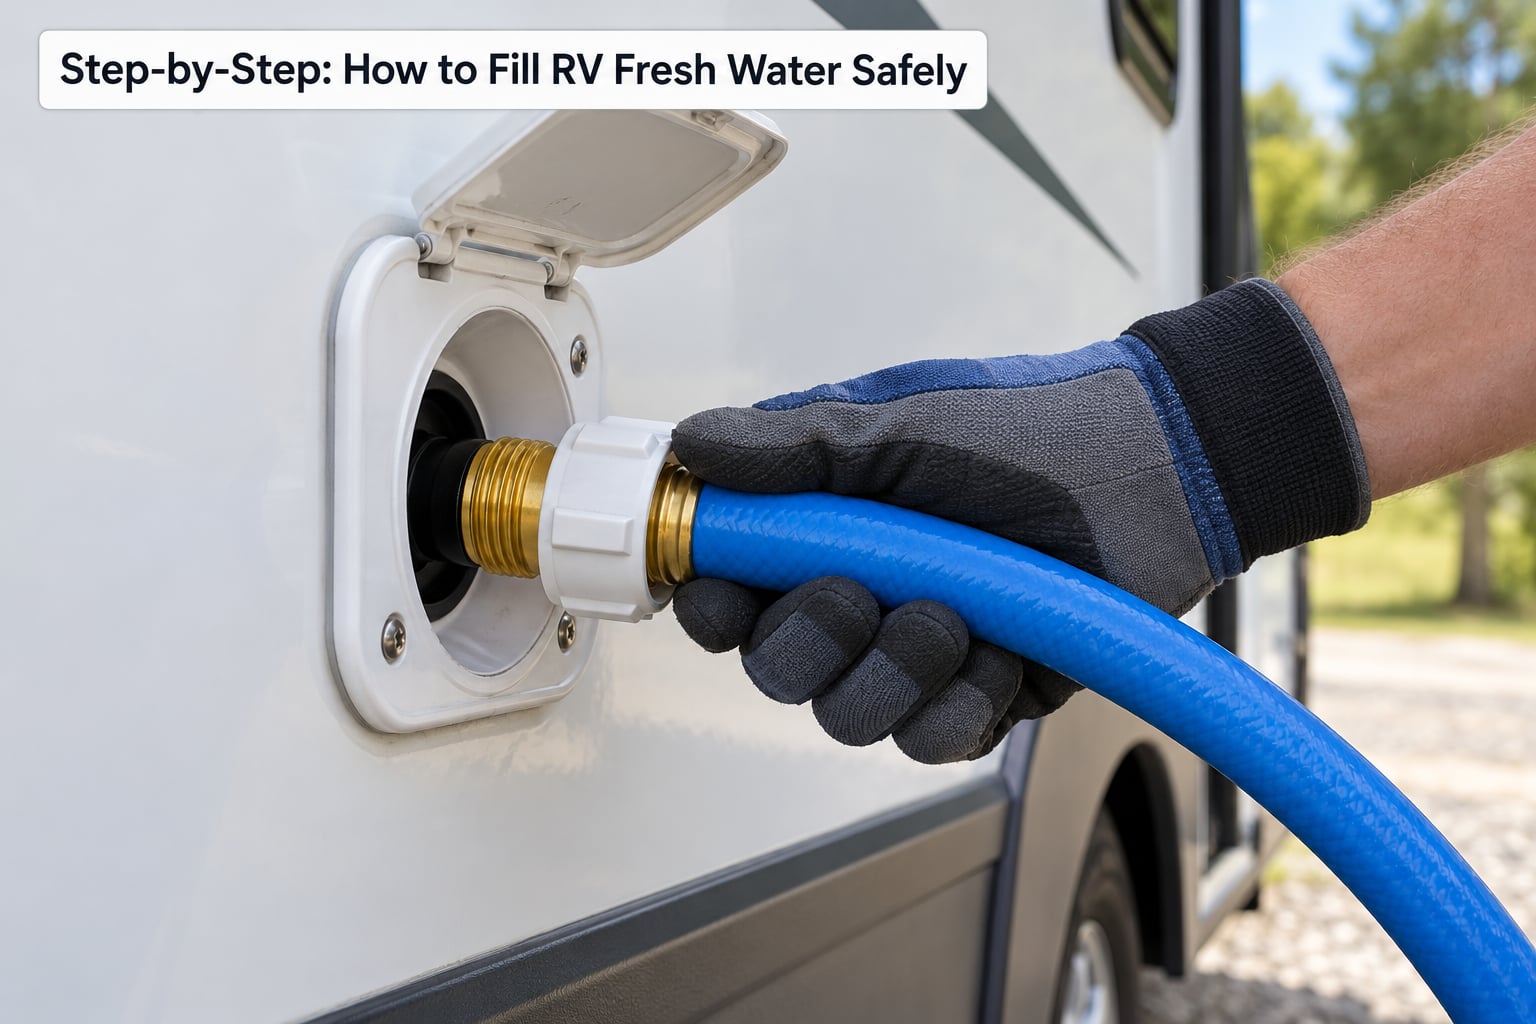
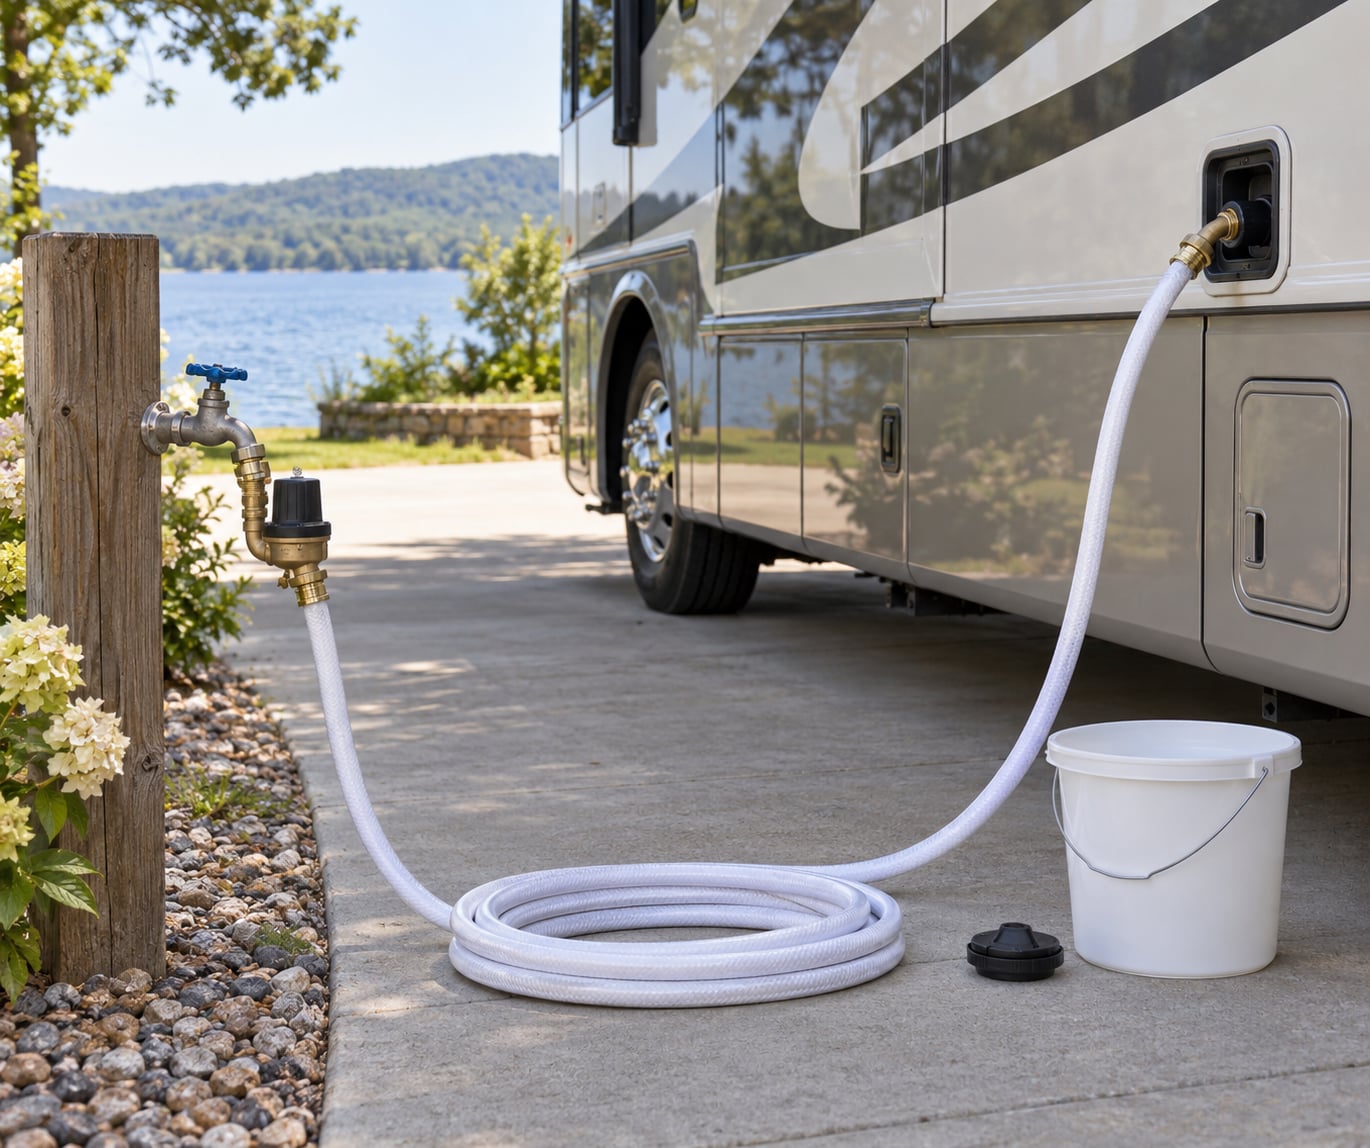
Park the RV on level ground and shut off the RV’s 12V water pump while you work. Work from the source side toward the RV: regulator first, then filter, then hose, then the on/off adapter, then the elbow fitting, then the fill neck. Reversing that order is how people end up with a regulator that does nothing.
Check the RV and Freshwater Tank First
Locate the freshwater fill port. On most rigs it is a labelled cap on the driver’s side or the rear, often within a few feet of where the plumbing enters the floor, and it is not always where you expect it. The RV Living forum threads are full of owners who filled the toilet tank first because nobody checked a label.
Then find the fresh water tank valve itself. This is the single most common reason a tank will not fill, because owners confuse it with the cold-water bypass valve near the water heater. If the tank valve is shut, water goes nowhere and the fill neck simply runs dry.
Open a cold faucet on the cold side for a minute to vent the lines, and take a look at the tank gauge if your rig has one. You have done enough when the valve is open, the pump is off, and the trailer or camper is sitting flat.
Use a Potable Water Source
Ask two questions before you connect anything: may I use this water, and is it potable. Spigot colour tells you nothing, because an unmarked or mislabelled spigot at a small campground is common. The pathogens to actually worry about are Cryptosporidium and Giardia, and chlorine at municipal levels does not reliably kill either one.
Attach the regulator to the source first, then the filter, then the hose. Keep the hose end off the ground and off the RV’s painted body at all times, and never touch the fitting with bare hands if you are about to drink from that tank later.
You know it worked when the hose seats firmly and the spigot or on/off adapter stops weeping at the connection. If a rubber adapter slides onto a non-threaded spigot, clamp it. Owners have reported adapters blowing straight off without a hose clamp.
Fill the Tank Slowly and Monitor the Level
Open the fill valve at the source and start at a trickle. This is the part that matters most, and it is the step people skip. Fill fast and the tank traps air, because the vent cannot move volume quickly enough, and you end up with a tank that reads three-quarters full and never will fill again on that attempt.
Slow filling lets air leave through the vent and the overflow tube, which is why the water eventually backs up out of the fill neck. Owners on the Forest River forums describe this as the most reliable technique they know: fill very slowly until water rises out of the fill neck, let it settle a minute, then top off again.
Watch the tank gauge as you go, and remember that a full reading includes the water heater. On most rigs the heater holds 5 to 10 gallons that you cannot use right away, so a 40-gallon tank labelled full may give you 30 gallons of usable water the first morning. Weight matters too: water weighs about 8.34 lb per gallon, so a 100-gallon tank is roughly 834 lb of payload before anyone loads a bike.
Flush the System If the Tank Was Stale or Contaminated
Flush after any fill from a source you could not confirm, after a long storage period with water sitting in the lines, or after anything grew in the tank. Flush the old water out first by opening faucets until it runs clear, then sanitize.
Fill the tank about three-quarters full with plain water, add roughly half a cup of unscented household bleach per 15 gallons, run every faucet for a minute, and let it sit. Drain the tank through the fresh water drain or by siphoning from the fill neck, then refill and run the faucets until you can no longer smell chlorine. Never use automotive antifreeze, and never mix RV antifreeze into a tank you intend to drink from.
Many owners sanitise once at the start of the season and rely on chlorinated municipal water for the rest of the year. That is a reasonable habit for most rigs, but a tank that sat through a hot, closed month deserves a shock treatment regardless.
Close, Inspect, and Sanitize the Fill Area
Shut the source valve before you disconnect anything, so you do not get a faceful of water when the hose comes off. Cap the fill port, wipe the threads and the cap with a clean cloth, and check the hose connection and the area under the fill neck for dampness.
If the tank is going to sit for more than a few days, run the pump dry after the last draw so the pump does not burn out, and decide now whether you want to leave water in the lines or run them dry. Jotting the fill date and the source on a card inside a cabinet is a small habit that pays off when you cannot remember whether the last fill came from a truck stop or a city tap.
Common Mistakes
These are the errors that show up again and again in owner forums, with the fix that worked.
Using a garden hose or the RV wash hose. Both carry detergents, chemicals and yard bacteria. Use one hose kept only for potable water and nothing else, stored clean between trips.
Filling at full pressure and full speed. High pressure can rupture a tank whose vent is blocked or blow a hose apart at the fitting, and speed traps air so the tank under-fills. Use the regulator, open the valve slowly, and keep the flow thin until water appears at the neck.
Leaving the fresh water tank valve closed. Check the actual tank valve, not the water heater bypass valve next to it. This one accounts for most of the “my tank won’t fill” posts on r/RVLiving.
Filling from containers without an air gap. When pouring from a jug or bucket, keep the spout above the fill neck rather than resting it inside. One owner on the Forest River forums uses a long-neck funnel with a bracket to hold that gap open, and labels a bucket for potable water only.
Filling from five-gallon jugs by hand. It works, but it wrecks your back and soaks your clothes. Owners who do it often run a 12V bilge pump with a hose, or use the RV’s own winterize inlet as a pump-feed port by switching the pump selector and drawing straight from a container.
Skipping the flush after a questionable fill. Non-potable water in the tank means you shower and wash with it too. Shock it and flush it rather than hoping chlorine did the job.
Trusting the spigot colour. Red, blue and green heads are not certification. Ask a person, and if nobody is around, use the source anyway for washing but drink from a verified source.
Frequently Asked Questions
Can I fill my RV with non-potable water?
You can fill the tank with non-potable water for washing, showers and flushing, but never for drinking. Non-potable sources carry bacteria, and some carry chemicals that stay in the system. If the tank has held non-potable water, sanitize it with about half a cup of unscented bleach per 15 gallons, let it sit, drain, and refill with verified potable water before anyone drinks from it.
Is potable water at a campground drinkable?
Often yes, but you have to ask. Most campground and travel-center spigots are municipal potable water, and the operators will confirm it if you ask. Spigot colour is not a reliable indicator, because mislabelled and unmarked spigots are common at smaller parks. If nobody is on hand, treat the water as undrinking until you have boiled it, filtered it or added tablets.
How long does it take to fill a freshwater tank on an RV?
Plan on roughly 15 minutes for every 40 gallons, which works out to a comfortable flow of about 2.5 gallons a minute. A full flow will be much faster, but it traps air and leaves the tank short of capacity. Filling slowly at the source valve takes a little longer and is the only reliable way to reach a genuinely full tank.
Why is my RV fresh water tank not filling up?
In order of likelihood: the fresh water tank valve is closed and the water heater bypass valve is open instead, the fill ran too fast and trapped air, the tank vent or overflow tube is blocked, the trailer is parked on a slope, or the water heater is holding 5 to 10 gallons so a full gauge means less usable water than the label states. Open a cold faucet to vent the lines and fill slowly to test each one.
Do I need a pressure regulator to fill my RV fresh water tank?
Yes, use one every time. City and campground pressure runs far higher than a polyethylene tank wants, and over-pressurisation can rupture the tank or split a connection. A regulator on the source end also stops the flow from surging, which is what causes most of the air trapping owners complain about. One owner on the Winnebago article thread runs two regulators in series after two hose failures.
What additive should I put in my RV fresh water tank?
Use unscented household bleach for sanitation, about half a cup per 15 gallons, followed by a full drain and refill until the chlorine smell is gone. For taste and smell in a chlorinated tank, a water freshener made for RVs is the usual choice. Avoid anything automotive, and never use automotive antifreeze, which is toxic and is not the same product as RV antifreeze.
How Long Can RV Fresh Water Stay in the Tank?
Treat water in an RV tank as a short-term supply, not a pantry staple. A tank that is filled from a chlorinated municipal source, kept in the shade, and used within a few weeks is generally fine. A tank that sits sealed in a hot, closed vehicle through a summer month is a different story, because warmth, sunlight and a plastic surface all encourage growth, and a sloshed or partially empty tank is the worst case of all.
Every manufacturer and local health department will tell you to drink from a well-maintained system only if you maintain it, and the standard owner practice is simple: sanitise at the start of the season, keep the tank as full as your payload allows, use it often, and never let non-potable water sit in a tank you drink from. If the water has been sitting for months or you cannot remember what went in, shock it and flush rather than tasting your way to an answer.
Start here: park level, confirm the water is potable, attach the regulator first, and open the valve slowly until water backs up out of the fill neck. That sequence takes the guesswork out of almost every filling problem we have run into.