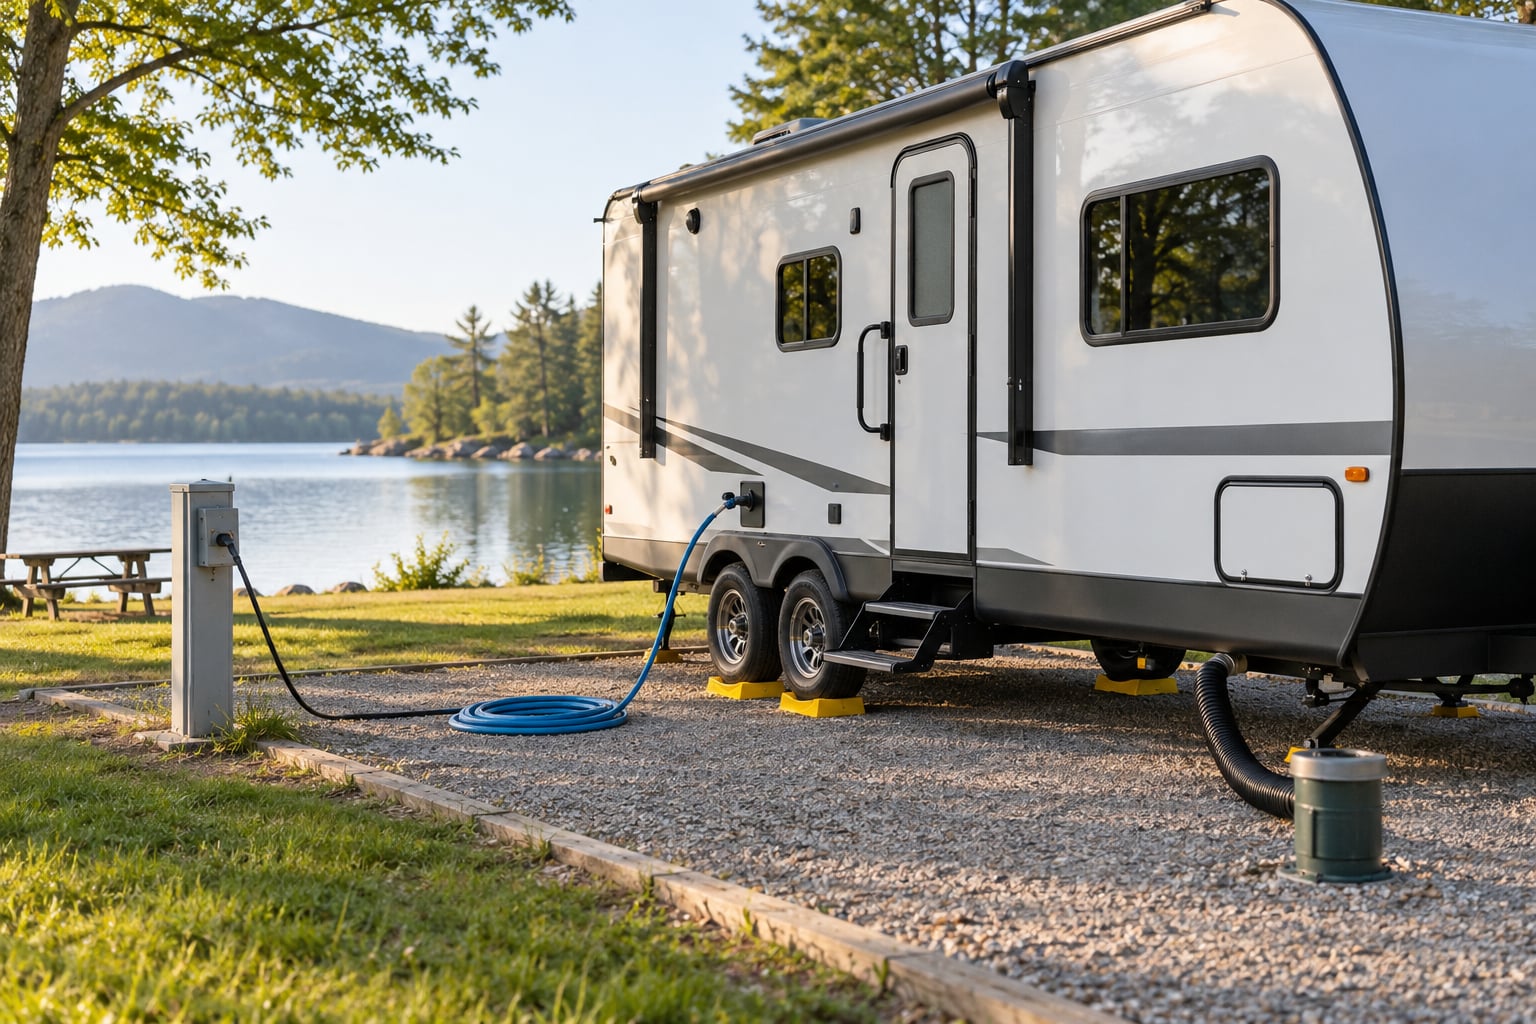
Hooking up an RV at a full service site means connecting three things in the right order: sewer first, then city water, then electric last with the pedestal breaker switched off. It takes about 30 minutes once you have done it a few times. Level the rig first, though, before a single hose goes on.
If you have never used a power pedestal or a sewer riser, the sequence below walks through every connection from the day before you arrive to the moment you turn the breaker on. The same order applies to a travel trailer, a fifth wheel or a Class A coach, since the utilities at the pad do not change with the rig.
Table of Contents
- 1What You Need
- 2Step-by-Step Hookup at a Full-Service Site
- 3How to choose the right full-service site
- 4Position and level the RV
- 5How to hook up an RV to the water supply
- 6How to hook up an RV to electrical power
- 7Connect sewer, cable, and other services
- 8Common Mistakes
- 9Frequently Asked Questions
- 10What is the correct order for hooking up an RV at a full-service site?
- 11Do I need an adapter to connect my RV at a full-service campsite?
- 12How much electricity can I use at a 30-amp or 50-amp RV site?
- 13Can I connect to water at a full-service site without using a water filter?
- 14How do I know whether my RV is connected to sewer correctly?
- 15What should I do if a campsite hookup is not working?
What You Need
A full hookup pad gives you an electrical pedestal, a potable water spigot and a sewer drain in the same place. Bring the gear for all three plus a few things people forget. This is the same order every park expects in 2026, and it has not changed in years.
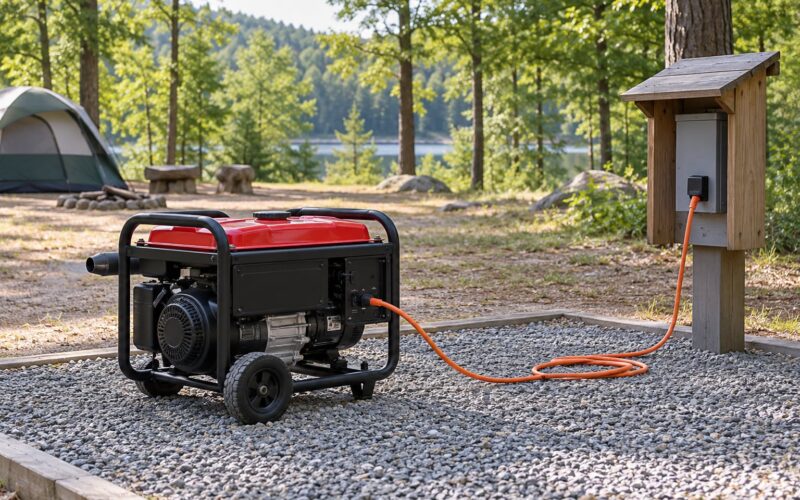
For power, you need a shore power cord that matches your rig — 30-amp or 50-amp — and a portable surge protector with a diagnostic display. If your plug does not match the pedestal outlet, a dog bone adapter solves it. Keep the adapter in the truck, not permanently wired in.
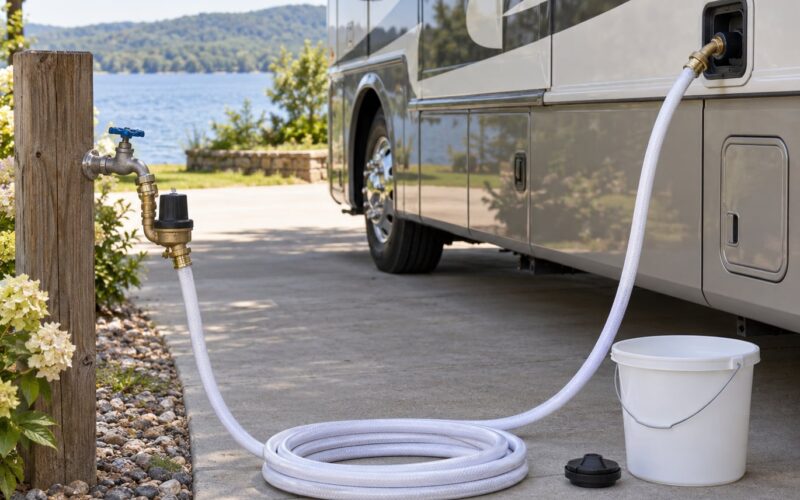
For water, a white or blue potable city water hose is the correct one. Add a pressure regulator you can adjust and a backflow preventer. A short garden hose is worth carrying too, for rinsing the sewer hose before you stow it in the bumper.
For sewer, use a 3-inch hose with a bayonet fitting, a support ramp or two blocks to keep a downhill section off the ground, and a pair of disposable gloves.
Finally, bring the paperwork and safety kit: your site number or reservation, the campground rule sheet, your RV owner’s manual, wheel chocks, leveling blocks, a flashlight for arriving after dark, and a small bucket for the grey hose rinse water.
There is a short check to run before you ever pull out of your driveway. Walk around the rig and confirm every holding tank valve is closed — both the black and the grey — and that the fresh water fill spigot is off. An open valve with a hose attached is how a camper ends up with a flooded bumper compartment somewhere between the park and home.
Call the park before departure and ask what amperage the pad serves. Most of the mismatches people run into are booked, not discovered on arrival. A fifth wheel on a 30-amp pad will trip every time somebody switches on the second air conditioner.
If you are arriving outside office hours, note the after-hours instructions for the pedestal and the spigot. Some parks lock the water valve at the master, which means the site looks connected but runs dry until morning.
Step-by-Step Hookup at a Full-Service Site
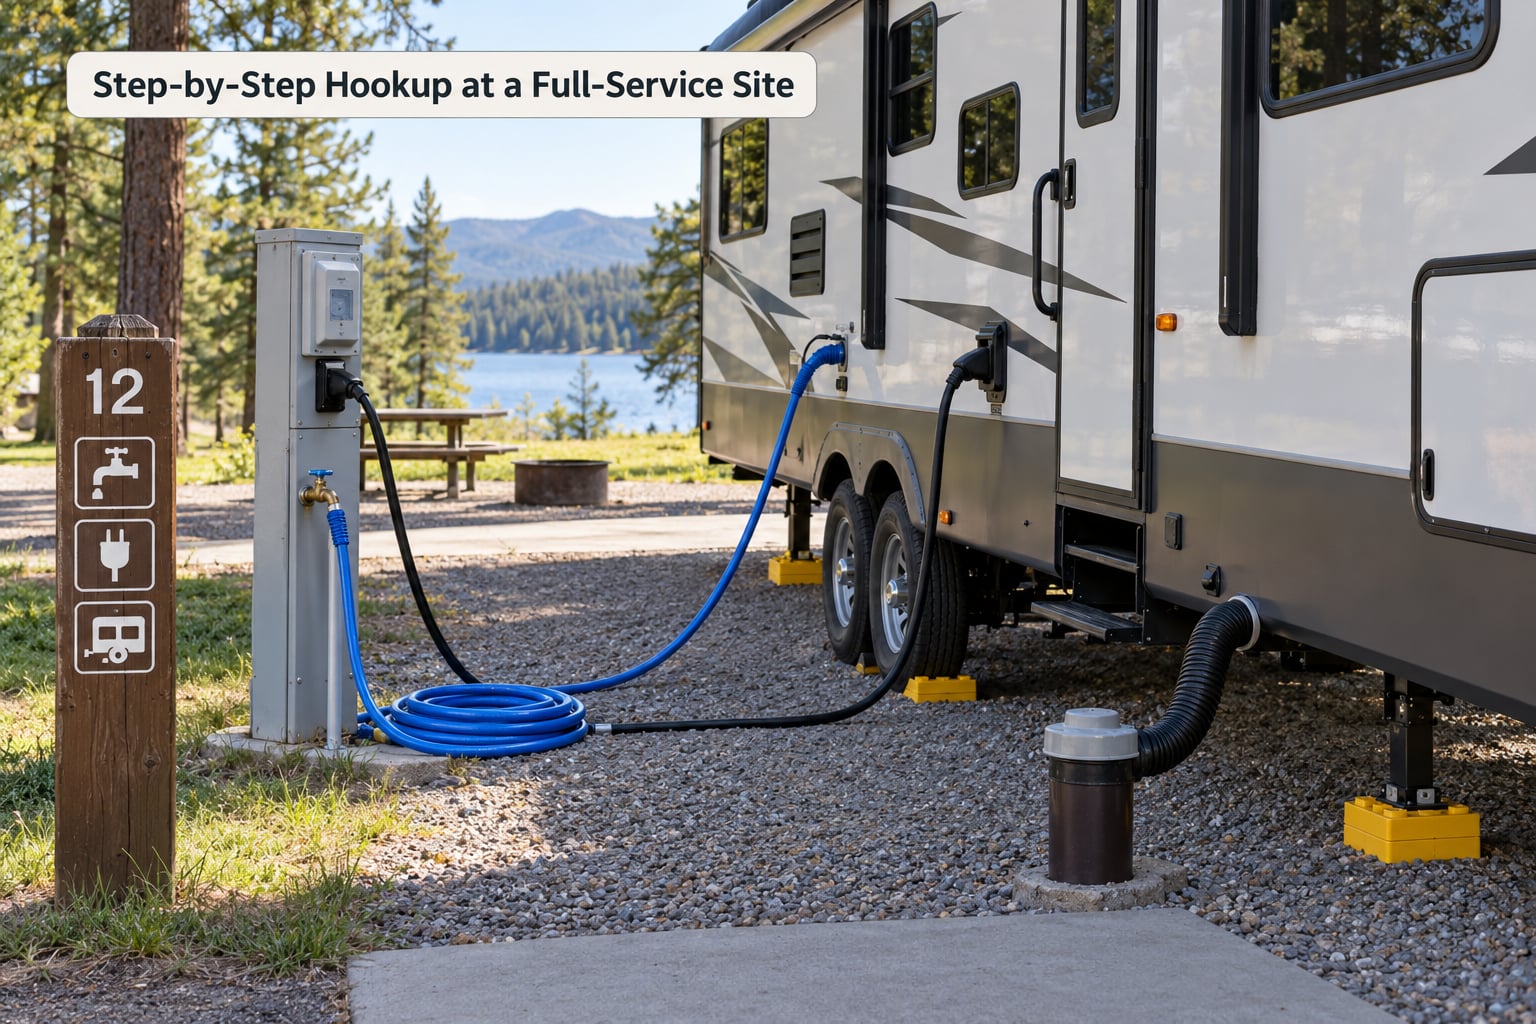
Here is the whole sequence, in order:
- Park square to the pedestal and level the rig, wheels chocked.
- Confirm every tank valve and the RV-side water valve are closed.
- Connect the sewer hose to the site drain and secure the cap.
- Run the potable hose from the RV inlet through regulator and backflow preventer.
- Open the campground water valve slowly, then the RV-side valve.
- Set the pedestal breaker to OFF before touching the plug.
- Plug the surge protector into the pedestal outlet and check its display.
- Plug in the shore power cord, then switch the pedestal breaker ON.
How to choose the right full-service site
Not every pad in a park is full hookup, and not every pad matches your rig. Confirm the site rating before you turn in — a 30-amp site will not run two air conditioners, and a fifth wheel that overhangs the pad can foul the sewer riser.
Look at the pedestal before you pull in. Check the outlet face for a matching 30-amp or 50-amp receptacle, flip the breaker up and down, and look for a tripped breaker, a damaged outlet cover, or scorch marks. Check the water spigot too: a stiff handle or a leaking valve is worth reporting to the host before you set up.
Pull-through sites suit a fifth wheel or motorhome. Back-in sites suit a travel trailer. Either way, leave enough room that your sewer hose reaches the drain in a straight run with no tight bend.
Position and level the RV
Drive past the pedestal first if you can, then back in so the utility side sits closest to the post. That shortens every hose and cuts your chance of a snag.
Level before you connect anything. Start at the lowest corner and work toward the high side, placing a block or a pair under each wheel that needs it. Check with a bubble level inside, not by eye. Drop the stabilizers only after the frame is level, and retract them fully before you drive away.
Run the water system on battery for a minute and confirm the rig sits solid. A rig that rocks or sags will slowly work a sewer connection loose overnight.
How to hook up an RV to the water supply
Attach the regulator and backflow preventer to the RV’s fresh water inlet first, with every valve closed. Then connect the other end of the potable hose to the campground spigot. Turning the spigot on last keeps the hose from spraying if a fitting is loose.
Open the campground valve a quarter turn and let the line fill. Then open the RV-side valve slowly and walk the length of the hose with a dry paper towel in hand, checking each fitting for weeping.
Most RV plumbing is happiest around 40 to 45 psi. Park water pressure often runs higher, and a regulator set too high is a common cause of a burst hose or a failed water heater check valve. You can adjust most regulators by turning the body until the gauge reads what you want.
Never connect the fresh tank fill spigot with the same hose you use for city water. Those are two separate connections and mixing them contaminates the tank you drink from.
How to hook up an RV to electrical power
The pedestal breaker stays OFF until your shore power plug is seated. This is the rule that prevents the surge that fries converters when the power flips on.
- 30-amp service: 125 volts on a single leg, 3,600 watts, a three-prong twist-lock plug and usually a 10-gauge cord. Best for travel trailers, pop-ups and smaller Class C rigs.
- 50-amp service: 125/250 volts across two legs, 12,000 watts, a four-prong blade plug and a 6-gauge cord. Best for Class A coaches, large fifth wheels, and running two air conditioners.
- 20-amp household-style outlet: 120 volts and about 2,400 watts. Many parks offer a dedicated 20-amp outlet; never reach for a household extension cord.
A 30-amp plug will fit a 50-amp receptacle only through a dog bone adapter, and a 50-amp plug does not fit a 30-amp outlet at all. Plug the surge protector into the pedestal first and read its display: a fault light means stop and call the host, not try the outlet next door.
Plug the cord in, switch the breaker on, and go inside to confirm the converter fan runs and the outlets are live. Give the air conditioner a few minutes; the low-pressure lockout cycle can delay power to the rest of the rig.
Keep the sewer hose and the water hose on opposite sides of the site, and never run an extension cord from a household outlet across a campsite. If a breaker trips, unplug and reset once, then stop. Switching high-draw appliances on one after another is what causes most trips.
Connect sewer, cable, and other services
Attach the sewer hose to the RV’s drain outlet, route it to the site riser in a straight line supported by a ramp or blocks, and secure it at both ends. Keep both tank valves closed for now. Capping the site connection stops sewer gas from coming back up the line.
When you are ready to dump, black tank first, then grey. The grey water that follows carries residue out of the hose and the riser. Close both valves, pull the hose free, cap it, and rinse it with a garden hose before it goes in the bumper. That last step is skipped constantly and it is why a stored hose smells for a season.
Cable and satellite connections are a deluxe-site extra and rarely have a fixed standard. Follow the park’s instructions and your own equipment manual rather than guessing at a connector.
Connecting to a septic tank at a park that runs on one is normal and approved. Connecting to a tank on private property without permission is not. Ask the host before you attach anything.
Common Mistakes
Almost every problem at a full hookup site comes from doing these six things.
- Plugging in with the breaker on. Fix: breaker off at the pedestal, plug seated, then breaker on.
- Skipping the pressure regulator. Fix: set it to about 40 to 45 psi every time, even if the park pressure seems normal.
- Leveling later, or not at all. Fix: level and chock before connecting, and re-check after the stabilizers drop.
- Reusing damaged equipment. Fix: a cracked plug head, a nicked cord or a pinholed sewer hose gets replaced, not patched with tape.
- Dumping grey first or leaving tanks open. Fix: both valves closed until the tank is near full; black first at dump time.
- Forgetting the unhook order. Fix: reverse the sequence. Sewer off and capped, water off at the spigot and then at the RV, then breaker off before you unplug.
On departure, pull the plug, flip the breaker off, coil the cords, cap the site drain, close the spigot, and walk the pad once more for anything of yours. Hosts notice a clean site, and the next camper appreciates it.
If something does not work, check in this order: water pressure means a partly closed RV-side valve or a clogged faucet screen; no power means the pedestal breaker, then the surge protector breaker, then the plug head; a sewer smell means a missing hose cap or a dry trap after a long dry stay.
Frequently Asked Questions
What is the correct order for hooking up an RV at a full-service site?
Park and level first, then sewer, then city water, then electric last with the pedestal breaker switched off. Reversing that order is what causes sewer overflows, contaminated water and converter surges. When you leave, undo it in reverse: sewer off and capped, water off at the spigot and then at the RV, then breaker off before you unplug.
Do I need an adapter to connect my RV at a full-service campsite?
Only if your plug does not match the pedestal. A 30-amp rig plugged into a 50-amp outlet needs a dog bone adapter, which you should buy rather than borrow. A 50-amp plug will not fit a 30-amp outlet, so confirm the amperage printed on your RV before you reserve the site. Most parks will tell you the pad rating when you book.
How much electricity can I use at a 30-amp or 50-amp RV site?
A 30-amp site delivers 3,600 watts on 125 volts, which usually runs one air conditioner, the water heater and the rest of the rig if you stagger them. A 50-amp site delivers 12,000 watts across two 125-volt legs at 125/250 volts, enough for two air conditioners. Stay under 50 amps total per leg and switch big appliances on one at a time.
Can I connect to water at a full-service site without using a water filter?
Yes, most campers do. The hose color matters far more than the filter: white or blue is potable and meant for city water. Your own fresh water filter, if you have one, mounts between the RV inlet and the regulator. Flush the line briefly before drinking from it, and never attach the same hose to the fresh tank fill spigot.
How do I know whether my RV is connected to sewer correctly?
You should see a continuous downhill or level run from the RV drain outlet to the site riser, with no kinks, no tight bend and the low point supported by a ramp or blocks. Both ends should be fully seated and secured. If the hose sags below both ends it can trap liquid, and if you smell sewer gas, check that the hose cap is on and the valve is closed.
What should I do if a campsite hookup is not working?
Start with the simplest cause. For no power, reset the pedestal breaker, then the surge protector breaker, then check the plug head for heat or discoloration, and report a damaged pedestal to the host. For low water, fully open the RV-side valve and clean the faucet aerator. For a sewer backup, close both tank valves, check the hose for a clog, and use another pad rather than forcing it.
Start with the site inspection and the leveling blocks. Everything else goes on in one order: sewer, water, power. Once that sequence is in your hands it becomes boring, which is exactly the point.