To change a trailer tire on the road, pull well off the travel lane, set the tow vehicle’s parking brake, chock the wheels still on the ground, and crack the lug nuts loose before lifting. Support the trailer at a frame-mounted jacking point, swap the spare into the flat tire’s position, inflate to the placard pressure, and torque the studs in a star pattern. Twenty minutes with the right gear beats a three-hour wait for a tow.
Most trailers never leave the factory with a spare, which is why this comes up so often in fishing and RV groups. I’ve watched people learn it the expensive way, jacking on an axle and bending the frame, or tightening a seized lug nut until the stud snapped off. The fix for both is knowing the order of operations before the jack goes under anything.
Table of Contents
- 1What You Need
- 2How to Change a Trailer Tire on the Road: Step-by-Step
- 3Step 1: Find a Safe Place to Work
- 4Step 2: Chock the Wheels and Crack the Lug Nuts Loose
- 5Step 3: Jack and Support the Trailer Safely
- 6Step 4: Remove the Wheel and Look at What You Found
- 7Step 5: Install the Spare Tire
- 8Step 6: Inflate and Check the Repair Before Driving
- 9If There Is No Spare Tire Onboard
- 10Common Mistakes and Safety Tips
- 11Mistakes That Ruin the Job or the Trailer
- 12Should You Change It Yourself or Call Roadside Assistance?
- 13Before You Go: A Five-Minute Check
- 14Frequently Asked Questions
- 15Can I change a trailer tire by hand?
- 16Where do I jack up a trailer to change a tire?
- 17Can I replace just one trailer tire?
- 18How long does it take to change a trailer tire?
- 19How tight should trailer lug nuts be?
- 20What do I do if my trailer has no spare tire?
- 21Conclusion
What You Need
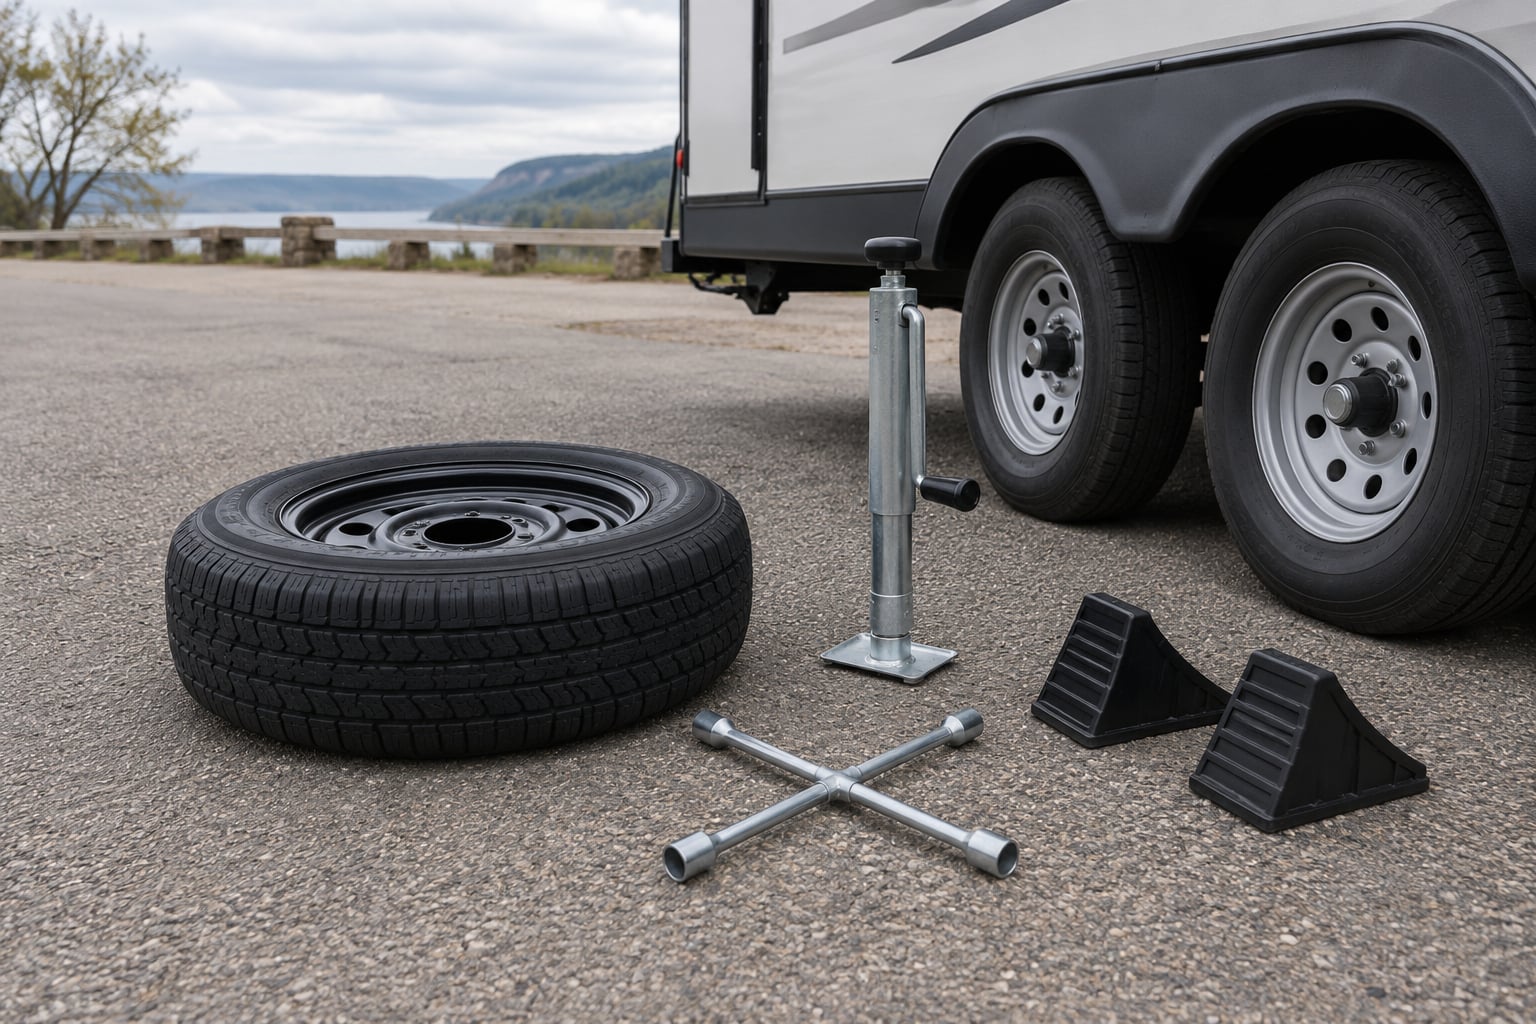
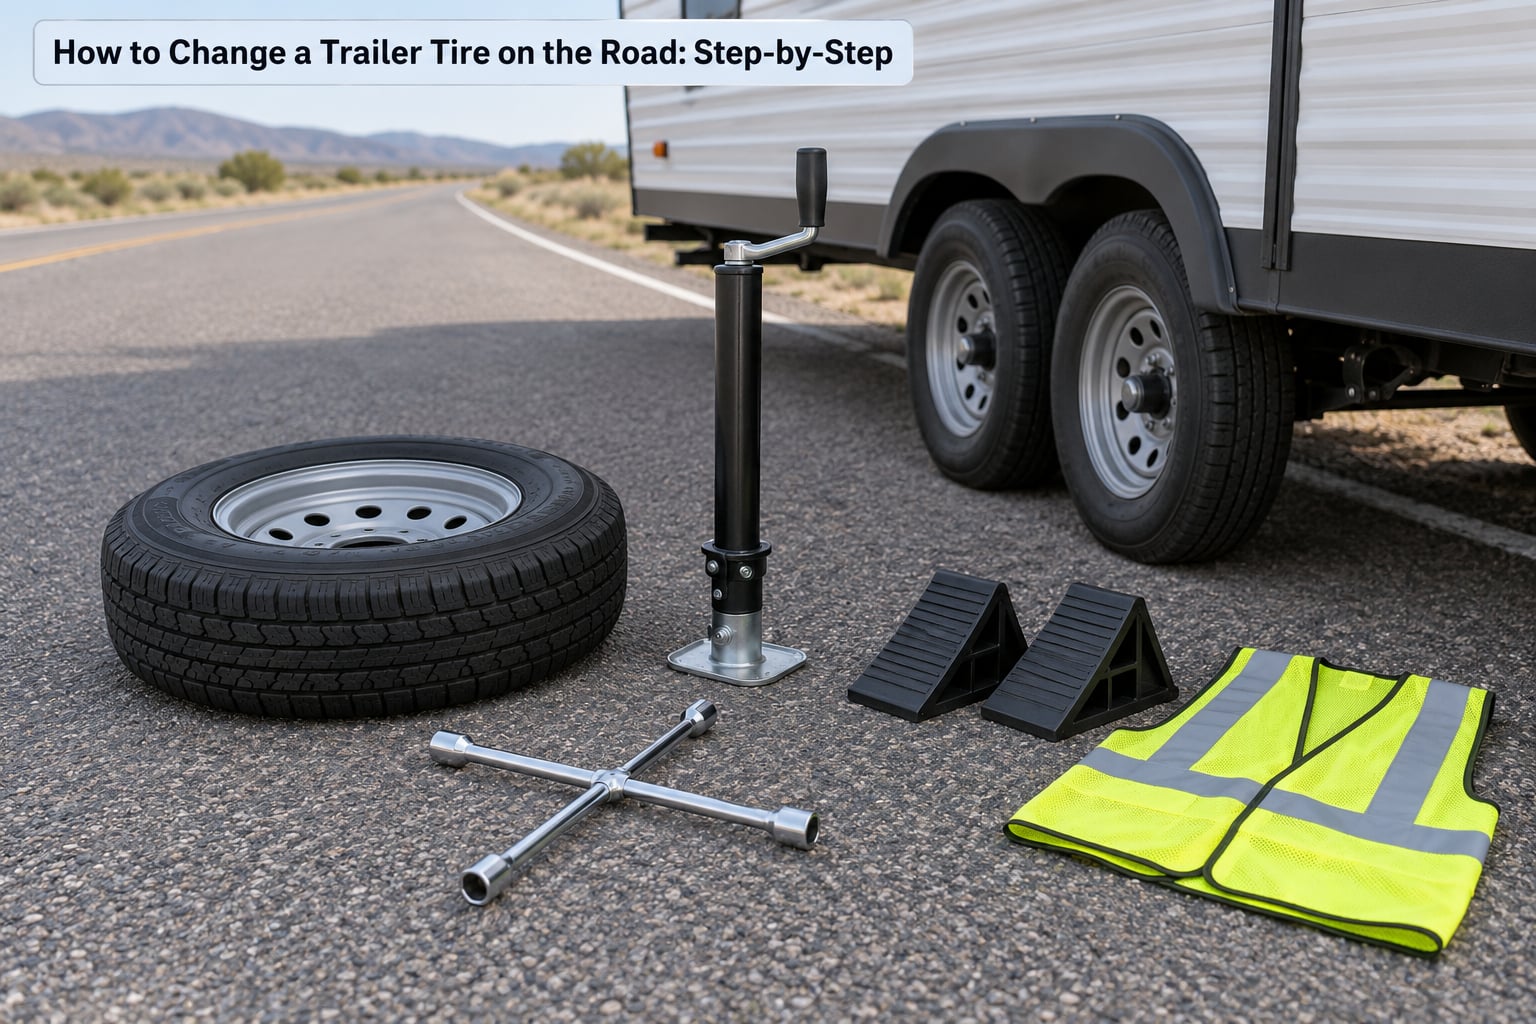
Grab these before you turn a wrench. A roadside tire change is not a job for improvising with what’s in the camper’s storage bay.
- A correctly sized spare trailer tire on a sound, welded rim
- Cross lug wrench or tire iron that fits your wheel nuts, plus a breaker bar if the nuts are tight
- Bottle jack rated above your trailer’s loaded weight
- Two rated support stands or jack stands for the frame rail
- Wheel chocks for the wheels that stay on the ground
- Tire pressure gauge and a way to add air
- Torque wrench, if your trailer is heavy enough to need one
- Penetrating oil, a breaker bar, and a wire brush for corroded studs
- Flashlight, gloves, reflective vest, and flares
Confirm the spare matches before anything else. Trailer tires are stamped with a size like ST205/75D15 or 4.80-8, and the last letter tells you the range: B, C, or D. Match the spare’s size, load range, and rim diameter to what came off. The bolt pattern and hub bore have to line up too, or the wheel will not center on the studs.
Check the spare’s age while you are at it. A tire older than roughly seven years is past the point where tread depth means much, so a never-used spare that has sat in a shed for a decade is not really a spare.
How to Change a Trailer Tire on the Road: Step-by-Step
Step 1: Find a Safe Place to Work
Drive past the nearest safe place rather than stopping where the tire first goes soft. A wide paved pull-off, a parking lot, or a level gravel shoulder beats a narrow strip with traffic going past at sixty miles an hour.
Set the tow vehicle’s parking brake, leave the engine running, and turn on the hazard lights. Put flares behind the tow rig and stand off the road with a reflective vest if you have one. You will know the spot is right when a passing driver cannot see you working.
Find ground that is level and firm enough to hold a jack. On a launch ramp or a soft shoulder, dig down and pack dirt under the jack base, because a jack that sinks mid-lift drops the trailer onto its own tire.
Step 2: Chock the Wheels and Crack the Lug Nuts Loose
Chock every wheel that stays on the ground. On a double-axle trailer, that means the wheel on the other side of the same axle plus the wheels on the other axle. A trailer with a failed bearing or a broken axle can roll on its own, and chocks rated well above your trailer’s weight are the only thing stopping that.
Fit the cross wrench fully on the nut and turn it counterclockwise a quarter turn or so, one nut at a time, while the tire is still bearing weight. Breaking them loose while the tire is on the ground matters more than people expect: once the wheel is in the air, the wrench has almost no leverage and a seized nut can strip the stud or round the corners.
If a nut will not budge, spray penetrating oil on it, wait a few minutes, and use a longer breaker bar. Never jump on the wrench, because trailer studs twist off easily once they start to move.
Step 3: Jack and Support the Trailer Safely
This is where people damage trailers. Jack only at a frame rail or a manufacturer’s jack point, directly behind or just ahead of the wheel you are changing. Do not jack on the axle, leaf springs, bumper, coupler, or the frame section over the propane tanks and battery on a travel trailer.
Raise the trailer only far enough for the tire to clear the ground, usually three or four inches. The axle needs to be off the pavement for a few minutes, not the whole trailer.
Set properly rated stands or blocks under the frame rail on both sides before you take a wheel off, then lower the jack until its base just touches the ground and takes no weight. That keeps the trailer held by the stands rather than by hydraulic pressure. Nobody puts any part of their body under the trailer.
On a boat trailer, the bunks usually cover the wheel entirely and the tongue jack will not reach the corner. Owners in the groups handle this by supporting the frame separately at the corner, or by driving the good tire of the axle up onto a tire-changing ramp or a stacked pair of levelers, which lifts that corner without a jack at all.
Step 4: Remove the Wheel and Look at What You Found
Take the lug nuts off, set them somewhere they will not roll into traffic, and pull the wheel straight off the studs. With the wheel off, look at the hub and the tire you removed.
- Sidewall cuts, bulges, or a shredded bead mean the tire is finished, and it also tells you a rim may be bent.
- A rim that runs out of true or shows a rust bubble at the bead seat will not hold air and will fail again soon.
- Dark grease or a metallic smear around the hub can point to a failing bearing or a hub seal, which is a tow job, not a tire job.
- Blue or blackened studs mean heat damage, and the wheel may have been run badly underinflated.
- Rust pitting on the studs where the nuts seat is worth noting before you go farther, because clean studs torque evenly and pitted ones do not.
On a boat trailer, sand and salt take their toll on the hardware. Clean the studs and the hub face with a wire brush and a little penetrating oil before the new wheel goes on.
Step 5: Install the Spare Tire
Slide the spare on over the studs. It should seat flat against the hub with the studs protruding evenly through the holes. If the wheel rocks or the studs sit at different depths, stop and find out why; a wheel that mounts loosely is a wheel that will loosen on the road.
Start each lug nut by hand for at least a couple of turns. That confirms the wheel is seated and the studs are threading straight before you ever put the wrench on it.
Tighten the nuts partway in a star pattern, going from nut to nut across the circle rather than around it in order. That pulls the wheel evenly onto the hub instead of cocking it. Once the wheel is down and loaded, finish the job to the torque value stamped on the wheel or listed by the trailer maker.
Common trailer wheels take somewhere in the region of 50 to 75 ft-lbs, and heavier rigs with larger fasteners need considerably more. If your wheel has no marking and you have no manual, a torque wrench set to the middle of the range for your stud size is the safest guess. Over-torquing stretches studs until they snap, and under-torquing lets the wheel loosen as you drive.
Step 6: Inflate and Check the Repair Before Driving
Set the spare to the cold pressure listed on the trailer’s placard, usually on the frame rail near the wheel or on the driver’s side of the trailer body. Some trailers specify a higher pressure when loaded. If the placard is unreadable, the sidewall maximum is a ceiling rather than a target, and the tire’s recommended cold inflation is the number to start from.
Check the work by looking again: tire seated square, studs protruding evenly, no rubbing against the fender well, and the trailer sitting level. Then walk behind the rig and re-chock the wheels before you pull forward.
Stow the flat, jack, and stands, and drop the jack before you get in. Drive the first mile slowly and re-check the wheel at the first safe stop.
A temporary spare limits where you can go and how fast. Treat anything marked as temporary as a short trip to a repair shop, keep the speed at or below the sidewall limit, and remember the difference in diameter changes your speedometer reading by a few miles an hour.
If There Is No Spare Tire Onboard
Plenty of trailers, including a lot of fifth wheels, ship without one. If you have no spare, do not drive on a flat or a shredded tire even for a mile to reach a shop.
- Drive slowly and straight to the nearest safe spot before the sidewall gives up, staying off the shoulder edge where it will shred completely.
- Install a plug kit from the roadside if the damage is in the tread area only. A plug in the sidewall or shoulder is not a repair.
- Use a portable inflator to add air, and treat a tire that needs air to hold pressure as a tire you will replace soon.
- Inflate a spare tube inside the flat as a short-term run-flat option for getting to a shop, provided the tire is intact.
- Call roadside assistance or a wrecker when the damage is in the sidewall, the rim is bent, the hub or bearing is damaged, or the rig is too heavy to lift safely.
That last situation comes up constantly in trailer forums. Owners of heavy rigs, especially ones needing several hundred foot-pounds of torque on the lug nuts, generally report that equipped roadside service is the sane choice.
Common Mistakes and Safety Tips
Mistakes That Ruin the Job or the Trailer
- Jacking on the axle or bumper. Correction: use a frame rail or a designated jack point, and confirm the point by checking the manufacturer’s manual or the frame itself for a welded jack pad.
- Working under a trailer held by the jack alone. Correction: set rated stands under the frame rail, then lower the jack just enough to take no load.
- Lifting the corner with a tongue jack. Correction: the tongue jack lifts the coupler end and can tip the trailer. Support the corner at the frame or use a tire-changing ramp on a double axle.
- Loosening or tightening lug nuts in the air. Correction: break them loose with the tire loaded, and finish the torque with the trailer back on its weight.
- Using the wrong spare size or a wheel with the wrong bolt pattern. Correction: confirm size, load range, rim diameter, and bolt pattern before you lift anything.
- Cranking the wrench on one nut at a time. Correction: tighten in a star pattern so the wheel seats evenly against the hub.
- Over-tightening with an unmodified lug wrench. Correction: use a torque wrench on anything heavy. Trailer studs are not hardened the way wheel studs on cars often are.
- Ignoring sidewall damage and running the spare anyway. Correction: a cut or bulge in the sidewall will fail again, usually soon.
- Driving highway speed on a temporary spare. Correction: follow the sidewall limit and treat it as a trip to a shop, not a trip home.
Should You Change It Yourself or Call Roadside Assistance?
Do it yourself when the trailer is light enough for your jack, the damage is limited to the tire and the rim looks sound, the lug nuts turn with a wrench, and you are somewhere wide and level. Call for help when the damage reaches the sidewall, the hub, the axle, or the studs, when the spot is narrow or sloped, when the lug nuts are seized solid, when the trailer is loaded heavy, or when your jack is rated below its weight.
The honest answer from most experienced trailer owners is that roadside coverage on a trailer is worth having even if you carry every tool. A membership covers the case where your jack is too small, which is exactly the case you cannot plan for.
Before You Go: A Five-Minute Check
- Walk the tires and look at the sidewalls for cuts, bulges, or cracking.
- Check cold pressure with a gauge on every tire, including the spare, and add air where it is low.
- Confirm the spare actually matches and still holds air.
- Swing the spare out of storage and check it has not slid against something for two years.
- Make sure the jack, lug wrench, chocks, and stands are on the trailer, not in a garage at home.
On a boat trailer, inflate the tires a bit lower for launching so the trailer floats easier on the ramp, then back them up to placard pressure once you are on the pad. Check them every time you are in the truck, because tires hold pressure far better than most people expect but a soft tire on a boat trailer is still the fastest way to damage a sidewall on gravel.
Frequently Asked Questions
Can I change a trailer tire by hand?
Mostly. If the lug nuts are already off or break loose easily, one person can swap the wheel on a light utility or boat trailer using a lug wrench and a jack. Once you fit a torque wrench or a breaker bar for seized or high-torque nuts, two people make the job faster and safer.
Where do I jack up a trailer to change a tire?
Jack at a frame rail or a manufacturer jack point near the wheel you are changing, usually just behind it. Never jack on the axle, leaf springs, bumper, coupler, or the frame section over propane tanks and batteries. Raise the trailer three or four inches, then set rated stands under the frame and lower the jack until it carries no load.
Can I replace just one trailer tire?
Yes, replacing a single tire on a trailer is normal and generally fine. Match the new tire’s size, load range, rim diameter, and construction to the tire still on the axle. If the older tire has significantly more tread left than its pair, swapping both is safer, but one tire is a perfectly reasonable roadside fix.
How long does it take to change a trailer tire?
Expect 20 to 40 minutes on a single-axle trailer with a working jack, chocks, and loose lug nuts. Add time for a seized nut, a heavy trailer needing a torque wrench, or a boat trailer where the bunks have to come off to reach the wheel. Set aside an hour if the rig is fully loaded and you are on a shoulder.
How tight should trailer lug nuts be?
Tighten to the value stamped on the wheel or listed by the trailer manufacturer, which for many common 4-bolt and 5-bolt trailer wheels falls roughly between 50 and 75 ft-lbs. Heavy trailers can need far more. Use a star pattern, snug the nuts with a lug wrench first, then finish with a torque wrench rather than by feel.
What do I do if my trailer has no spare tire?
Drive slowly and straight to the nearest wide, level spot before the sidewall fails, staying away from the shoulder edge. Install a tread plug with a roadside kit, add air with a portable inflator, or call roadside assistance to reach a tire shop. A plug will not fix sidewall damage, a bent rim, or a damaged hub.
Conclusion
Move to a wide, level spot first, chock what stays on the ground, and crack the lug nuts loose before the trailer comes up. Support the rig on stands at a frame rail, swap the correctly sized spare into the flat’s position, torque the studs in a star pattern with the trailer loaded, and set the pressure to the placard figure.
If the damage reaches the sidewall, hub, or axle, if the rim is bent, if the lug nuts will not move, or if your jack is not rated for the trailer’s weight, that is the point to stop and call a repair shop or roadside assistance. A tow is expensive. Dropping a trailer because someone worked under a jack-only support is worse.