Here is the short answer: knowing how to check a boat before leaving the ramp means doing one 10 to 15 minute walk-around in the staging area, before the trailer ever touches the water. Walk the hull and drain plug, count the safety gear, test the fuel, battery, bilge pump and lights, then do a 60 second pass at the top of the ramp before you back in.
Almost every delay you have seen at a ramp is a preparation item done in the wrong place. Boaters routinely back down with the drain plug on the tailgate, the bow line in the cab, and the transom strap still cinched, and each one of those stops the whole line behind them.
I run this same order every season and it has never let me down. Equipment rules differ by state, so check your own boating agency for the specific list, but the sequence below is the same everywhere. Nothing here is complicated, it just has to happen in order.
Table of Contents
- 1What You Need
- 2Step-by-Step: How to Check a Boat Before Leaving the Ramp
- 3Step 1: Confirm the Boat Is Seaworthy and Safe to Launch
- 4Step 2: Check Required Safety Gear
- 5Step 3: Inspect the Fuel System and Fuel Level
- 6Step 4: Test the Battery and Electrical System
- 7Step 5: Check the Engine, Steering, and Throttle
- 8Step 6: Inspect the Bilge, Pumps, and Water Drainage
- 9Step 7: Verify Navigation and Communication Equipment
- 10Step 8: Check Controls, Upholstery, and Loose Gear
- 11Step 9: Inspect the Trailer and Hitch
- 12Step 10: Perform the Final Ramp-Side Launch Check Before Leaving the Ramp
- 13Common Mistakes at the Ramp
- 14Frequently Asked Questions
- 15How early should I check my boat before launching it?
- 16Should I start the engine before putting the boat in the water?
- 17What should I inspect most carefully on a boat trailer?
- 18How much fuel should I carry for a day on the lake?
- 19What should I do if I find a problem while the boat is at the ramp?
- 20Do I need to check the drain plug every time I launch?
- 21Conclusion
What You Need
Gather these before you start, because most of the checking is worthless if you cannot find what you are checking for.
- Registration and insurance documents in the vehicle or in a waterproof bag inside the console. Some states want both aboard.
- Your drain plug key on the ignition keyring. Boaters on forum threads swear by this one habit, since a spare drain plug you cannot reach is the same as no spare.
- A flashlight or headlamp for the transom, hull and bilge, especially at dawn launches.
- A basic tool kit: pliers, a socket set for the trailer lug nuts, a tire pressure gauge and a ratchet strap if you carry spares.
- Dock lines and bow line already coiled and aboard the boat, not in the truck bed.
- A jug of fuel plus the right two-stroke oil or premix, if the built-in tank is not filled.
- A rag and a bucket, because there is always water in a livewell and something wet on the deck.
- Cold weather gear if the water is under 60F, including a dry shirt for every person aboard.
Step-by-Step: How to Check a Boat Before Leaving the Ramp
Step 1: Confirm the Boat Is Seaworthy and Safe to Launch
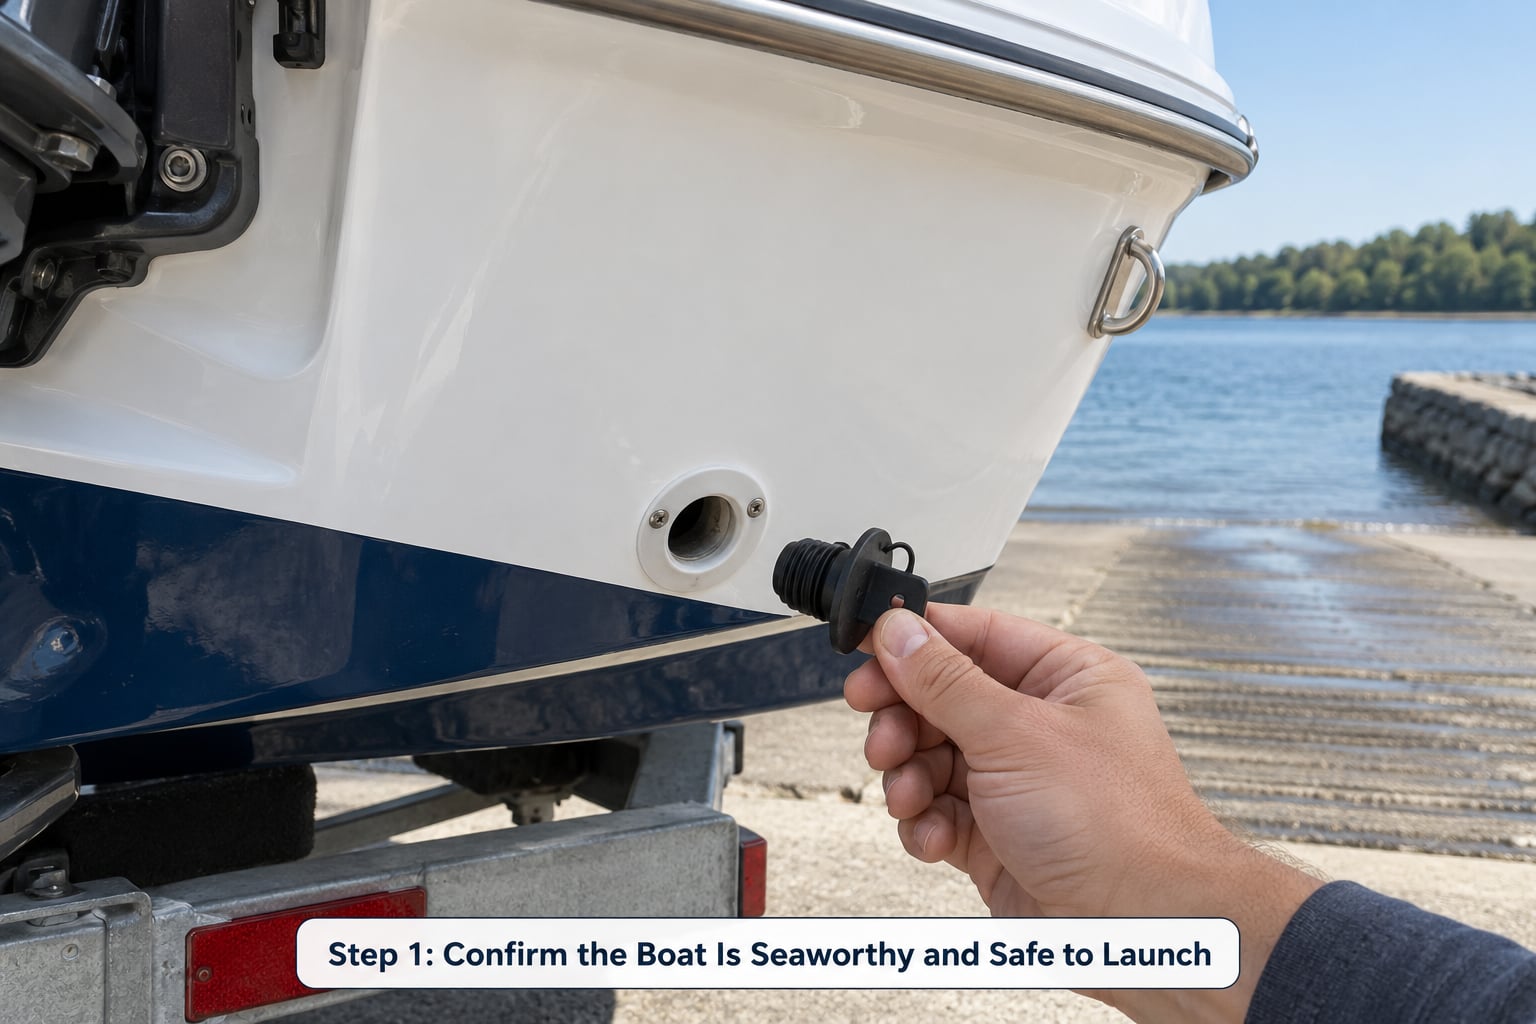
Start at the waterline and walk the hull. Look for cracks, punctures, blisters, loose fittings or anything hanging off the bottom that would tear away as the boat settles into the ramp.
Check the transom where it meets the hull for flex or separation, especially on older aluminum boats. Then find the drain plug opening and confirm the plug itself is clean, undamaged and threaded straight.
You are looking for one thing here: nothing that gets worse in the water. Anything you find on the hull is cheaper to fix in the staging area than after the boat is floating.
Step 2: Check Required Safety Gear
Count the life jackets before you count anything else. There must be one USCG approved PFD for every person aboard, and each one must actually fit, an adult size on a child is not a PFD.
Confirm a throwable flotation device is aboard and reachable, not buried under a tackle box. A hand-held horn or whistle and a fire extinguisher should both be present, and you should check the pressure pin and the expiry date on the extinguisher gauge or label.
Verify signaling devices are aboard and have not expired, that the anchor and tow rope are on board, and that your registration and, where required, your fishing licence are current. Wear the PFDs on the initial departure, even on a familiar lake.
Step 3: Inspect the Fuel System and Fuel Level
Open the fuel cap and look inside. You are checking for water, a layer of cloudy liquid or rust at the bottom, all of which mean the tank needs treatment before you burn the injectors.
Squeeze the gas hose between your thumb and forefinger along its length. A soft spot, a bulge or a weeping fuel jacket means replace the hose before you start the motor. A quick spray of soapy water on every fitting and let it sit for a minute will show you leaks that the eye misses.
Read the gauge and compare it against the trip. The old rule of thumb is the one third rule: a third of the fuel for the trip out, a third for the trip back, and a third in reserve. Keep that reserve for weather, current or a slow day on the water.
Step 4: Test the Battery and Electrical System
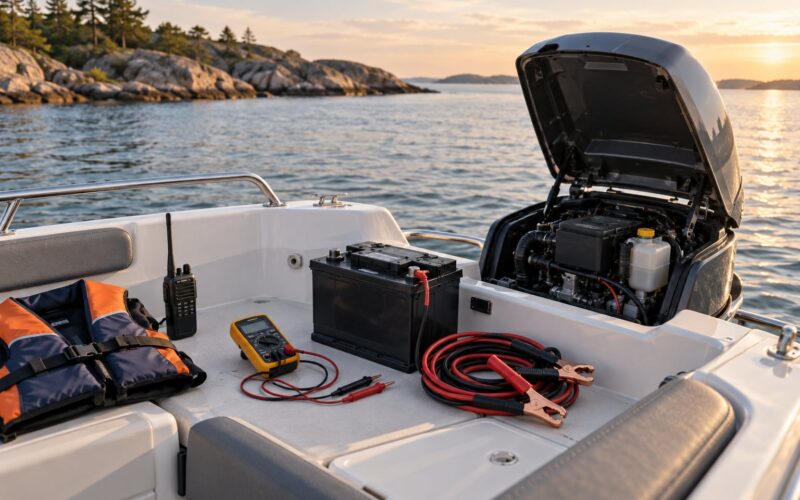
Look at the battery where it sits in the boat. It should be clamped down and not loose in the hull, the terminal rings should be tight and free of the crusty blue-green corrosion, and the wires should have no bare copper or rodent chew marks.
Turn the key to on and watch the gauge. A healthy battery reads near full within a minute of cranking or sitting on a charger, and the voltmeter, if you have one, should hold roughly 12.6 volts or better.
Now switch on the running lights, the bilge pump, the horn and the nav lights one at a time. Every light that works now is a light that works after dark, and a dead battery discovered in the staging area is a ten minute fix instead of a trip home.
Step 5: Check the Engine, Steering, and Throttle
Crank the motor and let it idle while you stand clear of the propeller. Listen. A steady idle is fine, a knocking, rattling or check-engine light is not, and any oil sheen under the engine means stop and fix it before you leave the trailer.
With the engine running, turn the wheel through its full range both directions, then move the throttle from neutral to full forward and back to neutral. The wheel should turn easily on a self-steering setup and the throttle should snap cleanly into each detent.
Watch the oil pressure or warning light stay off and confirm the cooling water outlet is running or the telltale is green, if the motor is water cooled. A home test on ear muffs with a garden hose the night before is the cheapest insurance there is, and most ramp failures are simply motors nobody ran after winter.
Step 6: Inspect the Bilge, Pumps, and Water Drainage
Pull up the bilge and look in. You want it dry or nearly dry, with no oil sheen, no fuel smell and no water coming in from the drain plug opening.
Run the bilge pump and confirm you can hear or feel it pulling water, then run it dry for a few seconds so it does not burn out. If your boat has an automatic float switch, test it by pouring a little water into the bilge and confirm the pump kicks on by itself.
Run the bilge blower for several minutes before you start the engine. On a petrol motor, fuel vapour collects in the bilge, and a blower is the cheapest fire prevention equipment you will ever own. Check the livewell pump and every drainage plug so water can leave the boat rather than sit in it.
Step 7: Verify Navigation and Communication Equipment
Confirm the navigation lights, anchor light and horn all work, which you partly tested already. Check the radio and the GPS or chartplotter power up, and that the chart for your lake is loaded rather than something you downloaded last season for a different water body.
Make sure your VHF channel is right, your phone is charged, and your float plan is written down and given to someone ashore. If you run a trailered boat past a breakwater or into open water, this is the step where you find out your chart is for last year’s lake.
Step 8: Check Controls, Upholstery, and Loose Gear
Clear the deck. Loose tackle boxes, tools, batteries, straps, buckets and cooler lids all shift once the boat is moving, and heavy items become projectiles in a hard turn.
Stow tools in a closed box, tie down anything heavy and put the anchor and fuel jugs where they cannot roll. Walk the seats and floor for split foam, protruding screws and loose fasteners, and check that storage hatches latch rather than sitting there with a slack clip.
This is also the step where a lot of boats fail. A hatch that does not latch is a flooding problem the moment you take a wave, and it costs nothing to fix with a zip tie and a few minutes.
Step 9: Inspect the Trailer and Hitch
Check the coupler is latched onto the ball and the safety chains are crossed under the tongue and hooked. A crossed chain catches on the ball if the hitch separates, which is why they cross.
Plug in the trailer lights and confirm the running lights, brake lights and turn signals all work. Check tire pressure, tread depth and sidewalls for dry rot, especially on tires that have sat outside through a winter, and feel for a hot hub after the drive in, which points at a failing wheel bearing.
Confirm the winch strap or cable is threaded correctly, the winch handle is aboard, and the rollers or rails are clear of gravel and mud. With the boat in the water, weight comes off the hitch and onto the trailer, and a problem that was invisible in the driveway becomes obvious at the top of the ramp.
Step 10: Perform the Final Ramp-Side Launch Check Before Leaving the Ramp
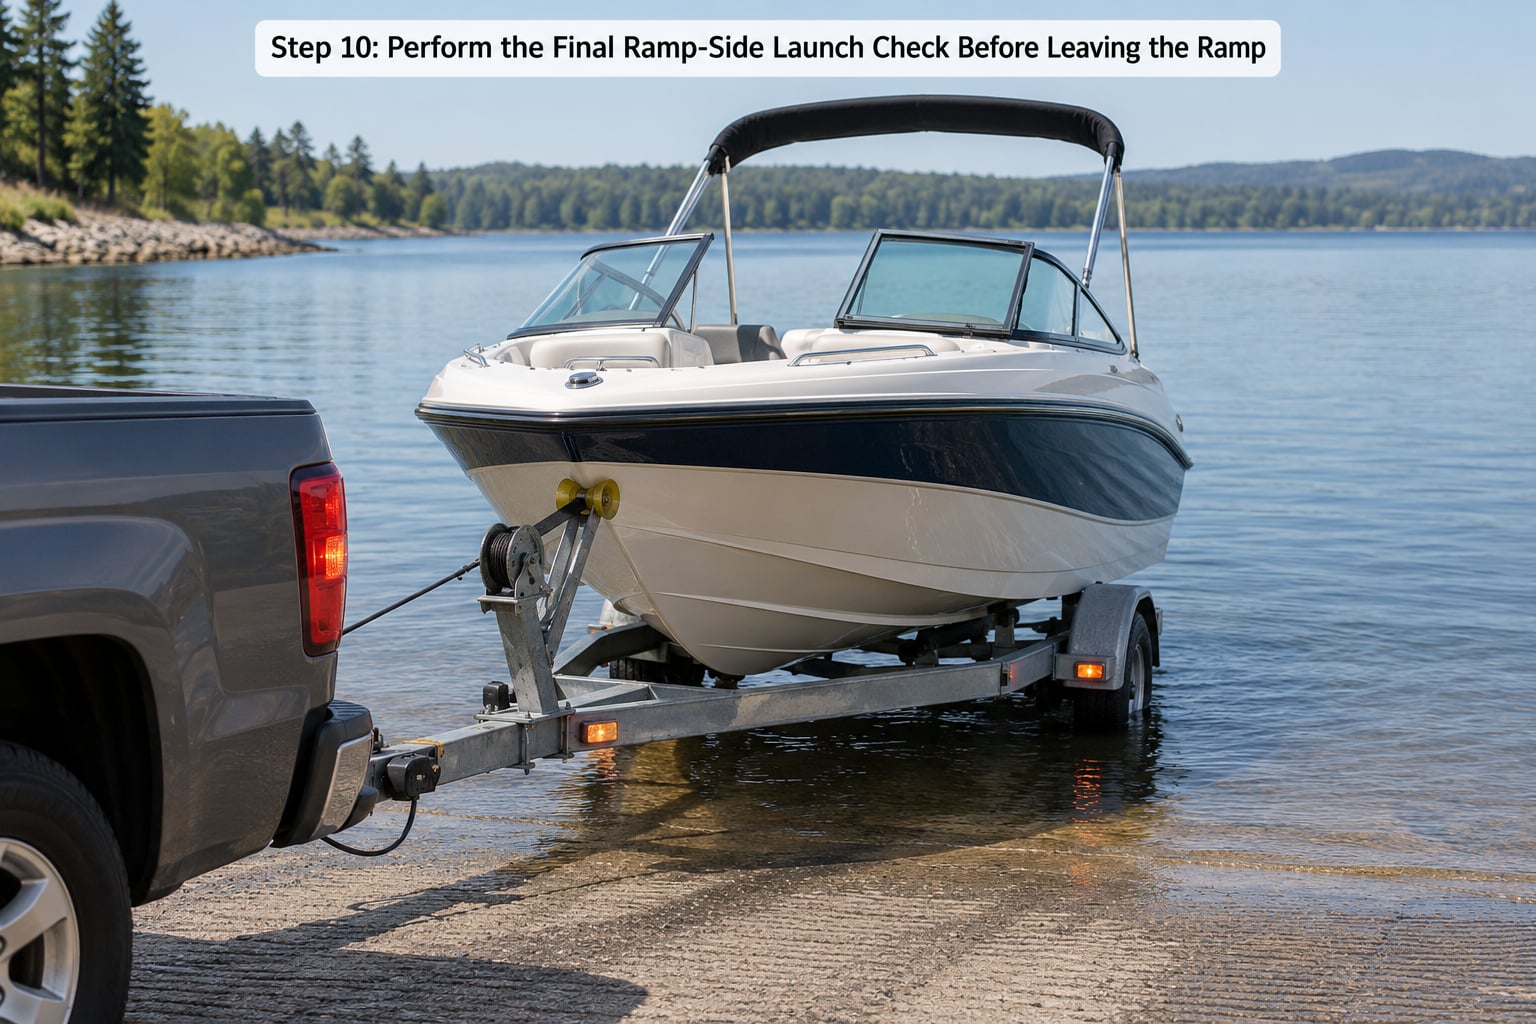
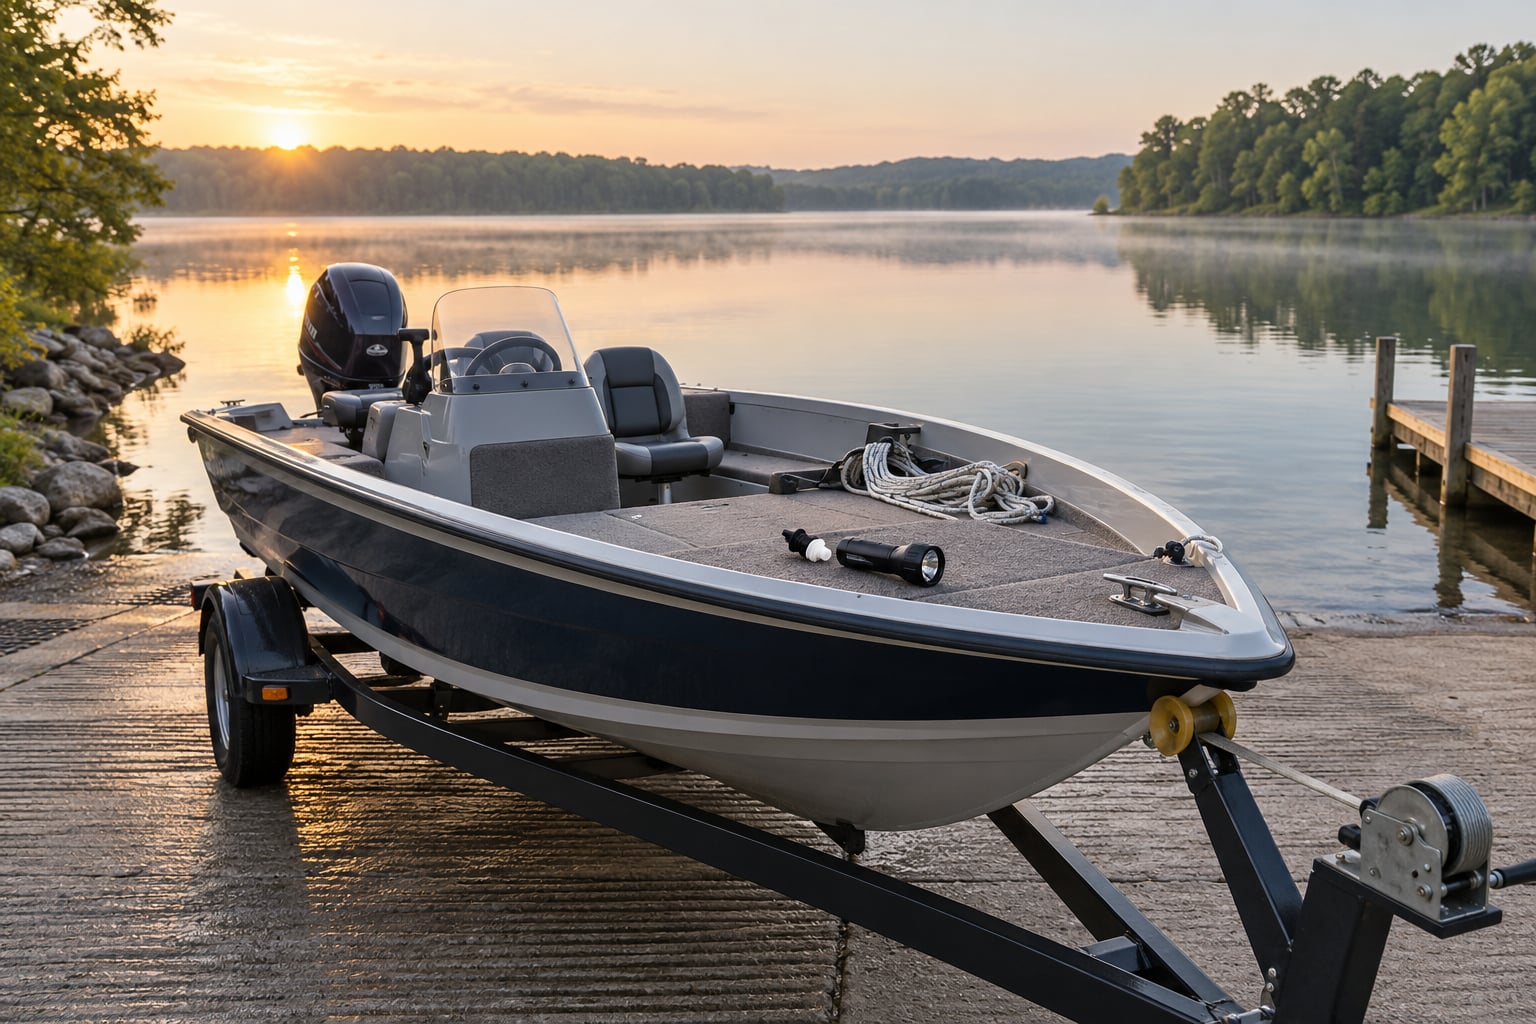
At the top of the ramp, do the last pass in one minute. Drain plug in and finger tight, bow strap and transom straps released and coiled, transom saver removed or clipped up, dock lines aboard, engine in neutral, kill switch lanyard clipped to your belt, and the area behind and beside the trailer clear of people.
Back straight down slowly and let the boat float off the bunks. Once the transom releases, raise it, pull the winch strap free and pull the bow eye to the trailer frame before you drive up. Stow the winch strap, bow line and any loose gear before you move, because a strap trailing in the water behind a moving boat is a propeller hazard.
Then, before you clear the ramp, take the first 60 second safety circle. Motor up and trimmed clear of the trailer, blower running for the first few minutes on a petrol engine, lights on, kill switch clipped, bilge pump cycling. This is the moment competitors rarely write about, and it is the moment where a loose drain plug or an untrimmed motor turns into a problem in open water.
Common Mistakes at the Ramp
Launching without the drain plug. Every forum thread on this subject names it as the most common mistake, and boaters report backing in with the plug still in their hand. Carry the spare on your ignition keyring so it physically cannot be in the truck.
Straps, safety chains or the transom saver still attached. The boat stops partway down and the line behind you builds up. Do the strap work in the staging area, not on the ramp, where you are blocking the worst possible spot.
The bow line is in the truck bed. Boaters on r/boating describe launch after launch that stalled at the dock for a line that was never aboard. Coil the lines and put them in the boat before you leave home.
The engine is not trimmed and raised. A motor sitting down on a shallow ramp can ground the prop, and trimming early gets you clear of the ramp area faster. Raise it and trim it as soon as the transom comes up.
Skipping the bilge blower on a petrol engine. The blower is a five minute habit that prevents one of the worst outcomes on the water. Run it before the first crank of the day.
Doing mechanical checks while sitting on the ramp. Bayou Boat Club advice, and good advice, is to use the time in line: blower, gas hose squeeze, belt tension and oil all get checked while you wait rather than while you block the concrete. If you find a problem at that moment, pull forward into the staging area and deal with it there.
Most of these are the same mistake wearing different clothes: doing the work in the worst possible place. A few extra minutes in the staging area protects your boat, your passengers and everyone behind you in the lineup.
Frequently Asked Questions
How early should I check my boat before launching it?
Do the bulk of it in the staging area, which is where you should spend most of your time anyway. Arrive early enough to have fifteen minutes before you need to be on the ramp, especially on an opening weekend when lines can run past an hour. Do the small jobs at home the night before, run the motor on ear muffs with a garden hose, top off fuel and charge the battery, so the staging area check is a confirmation pass rather than a repair session.
Should I start the engine before putting the boat in the water?
Yes, and most boaters do it twice. Start the motor in the staging area on the trailer to check the idle, oil pressure and steering, then start it again once the boat floats off and you are clear of the ramp before trimming up. The reason people skip the first start is fear of plugging a dry lower unit, but a few seconds at idle on the trailer is far cheaper than a stripped gear case. Run it briefly and do not rev it hard.
What should I inspect most carefully on a boat trailer?
Wheel bearings and tires come first, then the lights and the hitch. Put your hand on each hub after the drive to the lake, a hub that is hot to the touch has a bearing going bad and would have failed on the way home. Check tire pressure, tread and sidewalls for dry rot on tires that have sat outside all winter. Confirm the coupler is latched, the safety chains are crossed and hooked, and every running light, brake light and turn signal actually works.
How much fuel should I carry for a day on the lake?
Plan with the one third rule: a third of the tank for the trip out, a third for the trip back and a third in reserve. The reserve covers wind, current, a slow day fishing or a detour to a fuel dock you did not plan on. On a full day of fishing, most boaters burn far less than they think, but underestimating is expensive and running completely out of fuel is a tow and a very bad day. Never let the reserve become the fuel you use.
What should I do if I find a problem while the boat is at the ramp?
Do not diagnose a mechanical fault on the ramp. Pull forward into the staging area, park out of the way and assess it there, with the vehicle running so you are not the reason the line does not move. Simple fixes such as a loose battery cable or a pinched fuel hose are worth ten minutes. Anything involving the lower unit, oil, wiring inside the console or a seized steering component means loading back onto the trailer and driving home. Asking someone in the lineup for help also works more often than you would expect.
Do I need to check the drain plug every time I launch?
Every single time. It is the most common launch mistake reported by every boater forum, precisely because it feels routine. Pull the plug out and look at the threads, confirm the rubber seal is not cracked or flattened, and check the plug hole for grit before you screw it in. Install it and turn it until it is snug plus a quarter turn, not hard. Keep a spare plug and its key on the same keyring as your ignition so it travels with you.
Conclusion
The safest order is the same every time: hull and drain plug first, then safety gear, fuel, battery, engine, bilge, electronics, loose gear, trailer, and a final one minute pass at the top of the ramp. Follow it in that order and nothing gets skipped because you were rushing.
If you only do one thing before backing down, walk into the bilge and confirm the drain plug is in your hand. Every other mistake on this list is inconvenient. That one fills the boat.