Flushing an outboard motor after use means running fresh water through the raw-water cooling system so salt, sand, mud and algae rinse out before they dry into the block, exhaust passages and water pump impeller. It takes 5 to 15 minutes with a hose and a flush attachment, and skipping it is the fastest way to a seized engine.
Most damage happens quietly. Salt pulls moisture out of the air and holds it against cast aluminum, and combined with the steel, bronze and copper inside a drive case it sets up galvanic corrosion that eats cooling passages from the inside. A motor can run fine on a full tank of gas for two seasons and then stop dead on the first hot day because an impeller finally gave up.
On freshwater lakes the risk is smaller but not zero. Mud, algae blooms and tannins clog the same passages sand and salt do, and low-water stretches mean a lot more debris pulled through the intake in a short trip. This guide covers the same routine for both, starting with the owner’s manual for your exact model.
Table of Contents
- 1What You Need
- 2Step-by-Step: How to Flush an Outboard Motor After Use
- 3Prepare the Motor and Flushing Setup
- 4Connect Freshwater and Run the Engine
- 5Drain, Check, and Finish
- 6Common Mistakes
- 7Tips for Different Boats and Conditions
- 8Frequently Asked Questions
- 9How long should I run an outboard motor while flushing it?
- 10Can I flush an outboard motor with tap water after saltwater use?
- 11Do I need a special flushing attachment for my outboard motor?
- 12Should I flush the steering system when I flush the outboard motor?
- 13Can I flush an outboard motor in cold weather?
- 14What should I do if my outboard motor still has water in it after flushing?
- 15Conclusion
What You Need
Gather the gear before you start. Running out of what you need halfway through a flush is how motors end up running without water.
- A garden hose with an adult male end and steady pressure. Most home spigots deliver enough; a weak trickle is the usual reason a flush seems ineffective.
- The correct flushing attachment for your motor: built-in flush port, water muffs (also called ear muffs), or a flush-port adapter kit for motors with no port.
- A flushing solution if you use one, mixed to the dilution on the label. Pick a pH-neutral formula that will not attack anodes, seals or paint.
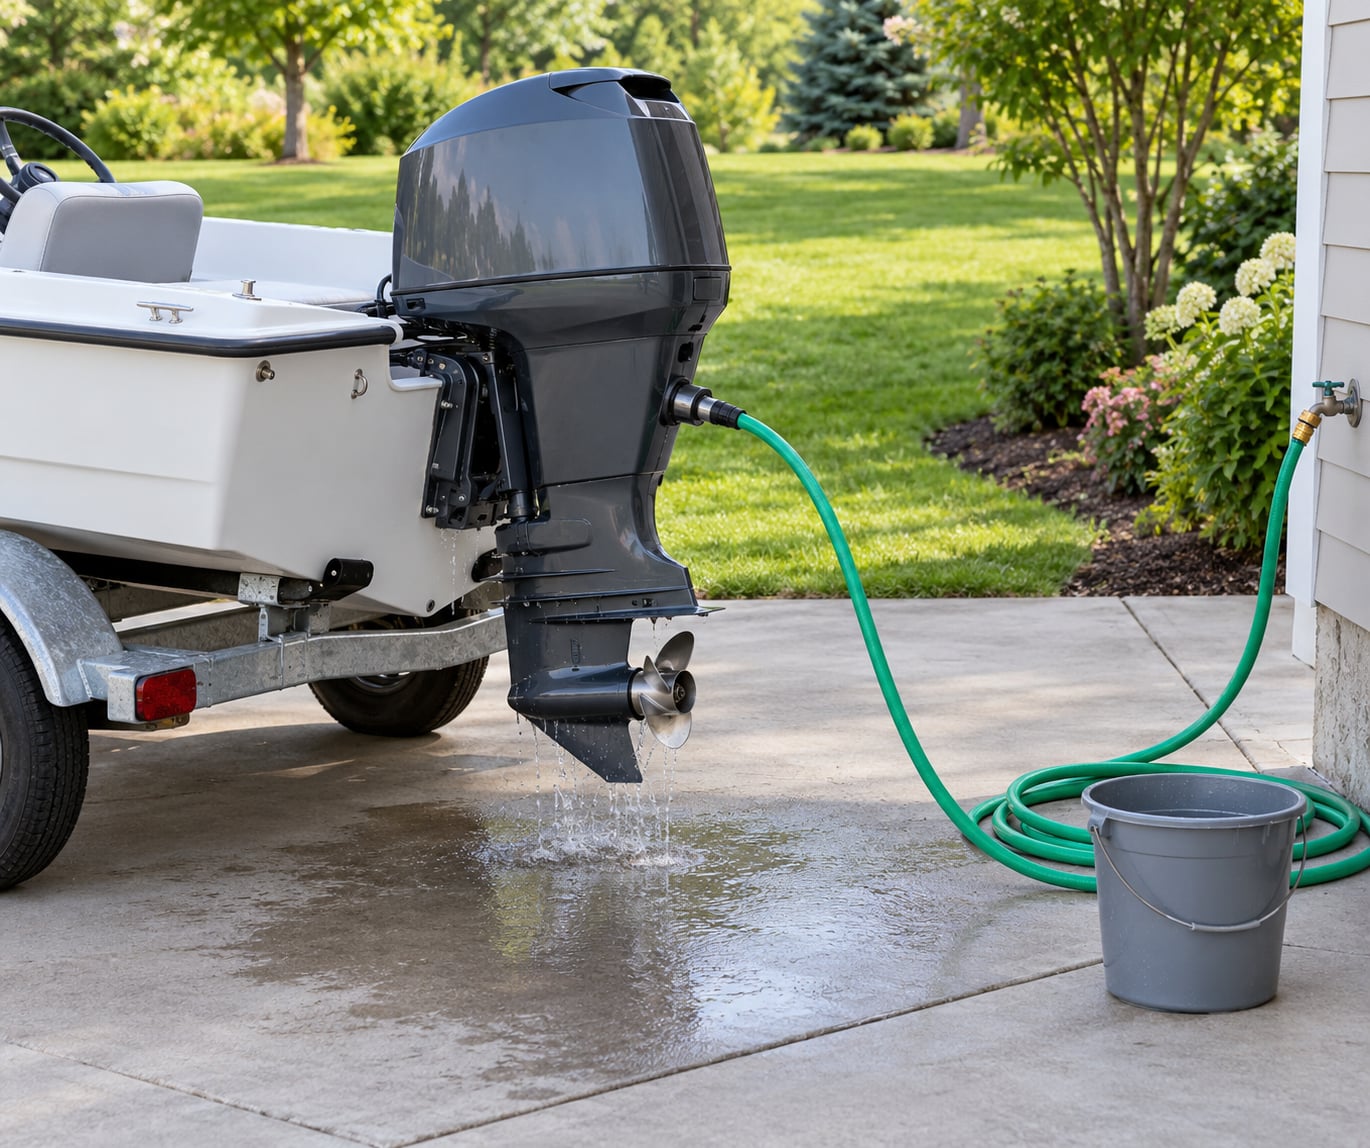
- A bucket and a drain or grassy area, since a flushing outboard puts several gallons down at once.
- The motor owner’s manual, open to the flushing section. Model years differ more than most guides admit.
- A flat-head screwdriver or wrench if your flush port takes a plug you may need to reseat or reinstall.
If your motor has no factory flush port and you do not want muffs, a portable canister kit with a garden-hose end is the practical middle ground. It works on the water and in a parking lot.
Step-by-Step: How to Flush an Outboard Motor After Use
Prepare the Motor and Flushing Setup
Open the owner’s manual and find the flushing procedure for your model. Some motors run the engine during the flush, others use an engine-off port that opens under vacuum, and a few (notably many Yamaha four-strokes) have a limiter that dictates whether you may run it with water attached.
Warm the engine first by running it under power for a few minutes at the dock or in a launch lane. Flushing a stone-cold block can trap water in the thermostat housing instead of pushing it through.
Tilt the motor down so the cooling water intakes sit in clean water, then check them for grass, shells and fishing line before you connect anything. A blocked intake starves the pump no matter how good your hose is.
Look at the tell-tale, the small stream of water that should dribble from the exhaust or lower unit. If nothing comes out at idle with the motor in the water, you have a clogged intake or a worn impeller, and flushing will not fix it.
Connect Freshwater and Run the Engine
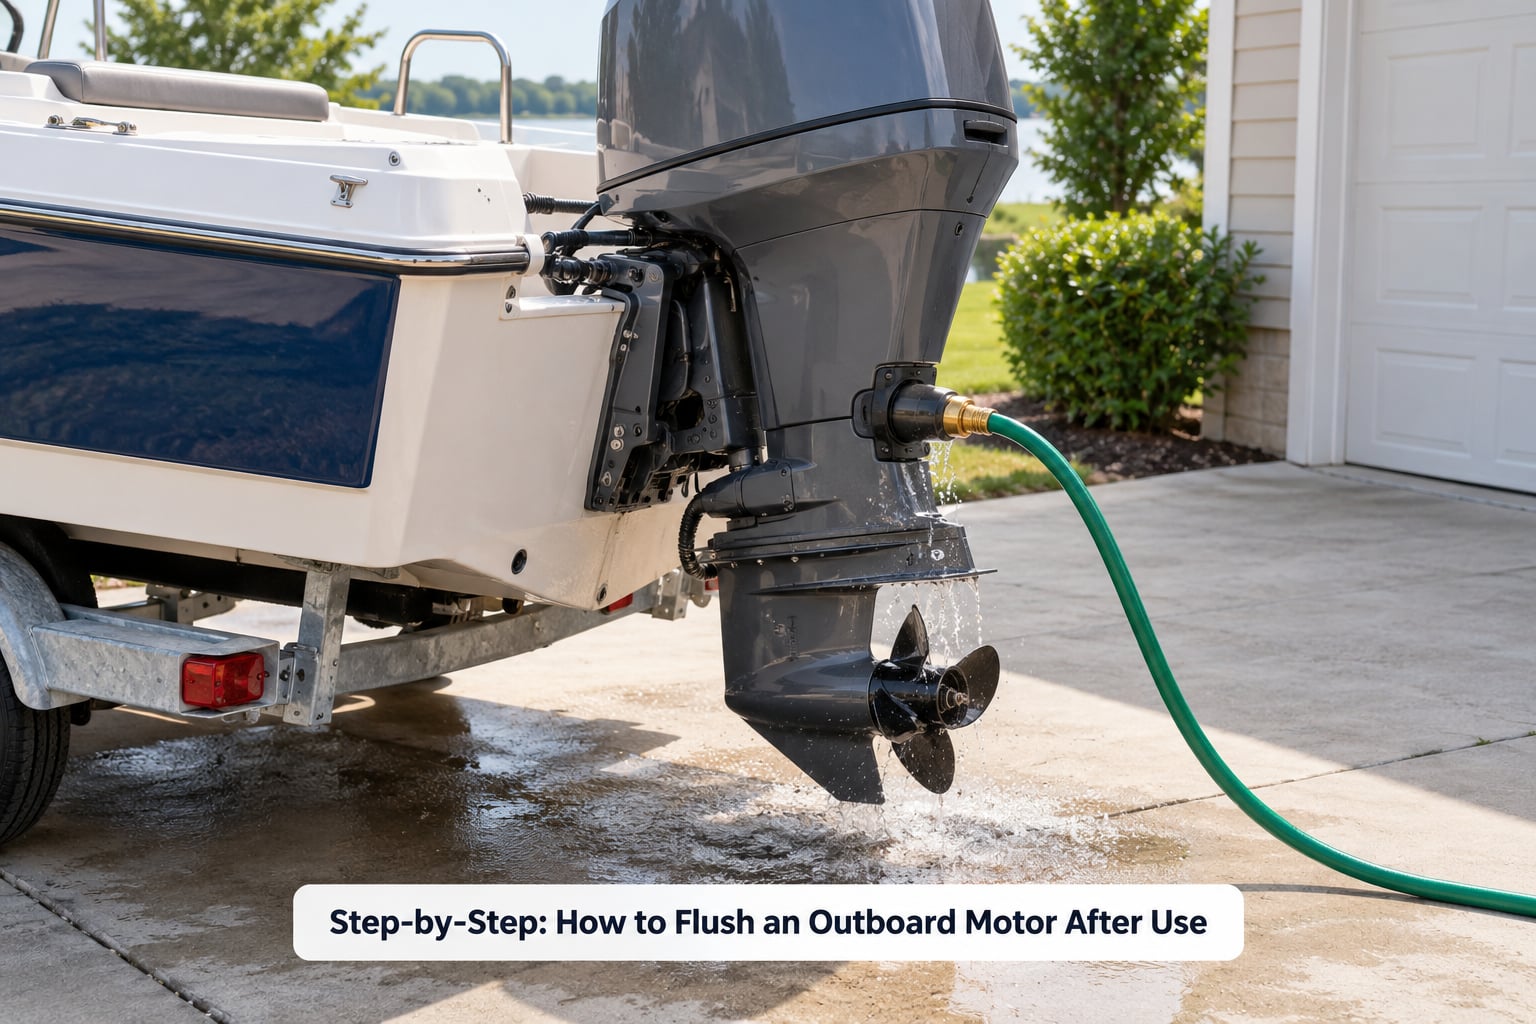
Here is the order that matters: water on first, engine second. Turn the hose on and let steady fresh water flow before you start the motor. Starting an engine-running flush with no flow can damage the impeller in seconds.
Attach the hose to the flush port, or clamp the water muffs over both cooling water intakes. Attach them before the water comes on if you have help, because the muffs are awkward to seat one-handed.
Start the engine and bring it to idle in neutral. Watch the tell-tale stream from the exhaust: it should be steady and warm, not a sputter or a thin trickle. Weak flow with the hose running wide open usually points to a worn impeller rather than a plugged screen.
Keep the water moving for the time that matches your scenario. A quick rinse after a freshwater day is a few minutes, a full flush after salt is 10 to 15 minutes, and a pre-storage flush runs 15 to 20 minutes with antifreeze if you are laying the motor up. Forum regulars report that a consistent short rinse after every salt trip roughly doubles impeller life.
Shut the engine down before you shut the water. Stopping water first sends the hose pressure back through the exhaust and can push water into the cylinders, which is the start of water reversion and milky gear oil later on.
Drain, Check, and Finish
Leave the hose running for a few seconds after the engine stops so the passages drain clean instead of holding a slug of water. Then disconnect the hose or muffs and reinstall any flush port plug you removed. Losing that plug is a common reason people give up on the port method.
Tilt the motor back up and let residual water drain from the exhaust for several minutes. Check the gearcase oil through the sight glass or dipstick; a milky or foamy emulsion means water got in and the oil and impeller need attention before the next launch.
Look at the tell-tale again on the next tilt-down. If the stream is weak or intermittent when you have no hose attached and clean water around the intake, book a service and plan on an impeller.
Run the motor briefly with the steering turned hard to either side so the hydraulic steering fluid circulates through the ram and hoses. Many manuals specify this, and it clears fluid that has settled in the lines during a layover.
Common Mistakes
Almost every damaged outboard I have seen traces back to one of these. None of them are exotic, and all of them are avoidable.
- Shutting the water off before the engine. This forces pressurised water back through the exhaust and into the cylinders. Always shut down the motor first, then the hose.
- Running the engine with no flow. If the hose runs dry, the tell-tale stops or you lose pressure, stop the motor immediately and let the water come back on before restarting. That is the single most repeated warning in every boating forum.
- Using the wrong attachment. Muffs fitted over the wrong diameter, or a hose shoved into a port the manual says is for engine-off use, gives you a weak flush and sometimes water reversion. Check the manual for the port type.
- Hose pressure too high. Household pressure at full blast can push water past the exhaust path into the crankcase. Open the tap partway and confirm a steady tell-tale instead.
- Skipping the steering flush. After a long layover, turning the wheel lock to lock at idle moves the fluid and settles it back into the ram.
- Storing the motor wet. A post-flush motor still holds water in the exhaust and gearbox. Tilt it up and drain it fully before the boat goes on the rack for the winter.
- Flushing a frozen or damaged motor. If the impeller is already gone, running water through does nothing except push debris deeper and can overheat the engine. Stop and diagnose.
Tips for Different Boats and Conditions
Saltwater and brackish water: Flush every single trip, no exceptions. Brackish estuary water and shallow coastal bays can be nearly as corrosive as open ocean, and they are where most inland-rig owners first meet corrosion.
Freshwater lakes: A short rinse after heavy mud or an algae bloom is worth it. If you are on clear water and the intake screens come up clean every trip, a quick rinse a few times a season is plenty, though plenty of owners flush anyway out of habit.
Mud, sand and low water: Flush the same day rather than at the next launch. Grit settles in the cooling jacket and stays there, and a single flush removes more of it than two flushes a week apart.
Long layovers and winter storage: Do a full flush with antifreeze solution if the motor will sit more than a month, run the steering through its full lock, fog the intake if the manual calls for it, and top off the gearcase oil level as specified.
Portable canister kits: Good option for portable motors with no flush port, or when a hose will not reach the slip. Fill it with fresh water or a weak solution, run the motor until the fluid in the clear tank runs clear, and that is a complete flush.
No approved attachment: Check the model with a dealer before clamping anything improvised onto the cooling water intakes. Wrong-fit muffs can slip off mid-flush, which is a fast way to a ruined impeller.
Frequently Asked Questions
How long should I run an outboard motor while flushing it?
A quick rinse after a freshwater day needs about 2 to 3 minutes of steady water. After saltwater, run 10 to 15 minutes at idle with a strong tell-tale stream. Before winter storage, extend that to 15 to 20 minutes and use antifreeze solution. The tell-tale matters more than the clock: if the stream weakens or stops, the impeller or an intake is already compromised.
Can I flush an outboard motor with tap water after saltwater use?
Tap water is exactly what you want. Salt residue stays dissolved and gets carried out through the exhaust as long as enough water volume moves through the block. Use a steady flow rather than a trickle, and keep running until the tell-tale stream runs clear. A pH-neutral flushing solution helps if the motor sat in salt for a while, but plain tap water done promptly is far better than no flush at all.
Do I need a special flushing attachment for my outboard motor?
Usually not, because most modern outboards have a built-in flush port on the engine block or midsection. Motors without one take universal flush muffs clamped over the cooling water intakes, which work on almost any brand. A portable canister kit is the third option for small portable motors. Check your owner’s manual, because some ports are engine-off only and some limiters forbid running the engine with water attached.
Should I flush the steering system when I flush the outboard motor?
Yes, and it takes seconds. With the motor idling in neutral during the freshwater flush, turn the steering wheel hard from lock to lock a few times so hydraulic fluid moves through the ram and hoses. This is most important after a long layover, when fluid has settled in the lines. It also helps bleed air that can make the steering feel vague on the first trip of the season.
Can I flush an outboard motor in cold weather?
You can, with care. Flush with plain fresh water rather than antifreeze unless you are actually storing the motor, since antifreeze left in the cooling system can gum things up later. Run the motor for a few minutes first so the block is warm and the thermostat opens, or water will sit in the housing. Never flush with the engine block frozen, and keep the water supply flowing until the motor is off.
What should I do if my outboard motor still has water in it after flushing?
Tilt the motor fully up and let it drain for several minutes, then check the gearcase oil. Clear oil means you are fine. Milky, foamy or emulsified oil means water entered the crankcase, and that motor needs the oil drained and replaced along with an impeller inspection before it runs again. If the tell-tale stays weak with clean water and a full hose, the pump is likely worn rather than blocked.
Conclusion
Start with the owner’s manual, because flush ports and limiters differ between models and years. Then run steady fresh water through the correct attachment with the water on before the engine, watch the tell-tale, and shut the motor down before the hose. Five minutes after every salt trip is cheap insurance; the alternative is a cooling jacket full of corrosion when you most want the motor to start.