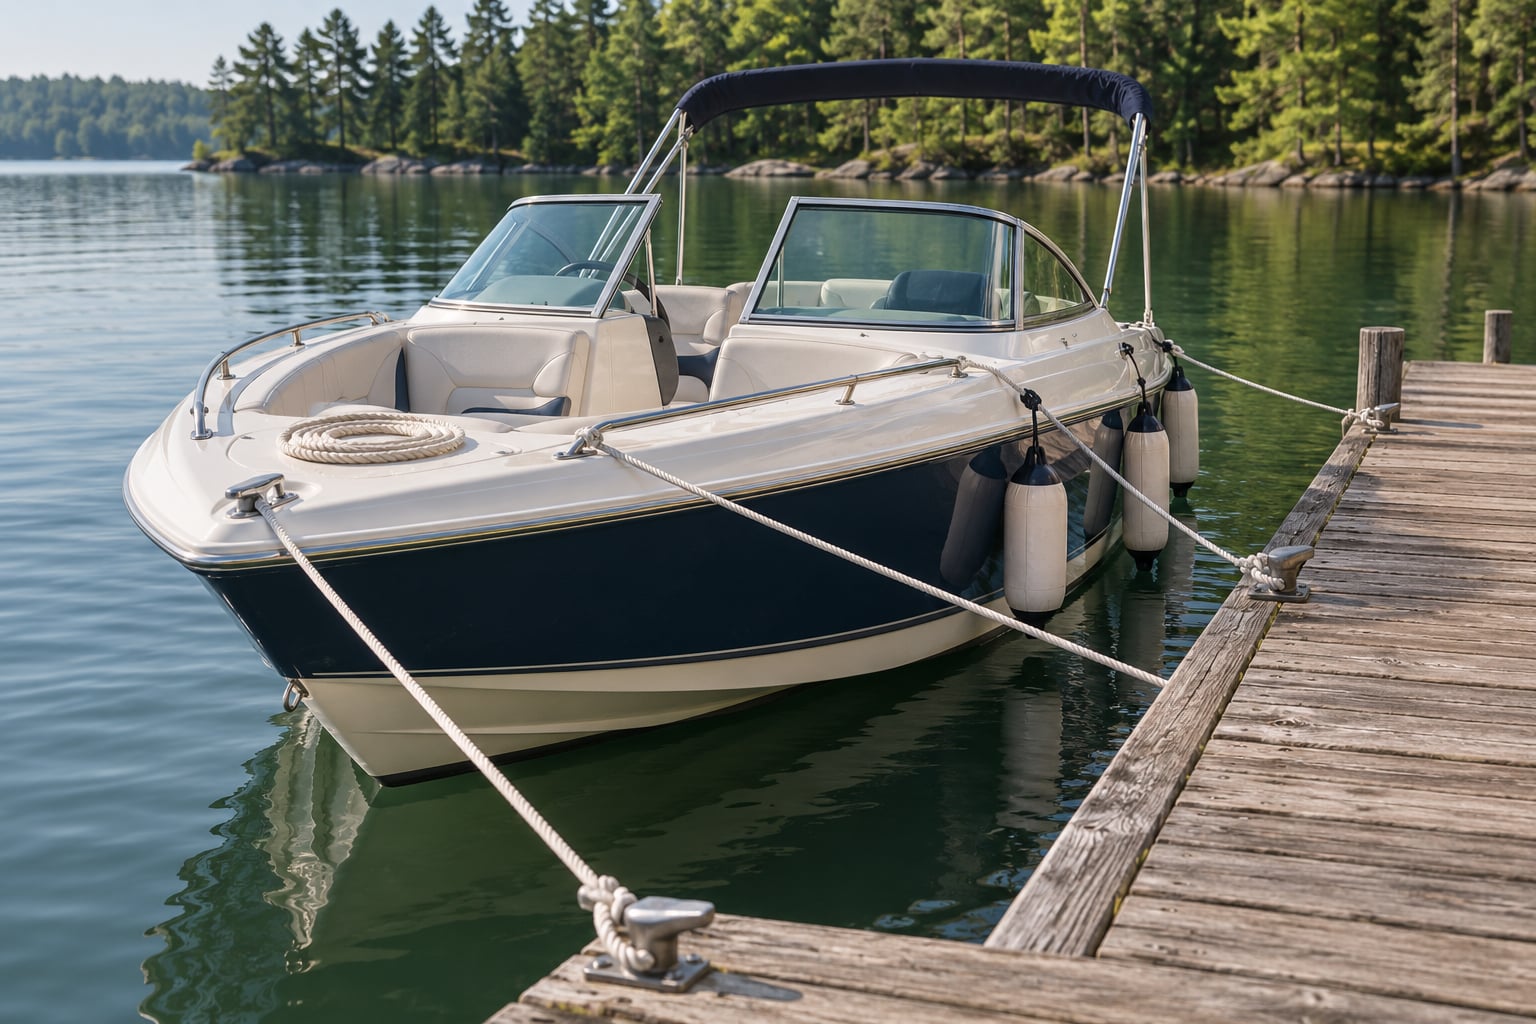
To tie a boat to a dock properly, run a bow line, a stern line, and at least one spring line to dock cleats, finishing every line with a cleat hitch. Add fenders before you get close, leave enough slack for the water to move, and re-check the setup after a wind shift. Most boaters who struggle with a dock tie-up are missing a spring line or pulling the bow line too tight, not tying the wrong knot.
I have watched a lot of new boat owners do this on a lake dock, and the same two mistakes show up every time. They tie only the bow and stern lines and skip the springs, then the boat walks down the dock while they are at lunch. Or they haul the bow line snug so the boat cannot swing, and by evening the dock hardware is loaded well past what it should carry.
Here is the setup I use, and the order I tie it in. It takes about ten minutes once you have done it a few times.
Table of Contents
- 1What You Need
- 2How long should dock lines be?
- 3Step-by-Step: How to Tie a Boat to a Dock Properly
- 4Step 1: Position the boat safely
- 5Step 2: Place fenders before the boat reaches the dock
- 6Step 3: Attach the bow and stern lines
- 7Step 4: Add spring lines for fore-and-aft control
- 8Step 5: Adjust the lines for movement and load
- 9Step 6: Inspect the finished tie
- 10How Each Line Works
- 11Common Mistakes
- 12Frequently Asked Questions
- 13What is the best knot to tie a boat to a dock?
- 14How tight should the bow and stern lines be when docking?
- 15Should I use a spring line when tying a boat to a dock?
- 16How do I secure a boat to a dock without cleats?
- 17How often should I check the lines after tying up for the day?
- 18Does wind direction change how I tie a boat to a dock?
- 19Conclusion
What You Need
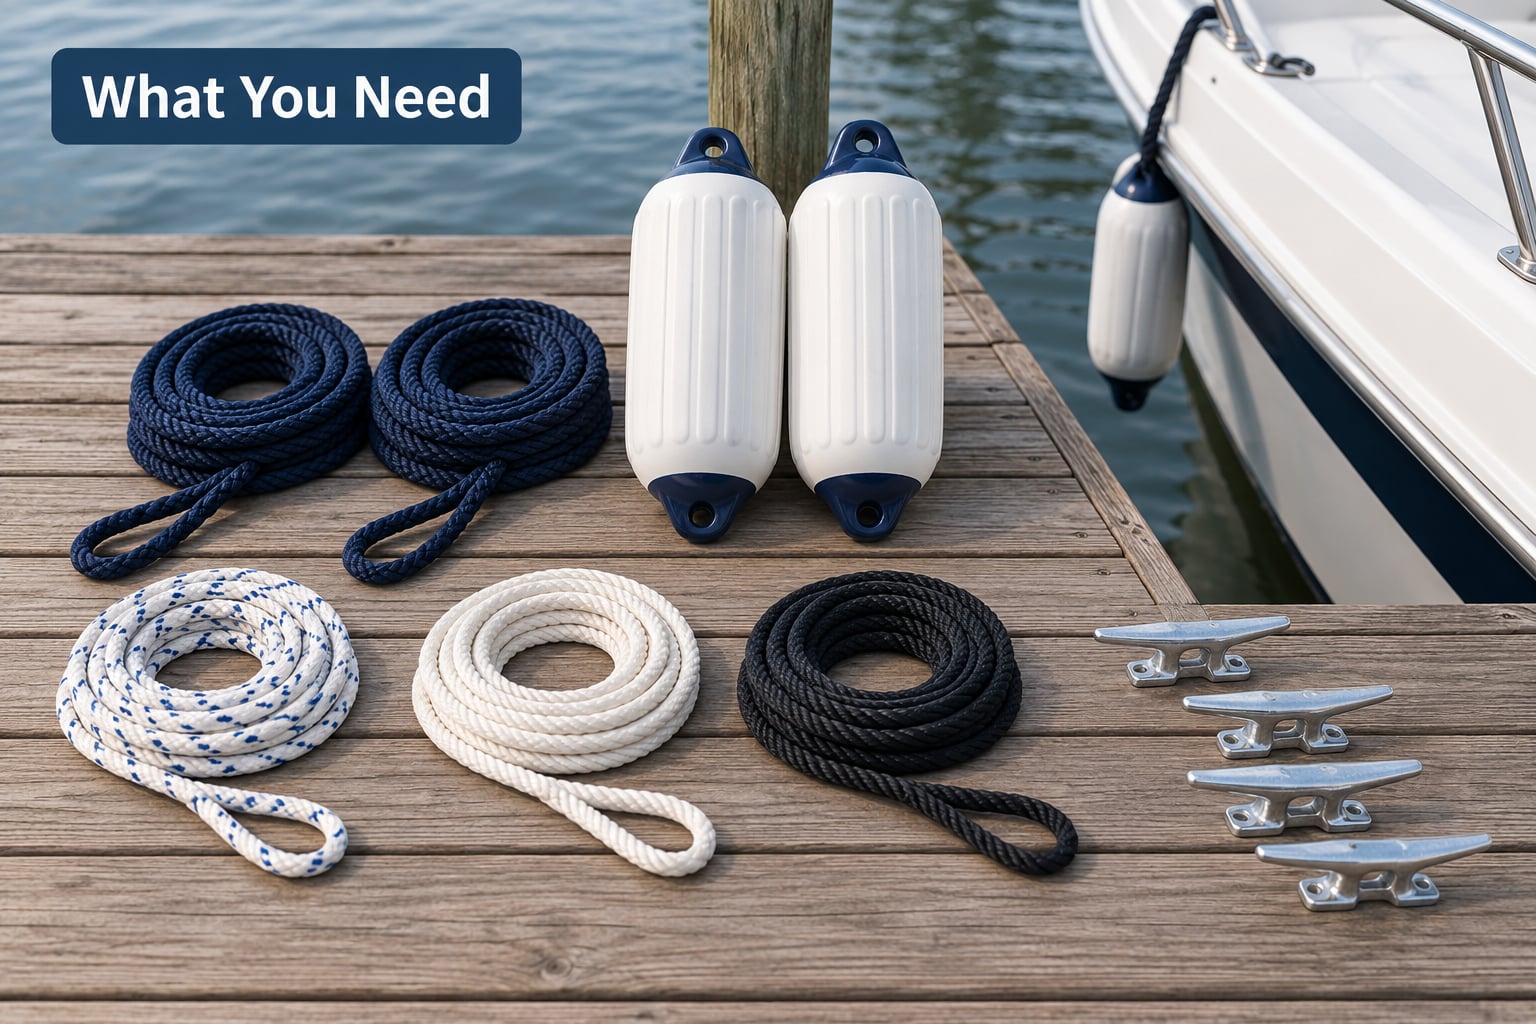
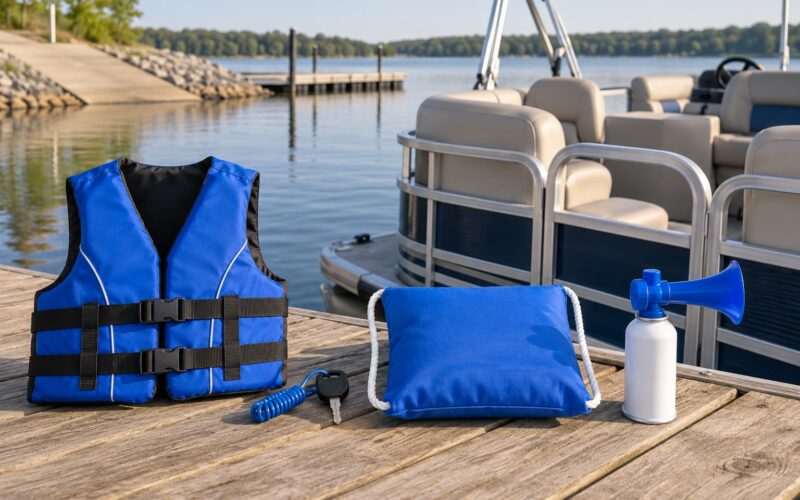
You need four lines and a set of fenders before the boat ever moves. Anything less and you are relying on the cleats to do a job they were not sized for.
- Bow line and stern line — these stop the boat sliding forward and backward away from the dock. A bow line is usually the longest of the set.
- Two spring lines — ideally the same length as the bow and stern lines. Running one from the bow to a stern dock cleat and one from the stern to a bow dock cleat is what stops fore-and-aft movement.
- Fenders — enough for the length of hull that sits against the dock, plus one spare. A 20-foot boat usually wants three.
- Chocks or a fender line with chafe guards — rollers, closed chocks, or split sleeves that keep a line from sawing itself through on a piling or a sharp dock edge.
- A spare line of a different length — the fourth line on a small boat is rarely the same length as the others.
Line material matters less than most people think. Braided nylon is the traditional choice because it stretches and absorbs shock, which is good for absorbing a wake. Polyester holds its shape longer and resists chafe better, and it is what I use on a boat that sits unattended for days. Avoid cheap polypropylene rope for bow and stern duty; it is stiff and abrades quickly.
How long should dock lines be?
Dock lines should be long enough to reach the dock cleat with roughly a third of the line still in the boat. That leftover length is your adjustment range as the water rises, and it is the reason a 25-foot boat often carries 40 feet of line on each of the two main lines. The one-third rule is a sizing guideline, not a hard limit, but if you finish the tie with nothing but a hand-span of slack, you have no movement left.
The same rule applies to cleats. A rough sizing guide is about an inch of cleat length for every sixteenth of an inch of line diameter, so 3/8-inch line wants a cleat roughly 2 to 3 inches long. A horn cleat sized for the line also releases under a heavy surge instead of holding the boat until something snaps.
One trick worth stealing: mark the spot on the line with a permanent marker where it should first meet the boat cleat. Owners who tie up alone say that pre-setting the length is what keeps the bow off the dock, because you are throwing a loop of a known size instead of feeding line hand over hand.
Step-by-Step: How to Tie a Boat to a Dock Properly
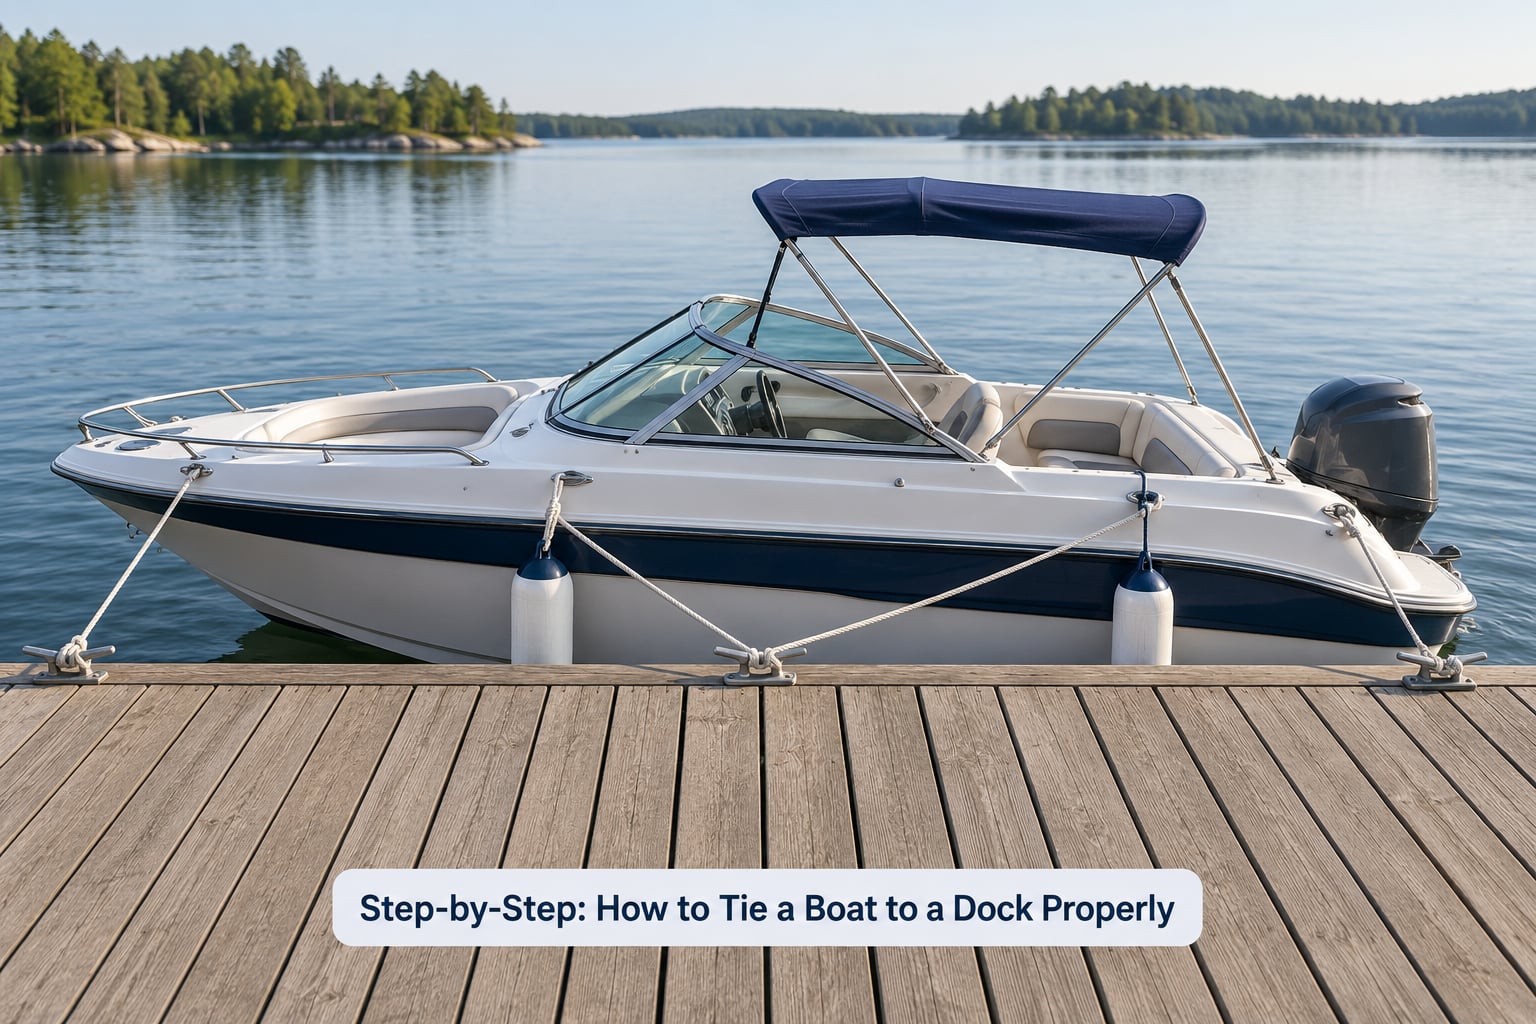
Tie the boat up in this order: position it, set the fenders, make the first line fast, add the rest of the lines, set the tension, then walk the whole setup once before you step off.
Step 1: Position the boat safely
Come in slowly with the engine just above idle and pick the side of the dock you want before you get committed. On a pontoon or a wide runabout, work the bow in at a shallow angle of about 20 degrees, then straighten up and let the drift bring the hull in parallel rather than steering it in hard.
Approach into the wind and against the current when you can. Owners on sailing forums tie an ama bowline on first, then reverse with the motor held away from the dock so the stern comes in on its own; the same idea works on a small powerboat, and it keeps the props well clear of the pilings.
You want the boat parallel, not pinching in at the bow or flaring out at the stern. A hull that is not parallel puts the full load on one fender and leaves a gap where no fender is doing any work. Keep the prop and rudder well off the dock face at all times.
Step 2: Place fenders before the boat reaches the dock
Fenders go out before the hull arrives, not after. Many boaters fender too high or too low, so the boat works up and down over the top of the fender instead of resting against it.
Hang each fender so its top sits level with the rub rail or just below it, and space them along the section of hull that will rest against the dock. A 20-foot boat tied to a dock face for 10 feet wants two fenders plus a third at the end you expect to swing. On a floating dock the whole boat rises with the water, so check the fender height again after the tide turns.
Step 3: Attach the bow and stern lines
Tie the end of the line that will face into the wind or current first, because that is the line that will take the first load. If the wind is forecast to come from the bow, that is your bow line. If it comes from astern, make it your stern line.
Use the cleat hitch on the dock hardware, and use a simple cleat hitch or a bowline on the boat side. To tie a cleat hitch, pass the end under and around the base of the cleat, bring the standing part diagonally across the horns and over the far horn, wrap it once around the base again, then make one half hitch over the standing part. Every turn crosses the standing line, so the load pulls the hitch tighter rather than slipping it open.
Some owners use a figure eight with one half hitch at the boat end and two half hitches at the dock end instead. It holds better under a surge and is easier to undo one-handed, which is a fair trade for a line you will retie often.
Do not pull the bow line cinched tight. Take out the slack so the boat sits where you want it, then give the line back a little so it still has some movement in it.
Step 4: Add spring lines for fore-and-aft control
A spring line runs diagonally from the bow of the boat to a dock cleat near the stern, or from the stern to a dock cleat near the bow. Crossing the boat diagonally is the entire trick, because a diagonal line can only pull fore-and-aft, so it stops the boat walking along the dock without squeezing the hull against the fenders.
Rig both springs if you are leaving the boat overnight, through a wind shift, or on tidal water. For a quick stop at a fuel dock, one spring from the stern forward is usually enough. Owners running a slip often tie a midship boat cleat to a midship finger cleat first, before anything else, because that single line controls the boat while you handle the rest.
Step 5: Adjust the lines for movement and load
Take the twist out of the lines and let them hang naturally, then snug each one by hand until the boat is held where you left it. You are aiming for firm but not straining, with enough slack that the boat can rise and fall with the water instead of holding the dock in place.
Load sharing is the part people skip. If one cleat is carrying noticeably more tension than the others, that line is doing the work of two. Equalize by easing the tight line and taking up on the loose one. On a floating dock, retie or adjust roughly every hour or two around a full tide cycle, and always after a gust.
Step 6: Inspect the finished tie
Walk the length of the boat before you step off and check four things. Every knot is dressed and holds with a firm pull, every line runs clear of the prop, the hull rests on fenders instead of hard against the dock, and no line is rubbing on a sharp edge or chock.
Then take one more look at the tie from the dock. Boat owners who leave a boat unattended say the thing they worry about most is not the knot holding but the hull pounding against the dock all night, so the visual check matters as much as the tension check.
How Each Line Works
Three lines handle three directions of movement, and each one has a job. Once you know what a spring line is doing, the rest of the tie-up stops being guesswork.
- Bow line — runs from the bow cleat to a dock cleat roughly level with it. Its job is to stop the boat sliding forward into the dock and to keep the bow from swinging out into the traffic lane. Make it first when the wind is forecast from ahead.
- Stern line — runs from the stern or midship stern cleat to a dock cleat level with it. It stops the boat sliding backward and keeps the transom from drifting out. Make it first when the wind is forecast from astern.
- Spring line — runs diagonally, bow to stern dock cleat or stern to bow dock cleat. It stops fore-and-aft movement and makes the boat far harder to walk along the dock in a wind shift. Add one for any stay longer than a couple of hours, and two for overnight, multi-day, or tidal moorings.
- Breast line — runs straight across from a midship cleat to a dock cleat level with it. It holds the boat’s side off the dock and shares load, and it is the line that gets forgotten most often.
A quick swim of an hour or two on a calm lake needs the bow line and stern line. A full day of fishing, an overnight stay, or any trip where you are leaving the boat unattended calls for both springs. Add a breast line whenever you have a spare line and a midship cleat to use.
Common Mistakes
Almost every damage report I have heard on boating forums traces back to one of the following, and all of them are avoidable.
- No spring line. Bow and stern lines alone control the fore-and-aft ends of the boat but not the middle. The boat walks along the dock and pounds the fenders or lands on the boat behind it. Fix: add at least one spring line for anything longer than a quick stop.
- Lines pulled too tight. Over-tightening does not make a boat safer. It overloads cleats, bends dock hardware, wears the line at the contact point, and in tidal water it means the boat and dock fight each other as the level changes. Fix: snug until the boat holds position, then give back a little length.
- Too little slack for water-level change. On a floating dock or tidal water, lines with no movement left force the dock to rise and fall against its own pilings. Fix: leave roughly a third of the line in the boat.
- The wrong knot, or the right knot tied sloppily. A cleat hitch with loose, uncrossed turns will slip under load no matter how tight it looked when you finished. Fix: make sure every turn crosses the standing part, then dress the hitch before you let go of the line.
- Hardware that is too small. A small cleat on heavy line, or a thin horn cleat where the line bears against one horn, is the weak link in the whole setup. Fix: check cleat length against line diameter before trusting it.
- Lines chafing through. A line working back and forth on a piling or over a dock edge will saw through in a single night. Fix: use chocks, rollers, or chafe guards where the line crosses hardware.
- Fenders set too high or too low. A fender that sits above the rub rail lets the hull work up and over it instead of resting on it. Fix: top of the fender level with or just below the rub rail.
- Not re-checking the tie. A good tie-up at noon is not necessarily a good tie-up at four in the afternoon. Fix: walk the boat whenever you come back past it, and always after a gust or a passing wake.
- Blocking the ramp or a neighbour’s slip. Owners complain about this constantly on forums. Tie to your own slip or an open face of the dock, and leave the ramp clear.
One more habit worth building: show the cleat hitch to whoever else steps on the boat with you. The feedback from experienced owners is consistent on this point, a knot nobody can see is a knot nobody can tie confidently on a dark dock in wind.
Frequently Asked Questions
What is the best knot to tie a boat to a dock?
The cleat hitch is the standard knot for tying a boat to a dock, at both the boat end and the dock end. It grips under load, releases cleanly with a pull on the tail, and can be retied fast. On a dock with only a piling to work with, use a clove hitch finished with two half hitches, or an eye splice wrapped around the piling with at least three turns.
How tight should the bow and stern lines be when docking?
Firm but not straining. Take up the slack until the boat sits where you want it and you can still slide the line a little by hand, then stop. A line with no movement left forces a floating dock or a tide to fight its own pilings, and it puts the full load on a single cleat. Leave roughly a third of the line in the boat.
Should I use a spring line when tying a boat to a dock?
Yes, for anything longer than a quick fuel or restroom stop. A spring line runs diagonally from the bow to a dock cleat near the stern, or the stern to a dock cleat near the bow, and it is the only line that stops the boat walking fore and aft along the dock. Use one for a day stop and two for overnight, multi-day, or tidal moorings.
How do I secure a boat to a dock without cleats?
Work with a piling. Tie the line to the piling with a clove hitch and finish it with two half hitches, or use an eye splice and wrap it around the piling at least three full turns plus two extra half hitches on the inside. Bind the tail to the main line with a short lashing so it cannot slip. Set the hitch high enough to stay clear of the water and wrap a chafe guard where the line crosses the piling.
How often should I check the lines after tying up for the day?
Walk the boat at least twice while you are ashore, and again after any gust, wake, or passing craft. Around a full tide cycle, expect to retie or readjust roughly every hour or two. The thing that usually needs attention is the spring line tension after a wind shift, not the bow line, so check that the boat is still held in line with the dock.
Does wind direction change how I tie a boat to a dock?
It changes the order and the balance. Make the first line the one facing into the wind, since that line takes the first load. With wind from ahead, set the bow line first and consider a spring from the stern to a forward dock cleat. With wind from astern, do the reverse. On a boat with no freeboard aft, a strong following wind can blow the boat off the dock, so the stern line needs to be the stiffer of the two.
Conclusion
Put the fenders in first, bring the boat in parallel at a shallow angle, tie the line that faces the wind, then the second end, then the springs, and walk the whole setup once before you leave. That order, with about a third of each line still in the boat, is what keeps a boat in place overnight instead of down the dock by morning.
This guide was checked against current boating guidance in 2026, and the same basics apply on a lake or on tidal water. If you are new to it, practise on a calm day with someone on the dock holding the lines.