Getting up on a wakeboard comes down to one idea: the boat lifts you, not your arms. You float in a tight tuck with the board angled across the boat’s path, signal the driver, and let steady acceleration plane the board onto the water before you stand up slowly. Most beginners get wet, fall, and try again. That is normal, and most first rides happen somewhere between attempt three and attempt ten.
Here is how to get up on a wakeboard in eight steps, then the detail behind each one.
- Put on a USCG-approved life jacket and, on cable parks or busy water, a helmet.
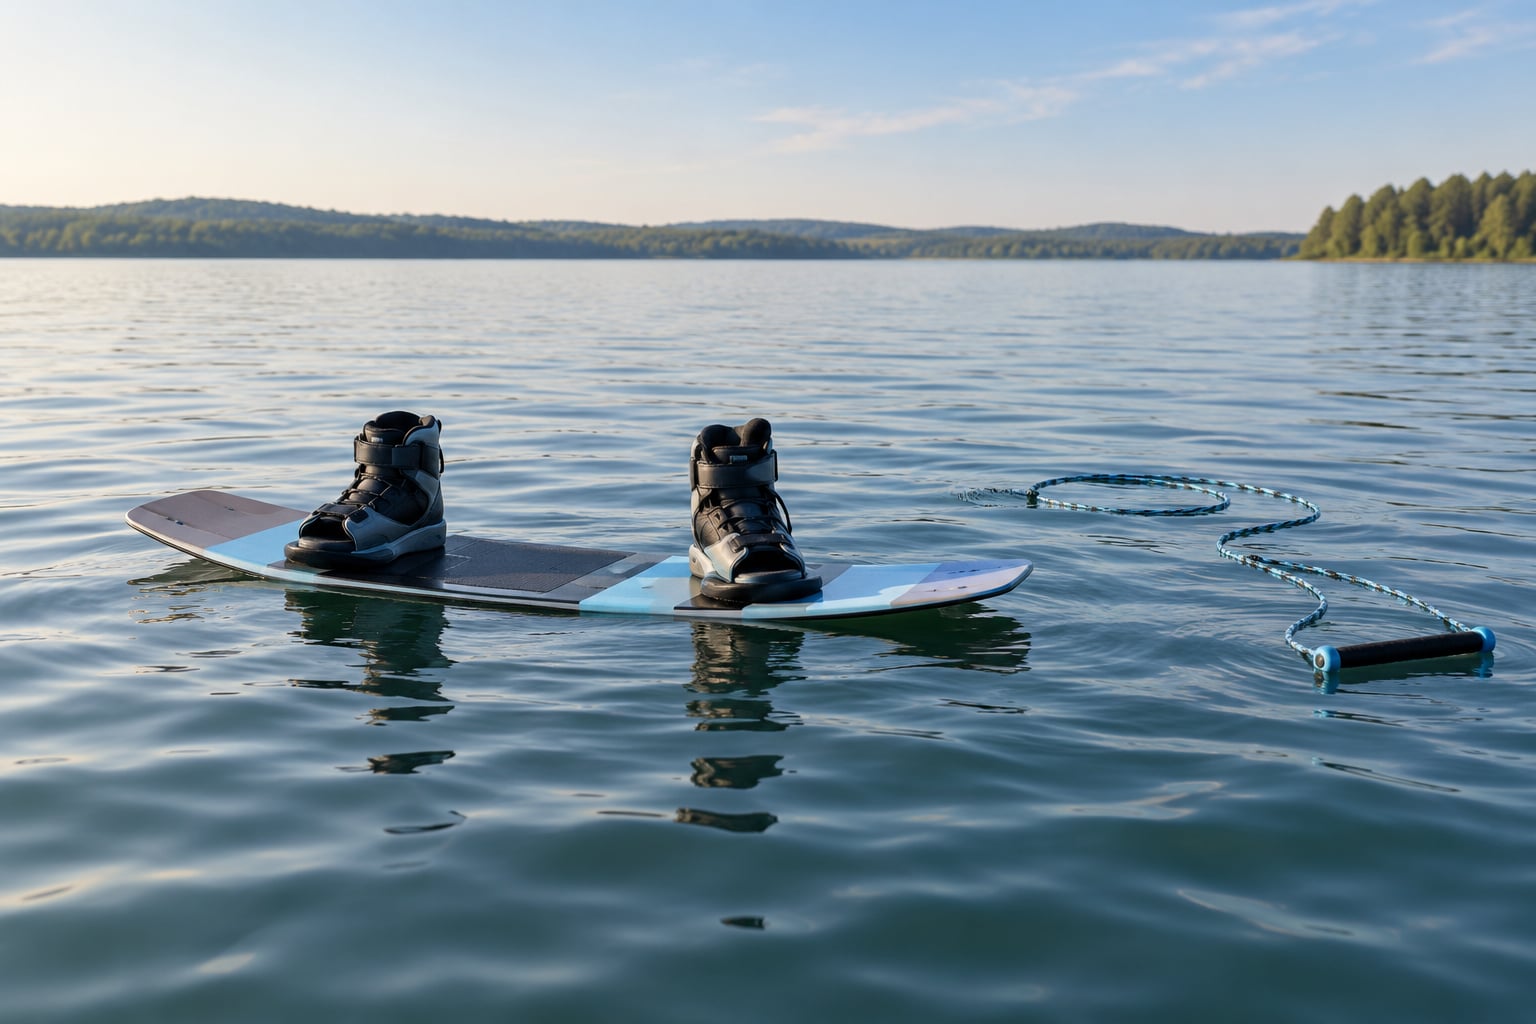
- Drift behind the boat in deep water, board floating under your hips, handle in both hands.
- Angle the board roughly perpendicular to the boat’s path, or about 45 degrees for beginners who feel more stable that way.
- Tuck your knees to your chest, arms straight, toes pointed up.
- Shout “Hit it” once the rope is tight and your board is in position.
- Let the boat accelerate smoothly; do not yank with your arms.
- Keep the tuck until the board is planing, then stand up gradually with soft knees.
- Move the handle down toward your lead hip and ride away looking ahead, not down.
If you only remember one thing, remember step six. The single most common failure is a rider hauling on the tow rope like a rope climb. That drags the board nose-down, sinks the rider, and ends the attempt in a face full of water.
Table of Contents
- 1What You Need to Get Up on a Wakeboard
- 2Choosing Regular or Goofy Stance
- 3Foot Spacing and Binding Angles
- 4Water and Weather Conditions
- 5Step-by-Step
- 6How to Position Your Board and Body
- 7How to Stand Up on a Wakeboard and Hold Your Balance
- 8How to Start Moving
- 9How to Stop and Fall Safely
- 10Common Mistakes
- 11Common Mistakes and Tips
- 12Frequently Asked Questions
- 13Why can’t I get up on the wakeboard?
- 14How should I position my feet on a wakeboard?
- 15How do you wakeboard for beginners?
- 16Can you wakeboard without a tower?
- 17How long does it take to get up on a wakeboard?
- 18What size bindings should I get for a wakeboard?
- 19Conclusion
What You Need to Get Up on a Wakeboard
The gear list for learning how to get up on a wakeboard is short, and only two items are genuinely non-negotiable.
- A USCG-approved personal flotation device. A proper fit means the shoulder straps are snug and the jacket does not ride up over your ears when you tug the collar. Wakeboarding happens at boat speeds, and buoyancy matters more than any other choice you make that day.
- A tow rope and handle. Most beginner setups run 60 to 75 feet of line. Shorter ropes make the start harder because the rider and boat are too close. Check the handle for cracks and fraying before you go.
- A board sized for your weight. A wide, stable twin tip with mellow rocker planes earlier and forgives mistakes. An undersized or narrow board sits low, refuses to plane, and is the usual reason heavier riders cannot get up.
- Bindings that fit. Most riders size bindings to their shoe size, and the manufacturer chart for your board is the tiebreaker. Soft flex feels better on a first session. Quick-release bindings help when you fall.
- A driver who is listening. This matters more than the board. Agree on signals before the first attempt and stay calm.
Choosing Regular or Goofy Stance
Regular means your lead foot is your left foot; goofy means it is your right. The crossover is usually predictable: snowboarders tend toward goofy, surfers and skiers toward regular. Do not fight it. Watch a few riders who are built like you and pick whichever side keeps your hips open toward the boat.
Foot Spacing and Binding Angles
Set your feet about shoulder width apart with the binding angles between 12 and 15 degrees. Feet too close together make the board feel twitchy, and feet too wide fight the rope pull. Set both bindings while you are standing on dry ground in riding position, not sitting down.
Water and Weather Conditions
Flat water in the early morning is the fastest way to learn. Wind chop and boat traffic turn a ten-minute lesson into a swim session. Pick a stretch of open water away from other boats, and check that your driver can see you clearly before you go under the rope.
Step-by-Step
Work through this in order. Each stage has a clear signal that it worked, and if that signal never happens, fix that stage before moving on.
How to Position Your Board and Body
Float on your back with the board under your hips and your knees pulled tightly to your chest. The tighter the tuck, the less surface area you present and the higher you float, which is what keeps the nose from diving.
Take the handle in both hands, arms completely straight. Bending your elbows here is an early tell that you are about to try to muscle yourself up. Keep your toes pointed up so the board behaves like a wing rather than a plank ploughing through water.
On board angle, the community genuinely disagrees. Perpendicular to the boat’s path is the coaching standard because it resists the sideways tug of the rope and lets the board plane broadside. Some riders find about 45 degrees easier, and one iBoats poster reported exactly that. If perpendicular keeps flipping the board on you, try a modest angle of around 30 to 45 degrees and see whether the pull feels calmer.
How to Stand Up on a Wakeboard and Hold Your Balance
Wait. Standing before the board is planing is the reason most beginners sink, and no amount of effort fixes it.
Feel the rope go tight, then feel the board skim, then feel the water drop away underneath it. That is the cue. From there, rise in stages: straighten your legs a little, bring your hips over the board’s centre, then bring your upper body up last. Soft knees the whole way, never locked.
Keep your gaze toward the boat rather than down at your feet. Looking down throws your shoulders forward and you will fall over the handle. Drag the handle down toward your lead hip and let it sit against your front pocket. A handle held at your chest or shoulder pulls you straight backward into a fall.
You have it when you can stand with soft knees, steer with light pressure on your toes and heels, and glance at the driver without losing balance.
How to Start Moving
This half of the start belongs to the driver, and it is the part most written guides skip.
When the rider shouts “Hit it,” the driver should be at idle or near idle, pointed where they want to travel. On the signal, accelerate smoothly and steadily up to roughly 15 mph. No sudden throttle, no revving, no turning the wheel hard while the rider is still finding their feet.
A smooth pull is what planes the board. Jerky acceleration makes the rider bounce and re-grip the handle, which drags the board nose-down and pulls them forward off balance. If the rider drops the rope or falls, the driver’s job is to idle and circle back rather than keep pulling.
Once the rider is up and riding, the driver can return to normal cruising speed for that rider’s weight and ability, and begin to look for a clear line across the lake. Start the rider on one side and keep the first runs on smooth, straight water before anything else.
How to Stop and Fall Safely
To stop, let go of the handle. That is the whole technique. Do not try to unclip the rope or wrap it around a hand.
When you do fall, let the board go rather than stiffening up over it, which drives the edge into your shins or ribs. On the way down, cover your head with one forearm and try to land flat rather than feet-first. A helmet is the reason that advice is often enough.
Never dive headfirst off a wakeboard. Falling forward flat is uncomfortable but far safer than going in on your face.
When you fall in deep water, float on your back for a moment, let the board drift, and signal the driver. Tucking your knees makes the board easier to catch. Getting back on after a drag takes practice, so make sure your bindings open or release by hand and that the driver knows the agreed hand signals before you ride.
Common Mistakes
Nearly every failed start is one of a handful of mistakes. Each has a specific correction.
- Standing too early. You rise the instant the rope tightens, before the board has planed. Fix: hold the tuck until you feel water leaving the board.
- Pulling with your arms. You bend your elbows and haul. Fix: arms straight, let the boat do the lifting.
- Looking down at your feet. Your weight shifts forward and you go over the handle. Fix: eyes toward the boat or the horizon.
- A stiff body. Locked knees and locked arms make every bump a fall. Fix: soft knees, soft elbows, relaxed shoulders.
- Pointing the board at the boat. The nose digs in and the board never planes. Fix: angle it broadside.
- Too much speed too soon. The boat hits 20 mph on the first pull and the rider is dragged off the plane. Fix: steady pull to about 15 mph, then build up.
- The handle riding high. Held at the chest, it turns the rider around. Fix: lead hip, front pocket.
- Tangled line. The rope wraps a leg during the drag. Fix: keep the handle out to the side, away from your feet.
Common Mistakes and Tips
If you only fix one thing after a session full of failures, stop pulling with your arms. That single habit accounts for most of the sinking, nose-diving, board-flipping attempts.
Symptom to fix, in the order beginners usually hit them:
- Board noses down and sinks: you stood up too early or are hauling on the rope. Hold the tuck longer, arms straight.
- Board flips up and hits you: too much twist with the board angled sharply, or the pull started while the board was still sideways. Square the board up and start the acceleration smoothly.
- You get yanked off the board backwards: the handle is too high and the speed came on too fast.
- Board will not plane at all: usually a board that is too small or narrow for your weight, or a rope too short.
- You slide straight off the end of the wave: too much speed with no edge control. Ease off and keep soft knees.
Rehearse the start on land first. Lie on a carpeted floor in your riding stance, arms out holding an imaginary handle, and rehearse the tuck-to-stand sequence ten times. Then do it on a dock with your boots in the bindings while someone holds the board. Both take five minutes and remove a lot of the panic from the first pull.
Keep sessions short and focused. Riders who only get a couple of weeks a season tend to do better setting one target per outing, such as a clean knee start, or standing up without grabbing the handle. A single goal per session beats a long unstructured afternoon.
If you are returning after years, or you are over 40 and stiff, start with a wider board and a slower pull. Take more time between attempts so the tuck is a habit before it is a race. Knee and lower-back soreness usually comes from standing too tall too early, which is another argument for the staged rise.
Frequently Asked Questions
Why can’t I get up on the wakeboard?
Almost always the same reason: the rider stands up before the board is planing, or pulls on the rope with bent arms. Both force the nose under the water. Hold the tuck with knees to your chest and arms straight until you feel the board skim and the water drop away, then rise slowly with soft knees. If it still fails, suspect a board that is too narrow for your weight.
How should I position my feet on a wakeboard?
Stand about shoulder width apart, with the binding angles set between 12 and 15 degrees. Feet too close make the board feel unstable; too wide and it resists the rope pull. Which foot goes forward depends on your stance, with regular riders leading left-foot-forward and goofy riders right-foot-forward. Set the bindings while standing in riding position, not sitting down.
How do you wakeboard for beginners?
Start with flat, calm water and a driver who is listening rather than showing off. Wear a fitted USCG-approved life jacket, check the rope and handle, and pick a wide twin tip board that matches your weight. Rehearse the tucked start on land and at the dock first. Then work on water: a few short runs on one side, a steady pull, and no expectation of riding on the first try.
Can you wakeboard without a tower?
Yes, and most beginners learn that way. Starting from a pylon off the back of the boat gives you a longer rope, usually 60 to 75 feet, which makes the pull gentler and the board easier to plane. You float in deep water behind the boat rather than beside the tower. A tower shortens the rope and speeds the whole thing up, which is a harder first experience.
How long does it take to get up on a wakeboard?
Most beginners stand and ride somewhere between the third and tenth attempt, provided the boat pulls smoothly and the rider stops fighting the rope. Progress beyond that first ride is slower, and reaching consistent riding usually takes several sessions spread over weeks or months. Short, focused sessions with one goal each tend to progress faster than one long, unstructured afternoon.
What size bindings should I get for a wakeboard?
Most riders size bindings to their normal shoe size, and the board maker’s own chart settles anything close. Soft flex bindings are easier for beginners because they flex with a bent knee. Quick-release bindings are worth having, since they let you get out of the board after a fall. If your toes hang past the front of the binding or your heel lifts out, the size is wrong.
Conclusion
Rehearse the stance on land, then pick flat calm water with a patient driver, a fitted life jacket and a wide board that matches your weight. Set the board broadside, tuck your knees to your chest with straight arms, shout “Hit it,” and let the boat accelerate smoothly instead of pulling yourself up. Hold the tuck until the board planes, stand in stages with soft knees, drop the handle to your lead hip, and repeat until you can stand and stay balanced.