Learning how to remove waterline stains from a hull comes down to four moves: figure out what the stain actually is, pick a cleaner that suits your hull material, keep the surface wet while you work, and rinse before anything dries on. Most boats come clean in an afternoon once you match the chemistry to the deposit.
The reason so many waterline stains survive the first attempt is that owners reach for the wrong type of cleaner. Soap and degreasers handle organic film, but they do nothing for mineral scale, and the opposite is true for acids. Start by identifying the deposit, and the rest of the job gets much easier.
Table of Contents
- 1What You Need
- 2Step-by-Step: How to Remove Waterline Stains from a Hull
- 31. Identify the hull material and stain type
- 42. Test the cleaner in a hidden area
- 53. Wet the hull and loosen the waterline buildup
- 64. Scrub the stain with the right tool
- 75. Rinse thoroughly and repeat only where waterline stains remain
- 86. Dry the hull and seal it against the next stain
- 9Common Mistakes
- 10Frequently Asked Questions
- 11Can I use bleach to remove waterline stains from a boat hull?
- 12What is the safest way to clean a fiberglass boat hull?
- 13How do I remove stubborn green stains from a painted hull?
- 14Should I use a pressure washer for waterline stains?
- 15Why are waterline stains returning after I clean the boat?
- 16When do waterline stains indicate damaged paint or gelcoat?
- 17Conclusion
What You Need
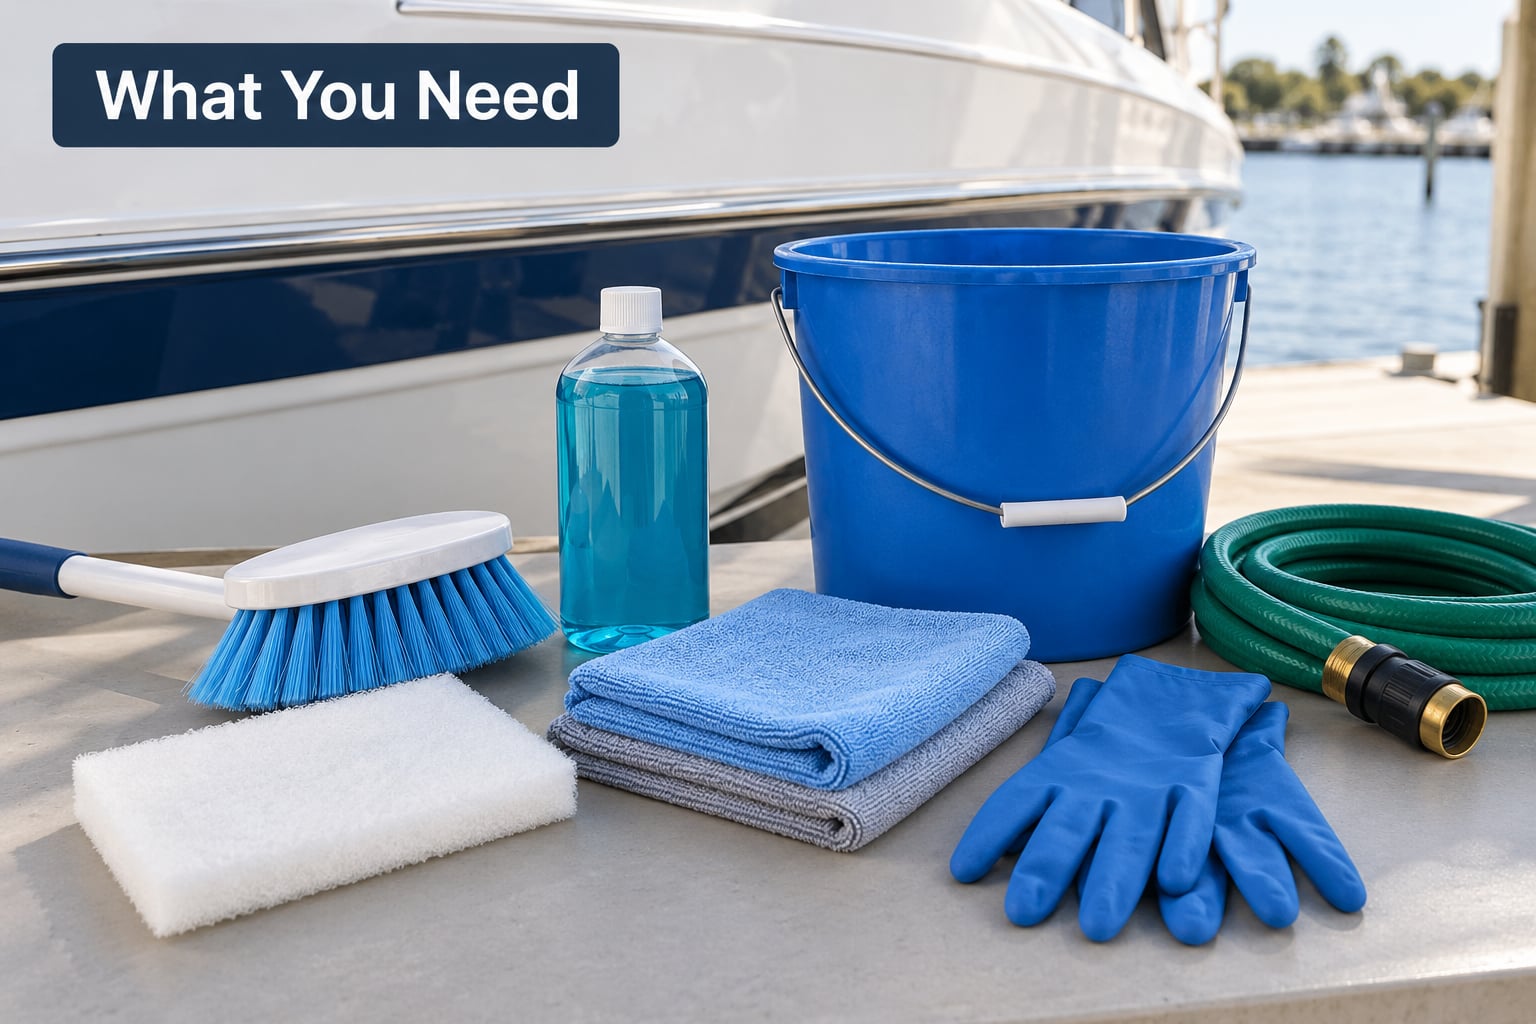
Get everything staged before the boat is in the water or on the stand. Scrambling for a brush with wet hands is how people end up scratching gelcoat.
- A cleaner matched to the hull. For fiberglass or gelcoat, a mineral dissolver with oxalic or phosphoric acid, plus an alkaline pre-cleaner for organic film. For aluminum, a dedicated aluminum-safe cleaner. For wood, varnish or topside-safe only.
- Two buckets and a hose. One bucket holds your cleaning solution, the other holds fresh rinse water. Never dunk a dirty pad back into the clean solution.
- A soft-bristle hull brush and a nonabrasive pad. A boat body brush with flagged nylon tips handles large flat panels. A foam pad is gentler and better near graphics and vinyl decals.
- A pump sprayer or foam cannon. Foam gives better dwell contact on tall hulls than a sponge and saves product.
- Microfiber towels and a chamois. Hard water spots show badly on a hull that air dries, so towel off the waterline band while it is still damp.
- Gloves, eye protection, and a long-sleeve shirt. Any acid-based cleaner deserves all three.
- A hull-safe sealant or wax. Apply it after the hull is fully dry, because protection is what keeps the stain from coming back.
Step-by-Step: How to Remove Waterline Stains from a Hull
1. Identify the hull material and stain type
You cannot treat a stain properly until you know both the surface and the deposit. Look at the mark before you touch it.
- Chalky white or grey, rough to the touch, often heaviest where the boat sits in the water: mineral scale from hard water or salt crystallization.
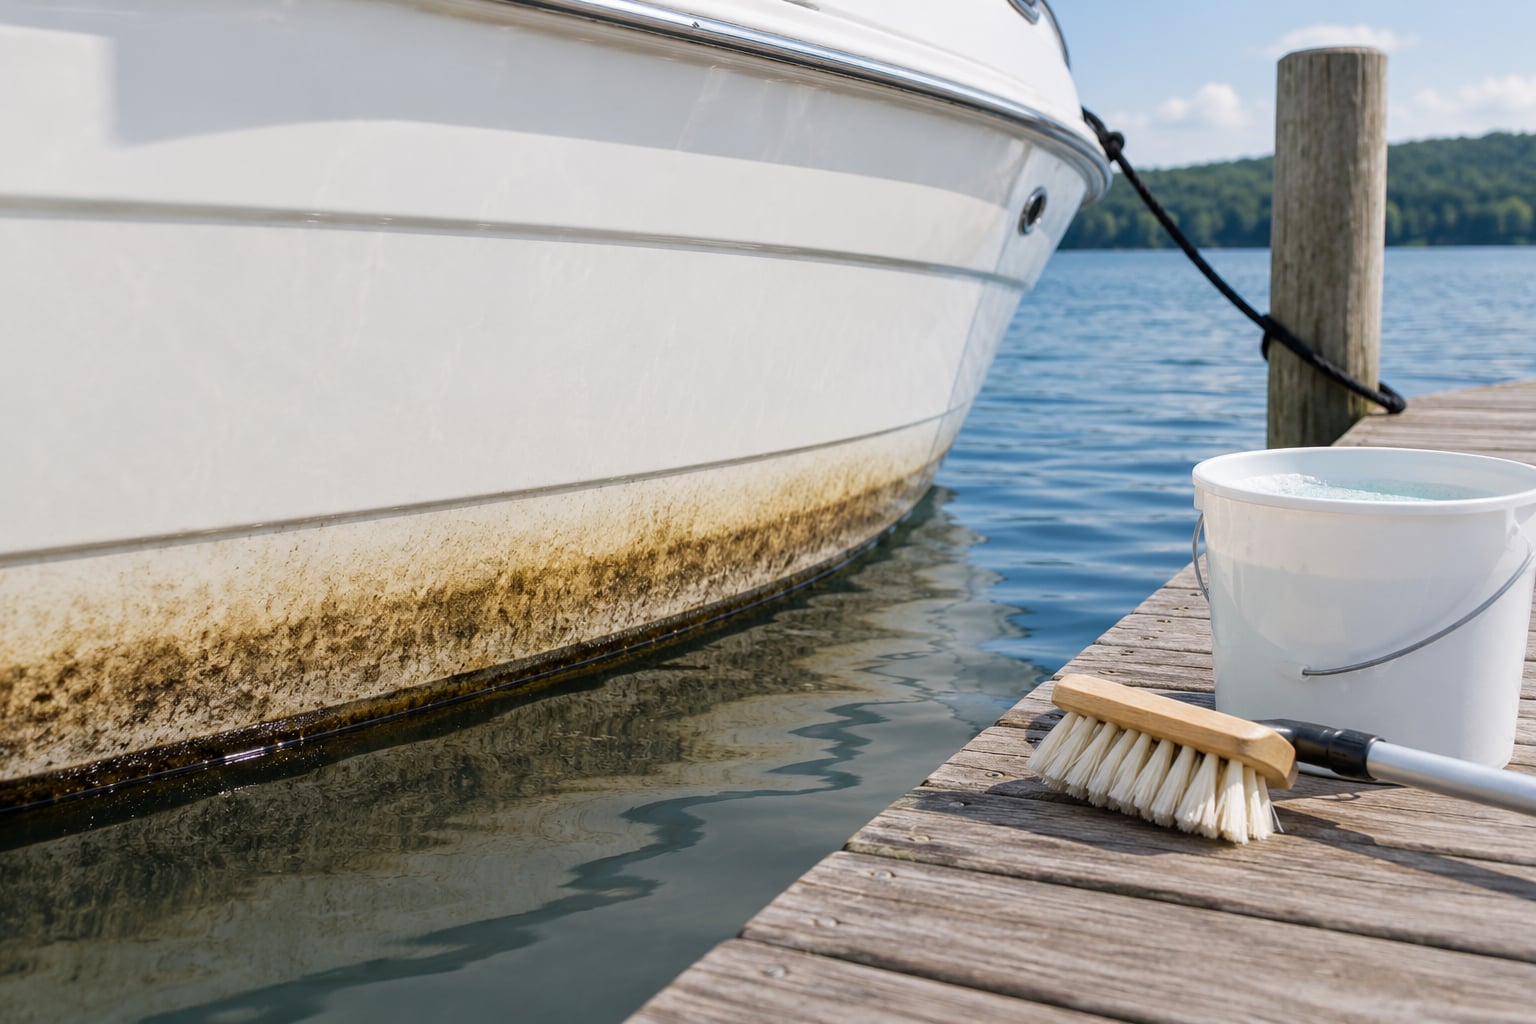
- Yellow, brown, or green film with a soft or slimy feel: algae, bacteria, and surface pollutants forming a scum line. This is the classic waterline band.
- Dull amber or honey-coloured gelcoat on a boat that stored out of the water: UV yellowing, which is oxidation in the gelcoat itself rather than a surface deposit.
- Orange streaks running down from fittings: rust. Iron in the water plus tannins from nearby vegetation produce these.
- Greasy film near the outboard, exhaust area, or a leaking fuel cap: oil, which needs a degreaser rather than an acid.
Run a gloved finger across the stain. If it feels gritty and stays on the glove, you are dealing with scale. If it wipes away, you are looking at organic film. Gelcoat feels smooth and slightly slick under a clean surface, and if your mark leaves a dull, rough patch after a wash, the coating itself may be etched rather than stained.
2. Test the cleaner in a hidden area
Dab a small amount on a spot below the waterline or on the back of a transom, where a blemish will not catch the eye. Wait the label’s recommended dwell time, rinse, then examine the patch in daylight.
Stop and change products if you see any discoloration, etching, softening, or paint lifting. Watch paint schemes especially carefully. A fiberglass boat with an actual paint or gelcoat coating behaves differently from bare gelcoat, and many cleaners assume bare gelcoat.
If the finish is unknown, treat it as paint. That approach costs you a little more effort and saves you a repair bill.
3. Wet the hull and loosen the waterline buildup
Start with a plain water rinse to knock off loose dirt and grit. Grinding surface grit into gelcoat with a brush is one of the most common self-inflicted scratches, and a rinse takes thirty seconds.
Work from the bottom of the band upward so you are not pushing loosened material across clean paint. Keep the surface saturated with your chosen cleaner, apply it to a manageable section of four to six feet, and give it the dwell time on the label. Most mineral dissolvers need only a few minutes; muriatic-type products need less, not more.
If you are using two products, the order matters. Alkaline pre-cleaner first on organic film, then rinse thoroughly, then the acid on scale. Mixing a strong alkali and a strong acid in the same solution creates heat and gas, so never combine them.
4. Scrub the stain with the right tool
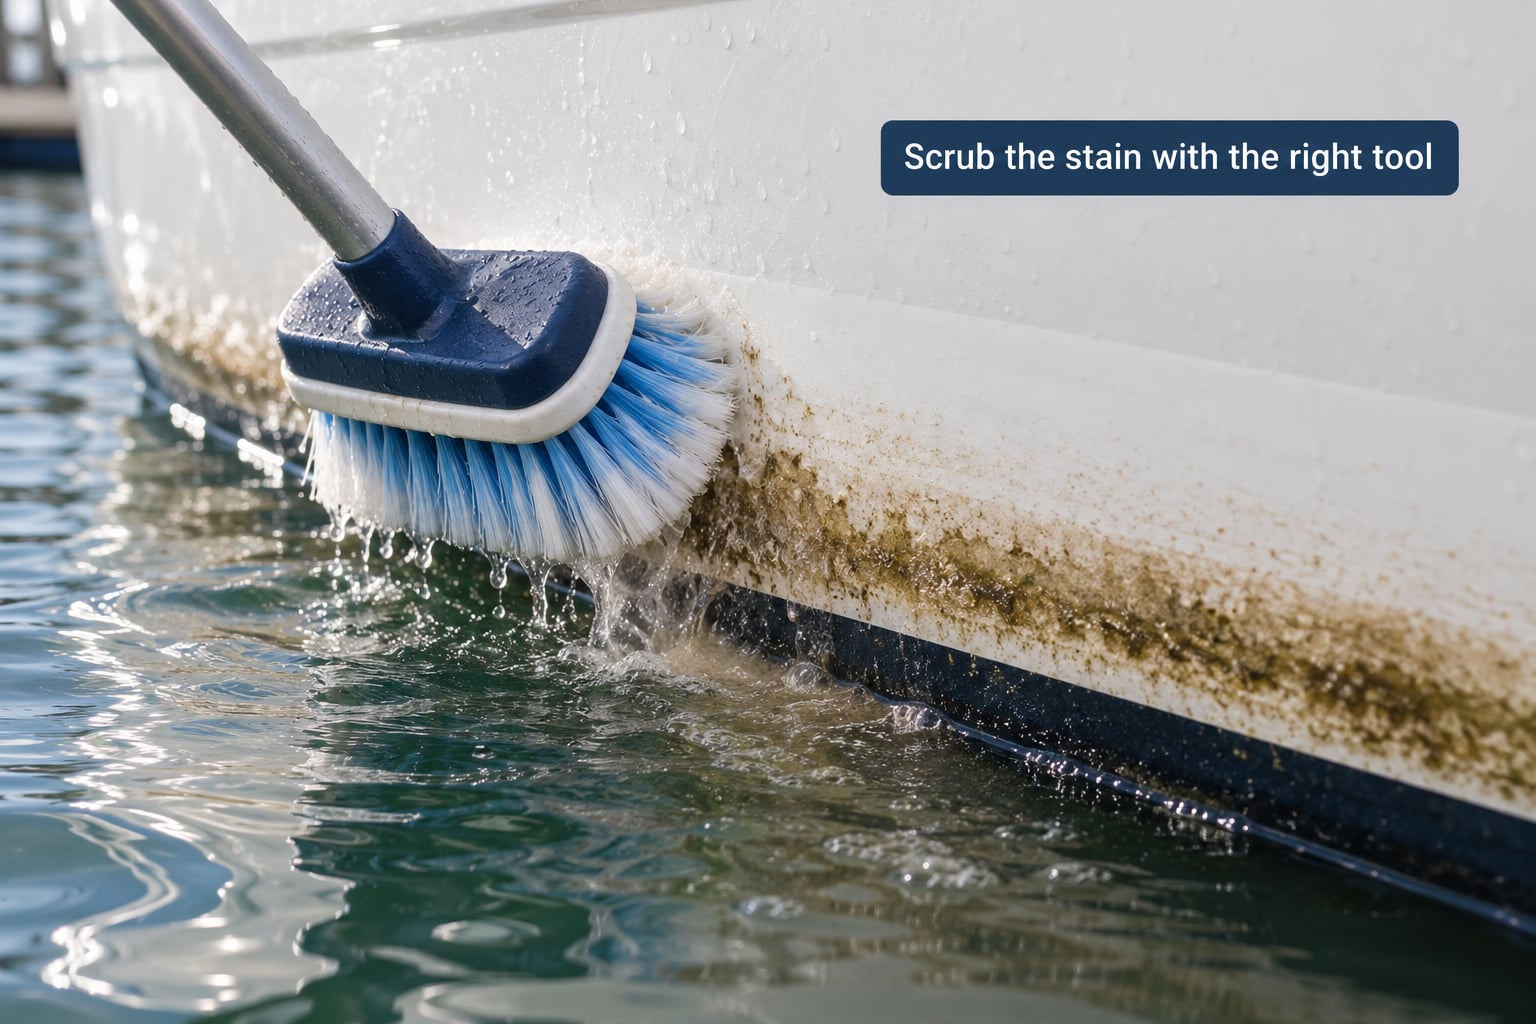
Use a soft-bristle hull brush with flagged nylon tips. The flags flex around the surface and pick up scale from the tiny pits in gelcoat without cutting into it. Work in straight, overlapping strokes following the length of the hull, and keep the brush wet with fresh solution.
Count your passes. Most light scum lines lift in five to ten passes. Heavy scale may need fifteen to twenty, and you should be able to see the deposit breaking up as you go. When nothing changes after twenty passes, stop and reassess rather than leaning harder, because pressure and steel wool cause damage that no compound fully fixes.
For non-skid panels and the bottom of the hull, a drill-mounted brush saves a lot of time on trailer boats. Keep it on the lowest speed, move constantly, and stay away from anything you cannot see.
5. Rinse thoroughly and repeat only where waterline stains remain
Rinse each section while the next one is still dwelling. Timing matters most with acids: once the product dries, it concentrates, and that is where etching and paint lifting start.
Let the hull dry enough to see the result, then inspect in daylight rather than under dock lights. A section that still shows a shadow of the band usually needs a second pass of the same chemistry, not a stronger chemical. A section that shows dull, rough gelcoat where the stain used to be means the deposit came out and took surface gloss with it.
Rinse a final time with plain water and dry the band with a towel. On hard-water lakes, this step alone prevents most of the speckling that makes a cleaned hull look worse than a dirty one.
6. Dry the hull and seal it against the next stain
Give the hull a few hours of full shade, or dry it with a blower on low. Wax or sealant goes on only when the gelcoat is completely dry, because moisture trapped underneath hazes the finish.
Then inspect for coating damage. Blistered gelcoat, soft spots, chips, and deep crazing are not stains and no cleaner will fix them. Sand and repair small gelcoat damage, and hand larger jobs to a marine fabricator.
For prevention, wipe the waterline down with fresh water after every outing, especially in salt. A hull wax or sealant applied once or twice a season gives the deposit something that does not bond. On a ceramic-coated hull, use a coating-safe cleaner, since a strong alkaline stripper can remove the coating along with the grime.
Common Mistakes
Using steel wool or a green scrub pad. Steel wool leaves metal particles that become rust spots, and it cuts gelcoat permanently. Use a nonabrasive pad or a soft nylon brush instead.
Pouring household bleach on the hull at full strength. Bleach is alkaline and harsh on gelcoat, vinyl, and painted trim, and it fades graphics and decals. The answer for green algae on a hull is a purpose-built hull cleaner, diluted per the label.
Scrubbing a dry hull. Every pass on dry gelcoat with a loaded brush acts like sandpaper. Keep the area saturated from the first pass to the last.
Letting the cleaner dry on the surface. This is the fastest way to etch fiberglass and lift paint. If you miss a spot and it dries, rinse it immediately, then re-wet it and let it dwell properly.
Missing seams, drain holes, and the underside of strakes. Waterline stains form in the low spots first, and those are exactly where a quick rinse skips. Check the boot stripe gap, through-hull fittings, and the corners where the hull meets the transom.
Treating a coating defect as ordinary grime. A dull, rough, or blistered patch that does not improve after a proper cleaning is damaged gelcoat. Grinding at it makes it worse. Repair it instead.
Holding a pressure washer too close to the hull. High-pressure water strips wax, drives water into gelcoat pores, and can force water past seals. Keep the nozzle moving and at least twelve inches away, and never use it on a hull with worn or chalked gelcoat.
Cleaning in full sun. Product dries in the heat and cleaners you applied to a shaded hull suddenly etch. Work a section at a time in shade and rinse as you go.
Frequently Asked Questions
Can I use bleach to remove waterline stains from a boat hull?
Diluted household bleach can knock down light algae on fiberglass, but it is not a good general answer. At full strength it fades graphics, softens vinyl, dulls gelcoat, and strips wax, so the safer choice is a purpose-built hull cleaner used at label strength. Spot test first, keep it wet, and rinse within a few minutes.
What is the safest way to clean a fiberglass boat hull?
Start with fresh water and a mild marine wash, use a soft-bristle hull brush, and keep the surface wet the whole time. For stubborn scale, move up to an oxalic or phosphoric acid mineral dissolver rather than to a harsher product. Wet, scrub gently, rinse on time, dry fully, and seal with a wax or coating-safe sealant.
How do I remove stubborn green stains from a painted hull?
Green stains are algae, so begin with an alkaline cleaner formulated for hulls and give it the label dwell time. Rinse thoroughly, then follow with an acid mineral dissolver only if scale remains. Painted topsides need a spot test every time, since strong acids and abrasives can lift paint, and you should never use steel wool or a pressure washer on a painted finish.
Should I use a pressure washer for waterline stains?
A pressure washer rinses away loose debris well, but it is poor at dissolving scale or organic film and it can strip wax and sealant. Use it for the initial rinse if you like, then follow with a cleaner and brush. Keep the nozzle moving and about twelve inches from the hull, and skip pressure entirely on chalked or damaged gelcoat.
Why are waterline stains returning after I clean the boat?
Most returning stains come down to three things: the boat spends hours a week floating in nutrient-rich water, the hull was never sealed after cleaning, or the deposit was only partly removed. A sealed hull with fresh-water rinsing after each outing usually stops the band within a season. If the mark grows back the same week, the water itself is feeding algae and you should shorten your cleaning interval.
When do waterline stains indicate damaged paint or gelcoat?
A stain is a surface deposit and lifts with the right chemistry. Coating damage shows as dull roughness, blistering, cracking, soft spots, or a mark that survives two careful cleaning attempts with no improvement. Etching also appears as a hazy patch around an otherwise clean area. Those need sanding and gelcoat repair, or professional refinishing, not more acid.
Conclusion
The safest way to remove waterline stains from a hull is boring and it works every time: identify the finish, identify the deposit, spot test the cleaner, keep the hull wet, scrub with a soft nylon brush, and rinse on time. Only when gentle chemistry has done all it can should you reach for anything stronger.
Most owners who fight a stubborn band are actually fighting the wrong problem. A sealer applied after the last clean, plus a fresh-water rinse after each outing, is what keeps the stain off the hull next season. And if the mark is dull and rough instead of dark and smooth, stop cleaning and arrange a gelcoat repair, because no acid on the shelf will bring that surface back.