Boat vinyl seats clean up well with mild dish soap, warm water, a soft-bristle brush, and a marine vinyl protectant applied at the end. The whole job takes 30 to 60 minutes for a typical runabout, and the hardest part is not the scrubbing. It is rinsing the soap out fully and drying the seams, because trapped moisture is what turns a dirty seat into a mildewed one.
This guide covers how to clean boat vinyl seats the way a detailer would: identify the material, remove grit before it scratches, wash with a pH-balanced solution, work stubborn marks one at a time, dry completely, then seal the surface against UV. It also covers what to do when someone has already reached for bleach or a magic eraser.
Marine vinyl is a coated synthetic, not leather and not fabric. That distinction matters because the coating is what keeps water out of the foam underneath, and it is the first thing harsh chemicals strip away.
Table of Contents
- 1What You Need
- 2Step-by-Step
- 3Step 1: Identify the Vinyl and Check the Manufacturer’s Care Instructions
- 4Step 2: Remove Debris and Vacuum the Seats
- 5Step 3: Prepare a Mild Cleaning Solution
- 6Step 4: Scrub the Seats Gently
- 7Step 5: Treat Remaining Stains Carefully
- 8Step 6: Rinse and Dry Thoroughly
- 9Step 7: Protect the Vinyl
- 10Common Mistakes
- 11Frequently Asked Questions
- 12What is the safest cleaner for boat vinyl seats?
- 13Can I use bleach to remove mold from boat vinyl seats?
- 14How often should boat vinyl seats be cleaned?
- 15Can sun-damaged boat vinyl seats be restored?
- 16Is a pressure washer safe for cleaning boat seats?
- 17How do I keep boat vinyl seats from fading and cracking?
What You Need
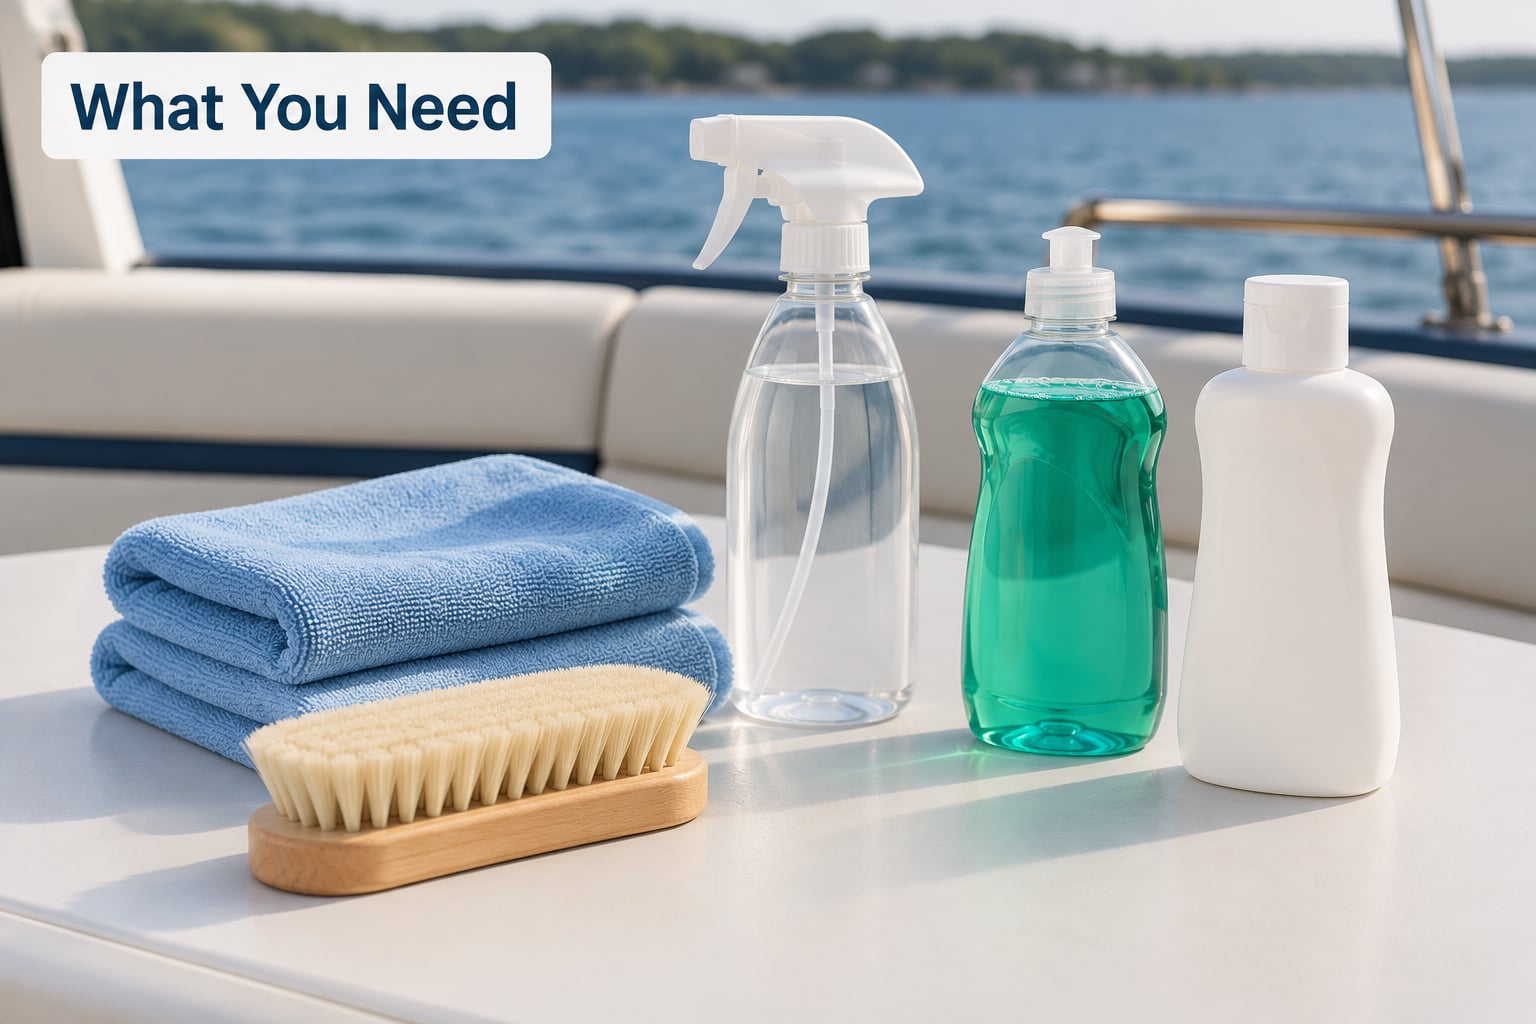
Gather everything before you start. The process moves fast once the seats are wet, and hunting for a brush with soapy hands is how people end up scrubbing grit into the grain.
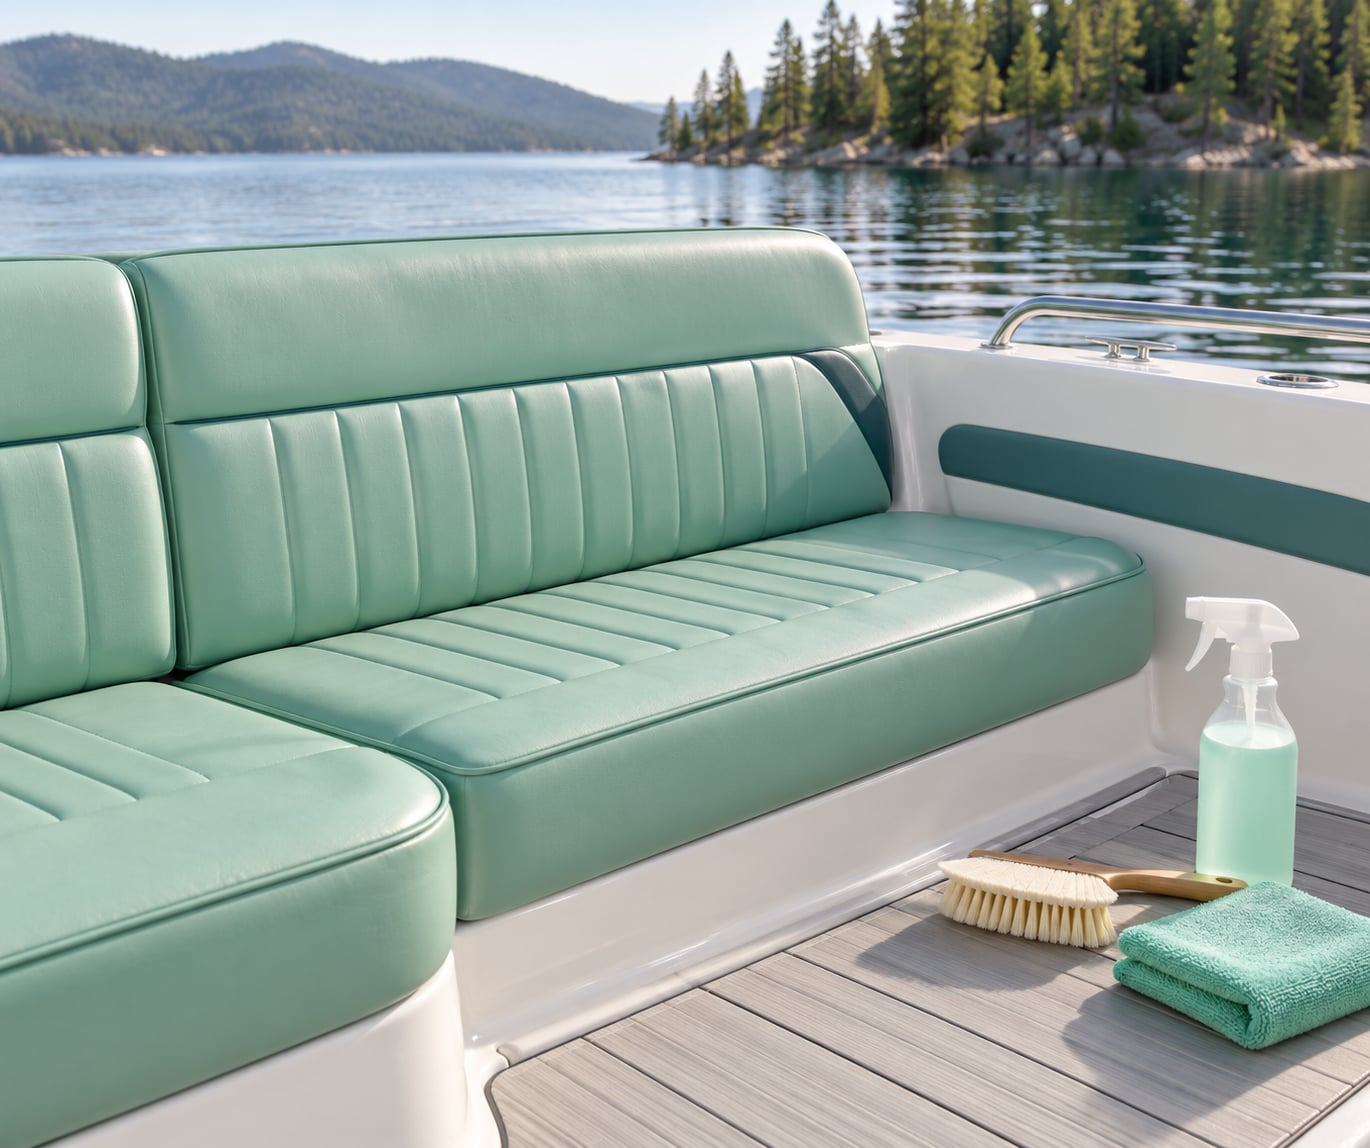
- Soft-bristle boat brush or medium nylon brush — the kind with soft bristles for flat panels and a stiffer small brush for seams and stitching lines.
- Two microfiber towels — one for washing, one for drying. Keep them separate so you are not spreading dirt back onto a clean surface.
- Two buckets — one for your soapy wash water, one for clean rinse water. This is the two-bucket method, and it stops you re-dirtying everything on the final pass.
- Mild dish soap — a plain, unscented, non-degreasing variety such as original Dawn or a dish liquid without bleach or ammonia in the label.
- A spray bottle — for mixing the wash solution and for spot treatment.
- A vinyl protectant with UV inhibitors — 303 Aerospace Protectant comes up repeatedly as a standard recommendation on boating forums. Anything labeled for marine vinyl and non-greasy will work.
- A mildew stain remover — only if you have black or green growth. Enzyme-based products handle the root of the problem better than chlorine does.
- A soft toothbrush or foam detailing brush — for the hinge gaps, the piping, and the seam where the cushion meets the backrest.
Check the upholstery manufacturer care instructions before anything else. Marine vinyl carries a cleaning code tag, and coated, perforated, or specialty upholstery can have a code that rules out any wet cleaning at all. If the tag says anything other than W, S, or WS, stop and call the dealer who sold the boat rather than guessing.
Step-by-Step
Step 1: Identify the Vinyl and Check the Manufacturer’s Care Instructions
Look at the surface under good light. Vinyl has a fine synthetic grain, often with a slightly soft or rubbery feel, and it usually shows a repeating embossed pattern. Fabric feels woven and drinks water at the edges. Leather creases in a distinct way and stays cool to the touch, while vinyl feels warmer and less flexible once the plasticizers start to go.
Find the cleaning code. It is usually a small white tag stitched into a seam on the underside of the cushion or on the back of the backrest. W means water cleaner only, S means solvent or dry-cleaning only, WS means either, and anything with X or a listing of prohibited cleaners is telling you the coating is delicate. On a boat, WS and X show up most often.
Step 2: Remove Debris and Vacuum the Seats
Dry brush first. Sand, grit, and dried mud act like sandpaper the moment you add water, so knock all of it loose with the soft brush before anything gets wet.
Then vacuum with an upholstery tool on low suction, working the seams and the hinge gaps last. Do not use the beater bar. A blower or a stiff hand brush works fine on a boat that is still on the trailer, where a shop vacuum is not handy.
Step 3: Prepare a Mild Cleaning Solution
Fill one bucket with warm water and add roughly one teaspoon of mild dish soap per quart. Stir it until the water is lightly sudsy, then pour a working amount into your spray bottle. Warm water loosens salt and sunscreen residue better than cold, but keep it below the temperature that would warp a vinyl cushion or stress the stitching.
Keep the mix gentle. Household bleach, ammonia-based glass cleaners, alcohol, degreasers, and abrasive powders all attack the topcoat and the plasticizers underneath. That is why the pH of a real marine cleaner matters — it lifts dirt without pushing the surface layer off.
Step 4: Scrub the Seats Gently
Work in small sections, about the size of a seat cushion. Spray the solution on, let it sit for a minute or two so the surfactants can soften the grime, then agitate with overlapping strokes rather than straight back-and-forth scrubbing.
Use light pressure. You are loosening dirt from the surface, not trying to scrub a coating off it. When the towel comes back to the section and the water runs grey, move on. Switch to the rinse bucket frequently so you are never dragging dirty water across clean vinyl.
Drop to a detail brush on the seams, the perforated inserts, and the piping, where grime hides and where mildew starts. Faded patches and scuff marks usually need patience and repeated passes rather than more pressure.
Step 5: Treat Remaining Stains Carefully
Let the seats dry fully first. Dry vinyl tells you what you are dealing with, and it stops you from soaking a cushion that is already saturated.
Handle the common marks differently. Sunscreen and avobenzone are the reason white vinyl turns yellow over time — the sunscreen chemicals react with the vinyl and bake into the grain when a boat sits in the sun. Work these with a vinyl-safe cleaner and a soft cloth, changing cloth faces often. Ink comes out with a product labeled for upholstery and vinyl, blotted rather than rubbed. Grease and oil need a degreaser rated safe for vinyl, and more dwell time, not more force. Spider droppings are alkaline and etch the coating, so remove them the same day with a damp microfiber cloth and a drop of dish soap.
Pink or purple discoloration is bacterial growth, usually a sign that the cushion stayed wet. Regular cleaners will not shift it. An enzyme-based mildew remover applied with proper dwell time and gentle agitation is the tool for that job.
If a mark will not lift after two or three careful attempts, stop. Aggressive scrubbing does more damage than a stubborn stain, and at that point a marine upholstery specialist is the safer call.
Step 6: Rinse and Dry Thoroughly
Rinse with the clean water in the second bucket, working section by section in the same order you washed. Every trace of soap left behind is food for mildew, and it also leaves a sticky film that grabs dust and holds UV-absorbing grime against the vinyl.
Blot dry with the second microfiber towel, then open the seat cushions and the hinge gaps and wipe the seams, the undersides, and the back of the backrest. Let them air out in shade with the boat uncovered if you can. Direct sun on a wet cushion sets water into the foam and warps the panels.
The under-surface is the part people skip and the part that grows mold. Five minutes of patient drying saves the seat.
Step 7: Protect the Vinyl
Apply the protectant to dry or barely damp vinyl. Most come as a spray or an all-in-one cleaner-protectant, and the ones that work best leave a satin, non-greasy finish rather than a shiny, tacky coat that attracts dust in dry dock.
Spray onto the towel rather than straight onto the seat, so the product spreads evenly and does not pool in the seams. Work it in with light, even strokes, cover every panel, and pay attention to the piping and the back of the backrest where UV hits hardest.
Let it cure as the label directs, often 30 to 60 minutes out of direct sun. Buff off any haze with a clean dry towel. A properly finished seat should feel dry to the touch with no tack between your fingers and your palm. That is the signal the protectant did its job.
Common Mistakes
Using bleach. Bleach will lighten a mildew patch fast, which is exactly why people keep using it. It also strips the topcoat, makes stitching brittle, and dries the plasticizers until the vinyl cracks. If bleach has already been used, rinse thoroughly, dry completely, and follow with a vinyl protectant. Once the vinyl is chalky and cracked, cleaning is no longer the fix.
Reaching for a magic eraser. Magic erasers are mild abrasives. They lift scuff marks by thinning the coating, and after a few uses the surface is permanently duller than it started. Never use one on marine vinyl.
Grabbing a pressure washer. Seawater off a trailer ramp carries sand that will blast the vinyl and the stitching in seconds. Pressure also forces water into the foam core, where it sits and grows internal mold that you cannot see until the cushion is ruined. Stick to a garden hose with low pressure, or better, a bucket and a towel.
Soaking the cushion. Repeatedly flooding the seams pushes water past the coating and into the foam. The cleaner should stay on the surface long enough to work, then rinse. A saturated cushion needs a day of drying, not another wash.
Cleaning one seat and stopping. Grime and mildew move. Wipe down the whole boat in the same session, and check the cooler, the carpet, and the seat backs, where most of the hidden mildew actually lives.
Skipping protection. Cleaning removes the UV inhibitors along with the dirt, so an unprotected seat ages faster than one that never got washed.
Frequently Asked Questions
What is the safest cleaner for boat vinyl seats?
A pH-balanced marine vinyl cleaner is the safest option, and mild dish soap diluted in warm water works well for routine washing. Avoid bleach, ammonia, alcohol, degreasers, and abrasive powders, since they strip the protective topcoat and dry out the plasticizers. Always spot test on a hidden seam first, especially on colored or perforated upholstery.
Can I use bleach to remove mold from boat vinyl seats?
You can remove visible mold with bleach, but it is a poor choice on vinyl. It lightens the growth fast while leaving the root behind, and it strips the coating, weakens stitching, and makes the surface brittle over time. An enzyme-based mildew remover with proper dwell time kills the root without attacking the vinyl. Rinse and dry fully either way.
How often should boat vinyl seats be cleaned?
Wipe the seats down with a damp microfiber towel after every outing and flush off salt spray with fresh water the same day if you boat in saltwater. Give them a full soap wash once a month, or at the start of every season for a boat that sits uncovered. More washing will not help unless each session ends with drying and protectant.
Can sun-damaged boat vinyl seats be restored?
Faded but still flexible vinyl can be improved with a dedicated vinyl restorer or a protectant with UV inhibitors, and the color will not fully return once the topcoat has chalked. Vinyl that is hard, cracked, or stiff is past cleaning and needs reupholstery. Check the conditioning test: press a thumb into the surface. No crease means the plasticizers are gone.
Is a pressure washer safe for cleaning boat seats?
No. High-pressure water drives water into the seat foam where it causes internal mold, and it can blast the vinyl surface and blow out stitching, especially with sand in the water. Use a bucket, a soft brush, and a microfiber towel. If you need to rinse a large boat, a garden hose on low pressure is safer than a pressure washer.
How do I keep boat vinyl seats from fading and cracking?
Apply a marine vinyl protectant with UV inhibitors after every clean, and refresh it every few months for a boat that sits in the sun. Keep the boat covered when it is not on the water, rinse off sunscreen promptly, and avoid silicone-based dressings that hold heat against the surface. Cracking starts where the vinyl loses its plasticizers, not where it gets dirty.
Start with the two minutes that matter most: check the cleaning code, then dry the seats and open up the seams. Everything after that is straightforward. Vacuum off the grit, wash with diluted dish soap and a soft brush, rinse with clean water, and dry completely before you put anything on the vinyl. Finish with a marine protectant and the seats will keep their color and flexibility long past the next season.