Learning how to set up an ice shelter comes down to one order of operations: pick safe ice, set your anchors, pop the shelter up, drill your hole, then build the interior around it. Most first-timers reverse that order and spend the first hour shoveling snow and fighting a wall of fabric in the wind.
Which shelter you own changes the mechanics. A hub shelter goes up when you pull its poles outward, and a flip-over goes up when you lift the frame over your head. The safety and site steps are identical for both, and a full setup takes about twenty minutes once you know the sequence. Here is the version I wish someone had handed me on my first trip.
Table of Contents
- 1What You Need
- 2Step-by-Step
- 31. Check the ice report and the forecast
- 42. Drill a test hole at your staging point
- 53. Walk the area looking for the right spot
- 64. Leave the snow where it is
- 75. Set your anchors first, then pop the shelter
- 86. Drill your hole and clear the chips
- 97. Lay the floor and arrange the interior
- 108. Venting, anchoring, and a final safety check
- 11Common Mistakes
- 12Frequently Asked Questions
- 13How thick should the ice be before setting up a shelter?
- 14How many ice anchors does a shelter need?
- 15Should I shovel snow before setting up an ice shelter?
- 16How do I ventilate an ice shelter with a propane heater?
- 17Can a diesel heater be used in an ice shack?
- 18What size ice shelter do I need for two people?
- 19Conclusion
What You Need
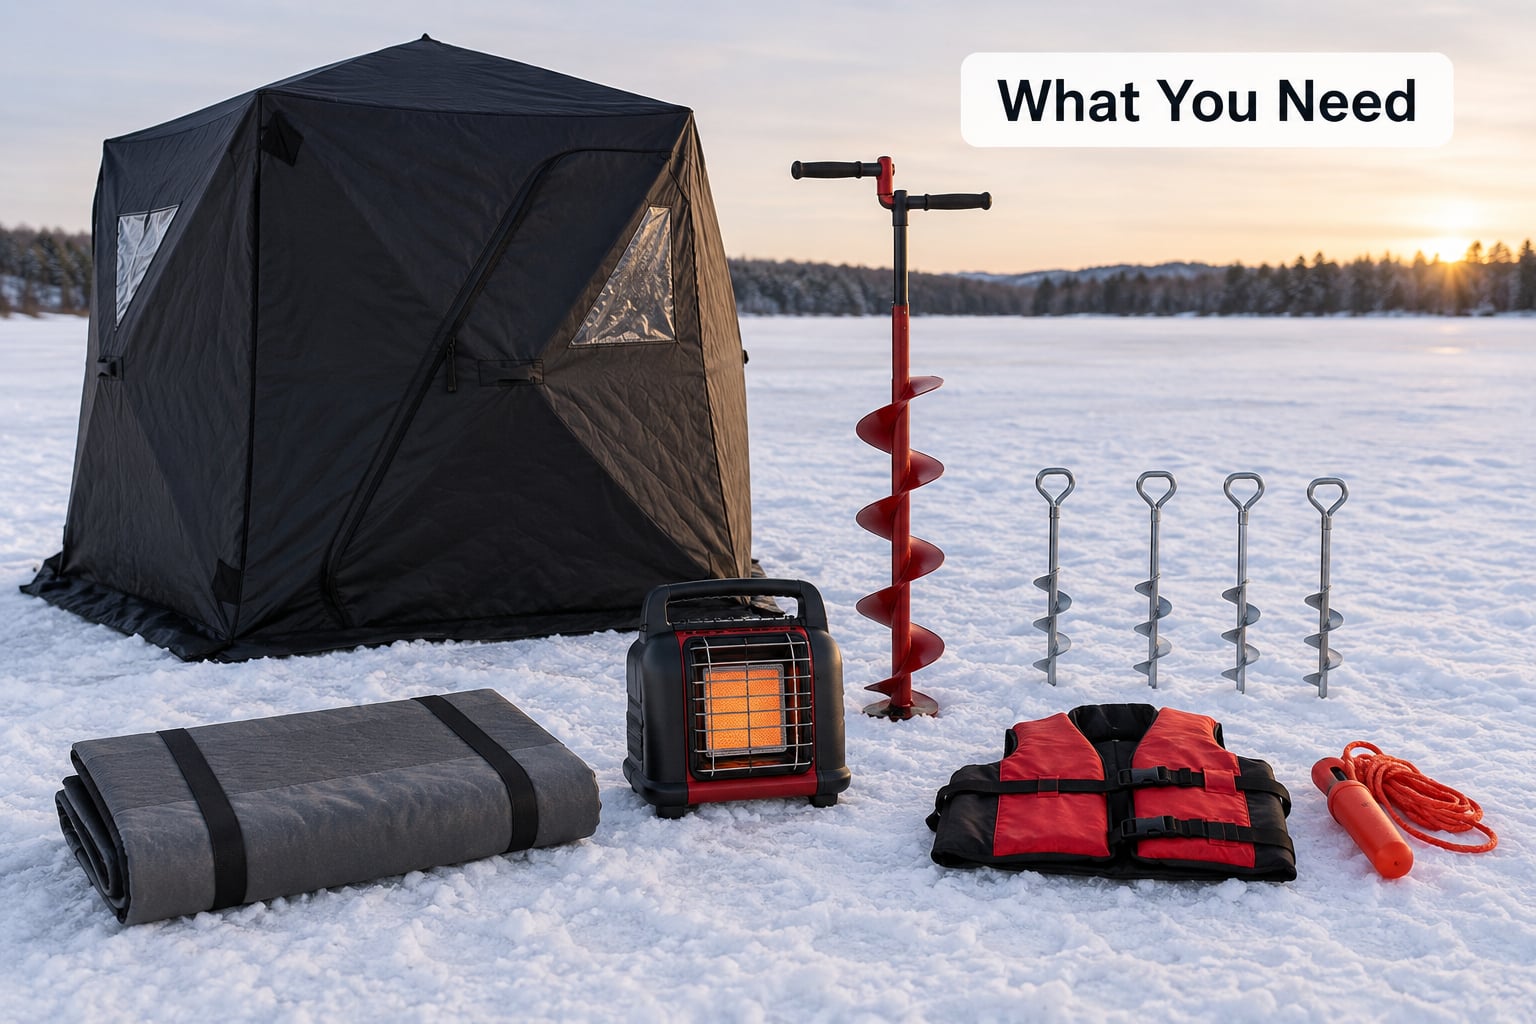
The gear list for how to set up an ice shelter is shorter than most people carry, and beginners routinely show up with a tackle box and nothing else. These are the pieces that actually matter.
| Item | Why it matters | Priority |
|---|---|---|
| Shelter sized to your group | Rated capacity is a maximum with gear inside. Two people with sleds need the next size up from two people alone. | Must have |
| Ice anchors, three or more | Holds the shelter against wind and stops it sliding on a slope. | Must have |
| Insulated floor mat | Cuts conduction loss through the ice. Without one, bare ice drops the floor temperature fast. | Must have |
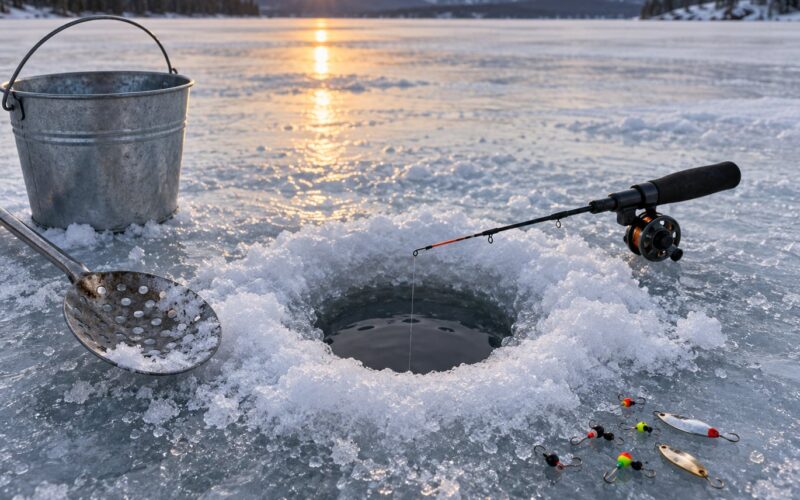
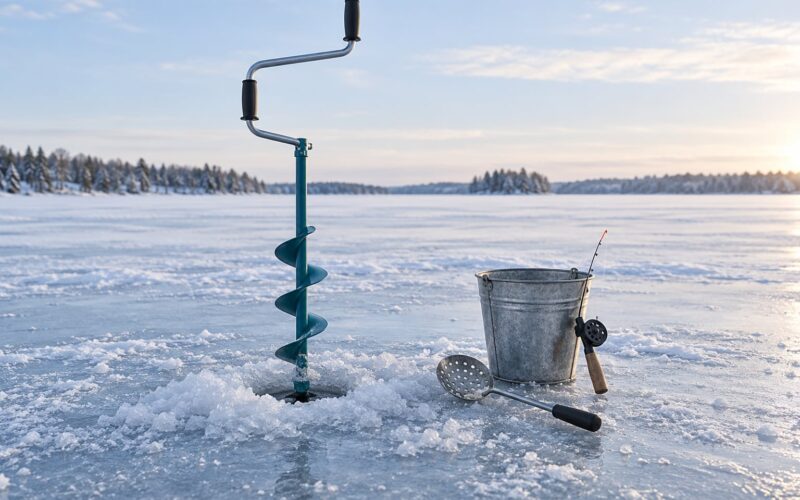
| Ice auger and ice picks | The auger opens the hole; the picks clear the chips without dropping them into slush. | Must have |
| Cold-rated CO detector or oxygen depletion sensor | Carbon monoxide is odorless. Inside a fabric shelter, a combustion heater can build it faster than you notice. | Must have |
| Float suit or insulated bib | Cold water shock arrives before you finish reaching for a handhold. | Must have |
| Heater | Propane and catalytic both work; size it to the shelter floor area. | Strongly recommended |
| Headlamp, spare batteries, first aid kit | You will be working with numb hands in poor light. | Strongly recommended |
| Sled and gear tote | Hauling everything in one pull matters more than weight when snow is deep. | Nice to have |
Most of this is rentable or borrowable. Local outfitters and bait shops rent augers, shelters, and sleds by the day, and borrowing a heater from a friend who already owns one is normal. Two items are worth owning rather than borrowing: a float suit and a cold-rated CO detector.
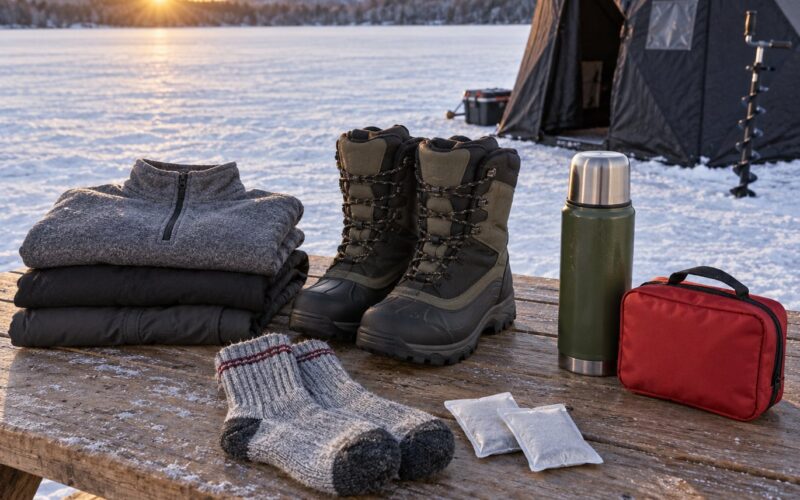
Dress for the job, not for the drive. Insulated bibs over layers, ice cleats or studded boots, gloves thin enough to work an auger handle, and a wind-resistant shell. You will generate heat hauling gear and then sit still for two hours, which is when the cold finds you.
Step-by-Step
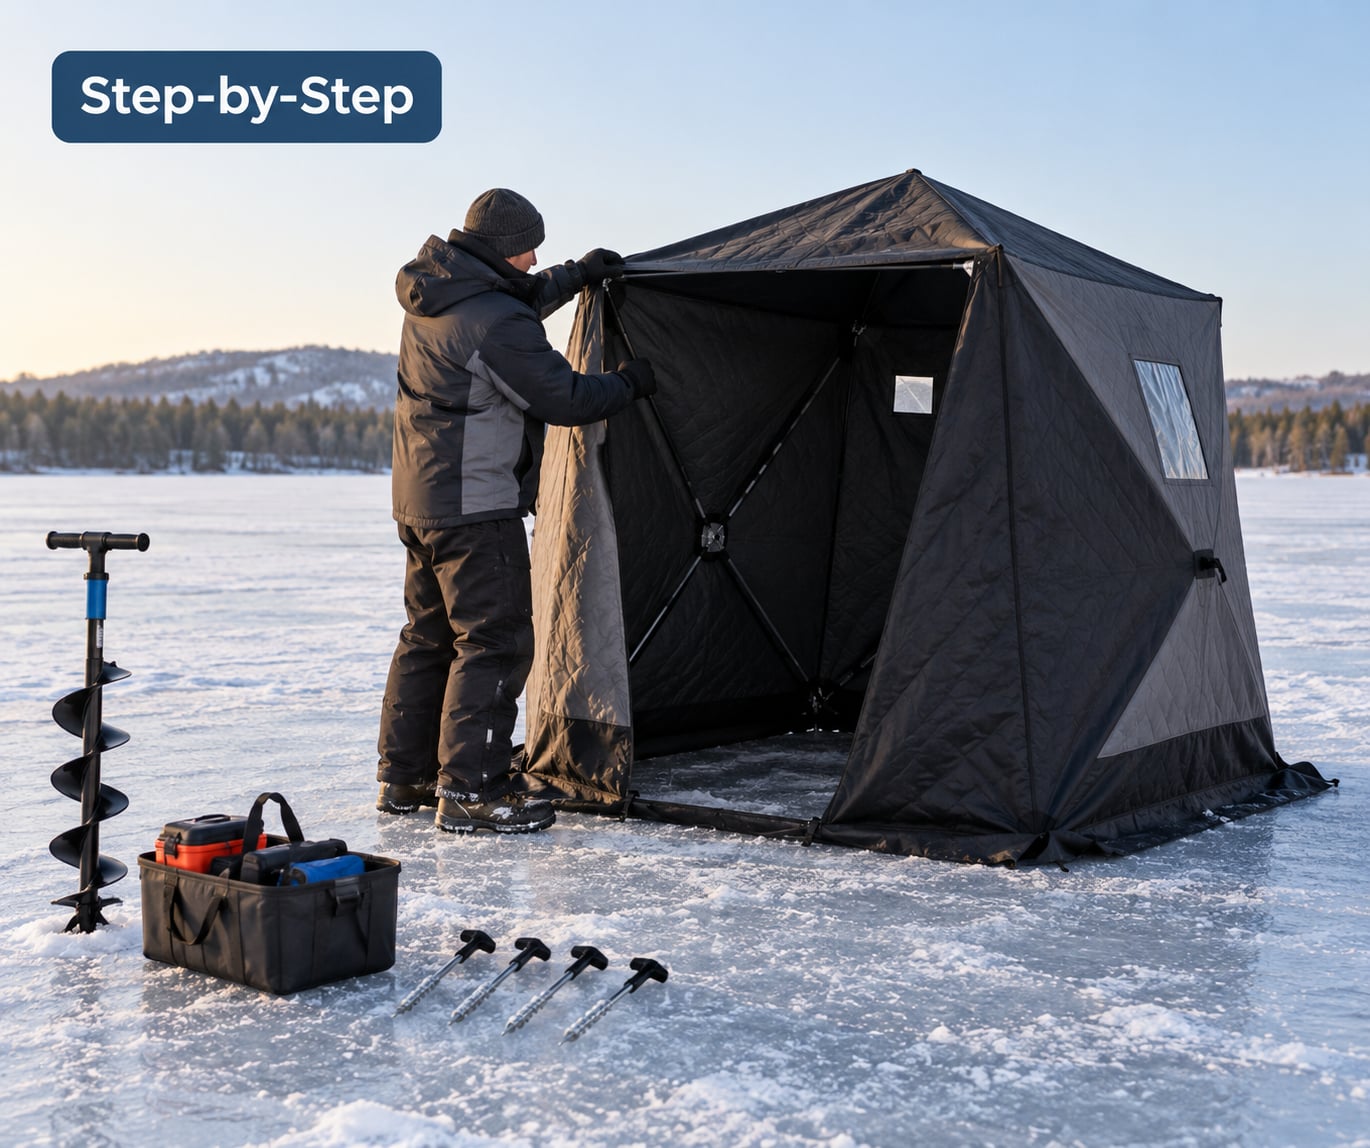
This is the sequence that works. It follows what experienced Upper Midwest anglers do on the in-depthoutdoors.com forums, and it is the same order whether you have a hub or a flip-over.
1. Check the ice report and the forecast
Start at home. Local ice reports, lake association updates, and state DNR pages track thickness and current conditions, and they are the difference between a good decision and a guess. Then check wind speed and temperature for the day. A 25 mph wind day is a different setup entirely from a calm one, and some days you should stay home.
2. Drill a test hole at your staging point
Before you walk out, auger a test hole near shore or at your first stop and measure the clear ice thickness with a ruler or a marked rod. Four inches of clear ice is the commonly cited minimum for a single person on foot, and a shelter, sled, gear, and two or three people weigh far more than one angler. Treat four inches as a floor, not a target.
3. Walk the area looking for the right spot
You want flat, level ice, sheltered from the prevailing wind, with access that does not cross a pressure crack. Refrozen seams and pressure ridges are weaker than the surrounding ice, and you can often spot them as a darker line or a ridge of rough ice. Avoid them even when the surrounding ice is thick, and give yourself a wide berth.
4. Leave the snow where it is
This is the piece most guides get backwards. Veteran anglers on that same forum thread overwhelmingly set up on top of the snow rather than shoveling to bare ice. Snow insulates the floor from the cold ice below and gives your boots something to grip. Shoveling exposes ice that is colder, slipperier, and impossible to keep clear once the heater has been running and the chips turn to slush.
5. Set your anchors first, then pop the shelter
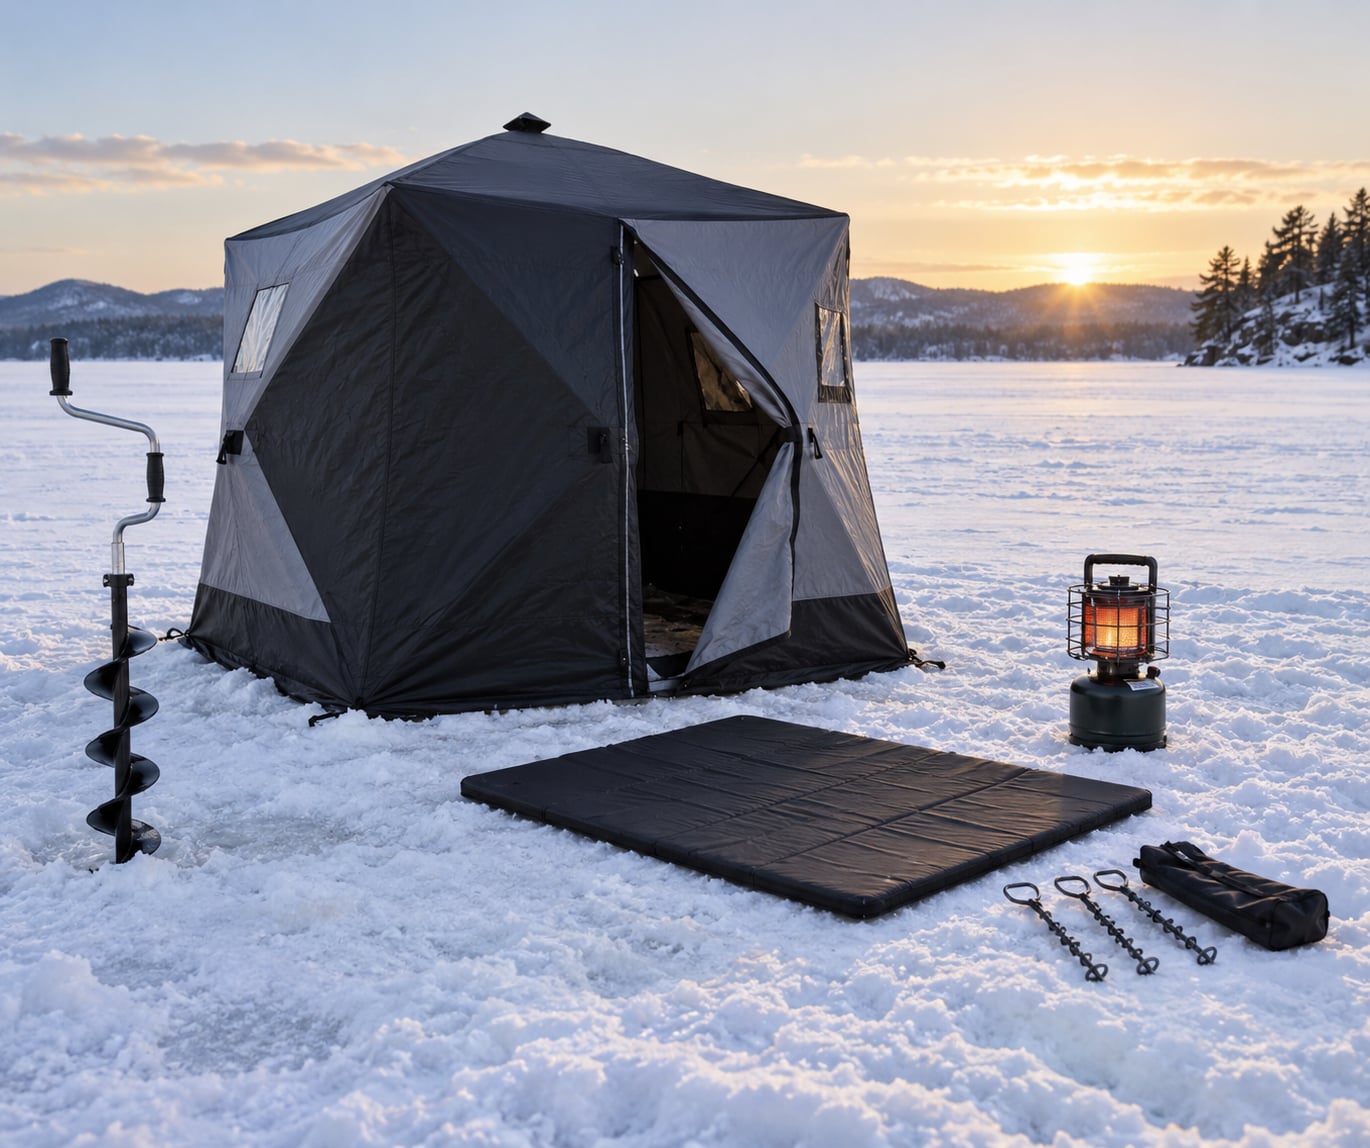
This one matters more in wind than anything else you will do on the ice. The fabric panels act like a sail before the first anchor is set, which is why solo anglers cannot raise a hub shelter in any real breeze. Drive your anchors into the ice first, clip your lines to the shelter’s corner loops or straps, then raise the frame. Three anchors is usually enough on a hub; you do not need every corner tied off. What changes the count is wind exposure and how hard the sled will be yanked when you walk to the truck.
For a hub shelter, clear a square of snow roughly the size of the footprint, set the hubs, then pull each pole straight outward until the walls come taut and the roof rises. For a flip-over, set the sled down, step in, and lift the frame up and over your head until it locks. Fast-disconnect anchors that mount to the auger chuck make the whole process noticeably quicker, especially if you plan to move.
6. Drill your hole and clear the chips
Drill inside the shelter, and drill it before you lay the floor. If the chips land on ice and you flatten them afterward, they compact into a rough but solid surface. If you lay the floor first, every chip you lift is a chip you pick out of the mat. Keep the slush out of the water with a strainer, and clear chips out to the ice rather than toward the hole.
Deep snow makes this harder because the bottom of the auger flights can fill with slush before the blade breaks through. Auger slowly at the end, and expect to go over the hole a few times. Anglers moving between spots report that a second spud bar or a spare blade is worth more to them than any other single tool.
7. Lay the floor and arrange the interior
Butt the mat edges together and trim any excess snow around the perimeter so the skirt seals. Put the heater near the door, not in the center, so warm air rises toward the far wall instead of pooling at your head. Seats go along the side, gear goes in a tote you can reach without standing up, and the hole gets a cover you can pin over it when you are not fishing.
8. Venting, anchoring, and a final safety check
Open a low vent and a high vent before you light anything. Cold air enters low, warms, rises, and exits high, and that convection is what keeps a heater from producing a carbon monoxide build-up. A door left cracked is not the same thing, and it is not enough on its own. Run the detector and confirm it beeps at the test button before you start the heater.
Walk outside and look at the shelter once you are done. Check that the anchors are tight and the wind skirt is buried enough to stop drafts. Confirm your drill and picks are inside with you, not on the ice, and that someone knows you are out here and when you expect to be back.
Common Mistakes
Almost every bad first outing traces back to one of these. The fix is usually simpler than the recovery.
Choosing thin or pressure-loaded ice. The measurement that matters is clear ice thickness measured on the spot, not a report from a lake two towns over. Clear black ice counts; grey, milky ice with trapped air does not carry the same load, and a pressure crack is a seam through otherwise sound ice. Fix: drill a test hole, measure, and add margin for a loaded sled.
Popping the shelter before setting anchors. The fabric grabs wind the moment the frame opens and will fold the shelter or drag you off your feet. Fix: anchors and lines in the ice first, frame second, every time.
Running a heater in a sealed shelter. Carbon monoxide is odorless and colorless, and an enclosed fabric space reaches dangerous levels quickly. Never sleep in a shelter with a combustion heater running. Fix: two vents, a cold-rated detector near your head height, and the heater out before you sleep.
Blocking your own way out. Gear totes, sleds, and a raised heater all end up between you and the door in a hurry. Fix: keep a clear lane to the door, and put the heater where it cannot block it.
Shoveling the site down to bare ice. You gain a clean-looking floor and lose traction, insulation, and a dry surface under the mat. Fix: clear only enough snow for the footprint and the perimeter skirt.
Drilling before the shelter is up. Chips scatter, you have nowhere to work, and the hole sits exposed to wind. Fix: shelter first, then hole, then chips, then floor, then the rest of the gear.
Ignoring what cold does to gear. Zippers and fabric crack in deep cold, telescoping poles can collapse under a side load, and frost narrows vent openings over a long session. Anglers on the r/IceFishing overnight threads talk about waking to a vent they cannot open. Fix: check the zipper early and often, keep vents clear, and leave a gap for frost to expand into.
Frequently Asked Questions
How thick should the ice be before setting up a shelter?
Four inches of clear ice is the widely cited minimum for a single person on foot, and a shelter with two or three adults, gear, and a loaded sled needs considerably more. Measure it yourself with an auger and a ruler rather than trusting a report. Grey, milky ice and anything near a pressure crack should be avoided regardless of the number.
How many ice anchors does a shelter need?
Three is usually enough on a hub shelter, and most anglers do not tie off every corner. What changes the count is wind exposure and whether you will be yanking a loaded sled. In any real breeze, set all three before you pop the frame up, because the fabric acts like a sail until the first anchor is tight.
Should I shovel snow before setting up an ice shelter?
Most experienced anglers leave the snow in place and set the shelter on top of it. Snow insulates the floor from the ice below and gives you traction in a place where bare ice is slick. Clear only what the footprint needs, then bank a little around the skirt to block drafts.
How do I ventilate an ice shelter with a propane heater?
Open one low vent and one high vent so cold air enters at floor level, warms, rises, and exits at the top. That convection is what keeps combustion byproducts from accumulating. A cracked door alone is not enough. Run a cold-rated CO detector or oxygen depletion sensor near head height, and never leave a combustion heater running while you sleep.
Can a diesel heater be used in an ice shack?
Diesel burners are used in larger and permanent structures, but they still need outside air to burn properly and they still produce carbon monoxide. Treat any fuel-burning heater the same way: two vents, a working detector, and a hard shutdown before anyone sleeps. Check your local rules too, since some states restrict heaters in ice shelters.
What size ice shelter do I need for two people?
Look at the rated capacity as a ceiling, not a target, because it assumes no gear inside. Two people with sleds, an auger, a tote, and a heater on the ice need the next size up. Solo anglers who plan to hole-hop often skip the floor entirely and step outside every half hour to warm up instead of adding weight to haul.
Conclusion
Before you drill anything, check the local ice report and the wind forecast, then measure clear ice thickness yourself at the spot. Pick level ground away from pressure cracks, leave the snow down, set three anchors before the fabric opens, and raise the shelter. Drill the hole, clear the chips, lay the mat, and open a low and a high vent before the heater ever lights. That sequence, repeated until it is boring, is what makes a long day on the ice comfortable instead of miserable. Guides on this topic change with each season’s conditions, so check back before your next trip in 2026.