You reserve a campsite that is always full by being logged in and ready at the exact moment inventory drops, then moving again the second a cancellation appears. Timing beats luck every time. The calendar is already full for most people because they check once, in June, for a July weekend. Reverse that and the same dates are wide open.
Every campground runs on a published system, and the rules are not secret. Federal sites on Recreation.gov release on a rolling window months ahead. State parks use their own sites with their own times. Private land on platforms like Hipcamp moves at a completely different pace. Once you know which system runs the park you want, you know exactly when to be sitting there.
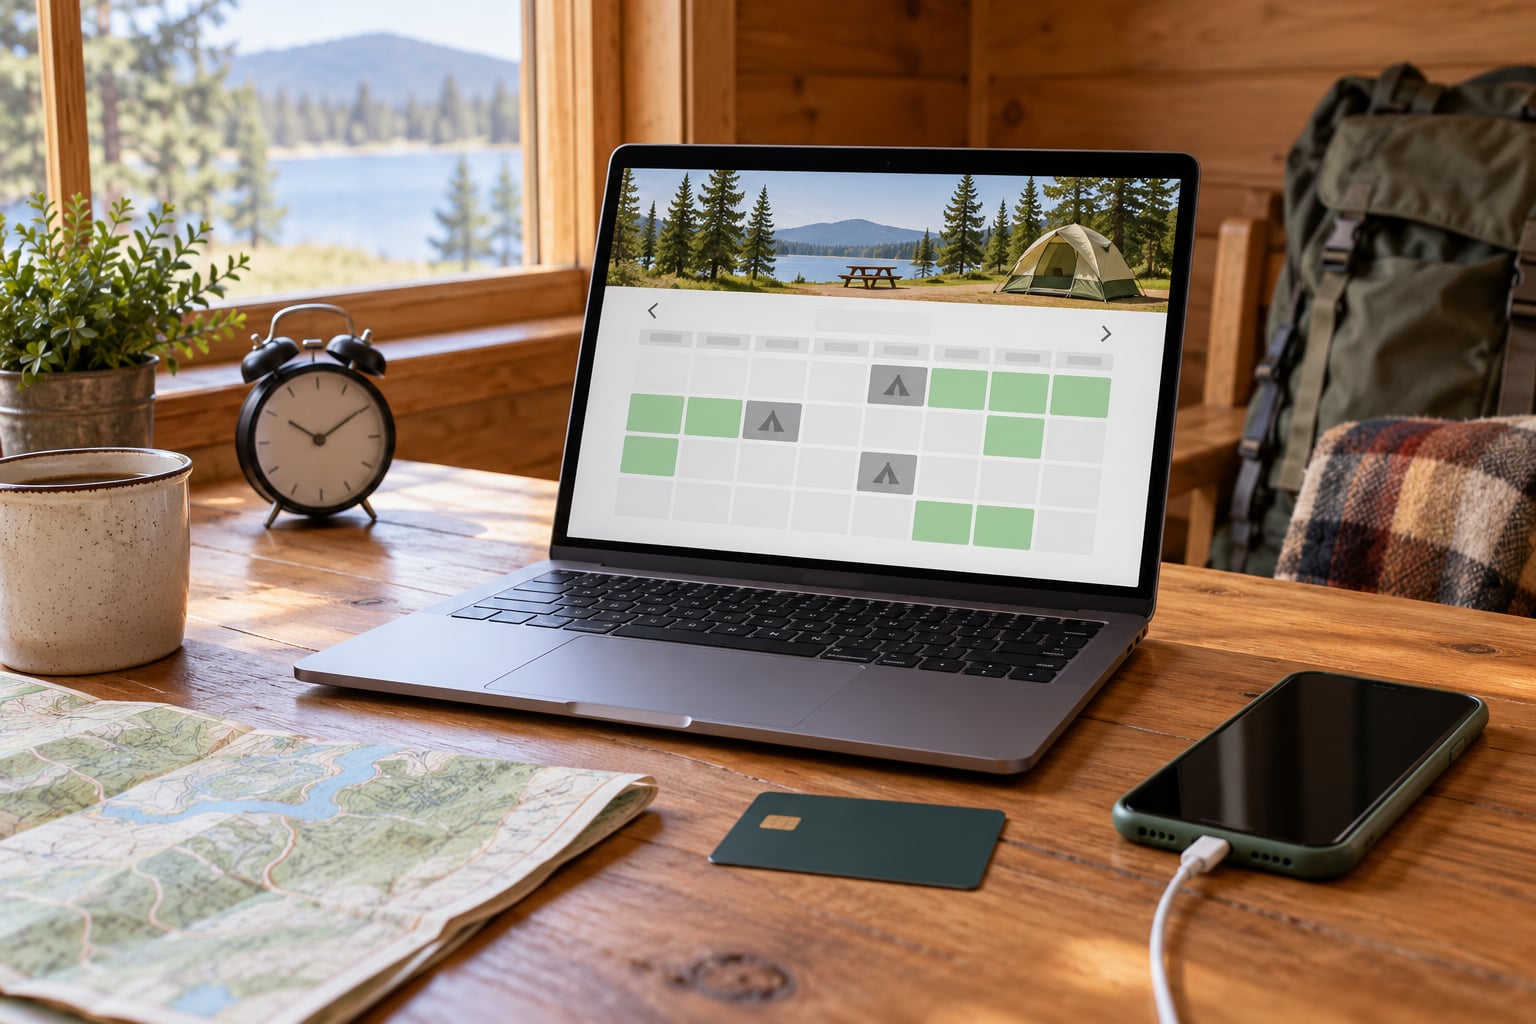
The rest is preparation, because the booking window itself takes about four minutes. Your account has to exist, your payment method has to be saved, your dates have to be chosen in advance, and your backups have to be written down where you can reach them without thinking. Get that done the night before and the morning-of becomes boring, which is the goal.
Table of Contents
- 1What You Need
- 2Step-by-Step
- 31. Identify When Reservations Open
- 42. How to Reserve a Campsite That Is Always Full
- 53. Build a Shortlist Before Booking Day
- 64. Use Alerts Without Depending on Them
- 75. Confirm Every Detail Before Checkout
- 86. Check the Confirmation Immediately
- 97. Look for Cancellations Responsibly
- 10Common Mistakes
- 11Frequently Asked Questions
- 12How do you reserve a campsite that is always full if the dates look sold out?
- 13What time do campground reservations usually open?
- 14Can you get a full campsite by waiting for cancellations?
- 15Does an online reservation guarantee a specific campsite?
- 16What should I do if my campsite payment failed?
- 17Can walk-ins get a site at a popular campground?
- 18Conclusion: Secure the Site Before Demand Peaks
What You Need
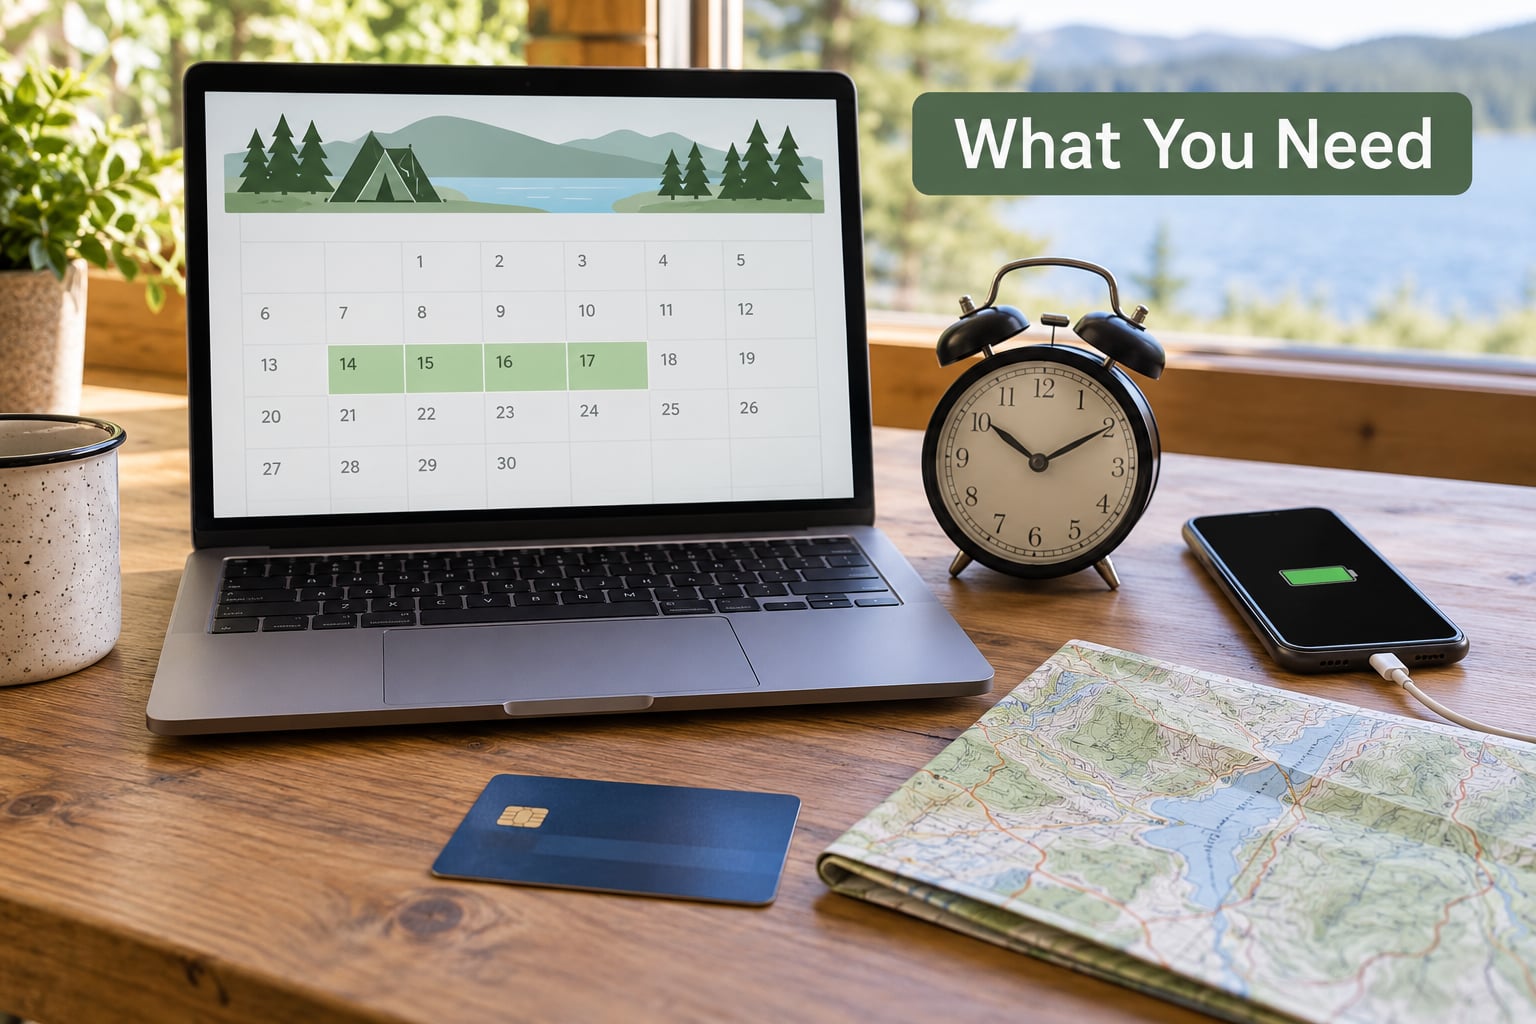
None of this is expensive and all of it is boring, which is why people skip it. Gather it the day before the window opens.
- An account on the official system. For national parks and federal recreation areas that is Recreation.gov. For most state parks it is a state-specific portal such as ReserveCalifornia or a ReserveAmerica partner site. Confirm which one runs your campground before anything else, because accounts do not transfer between systems.
- The campground page bookmarked on two devices. A laptop and a phone with the same account signed in. When the first one stalls, the second is your move.
- The published booking window and release time. Find the campground page and read the reservation policy section. It will tell you how far ahead sites are released and what time the new inventory appears.
- A saved payment method. Entering a card number while thousands of people are hammering checkout is how people lose sites they had in hand. Most systems let you save a card to your profile ahead of time.
- A calendar reminder set two days early. Not the day of. Two days early is when you pick dates, confirm the site type and choose backups.
- A written shortlist of backups. Three or more alternatives with dates, site type and drive time, on paper or in a note on your phone.
- A reliable connection. Wired or strong signal. Mobile hot spots in crowded campgrounds are unreliable exactly when a drop happens.
Add one more thing that most guides skip: know the vehicle length limit for your rig. A site you can book is useless if your 32-foot trailer will not fit, and site-length filters are often hidden behind an icon that looks like a ruler.
Step-by-Step
1. Identify When Reservations Open
Go to the official campground page and find the booking window. Most federal campgrounds on Recreation.gov release inventory on a rolling basis, commonly about six months ahead, with new dates appearing at a set time each morning. Some parks run on a shorter window, and a few release further out, so check the park’s own page rather than assuming.
Watch the time zone. Release times are usually written in Pacific time regardless of where the park sits, which means an East Coast camper logging in at 10:00 is two hours late. This single detail loses more sites than anything else I have seen.
Then learn when inventory becomes visible. There is often a gap between the announced drop and the moment the calendar actually shows new rows. Some campers find it useful to be logged in five minutes early, sitting on the calendar page, refreshing rather than navigating in cold.
If you are starting from zero on a park you have never visited, read the campground’s own alerts page. Recreation.gov and most state systems post closures, water restrictions and construction notices there, and those notices change which sites are worth targeting.
2. How to Reserve a Campsite That Is Always Full
Treat the drop like a timed event rather than a browsing session. Have the account signed in the night before, the card saved, and the dates already known down to arrival and departure.
At release, go straight to the specific campground calendar. Do not start from the park homepage and search by region, because every extra click is time another person uses. Pick the site type you need first, then the dates, then the specific site.
Widen your arrival window if the system allows it. Entering a range of a few days instead of one fixed night multiplies your odds considerably on shoulder-season dates, and some systems will hold an alternative nearby and let you adjust after booking.
Pick your site method before the drop. If a numbered site matters to you, target it directly and accept fewer options. If you only care about the loop and the hookup type, choose the loosest filter that still gives you a usable site. Deciding this in advance removes the hesitation that costs people sites at the critical moment.
Turn off everything else. Close chat windows, silence the phone if you can stand it, and tell the people you live with not to talk to you for four minutes. Then complete checkout in one clean pass: dates, site, payment, confirm.
3. Build a Shortlist Before Booking Day
Three acceptable alternatives will save a trip. Rank them before the drop so that when your first choice disappears you are not browsing under pressure.
Rank each option on six things: distance from where you actually want to be, site type, maximum vehicle length, accessibility if anyone in your group needs it, hookups available, and how far out its booking window runs. A county park twenty minutes further with full hookups is often a better bet than a distant national park site with the same view.
Include at least one option with a different booking system. If your first choice is on a state portal and your backup is on a private platform, a slow server on one will not cost you the trip.
Also check the backup’s cancellation terms before you fall in love with it. A site with a strict non-refundable policy is a bad fallback, because you may need to move it later.
4. Use Alerts Without Depending on Them
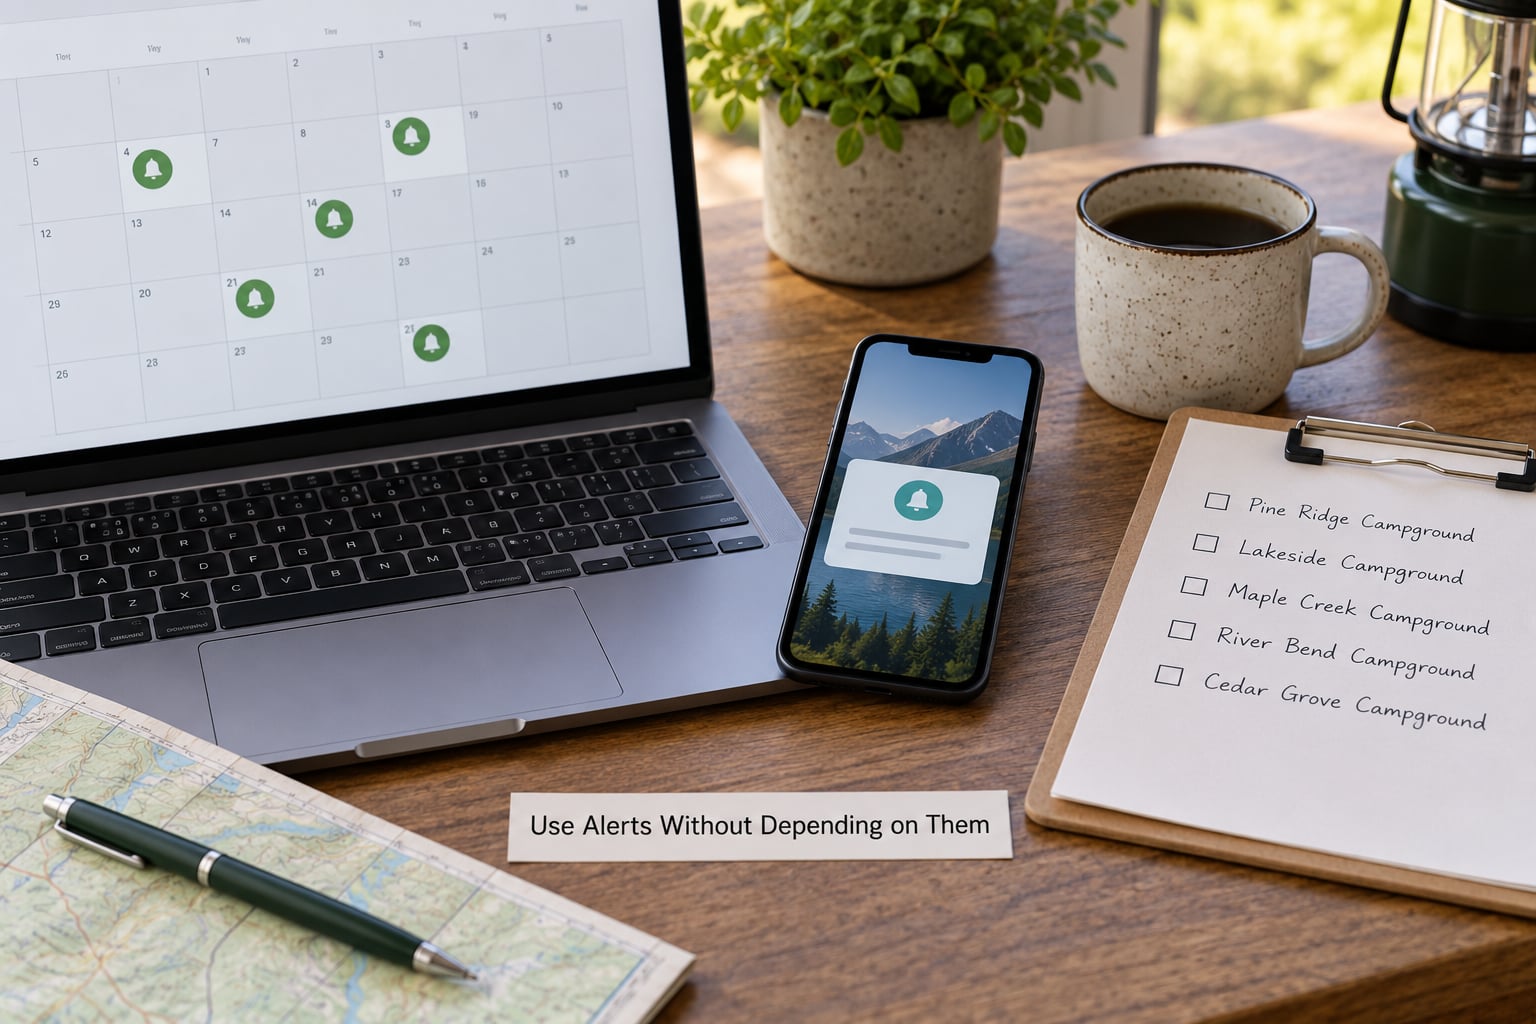
Alerts help, and plenty of people win sites with them. But an alert tells you a site opened. It does not hold it for you. By the time most email alerts land, the site is often already taken, which is the single most common complaint people share about cancellation services.
Use fast channels when you use them at all. Text or push alerts beat email by a wide margin on competitive sites. Some free services check availability on a long interval, which makes them fine for a campsite ten minutes from home and close to useless for a valley that fills in under an hour.
Also set your own calendar reminder for the daily morning check. Many campers report that checking the same campground calendar at the top of every morning for two weeks straight produces results that no alert service did. It is free, and it is genuinely boring, which is why people stop doing it.
A word on the paid tools, since you will run into them. They vary widely in scan speed, coverage and price, and the fastest ones cost real money per scan or per month. Whatever you choose, check whether it requires handing over your account password. Several services deliberately do not ask for it, and that is a reasonable preference for your own security.
There is a fairness argument here worth sitting with. Paid monitoring services give some campers an edge over people who cannot pay for a subscription, and a fair number of campers feel strongly about that. The counterpoint is that no service can create inventory. They watch a public calendar that anyone can also watch, and they buy you time and attention rather than access. I think the honest position is to use alerts as a supplement to a prepared plan rather than as the plan itself.
5. Confirm Every Detail Before Checkout
The last screen before payment is where people lose ground. Read it.
Confirm your arrival and checkout dates are what you intended, and that they cover the nights you need. Check the site number or site type, the maximum vehicle length, and whether the site includes the hookups your rig requires. A site listed as electric-only when you need sewer is a bad afternoon.
Read the fee breakdown and the cancellation terms on that screen. Understand what happens if you cancel, whether there is a deadline, and whether a non-refundable first night applies. Some campgrounds charge a reservation fee on top of the site rate regardless of what you do later.
Then understand what you are actually buying. Many campgrounds reserve a site within a loop rather than one specific numbered pad, and the page will usually say so in the site description. If a specific site matters to you, look for the ones that guarantee it and accept that they are harder to get.
Check the maximum stay length too. Long trips at peak parks are often capped, and splitting a booking you did not need to split can create a second problem for you.
6. Check the Confirmation Immediately
The site is not yours until you have a confirmation in hand. Refresh your account’s reservation list and confirm the booking appears there with a reservation number.
Open the confirmation and look for the arrival instructions. Campgrounds send check-in windows, gate codes for after-hours entry, and site-specific notes, and the site number is often buried in that document rather than in the email subject line.
Save it offline. Email on a mountain road with no signal is a bad time to hunt for a gate code.
If payment did not process, do not assume you failed. Some systems take several minutes to confirm a card, and some show a pending state that looks identical to an error. Check the reservation list first, then your bank statement, and only then try to book again. Repeated attempts on a site you already hold can create a duplicate booking you then have to cancel under rules that may not refund you.
If nothing shows anywhere, contact the campground directly. Use the phone number on the official reservation page or the campground’s own site, never a number from a third-party listing.
7. Look for Cancellations Responsibly
Cancellations are real inventory and they move at the speed of whoever clicks fastest. A campsite that is always full changes hands constantly in the weeks before a trip because plans change, weather happens and vehicles break down.
Check the official cancellation inventory first, since that is where the site actually returns to. Some systems hold cancelled inventory briefly before returning it to the general pool, and those short holds are the easiest sites in the system to grab.
Know the cancellation deadline before you wait. If a campground requires notice three days before arrival, the site returns to inventory on a schedule you can predict. If the rule is 24 hours, expect a much thinner stream of openings.
Have the booking already filled in. Same account, same saved card, same shortlist. The click should take you under a minute so you are not retyping your details while someone else is checking out.
Do not hold multiple sites in the hope one frees up. Booking several sites at the same campground is how you end up with a cancellation charge and no campsite, and it is unfair to the people who are genuinely waiting. If you book a backup, cancel it the moment your real site confirms.
Common Mistakes
Booking on a third-party listing. Sites resold through classifieds and sketchy booking services are frequently cancelled the day you arrive, and they often carry a price far above the official rate. Fix: use only the official reservation system named on the park’s own page.
Ignoring the time zone. Release times are usually Pacific, and a three-hour error means the drop happened before you were online. Fix: convert to your local time the moment you read it, and set a phone alarm that accounts for daylight saving.
Trying to hold a site in a cart while you decide. Some systems hold a selection for a short window and some release it instantly. Fix: decide your site type and dates in advance so checkout is one uninterrupted pass.
Overlooking vehicle length limits. A site can book successfully and still be unusable for your rig. Fix: filter by length on the calendar page, and note the limit on your shortlist.
Not verifying the confirmation. People drive three hours and discover the booking is pending or sits in someone else’s name. Fix: confirm the reservation number and site details the same day, and screenshot it.
Having no second choice. If you book only one site at one park on one date pattern, any single glitch ends the trip. Fix: three backups across at least two booking systems, written down before the drop.
Waiting weeks without a routine. Spot checks at random hours rarely catch anything. Fix: a fixed morning check, same campground, same time, for the two weeks before you travel.
Frequently Asked Questions
How do you reserve a campsite that is always full if the dates look sold out?
You cannot book a date that shows as reserved, so change what you control. Widen your arrival window by a few days, choose a looser site type, remove hookup filters, and check nearby campgrounds at a different booking system. If everything nearby is full, the remaining option is cancellations, which return to inventory on a schedule set by the campground’s policy.
What time do campground reservations usually open?
There is no single time, because each system sets its own. Federal campgrounds on Recreation.gov commonly release new inventory on a rolling window several months ahead, with drops typically in the morning Pacific time. State park portals vary by state, and private platforms follow their own calendars. Check the specific campground page for its published release time and time zone.
Can you get a full campsite by waiting for cancellations?
Yes, and plenty of people do, though it is never reliable enough to be the only plan. Sites return when other campers cancel, and the two weeks before a trip generate a steady stream of changes. Check the official calendar at the same time each morning, set up fast alerts as a supplement, and have your account ready so checkout takes under a minute.
Does an online reservation guarantee a specific campsite?
It depends on the campground. Many campgrounds hold a site within a loop or area and assign the exact pad on arrival, while others let you pick and reserve a numbered site. The site description usually says which applies. If a specific pad matters to your group, filter for sites that guarantee one, and expect them to be the hardest to get.
What should I do if my campsite payment failed?
Check your reservation list in your account first, since some systems show a booking as pending while a card processes. Then check your bank statement for a pending charge. Only after both are clear should you attempt a second booking, since duplicate attempts can create two reservations and a cancellation fee. If nothing appears anywhere, contact the campground using the number on its official page.
Can walk-ins get a site at a popular campground?
Sometimes, and the odds depend entirely on the campground. Sites designated first-come-first-served are open to anyone who shows up, usually early in the day and on weekdays rather than weekends. Fully reservable campgrounds rarely have anything left by mid-afternoon on a peak day. Call the campground before you drive so you know which category you are dealing with.
Conclusion: Secure the Site Before Demand Peaks
The whole method comes down to three habits: know the booking window before you care about the dates, have your account finished the night before, and keep a written shortlist of three alternatives across two systems. Everything after that is execution.
Start tonight. Find the official campground page, read the reservation policy, note the release time in your own time zone, and set a reminder two days out. That single reminder, placed before demand peaks, is what turns a sold-out calendar into a campsite.