To build a campfire that lasts, stack your fuel in ascending sizes — fine tinder, then toothpick-thick kindling, then pencil, wrist and arm-sized split wood — and then bank the result down to a slow bed of coals instead of feeding it like a bonfire. Most fires die for two reasons: someone puts a fat log on a flame that is still weak, or the blaze burns hot and fast and burns through everything by 9pm.
A fire that is built in stages and then throttled will hold a usable heat for a whole evening and leave embers you can cook on or restart at dawn. It takes about 15 minutes of setup. Below is the order I use at lake campsites, where wind off the water and damp firewood are the two usual problems.
Table of Contents
- 1What You Need
- 2Campfire fuel sizes: what to gather
- 3Step-by-Step: How to Build a Campfire That Lasts
- 41. Choose a safe and legal fire site
- 52. Gather and sort dry fuel
- 63. Build a small fire base
- 74. Light the fire and let it grow gradually
- 85. Add airflow and stable firewood
- 96. Maintain the fire until you are done
- 10How much firewood should you plan on?
- 11Common Mistakes
- 12Frequently Asked Questions
- 13Why does my campfire keep going out?
- 14Do I need dry hardwood, or is any firewood fine?
- 15How do I restart a campfire that has died down to embers?
- 16What size wood should I put on a campfire?
- 17How long should I leave a campfire burning?
- 18How do I extinguish a campfire completely?
- 19Conclusion
What You Need
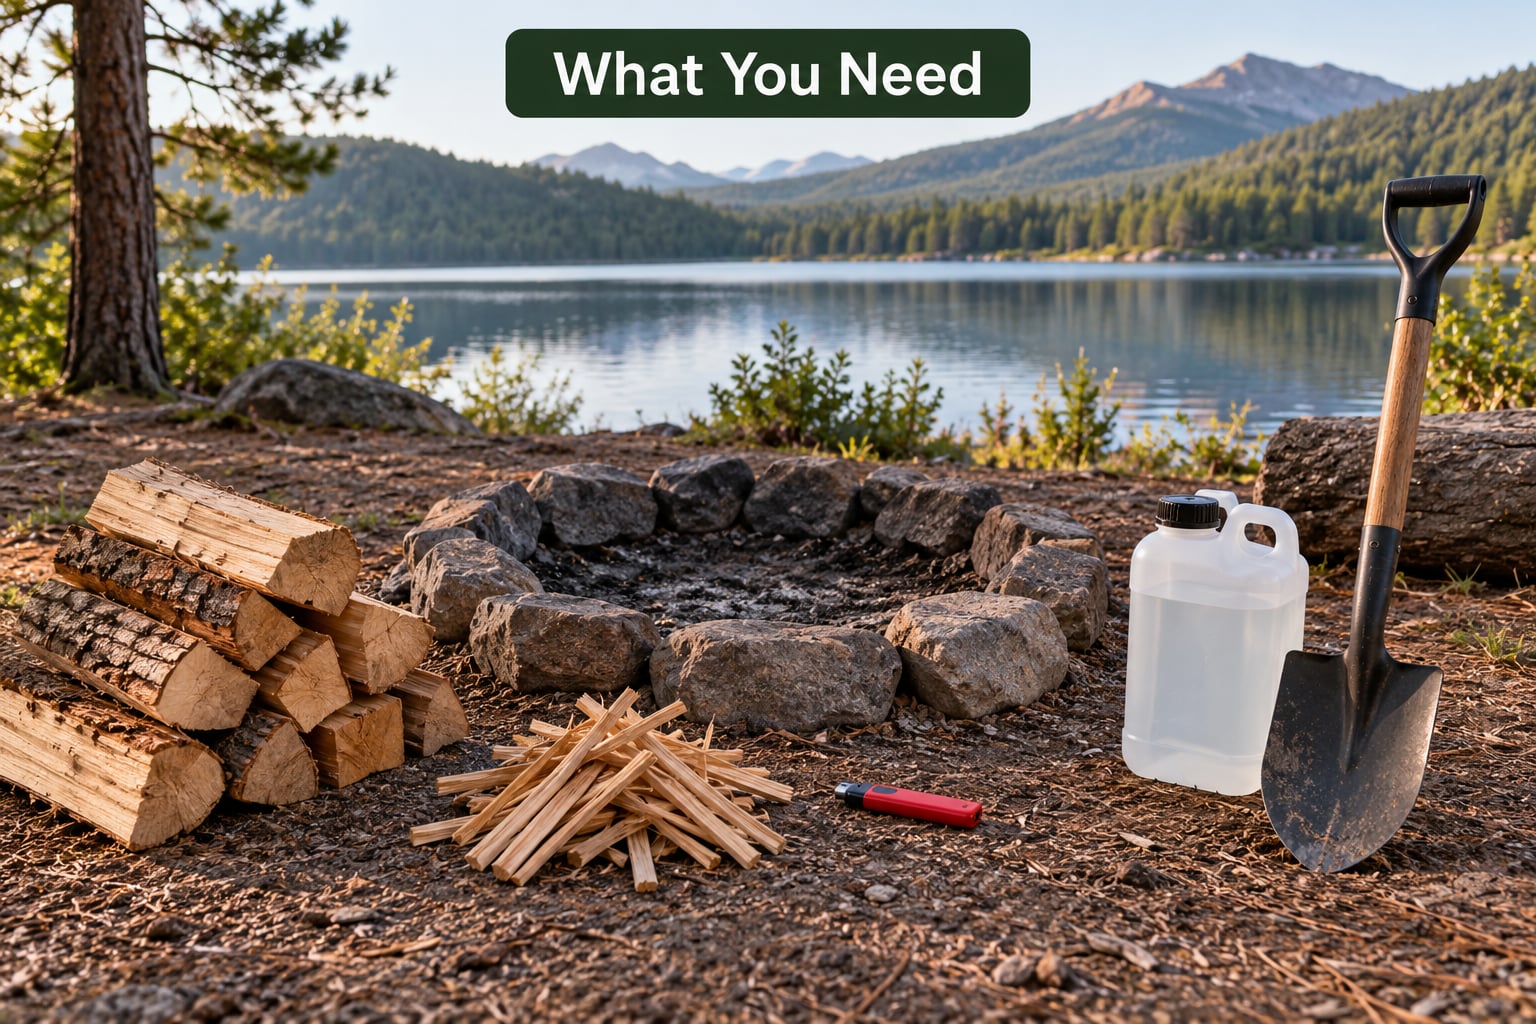
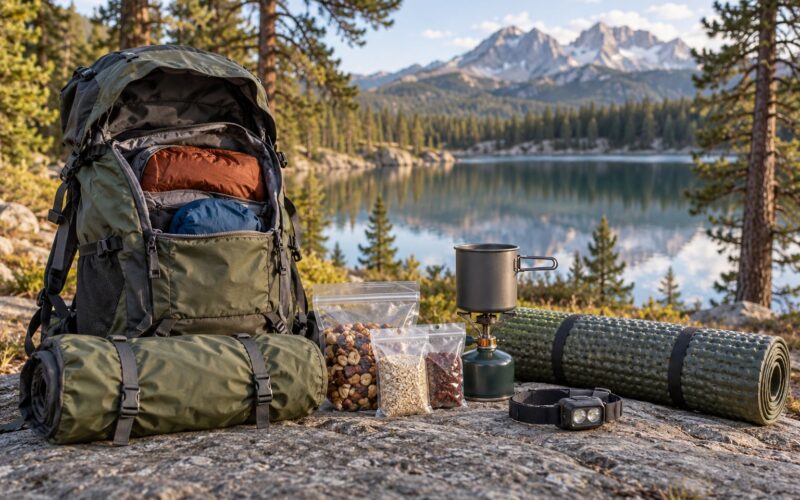
Start with a legal place to burn and a way to put it out. Everything else is wood, and wood is easy to fix.
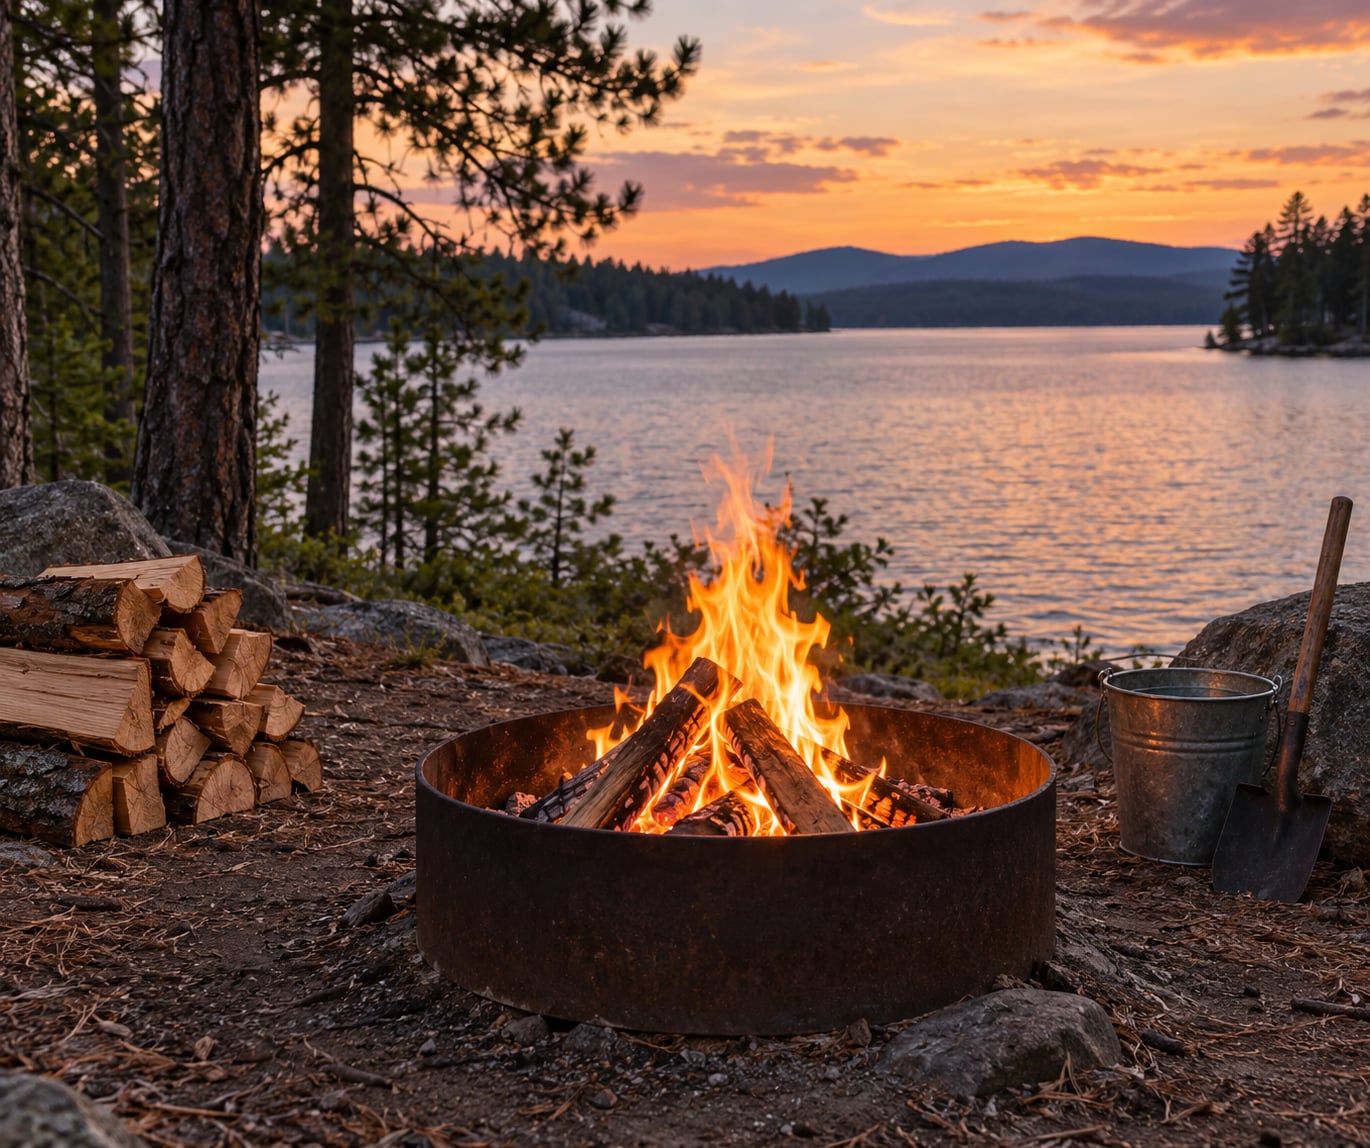
- A permitted fire ring or the campground’s fire pit. Use the built-in ring when one exists. If there is none, a shallow pit ringed with rocks works, but check your campground or land manager first.
- Local fire restrictions or a burn permit. Restrictions change through the season, and many lake states and counties post daily updates. Check before you gather wood, not before you light.
- Dry split firewood in a size ladder. Gathering only one or two sizes is the most common reason fires stall.
- Kindling. A double handful of sticks from toothpick to pencil thickness.
- A lighter plus waterproof matches as a backup. Two ignition sources is the standard outdoors rule.
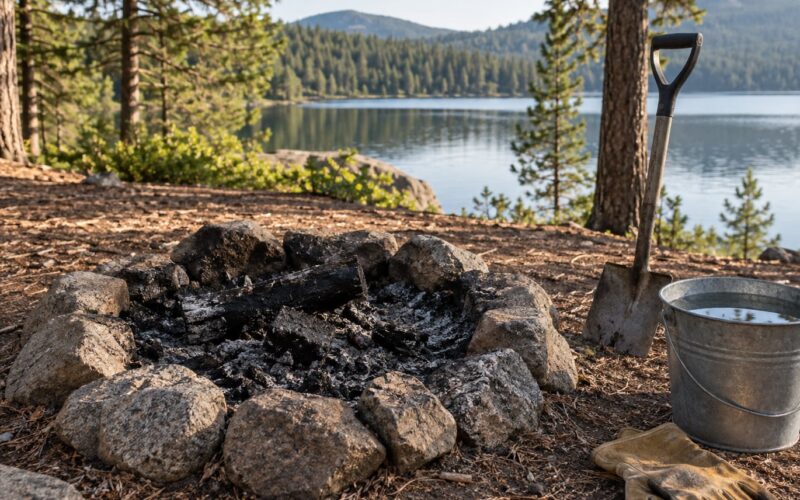
- A bucket of water and a shovel or camp rake. Both should be within arm’s reach before the first spark, not back at the tent.
- Gloves and long-handled tongs or a stick. Your heat management tool matters more than people expect.
Wood you find on site is often damp. The wettest pieces lie on the ground, so gather from standing dead branches, deadfall on dry slopes, and the sun-facing side of fallen limbs. Pieces that snap rather than bend are the ones worth carrying back.
Campfire fuel sizes: what to gather
| Stage | Rough size | How much | Job it does |
|---|---|---|---|
| Tinder | Loose fluff — bark shavings, dry grass, cattail down, dryer lint | A loose fistful | Catches instantly and gives you 30 seconds |
| Fine kindling | Toothpick, about 1/8 inch | Two handfuls | Holds flame long enough for the next stage |
| Mid kindling | Pencil, about 1/4 inch | One handful | First real flame, still fragile |
| Small fuel wood | Index finger to wrist, 1 to 2 inch | 8 to 10 pieces | Sustained flame and the first real coals |
| Split firewood | Arm to thigh, 3 to 6 inch | As much as fits inside the ring | Long burn once the coals are established |
Hardwood burns hotter and longer per piece, and oak, maple, beech and hickory all work well. Softwoods like pine and cedar light easily and throw good sparks but carry resin that makes a fast, smoky blaze. Driftwood is salty and pops, so keep it for the last twenty minutes rather than the first.
Step-by-Step: How to Build a Campfire That Lasts
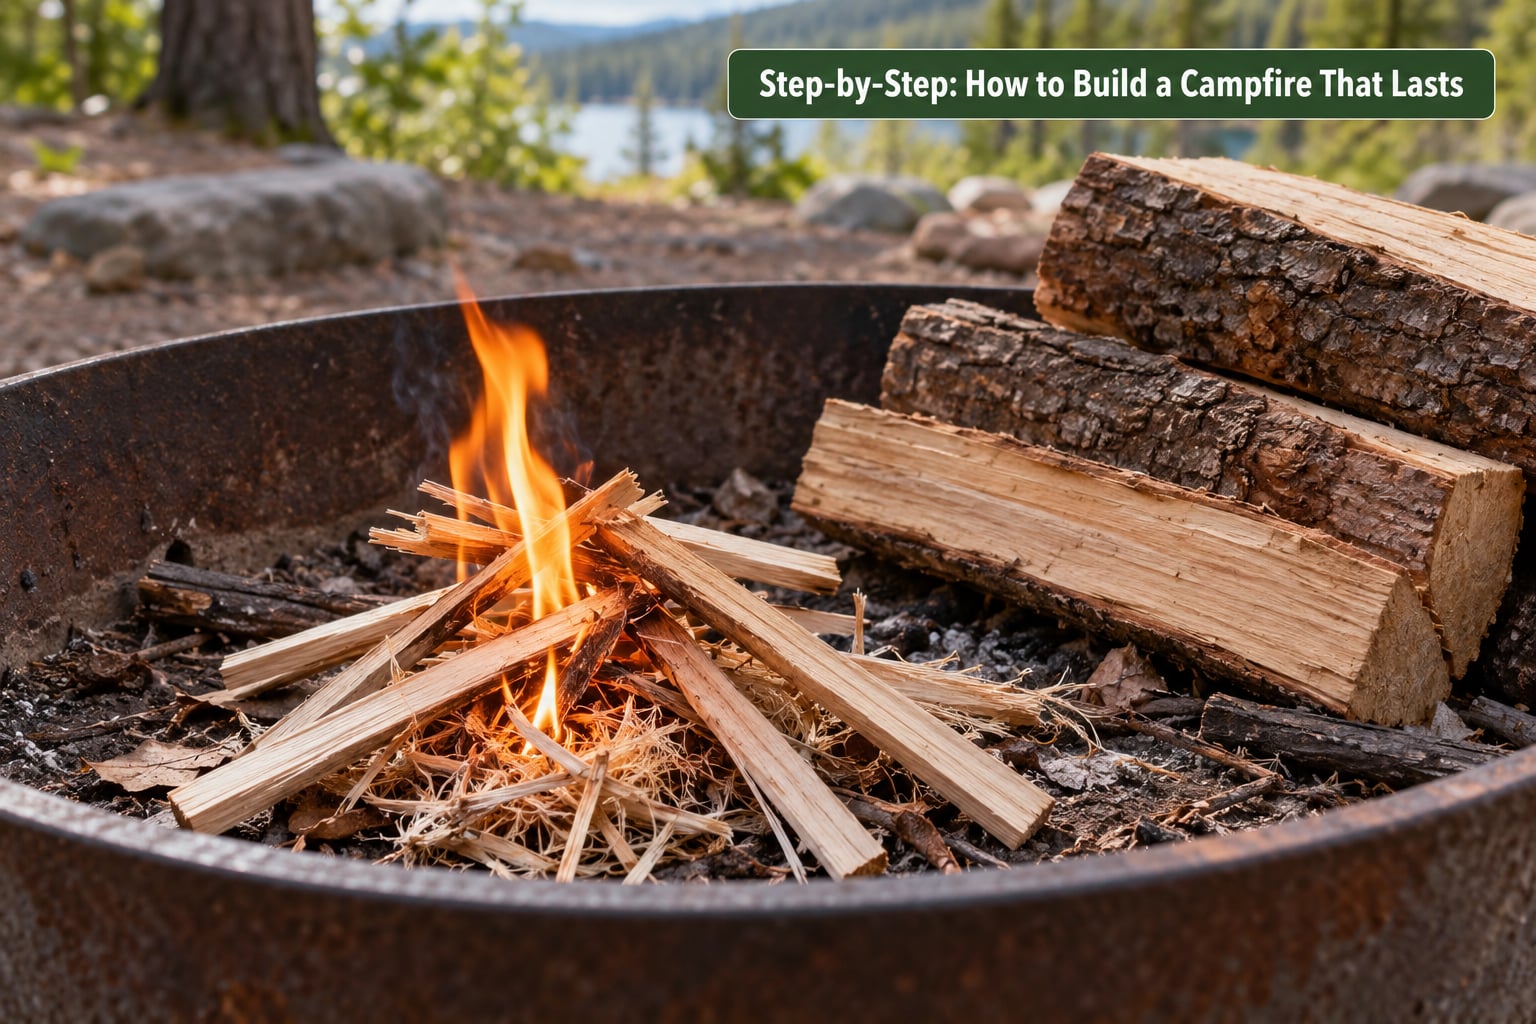
Six steps, in this order. The short version before the detail:
- Confirm the fire is legal and use an existing ring.
- Sort your wood into the size ladder before you light anything.
- Lay a loose base of tinder and fine kindling with room for air.
- Light the tinder, then add fuel in stages as each stage catches.
- Switch to a long-burn layout once you have a real coal bed.
- Feed one or two pieces at a time and finish by drowning, stirring and drowning again.
1. Choose a safe and legal fire site
Use the fire ring the campground or land manager built. If you must make your own, dig a shallow pit in mineral soil and ring it with stones, and stay at least 15 feet from tents, vehicles, shrubs, overhanging branches and any water you are not willing to fish out of.
Set up downwind of your tent so smoke blows away from you, and think about where sparks travel — a gust that feels mild at the fire can be carrying embers into dry grass a dozen feet away. You should be able to reach your water and shovel without walking. If you cannot say yes to both, you are not ready to light.
2. Gather and sort dry fuel
Sort everything into piles by diameter before you build. Most failed fires are really sorting failures: the person had kindling but no pencil wood, or had logs but nothing thin enough to bridge tinder to flame.
Split anything thicker than your wrist with a hatchet. Rough up the cut faces with the hatchet teeth so falling embers catch quickly, and stand pieces with the split side facing the fire. Bark-heavy, resinous chunks like pine fatwood burn for a long time but belong at the end of the ladder, not the start.
3. Build a small fire base
Place a loose fistful of tinder in the center of the ring, then teepee fine kindling over it with the ends touching near the middle and the butt ends spread out around the base. Leave visible gaps between sticks. A compact nest smothers itself because the fire consumes the air inside faster than fresh air can replace it.
Then add mid kindling in a second, looser layer above it, again with gaps. If you can see daylight through the structure from the side, your base is right.
4. Light the fire and let it grow gradually
Light the tinder from underneath and low at the side, not from directly above. If you use newspaper, tear it into strips and lay it across the tinder rather than crumpling it into balls; loose edges catch far more reliably than compressed wads.
Birch bark, pine resin on deadfall, dry cattail down and dryer lint stuffed into a cardboard tube all work as natural or improvised starters. Never use gasoline, kerosene or any accelerant, and keep paper use modest so it does not smother the base.
Add each stage only when the stage below it is established: fine kindling after tinder holds flame, pencil wood after the flame stands up on its own, wrist-thick wood once you have steady flame. If you add the next size too early, the cold wood drops its moisture and soaks up heat, and the whole pile collapses into smoke.
5. Add airflow and stable firewood
Once you have a coal bed, stop building upward and start arranging. Lay larger pieces around the fire in a lean-to or log-cabin shape with a gap in the side facing the wind so air draws through, rather than dropping logs onto the center where they smother the flame.
Two layouts work better than the classic teepee for long burns. A lean-to — two support sticks with smaller pieces leaned against them — holds structure and burns evenly. A log cabin — two parallel base logs with a row across the top and one more row bridging the gaps — is the most fuel-efficient for steady heat. You can tell it is working when the coals glow evenly across the bed instead of in one hot spot.
6. Maintain the fire until you are done
Add one or two pieces at a time and place them where the bed is hottest. If flames weaken, spread the existing coals with a stick before adding anything; fresh air at the bottom does more than new wood on top.
Watch for wind shifts, which can strip heat out of one side and dry out the coals on the other. Keep the fire inside the ring and never add more than the ring can hold. When you are finished, stop feeding it entirely, let it burn down to ash on its own, then drown, stir, drown again and confirm it is cold to the touch before you walk away.
How much firewood should you plan on?
For a steady evening fire you can cook on, expect to work through roughly 8 to 12 pounds of dry split wood per hour. A three-hour fire takes about two grocery bags full of wrist-and-arm sized pieces, plus a generous pile of kindling to get there. Pack more than you think for a windy or damp site, and keep the least seasoned wood for the last hour.
Common Mistakes
Putting a big log on a weak flame. The outer surface of a thick log never reaches ignition temperature while the center is cold, so it sits there and smothers the flame you already had. The fix is to wait for a real coal bed first, then add one piece at a time.
Using damp wood. Wet wood gives off steam, cools the fire and fills the air with smoke. The fix is to split it thin, stand it with the cut face near the flame, and save resinous pine for once the fire is hot enough to handle it.
Stacking fuel too tightly. A dense pile burns on the outside and goes cold in the middle. Leave gaps, keep the base loose, and aim for air moving through the structure rather than around it.
Building too large on the first attempt. A fire bigger than the ring cannot be contained. Start with a base you can warm in under two minutes, then grow it.
Leaving the fire unattended, or burning through the night without checking campground rules. Many campgrounds prohibit overnight fires outright, and the ones that allow them still require the fire to be attended or fully extinguished. Wind and a sleeping bag are a poor combination. Check the rules posted at your site and never leave a fire ring burning while you are gone.
Failing to put it out properly. Embers buried under ash can hold heat for hours. Water it until the hissing stops, stir the wet ash and charred wood, water it again, and hover your hand close to the ashes to feel for heat before you leave the site.
For a long burn, the technique that changes everything is banking. Once you have a solid bed of coals, let the flame die back, heap the coals together in the center, and cover them with a thin layer of ash, sand or dry dirt. Cutting off oxygen slows combustion to a crawl while the heat stays usable. Feed one thick piece at a time only when the bed glows dull red, and you can stretch a single load across a full night — then drown it thoroughly in the morning before you pack up.
Frequently Asked Questions
Why does my campfire keep going out?
A campfire dies when fuel is added faster than the fire can dry and ignite it, or when airflow chokes the flame. The usual sequence is a log dropped on a young flame, damp wood soaking up heat, or a fuel stack packed so tight that no air reaches the center. Fix it by clearing a channel to the coals, standing one dry split piece against the hot bed, and waiting until the flame climbs back before adding anything else.
Do I need dry hardwood, or is any firewood fine?
Dry hardwood gives the longest, hottest burn per piece, so oak, maple, beech and hickory are worth prioritizing when you have a choice. Dry softwood still works well — pine and cedar light easily and are fine for the first twenty minutes. The real requirement is dryness, not species. Wood that snaps instead of bends is dry enough regardless of type.
How do I restart a campfire that has died down to embers?
Set a small nest of fine tinder and kindling down inside the ring, right on top of the warm coals rather than beside them. Light the tinder and let the flame catch the kindling, then feed pencil-thick wood before anything larger. If the coals are cold or wet, clear them out and start over with a fresh base instead of fighting them.
What size wood should I put on a campfire?
Match the wood to the stage of the fire. Tinder catches, toothpick and pencil kindling builds flame, wrist-thick wood creates a coal bed, and arm to thigh-sized split wood sustains a long burn. Anything thicker than your thigh on a young fire will smother it. Adding one piece at a time, placed against the hottest coals, keeps a steady fire without collapsing it.
How long should I leave a campfire burning?
As long as your campground rules allow and someone is watching it, but not unattended. Most restrictions treat an overnight fire ring as a violation even at a site with a ring, so check posted rules before planning an all-night burn. Plenty of people bank the coals down for a long evening burn instead, then drown, stir and drown the ashes again in the morning before leaving.
How do I extinguish a campfire completely?
Stop adding fuel and let the flame burn down to ash on its own. Then pour water over the entire bed until you hear the hiss stop, stir the wet ash and charred wood with a stick or shovel, and soak it again. Do this until there is no hissing, no steam and no heat. Hover your hand just above the ashes before you walk away, since buried embers can stay hot for hours.
Conclusion
A campfire that lasts comes down to restraint. Start with a safe, legal site and an existing fire ring, sort your wood into the size ladder, build a loose base, and light the tinder from below. Add kindling in stages so each one catches before the next goes on, then switch to a lean-to or log-cabin layout and feed one or two pieces at a time. When the flame gets ahead of you, bank the coals instead of feeding them.
Your first move is simple: check the current fire restrictions for your lake and campground, and prepare the fire site before you gather a single stick.