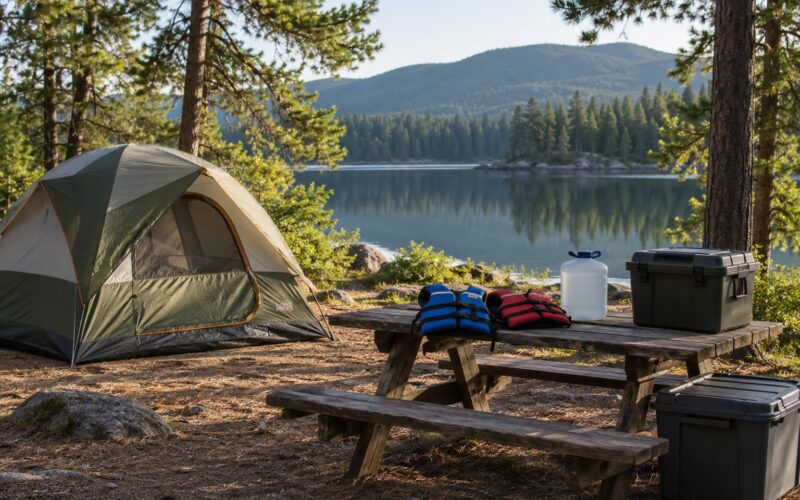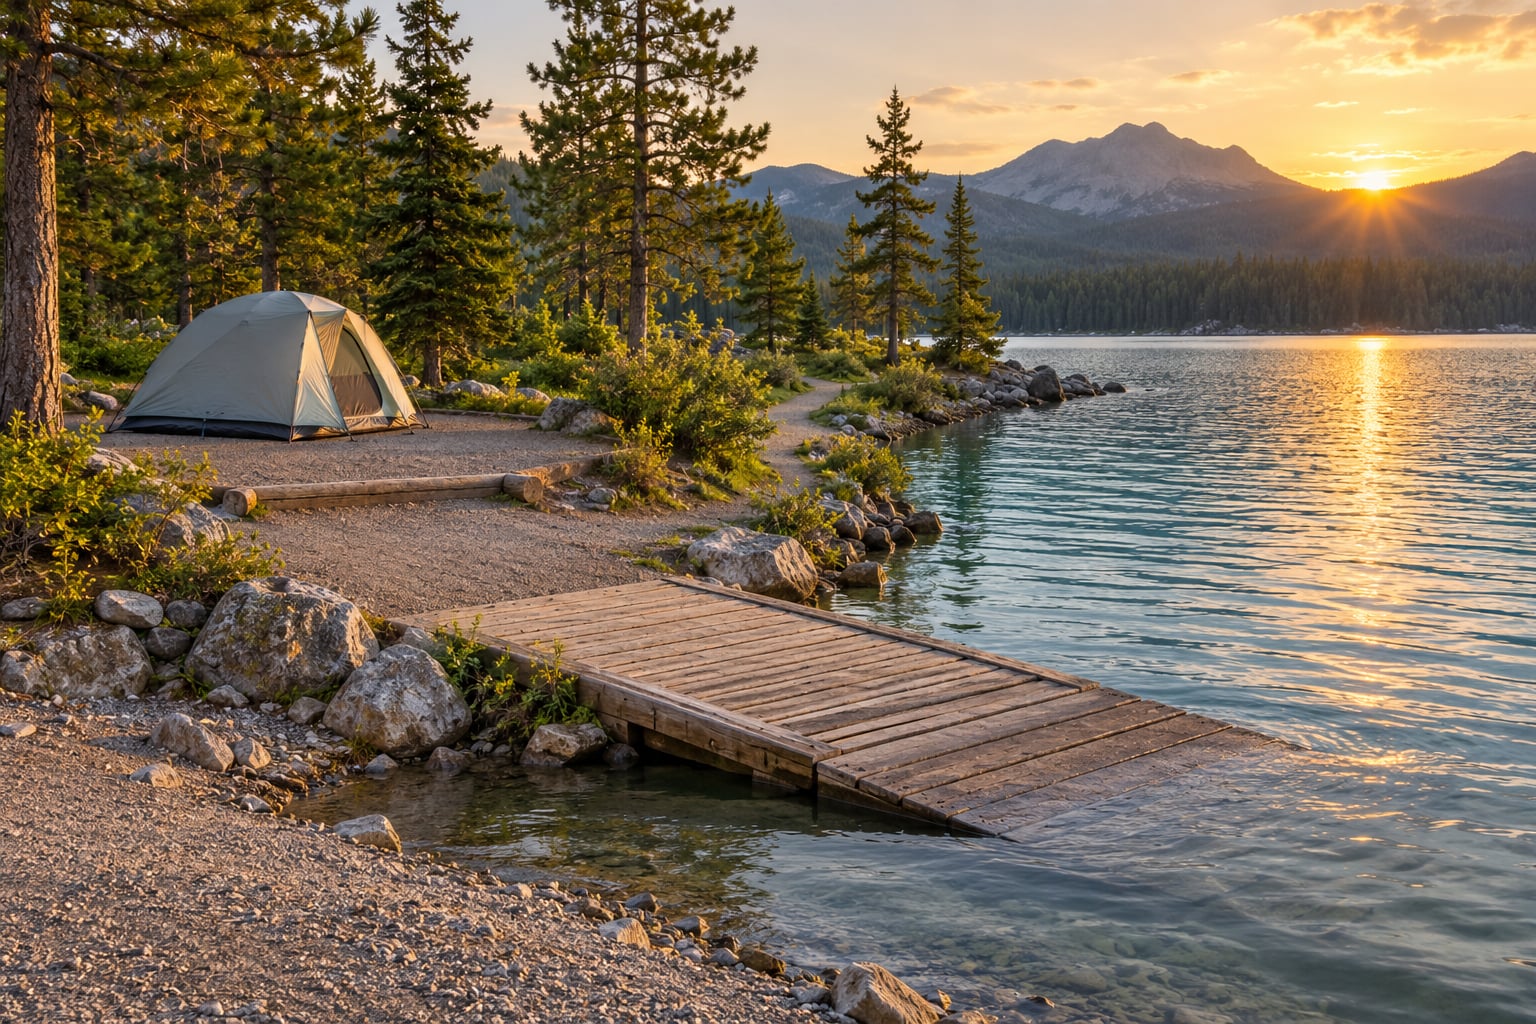
To pick a lakeside campsite, you need to judge four things in order: how far the pad sits from the water, whether the ground stays level and dry, what noise and insects come with the view, and whether the site actually fits your rig and group. Most disappointing lake trips come down to a photo that showed a beautiful shoreline and said nothing about a boat ramp forty feet away.
A good lakeside campsite is a designated or dispersed site within roughly 100 feet of a shoreline, chosen for swimming, fishing, paddling, boating or the view itself, while staying far enough back to stay out of rising water and mosquito territory. Most families can work through the whole check in an afternoon of research plus a short walk around the loop.
Lakeside sites go first. The waterfront row at any campground is usually booked months ahead for peak season, so the choice you make in February is the trip you get in July.
Table of Contents
- 1What You Need
- 2How to Pick a Lakeside Campsite Step by Step
- 3Confirm the Lake Access and Waterfront Location
- 4How to Pick a Lakeside Campsite for Level, Shade, and Comfort
- 5Check Vehicle, Trailer, and Campsite Fit
- 6Review Safety, Rules, and Emergency Access
- 7Match Activities to the Lake and Site
- 8Check Weather, Season, and Booking Details
- 9Make and Confirm the Reservation
- 10Common Mistakes
- 11Frequently Asked Questions
- 12What makes a campsite suitable for families with children?
- 13Should I choose a site directly on the water or slightly inland?
- 14How can I tell if a lakeside campsite has good swimming and boating access?
- 15What should I check before bringing a large tent or camper trailer?
- 16How far in advance should I reserve a lakeside campsite?
- 17Conclusion
What You Need
Gather these before you compare a single site, because each one narrows what will actually work for you.
- Location and dates. The lake, the state or province, and your exact nights. Shoulder weeks change what is open and what is crowded.
- Campsite type. Tent pad, van site, RV site with full hookups, or a group site. Some rows are one or the other, and mixing them up is the fastest way to book wrong.
- Your rig, measured. Trailer or RV length including the tongue or hitch, width at the widest point including mirrors and slide-outs, and total height with a roof AC unit or rack.
- Group needs. Number of adults and kids, ages, dogs, mobility limits, and how far anyone can walk to a restroom or the water.
- The activities you will actually do. Swimming, fishing from shore, kayaking, launching a boat, or sitting at the picnic table and reading.
- Accessibility requirements. Paved paths, ADA sites, a short walk to the vault toilet, and a firm pad that suits a wheelchair or a walker.
- Park or campground rules. Fire bans, food-storage rules, pet restrictions, quiet hours, stay limits and the reservation system in use.
- The full cost, not the headline number. Site fee, electricity, water hookup, dump station fee, pet fee, booking fee, and any extra charge per night above a base site count.
Write these on one page. When you are three campgrounds deep in browser tabs, a page is the difference between a decision and a coin flip.
How to Pick a Lakeside Campsite Step by Step
The process has seven steps, and they work whether you are standing in an empty loop at check-in or reading a campground map on your couch in February. Work them in order, because each one can eliminate a site you liked.
Confirm the Lake Access and Waterfront Location
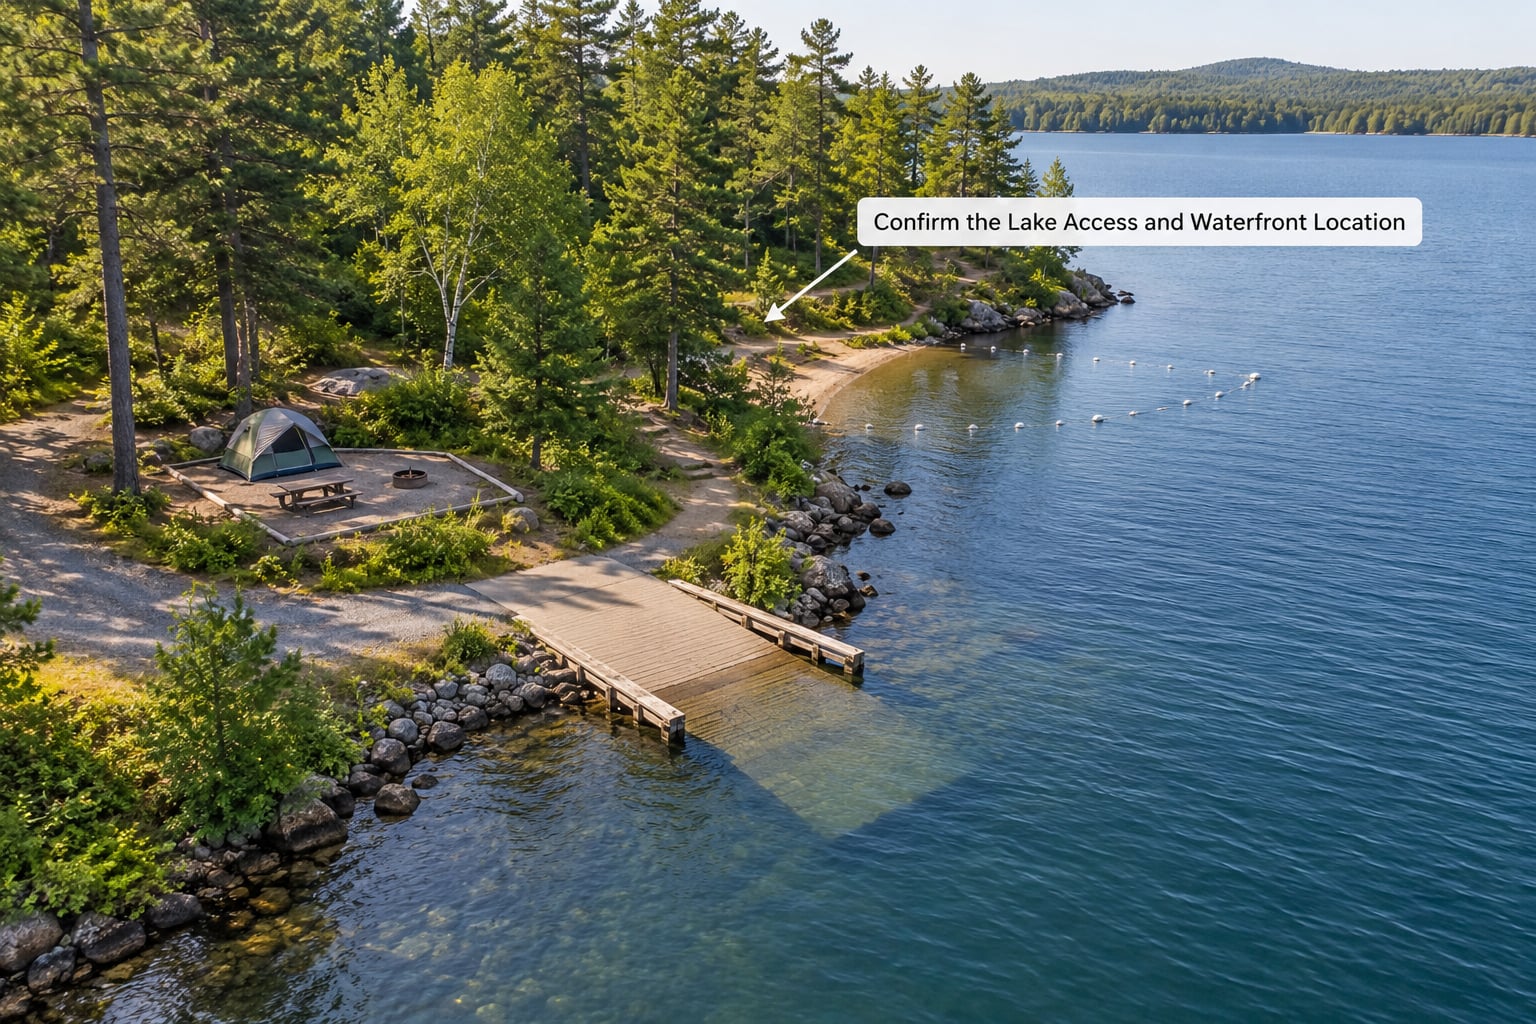
Most listings use lakefront, lake-adjacent and waterfront loosely. Ask what they mean. A true waterfront site has the pad inside the first row, with the shoreline boundary behind it and direct water access. A “lake view” site might be the top of a hill loop with the water visible as a bright strip through the trees.
For each site, get four specifics: the walking distance from the pad to the shoreline, whether there is a path or you cross rough ground, whether swimming is permitted from that stretch of shore, and whether the boat launch is on your side of the campground or around the point.
Ask directly whether water access is shared or private to the site. On private water, the shore buffer rules the campground sets are the whole story. On a state or national forest shoreline, the 200 rule applies: camp at least 200 feet from the water, which is a legal requirement on BLM and USFS land rather than a suggestion.
Also check whether the shoreline in front of your site is muck, rock, or a gradual gravel slope. That one detail decides whether your kids can wade or whether everyone walks to a designated swim area at the other end of the loop.
How to Pick a Lakeside Campsite for Level, Shade, and Comfort
Look for a pad that is level, well drained, and firm underfoot, and treat slope as the first thing to check and the last thing to compromise on. A shoreline that looks gentle from the road can drop four feet between the fire ring and the tent, and that is the difference between an easy setup and a night spent shimming your tent floor.
Stand on the pad and look around. You are checking five things: whether water runs toward your tent in a hard rain, how much shade you get at midday, whether the pad sits in a natural hollow, how far the nearest neighbour is, and which direction the prevailing wind comes from.
Two tradeoffs are worth naming out loud. Shade means fewer mosquitoes, which matters more than most families expect. Open sun means a warmer tent and afternoon heat, but also a breeze, and moving air cuts bug pressure more than any spray you will pack.
Use the site map to judge neighbours before you arrive. In a standard loop, sites directly across the road can see more of you than the ones beside you, because the sight line runs through two backyards. Sites at a loop’s outer arc are quieter than the ones near the host building, the playground and the wash station.
A practical rule: aim for a pad with at least 50 feet of buffer between you and the next occupied site. In practice, pick a loop spread out in clusters rather than one crammed along the shoreline.
Check Vehicle, Trailer, and Campsite Fit
Compare the listed site length and width to your rig’s real numbers, not its class. Most trailers are sold by floor length, and the usable pad is often shorter than the trailer plus the tow vehicle.
Add your slide-outs, awning and clearance to the width. A site listed as 40 feet wide may not fit a trailer with both slide-outs out and mirrors deployed, and that is a common disappointment at lake campgrounds with older, tighter loops.
Then decide between a back-in site and a pull-through site. A pull-through lets you drive straight in and out, which matters when you are tired, when the kids are loud, or when the ground is soft from rain. A back-in site often has more depth and a better view, because it faces the water instead of the road, but you need turning space behind you. Watch low branches and overhead lines on older back-in loops near the water.
Finally, check the access road. A lakeside loop at the end of an unmaintained gravel road that crosses a low creek or dips through a wash is a different trip in spring than in July. Ask about road surface, grade and any closures in the season you are travelling.
Review Safety, Rules, and Emergency Access
Read the rules page before you pick the site, not after you arrive. Fire restrictions, setbacks from the water’s edge, food-storage lockers, quiet hours and pet rules decide whether a site is even usable for your group.
On fire, the standard setback is 15 feet from the fire ring to anything flammable, and many campgrounds add their own rules about gathering wood, burning in dry conditions, or using a portable stove instead. Never build a fire ring of your own on a lakeside site; the shoreline edge is exactly the ground you do not want to scar.
Wildlife is the reason food-storage rules exist. Bears, raccoons and mice around a shoreline campground are a nightly problem, and a hard-sided locker beats a hanging bag every time for a family with kids. Never keep food or scented items in the car overnight.
Look up before the trees, not after. Dead branches in shoreline stands are a real hazard, and a back-in site with an old hemlock or pine leaning over the pad deserves a second look.
For emergencies, find out where the ranger station or campground host office is, whether the loop is patrolled, what the nearest access road is, and how cell coverage behaves in that valley. Campground staff are the fastest help you will get in a medical or weather emergency, and their hours are not always posted online.
Match Activities to the Lake and Site
Choose the site that matches what your group will do most, because the same shoreline serves an angler, a paddler and a family of swimmers very differently. Anglers want structure close to the pad: a drop-off, a weed line edge, a creek mouth or an undercut bank, and they rarely care that the site is far from the water.
Paddlers care about a carry distance. A kayak or canoe that sits 200 feet from the launch point means a long walk with a boat on your shoulder, and that changes how many times a day anyone will use it. Ask where the canoe or kayak launch is measured from, and whether it is at your end of the campground.
Boaters need the ramp and the distance to it. Sites near a ramp mean engine noise at start time, trailer traffic at dawn, and the exhaust haze that campers on some lakes complain about most. Sites at the far end of a long loop mean a quiet evening and a longer morning walk with the boat.
For swimmers and dogs, the deciding details are the shoreline slope, whether a designated swim area exists, how far the vault toilet is, and whether the state allows swimming at all in that stretch of water.
Walking distance decides everything else. Under 100 feet is a convenience. Beyond 200 feet, you are carrying a SUP board or a five-gallon water jug, and that is how to pick a lakeside campsite for a family with young kids: the swim area close enough to reach twice a day, the tent pad far enough back to stay dry.
Check Weather, Season, and Booking Details
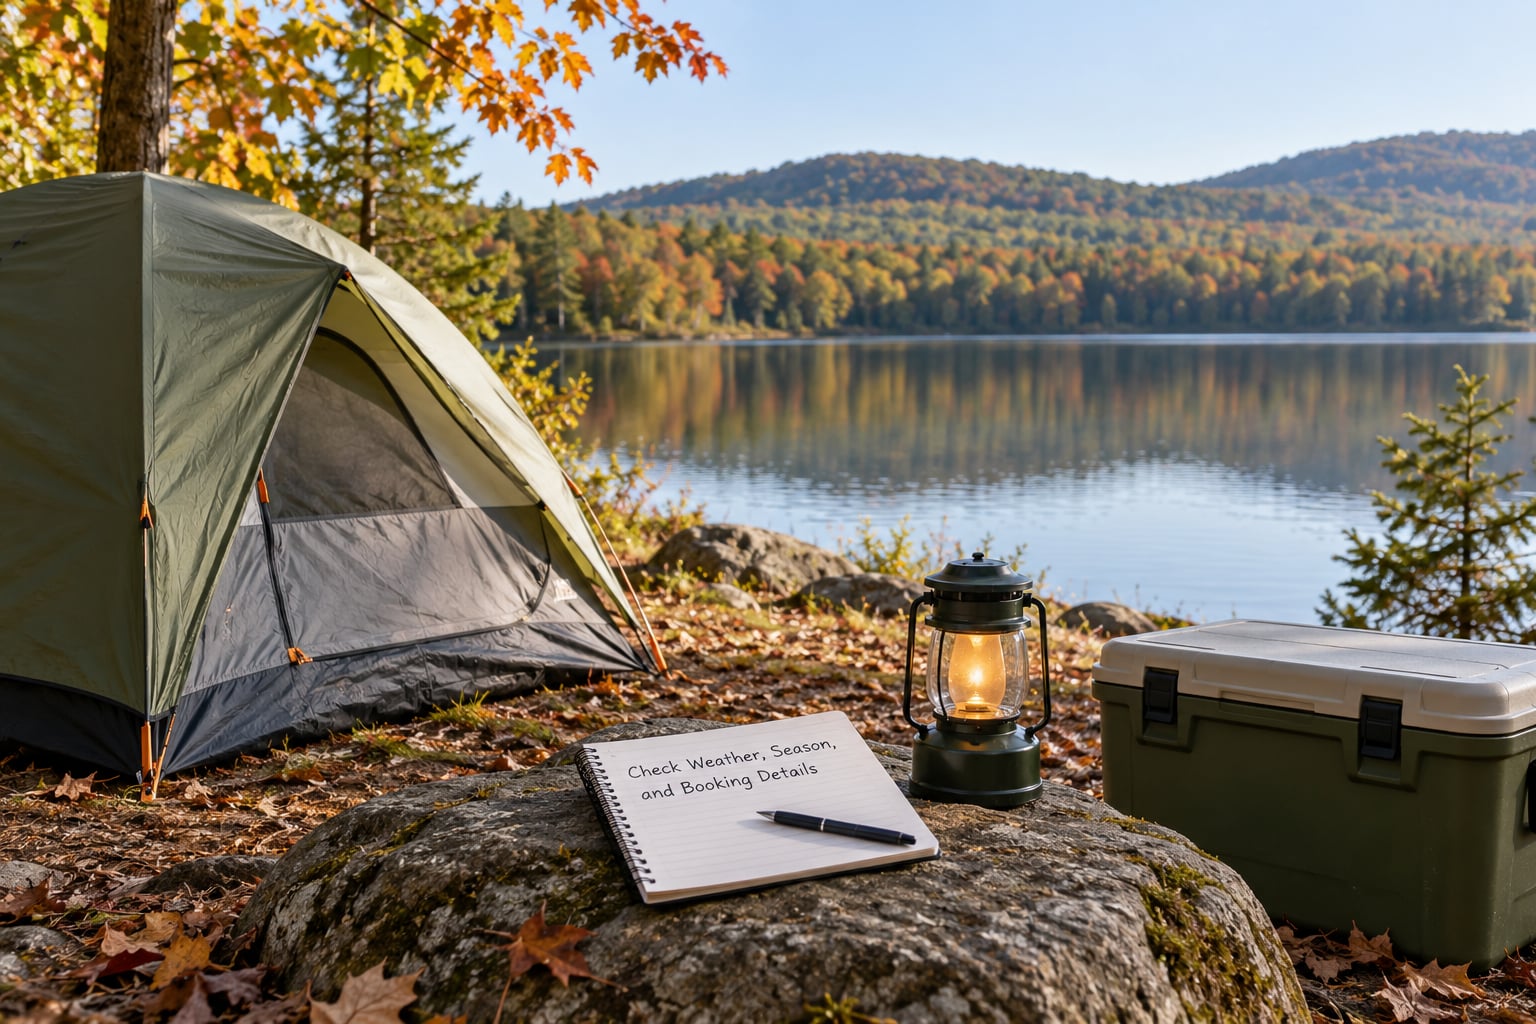
Season changes what a lakeside site is. Midweek arrivals in early autumn get you the same waterfront pad as a peak Saturday at half the crowding, and shoulder weeks are when many campgrounds keep launchers and swim areas closed.
Check the seasonal pattern for your lake: afternoon thunderstorm risk in summer, sudden cold nights in the shoulder season, mosquitoes peaking in warm wet stretches, and snow or ice closures at elevation. Wind matters more at open water than people expect, and an exposed pad can be unworkable in a spring storm even when the temperature is mild.
Then read the booking details carefully. Some campgrounds charge by site type plus an electricity and water surcharge. Some add a booking fee, a per-night premium for extra people beyond a set count, or a separate pet charge. Some sites are reservable by number and others are first-come first-served with no hold, which changes your whole strategy.
Before you pay, check the cancellation window, the credit policy, and whether your reservation is held on a specific site number or just on a site type. A reservation for a “waterfront site” that gets reassigned to number 34 on a back loop is a legal booking and a miserable week.
How to pick a lakeside campsite in a shoulder month comes down to one number: check the water level and shoreline history for the lake you are booking. Reservoirs that rise in spring can turn a lovely shoreline pad into a wet, muddy corner, and lakes with a fluctuating band between spring and summer can shrink or extend the beach in front of you.
Make and Confirm the Reservation
Score your shortlist on five items, weight them for your group, and let the highest total win. Access to the water, ground comfort, safety, activity fit and total cost are the five columns most families need.
Then call or email the campground with five specific questions: Is this site above the high-water line, and how high does the water come in a bad year? What is the walking distance to the boat ramp and the swim area? Which loop is the boat traffic loudest, and which is quietest? Is the site back-in or pull-through, and what is the actual pad size? What is the cancellation window?
Reconfirm everything in writing before payment, including the site number, the hookup type, any extra fees and the arrival time. Keep the confirmation in your phone and take a screenshot, because on a crowded Friday the office queue is long and nobody wants to re-argue the details at 6 p.m.
Common Mistakes
Fix these before you book, and each one has already ruined somebody’s week.
- Trusting the word lakefront. Ask for the site number and the walking distance to the water. “Lakefront” in a listing can mean anything from the shoreline to a hilltop loop.
- Ignoring the pad dimensions. Compare length and width to your trailer plus slide-outs, awning and mirrors, not to the trailer’s floor length.
- Overlooking the access road. Ask about gravel, grade, creek crossings and seasonal closures before you load the boat.
- Assuming water and electricity are included. At many lake campgrounds the hookups and the dump station are extra charges, and the water spigot may be seasonal.
- Booking without weather and water-level history. Check the lake’s spring rise and the storm pattern for your month, not just the average temperature.
- Reserving without a cancellation window. Read the terms before you commit, especially if water levels or weather could change your mind.
- Ignoring insects at the shoreline. Mosquitoes and midges breed in still, shallow water, so the closest site to the water is often the worst one for a family with young kids.
One last tip: rank sites on comfort and access first, noise and bugs second, and the view third. Every campground has at least one site with a good view. Very few have one that is also dry, level, quiet and bug-free, and that one is the whole reason you booked early.
Frequently Asked Questions
What makes a campsite suitable for families with children?
Look for a firm, level pad within about 100 feet of the shoreline, a defined swimming area with a gradual entry, and a short walk to a vault toilet. Choose a site away from the boat ramp and the host building to cut noise. Breezy, elevated pads get fewer mosquitoes than low shoreline sites. Finally, confirm the site fits your tent or camper with room for the kids to move around safely.
Should I choose a site directly on the water or slightly inland?
Directly on the water gives you the shortest carry to swimming and paddling, but it is usually the first to book, the buggiest in warm weather and the most exposed to a rising shoreline. An inland site 100 to 200 feet back is easier to reserve, drier and calmer, with only a short walk to the water. Many families take the inland site and carry a kayak or a float down once a day.
How can I tell if a lakeside campsite has good swimming and boating access?
Ask two questions before booking: whether swimming is allowed from that stretch of shore and what the shoreline looks like, and the walking distance from your pad to the boat ramp. Muck, rocks and a steep drop make a poor swim spot, while a gravel slope works for kids. Ramp distance decides your mornings more than anything else, because a boat stored far away rarely gets used.
What should I check before bringing a large tent or camper trailer?
Get the listed pad length and width and compare them to your trailer or camper with slide-outs out, awning deployed and mirrors folded in. Ask whether the site is back-in or pull-through and whether overhead branches or power lines limit clearance. On a sloped shoreline pad, bring leveling blocks and confirm the surface is firm enough to support a heavy rig.
How far in advance should I reserve a lakeside campsite?
Book waterfront sites as early as the campground allows, often six to twelve months ahead for a peak-season weekend at a popular lake. Shoulder weeks are easier, and midweek arrivals in summer rarely need as much notice. Some campgrounds are entirely first-come first-served, in which case arriving early on a weekday gives you a much better pick than arriving Friday afternoon.
Conclusion
Start with the water: confirm the true walking distance to the shoreline, whether the pad sits above the high-water line, and whether the swim area and boat ramp are close enough to matter to you. Then check ground level, drainage, shade, wind, neighbour distance and rig fit. Finish with rules, weather history, insect pressure, the full cost and the cancellation terms.
Seven steps, one afternoon of work, and you get to pick a lakeside campsite on purpose instead of taking whatever is left. Confirm those details in writing before you pay, and you will spend the weekend on the water rather than on the phone with the campground office.