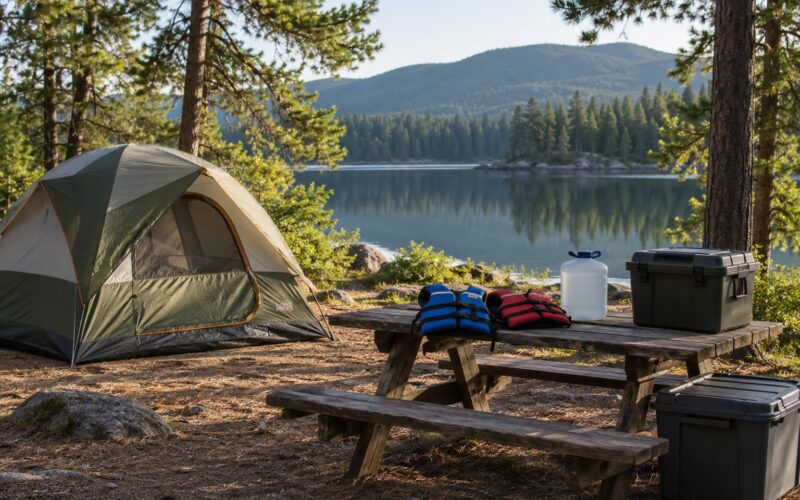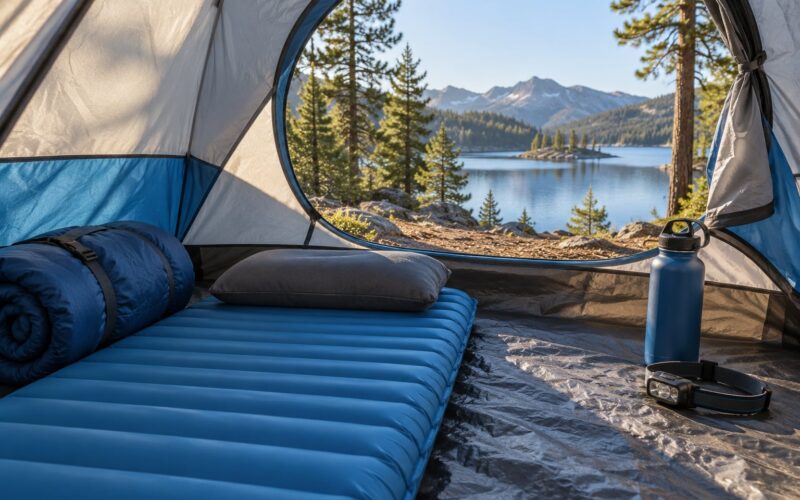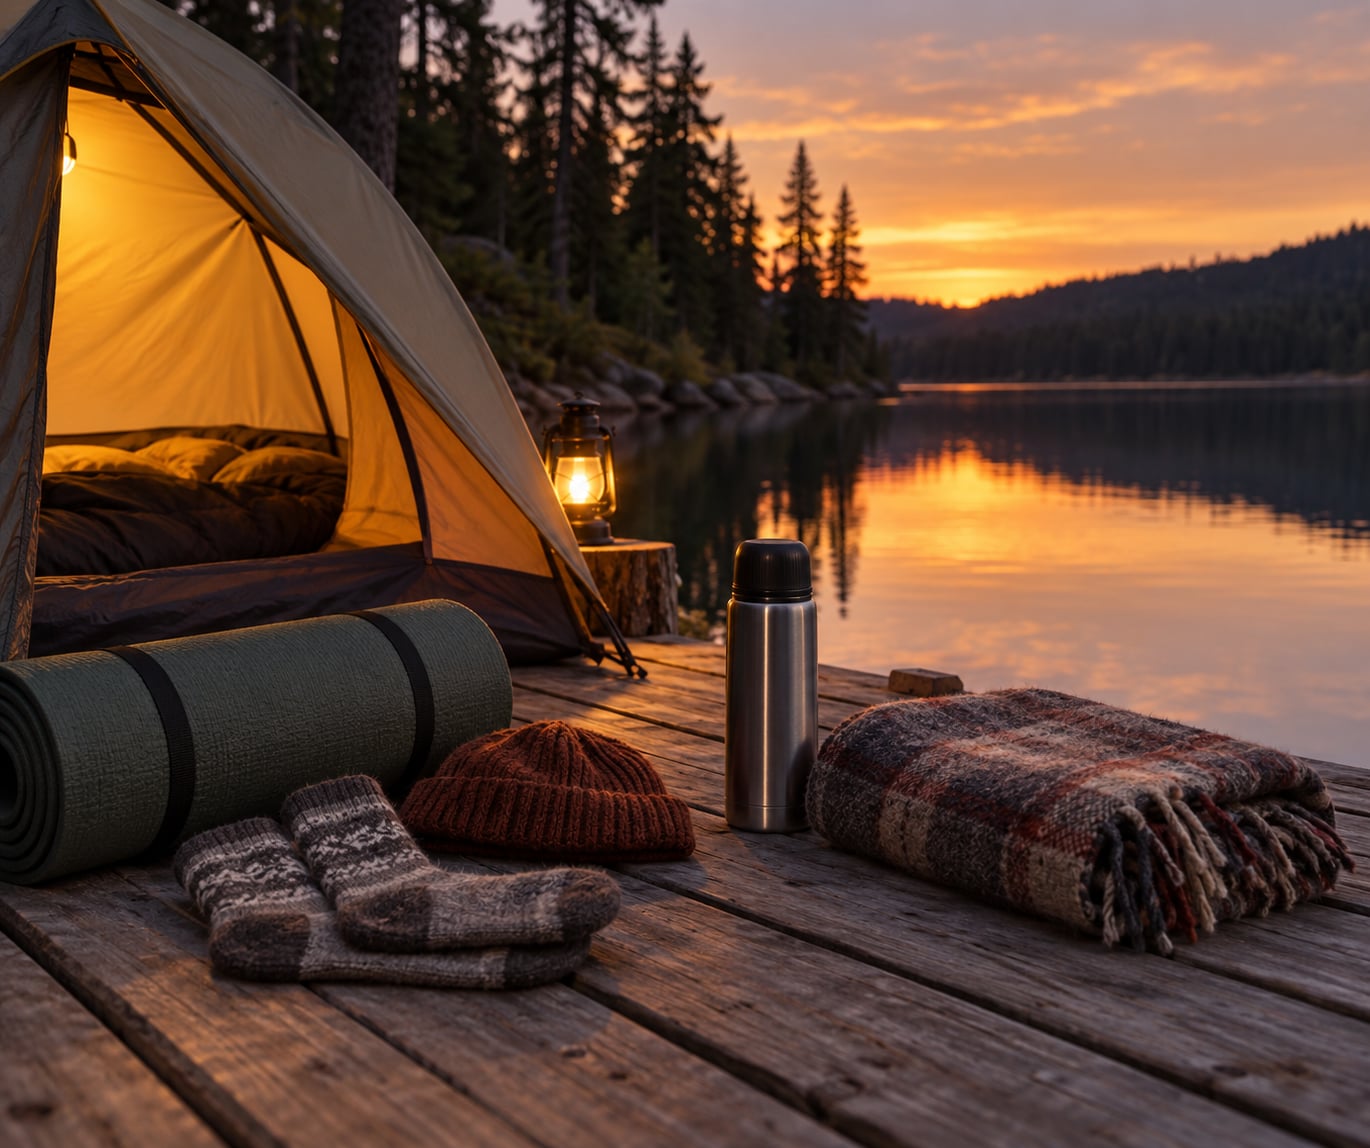
Staying warm at a lakeside camp comes down to three things: blocking the wind coming off open water, keeping the ground and your sleeping bag dry, and stopping heat from escaping through your clothing. Choose a sheltered site above the waterline, sleep on an insulated pad with a dry bag and liner, wear layers you can adjust as the temperature swings, and eat and drink enough to keep your body producing heat. Most cold nights at a lake are a setup problem, not a gear problem.
Water changes how a camp feels. Wind that would be annoying inland picks up speed as it crosses a lake, and the air right above the water cools and settles after sunset. Campers regularly wake up colder than the forecast promised, usually because they picked a beautiful exposed beach instead of a sheltered bench of trees.
What follows is the system I use and the sequence I teach. It takes about ten minutes of deliberate setup once you arrive, and it works from a car campground to a canoe trip with two paddles and no spare weight.
Table of Contents
- 1What You Need
- 2Clothing
- 3Shelter and sleep system
- 4Warmth you can carry
- 5Food, water and safety
- 6How to Stay Warm Camping by a Lake: Step by Step
- 7Step 1: Check the Weather and Lake Conditions
- 8Step 2: Choose a Sheltered Lakeside Campsite
- 9Step 3: Build a Dry, Insulated Sleeping System for Cold Lake Nights
- 10Step 4: Dress in Layers Instead of One Heavy Outfit
- 11Step 5: Keep Warmth Moving and Dry
- 12Step 6: Use Heat, Food, and Hydration Safely
- 13Step 7: Recheck Comfort Before and After Dark
- 14Common Mistakes That Ruin a Warm Lakeside Night
- 15Frequently Asked Questions
- 16What should I wear to stay warm camping by a lake?
- 17Is a good tent enough to keep me warm at a lake?
- 18What do I do if my clothes get wet while camping by a lake?
- 19How cold is too cold to camp in a tent?
- 20What is the 200 rule for camping?
- 21When should I break camp and head home?
- 22Conclusion
What You Need
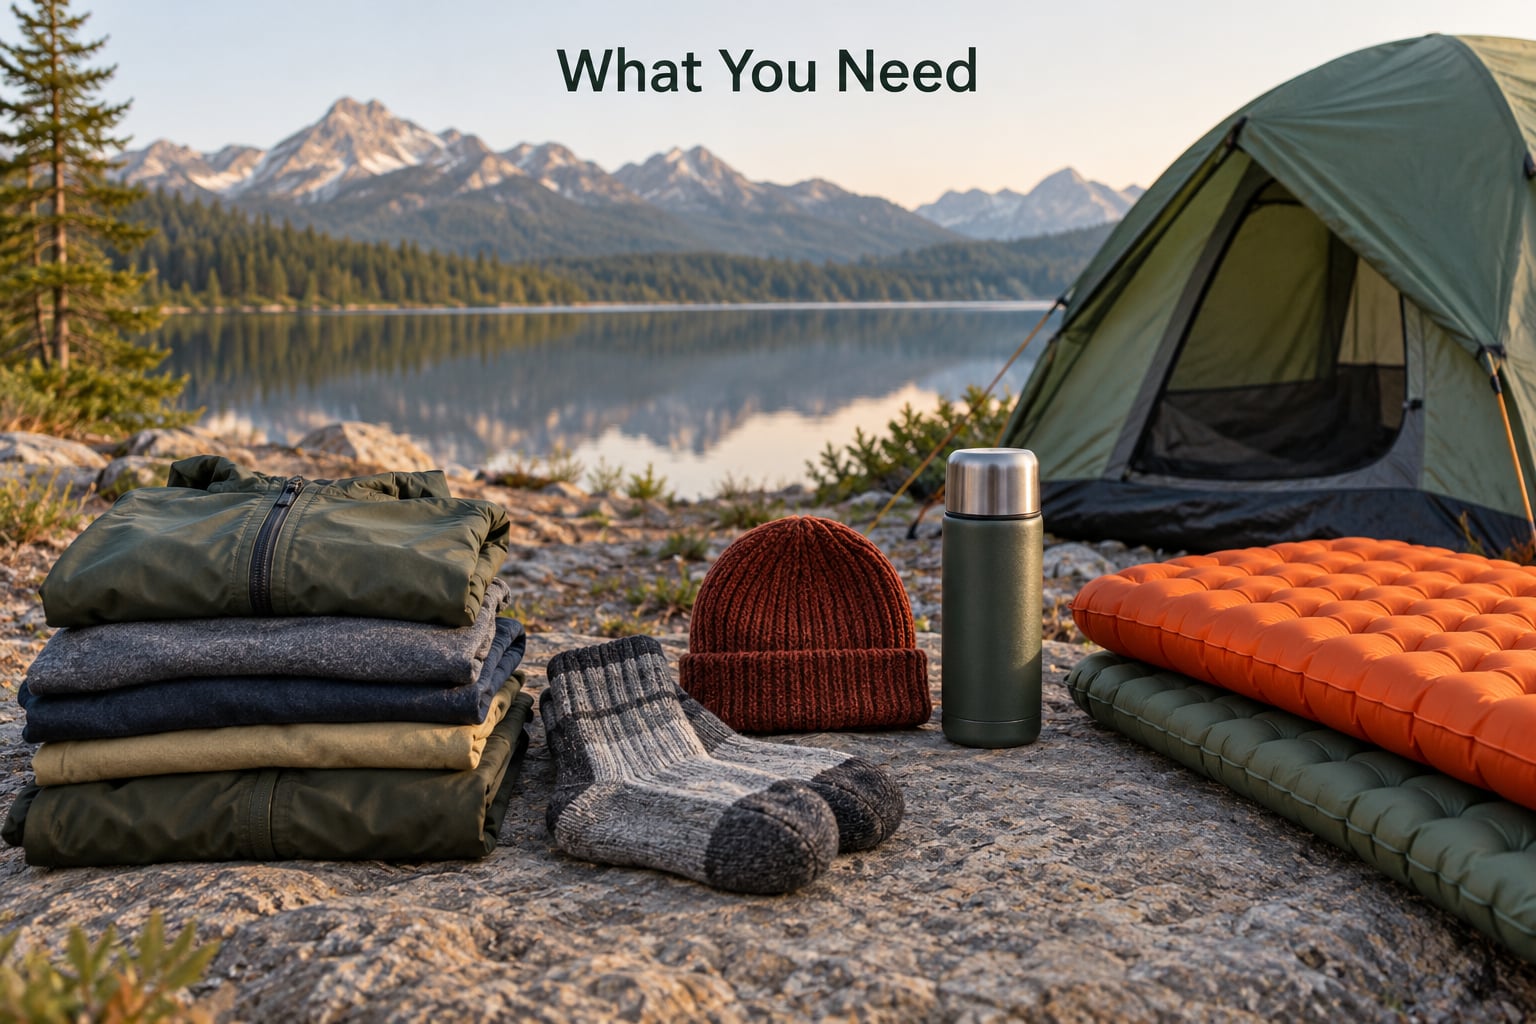
Think of warmth gear as a set of layers where each piece does one job. Nothing on this list is optional if you plan to be out after sunset.
Clothing
- A merino wool or synthetic base layer, one dry set per day plus one spare
- A fleece or synthetic midlayer that you can wear while moving and again under a shell
- A windproof and water-resistant shell with a hood
- A warm hat, wool socks, liner gloves and insulated gloves or mitts
- A neck gaiter you can pull over your nose and mouth in the morning
- Closed footwear that is easy to change out of, and camp shoes you can slip on at night
Wool and synthetic both keep you warm when damp, and both are fine choices. Cotton is not, because it absorbs sweat and dries slowly, which is exactly what you do not want next to a lake.
Shelter and sleep system
- A tent pitched with its door away from the prevailing wind, with a full rainfly on
- A footprint or ground sheet to stop moisture wicking up from the soil
- An insulated sleeping pad. For three-season car camping an R-value around 3 to 4 is enough; near freezing or below, aim for 5 or higher
- A sleeping bag with a comfort rating roughly 5 to 10 degrees below the expected overnight low
- A sleeping bag liner, which adds meaningful warmth and keeps the bag dry from condensation
R-value is the standard measure of how well a pad blocks heat moving from the ground into you. Higher numbers mean more insulation. Rock shorelines drain and cool faster than soil, so a shore site usually needs more pad than the same temperature inland.
Warmth you can carry
- A wide-mouth bottle or a soft Nalgene you can fill with hot water and tuck into your sleeping bag
- Chemical hand warmers for the first hour and for anyone who gets cold easily
- A full change of dry sleep clothes sealed in a waterproof bag
- A small insulated thermos for late night hot drinks
Food, water and safety
- Extra calories: a hot high-carb meal before bed, plus a real breakfast
- One litre of water per person per day, and an insulated sleeve or two if you can manage it
- A headlamp with a spare lithium battery kept inside your jacket
- A first aid kit, a whistle, an emergency blanket and an insulating blanket
- A way to start a fire where fires are allowed, plus a stove for cooking indoors without burning anything
How to Stay Warm Camping by a Lake: Step by Step
Step 1: Check the Weather and Lake Conditions
Look at the overnight low, not the daytime high. A day that reaches 14 degrees with a night that drops to minus 2 is a very different trip from a day that stays at 8 all night, and shoulder-season lake weather often swings that hard.
Then look at wind. Any forecast wind is amplified on a lake, and the direction matters more than the number. A west wind on a west-facing shore means fetch, which means the wind arrives already moving fast. Work out where you are in relation to that direction before you pick a site.
Check three more things. Humidity tells you how much condensation to expect on your tent walls in the morning. Rain in the forecast means your gear stays damp for a day, so pack a dry bag. And note sunset, because the cold air drop usually comes within an hour or two after the sun goes behind the hills.
If the forecast shows sustained wind over the water, a wet day, and a night near or below freezing, build the setup for one step warmer than the forecast suggests. You can always unzip a layer later.
Step 2: Choose a Sheltered Lakeside Campsite
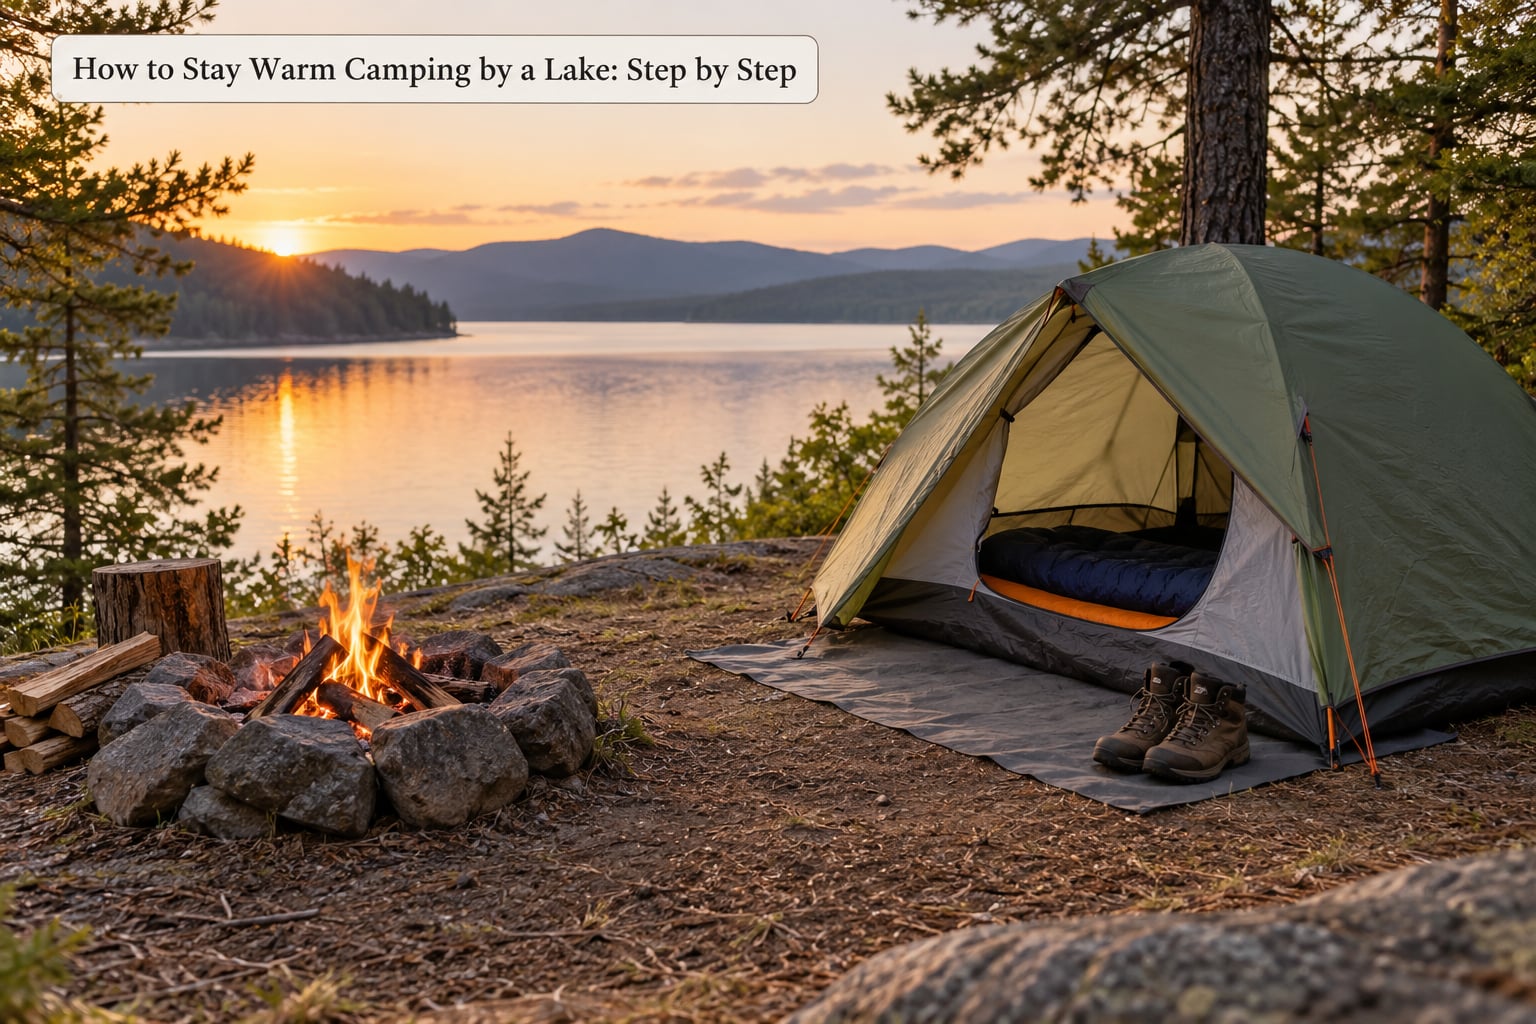
The best lakeside site is rarely the one with the water view. It is the one behind trees, rocks or a rise, high enough above the water that a rise in level cannot reach your tent floor.
Use these four checks in order:
- Wind protection. The tent opening should face away from the prevailing wind, and something should stand between you and the open water. A stand of conifers blocks far more wind than a broadleaf stand, which you can stand behind on a windy day.
- Height above the water. Pick ground that is clearly above the high-water line, with no visible channel or swale that water could run down. Never set up on a beach you cannot walk out of quickly at night.
- Cold air drainage. Dense cold air flows downhill and settles in the lowest ground available. Once the lake surface cools, that layer sits between you and the water, which is why shoreline camps feel colder than camps a short way back into the trees. Add ten or twenty minutes of walking back from the water if you have a choice.
- Ground and space. Avoid low spots that hold moisture and soil that stays damp under the tent. Leave room to walk around the tent at night without kicking your gear.
If you are camping in a group, tents pointed door to door share body heat. One small tent with three people in it is warmer than two empty ones.
Step 3: Build a Dry, Insulated Sleeping System for Cold Lake Nights
Most people lose heat at a lakeside camp from the ground up. Water conducts heat away from your body far faster than air does, and a damp sleeping bag loses most of its loft.
Lay the system down in this order:
- Footprint. A plastic or coated sheet under the tent stops ground moisture rising into the floor and protects your gear from splashes.
- Closed-cell foam pad. Cheap, light and reliable, and it doubles as an emergency surface or a seat.
- Insulated pad on top. R-3 to R-4 for cool summer nights. R-5 or higher once you are near freezing, on shore rock, or camping in early spring and late fall. If weight is tight on a canoe trip, one good insulated pad beats two mediocre ones, though canoe campers often run both.
- Bag, liner and dry sleep clothes. Change into a dry base layer rather than sleeping in the clothes you paddled or walked in. Stuff the liner loosely so it keeps its loft.
Before you get in, shake out the bag, redistribute any clumps of insulation, and get it as fluffy as you can. A compressed bag does not insulate well no matter what its label says.
Close the draft collar around your neck and the zipper baffle down to your feet before you settle. That is where a surprising amount of heat leaves.
Step 4: Dress in Layers Instead of One Heavy Outfit
Your body works hard in the morning and sits still for eight hours at night, so the clothing plan has to cover both. Layers let you change one piece instead of swapping a whole outfit.
Start with a merino or synthetic base layer. Add a midlayer you can open or push up your arms. Finish with a shell that blocks wind, which is the biggest single difference at a lakeshore.
Cover your head, your neck and your hands. A hat alone can change how a cold night feels, and it costs almost nothing to carry. Socks matter more than most people expect: wet socks cool you faster than almost anything else you can wear, so bring a spare pair and change them before they get damp.
Keep one full dry outfit sealed away for sleeping. It is not a luxury if the day was wet.
Step 5: Keep Warmth Moving and Dry
Warmth builds from movement and a steady supply of fuel. Do ten minutes of easy activity an hour before bed: a brisk walk, some squats, a short stretch, or a walk down the shoreline. You want blood moving without sweating through your base layer.
The moment you notice damp skin, change the layer. That is easier than fighting a wet shirt all night.
Watch for the early warnings of trouble: shivering that stops, fumbling with zippers, confusion, slurred speech, clumsiness, or someone who seems unusually tired. Those signs mean the body is failing to keep its core temperature, and the response is immediate rewarming and shelter, not another layer of clothing.
If someone falls into cold water, get them out, remove wet clothing, and warm the core with dry blankets, warm water and the chest, neck and armpits. Do not rub the limbs and do not put them near a fire if they are confused or very cold. Call emergency services for anything beyond mild shivering. Cold water immersion is the one lake risk worth rehearsing before you go.
Step 6: Use Heat, Food, and Hydration Safely
A campfire is a good idea if the site allows one and you can keep it small, well ventilated and attended. Never run a stove, campfire or any burning fuel inside a closed tent, because carbon monoxide is odourless and kills without warning. A burning water bottle in a tent counts as a fire too.
The safest and most reliable trick is the hot water bottle. Fill a wide-mouth bottle with water heated on the stove, never on an open flame, and tuck it into the foot of your sleeping bag or against your hips inside your layers. Sleepers describe it as the difference between a rough night and a good one, and it holds heat until morning. Two bottles beat one if you can carry them.
Eat more than you think you need, especially before a cold night. About a third of your calories goes to activity and the rest becomes body heat, so shivering and sleeping both burn fuel. A hot high-carbohydrate meal an hour before bed, with some fat or protein, works better than a cold snack.
Drink water steadily through the day even when you do not feel thirsty. Cold air and exertion both hide thirst, and mild dehydration makes you feel colder and tire faster. Hot drinks count, and keeping a bottle tucked in your bag keeps it from freezing overnight.
Skip alcohol. It makes you feel warm while widening your blood vessels, so you lose heat faster once the effect fades, and it spoils sleep.
Step 7: Recheck Comfort Before and After Dark
Get into your sleep system twenty minutes before you want to be warm. Lie still for five minutes and check your shoulders, chest, hips and feet. Cold spots now mean layers or a pad adjustment now, not a restless hour in the dark later.
Close down the tent and let it breathe. On a humid lake morning the inside of your rainfly will bead with condensation no matter what you do. The fix is airflow: keep the upper vents open all night even in the cold, dry your gear early in the day, and leave the vestibule or fly open at home for a while.
Before turning in, check that water, a light source and a warm layer are within reach of your head, not across the tent. Have a plan with your group for a bad night: what you wake up to, who watches the fire, and which decision ends the trip.
In the morning, get up and get dressed before you are comfortable. Warming yourself layer by layer beats lying there waiting for your hands to work.
Common Mistakes That Ruin a Warm Lakeside Night
Almost every cold night I have been handed photos of comes down to one of these.
- Camping on the beach or right at the water. Fix: move back from the shore, above the high-water line, and behind something that blocks wind.
- Sleeping straight on the ground or on a thin pad. Fix: footprint, foam pad, insulated pad, in that order. The ground takes more heat than the air.
- Sleeping in the clothes you spent the day in. Fix: dry base layer, dry socks, bag fluffed and uncompressed.
- Overheating inside the tent, then waking up freezing. Fix: keep vents open, vent gear in the morning, and add warmth at your feet rather than throwing more insulation over your core.
- Wearing cotton. Fix: replace it with wool or synthetic in the base layer, midlayer and socks.
- Going to bed cold and hungry. Fix: move first, eat a hot meal, then get into a pre-warmed bag.
- No dry spare layers packed. Fix: seal one complete dry sleep outfit in a waterproof bag and keep it sealed.
- Trusting the forecast high. Fix: plan for the overnight low, minus a safety margin.
- Closing every vent to save heat. Fix: airflow controls condensation, and condensation makes everything colder the next night.
- Ignoring early shivering. Fix: treat persistent shivering as a stop signal. Get warm now, not later.
Frequently Asked Questions
What should I wear to stay warm camping by a lake?
Wear a merino wool or synthetic base layer, an insulating midlayer and a windproof shell, plus a warm hat, wool socks and gloves. Bring a full dry change for sleeping in a sealed bag, and keep cotton out of your layers because it stays wet. At a lakeshore, wind is the biggest threat, so the shell matters more than a heavier jacket.
Is a good tent enough to keep me warm at a lake?
No. A tent traps a little air and keeps rain off you, but it does not create heat. Your body makes the warmth, insulation slows its loss, and a sleeping bag is the largest single piece of that insulation. A three-season tent is fine above about 5 degrees if you are warm underneath it; below that you want a four-season tent and a bag rated with a margin.
What do I do if my clothes get wet while camping by a lake?
Strip the wet layer off immediately and replace it with something dry. Wet clothes against skin pull heat out faster than cold air alone. Squeeze water from socks or swap them, dry gear at the fire or over the stove where allowed, and put wet items inside the tent overnight so condensation carries them out in the morning. Keep the spare dry outfit sealed until you need it.
How cold is too cold to camp in a tent?
There is no universal number, but the honest limit is what your rating can cover. Below freezing you want a bag rated at least 5 to 10 degrees colder than the forecast low, a pad with an R-value of 5 or higher, and layers for the head, feet and chest. If your gear is not rated for the night ahead, treat that as your reason to move rather than to push through.
What is the 200 rule for camping?
The 200 rule is a simple threshold for winter trips: if the outside temperature in Celsius plus the daily low in Fahrenheit is above 200, you can generally get away with lighter gear. It is a rough planning shortcut, not a safety guarantee, and it assumes you are dry, sheltered and properly fed. Near a lake, subtract a margin for wind off the water and cold air settling after sunset.
When should I break camp and head home?
Break camp when the forecast turns worse than you packed for, when the ground or your bag will not stay dry, or when anyone stops shivering normally. Shivering that stops, clumsy hands, confusion or slurred speech are emergency signs, not signals to push on. There is no prize for enduring a night nobody enjoyed, and cold-water proximity makes an early exit the sensible call.
Conclusion
Start with the forecast and the overnight low, then pick a site that is sheltered from wind, above the water line and backed off the shore a little. Build the sleep system dry: footprint, foam pad, insulated pad, liner, fluffy bag, dry sleep clothes. Pack insulation for your head, hands and feet, a hot water bottle, and one sealed dry outfit as insurance.
Then eat enough, drink steadily, move a little before bed, and keep the tent breathing. Warmth at a lake is a setup decision you make before dark, not something you rescue at 2 in the morning.