Winterizing a boat is about water. Any water you cannot account for on the boat — in the bilge, the live well, the raw-water cooling line, a freshwater tank, or the block of an outboard — expands when it freezes and can crack metal. To store a boat for winter safely, you clean it out, drain every system, stabilize the fuel, fog and grease the engine, maintain or remove the batteries, and cover the hull with a supported, breathable cover. Budget a weekend for a boat up to about 20 feet, less if you have done it before.
The order matters more than the speed. Decide where the boat will sit before you pull it out of the water or drag it onto the trailer, because that choice determines what protection you actually need on the cover, the supports, and the battery charger.
One rule sits above all the rest: your owner’s manual wins. Manufacturers disagree on details like fuel fill level and tilt position, so start there and use everything below to fill the gaps.
Table of Contents
- 1What You Need
- 2How to Store a Boat for Winter: Step-by-Step
- 3Step 1: Choose the Right Storage Location
- 4Step 2: Clean the Boat and Remove Belongings
- 5Step 3: Drain and Protect the Water System
- 6Step 4: Service the Engine, Fuel System, and Steering
- 7Step 5: Remove, Charge, or Maintain the Battery
- 8Step 6: Seal, Cover, and Secure the Boat
- 9Step 7: Check the Boat During Winter Storage
- 10Special Cases Worth Knowing
- 11When to Winterize, and What If You Missed It
- 12Common Mistakes
- 13Frequently Asked Questions
- 14Can a boat be left outside in the winter?
- 15Do I need to winterize my boat if I store it indoors?
- 16Should I fill the fuel tank before storing a boat for winter?
- 17Should the bilge drain plug be in or out for winter storage?
- 18Do I leave antifreeze in the engine all winter?
- 19How do I keep mice out of a boat in winter storage?
- 20Conclusion
What You Need
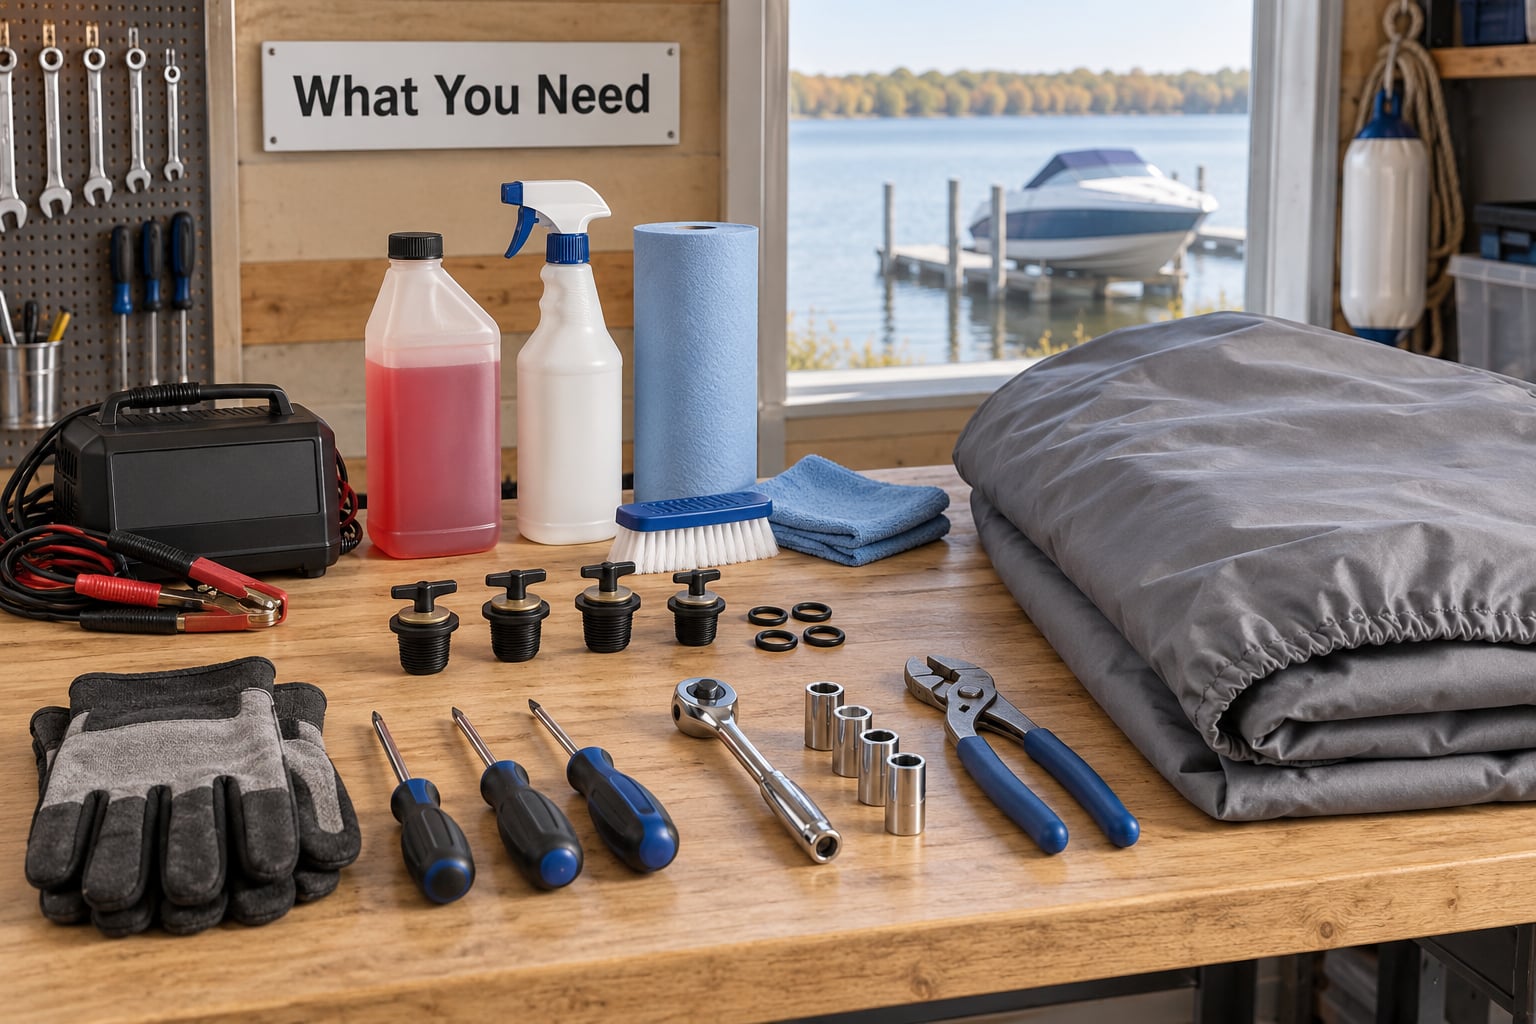
Gather everything before you start. Halfway through a drain-down with no plug wrench in the boat is how winterizing turns into a cold afternoon in the driveway with frozen fingers and a wet bilge.
- Drain plugs and the plug wrench — every seacock, thru-hull, live well, and the hull drain plug itself. Count them and bag them in a labeled container.
- Marine antifreeze — non-toxic propylene glycol, rated for use in an engine cooling system, not automotive ethylene glycol. Cold-climate brands stay good to well below zero.
- Fuel stabilizer plus enough fresh non-ethanol fuel to top off the tank.
- Fogging oil and a fogging canister or spray adapter that fits your intake or flame arrestor.
- Marine grease for the tilt tube, steering components, prop shaft, and any exposed linkage.
- A battery maintainer — a smart charger that holds a battery at maintenance charge without cooking it. For lithium, a charger designed for lithium chemistry.
- Compressed air or a hand pump to blow out live wells and bilge lines.
- Mildew-inhibiting boat wash, a scrub brush, and a bilge cleaner.
- A fitted, breathable cover in the right size, plus a ridgepole or frame, straps, and a tarp if you store outdoors.
- Support gear — jack stands rated above your hull’s weight, plywood pads to distribute load on frozen ground, chocks, and a block for the trailer tongue.
- Rat traps or mesh exclusion and a few dryer sheets for enclosed storage.
- The owner’s manual, plus your yard or marina’s winterization service sheet if you are comparing options.
How to Store a Boat for Winter: Step-by-Step
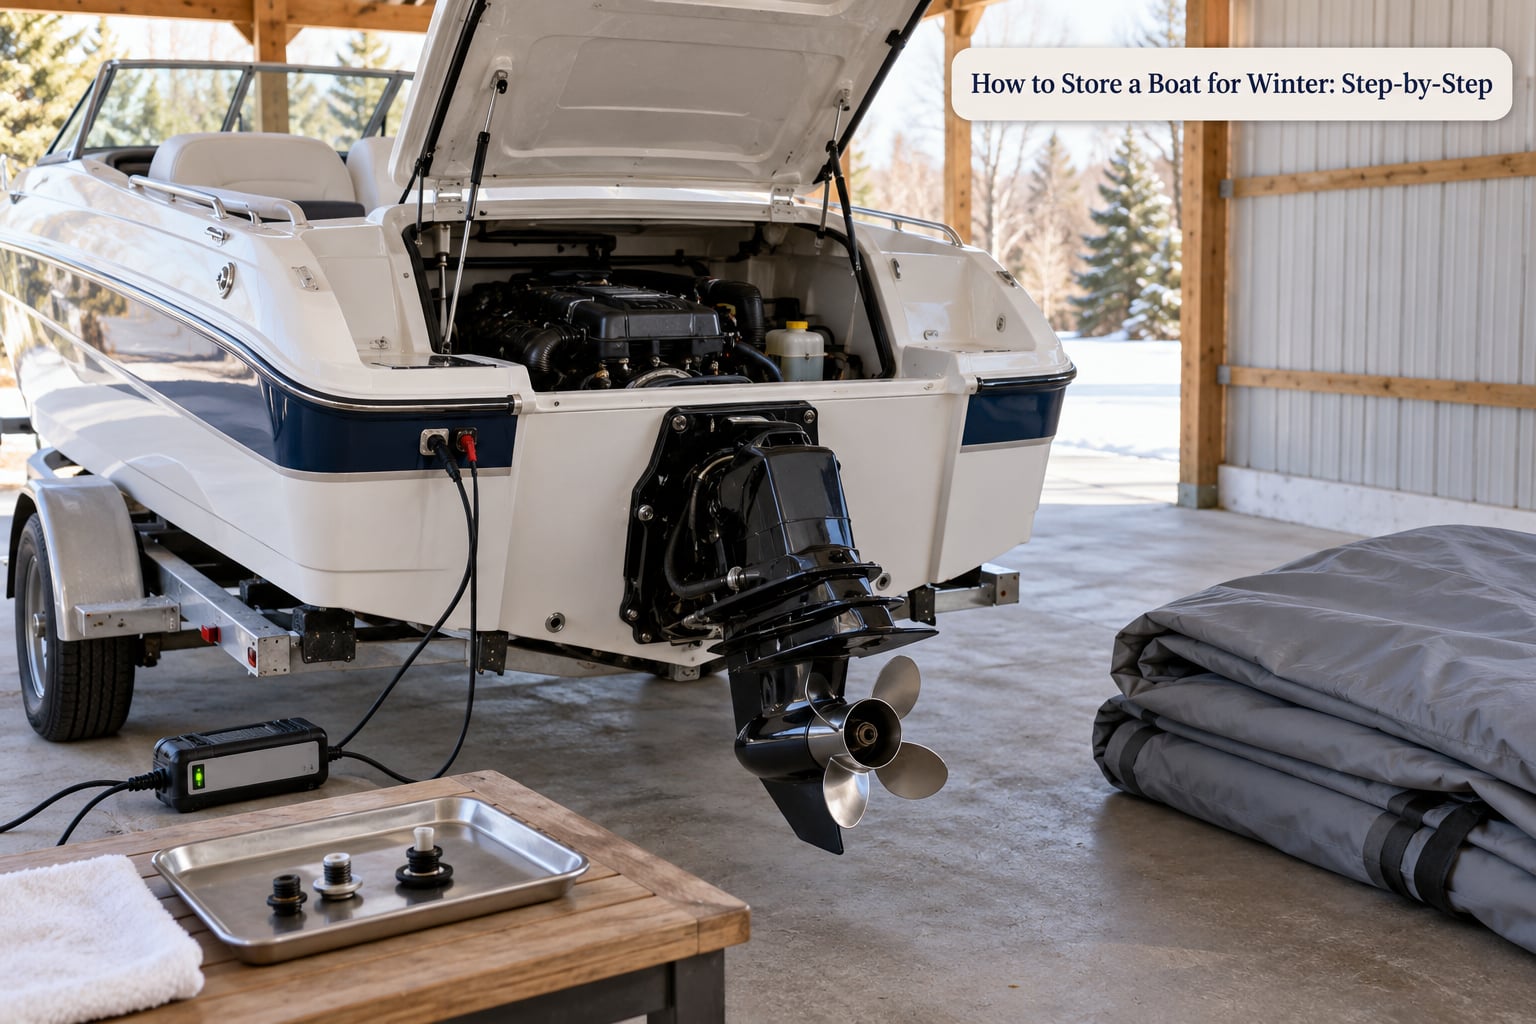
The process below runs from location to month-by-month checks. Skip nothing you cannot consciously explain.
Step 1: Choose the Right Storage Location
Indoor storage — a garage, barn, or climate-controlled warehouse — protects against rain, ice, UV, road salt, and vandalism, and it holds temperature steady so condensation stays low. Most owners who do not have indoor space use an outdoor yard or driveway, and that works fine if the boat is drained, supported correctly, and covered well.
Dry stack storage on a rack or cradle at a yard gives you the same freeze and weather protection as outdoor storage without tie-downs and tarps. Wet slip storage at a marina keeps the hull in water, which protects gelcoat from UV and takes freeze damage off the table for the hull itself, but it does nothing for the engine, the plumbing, or the batteries, and those still need winterizing.
A boat on a wet slip in a freezing climate is a specific case: many marinas require a bubbler or de-icer to keep water moving in the raw-water cooling line and a heater on the freshwater system. Ask the marina what they handle and what they expect from you.
Step 2: Clean the Boat and Remove Belongings
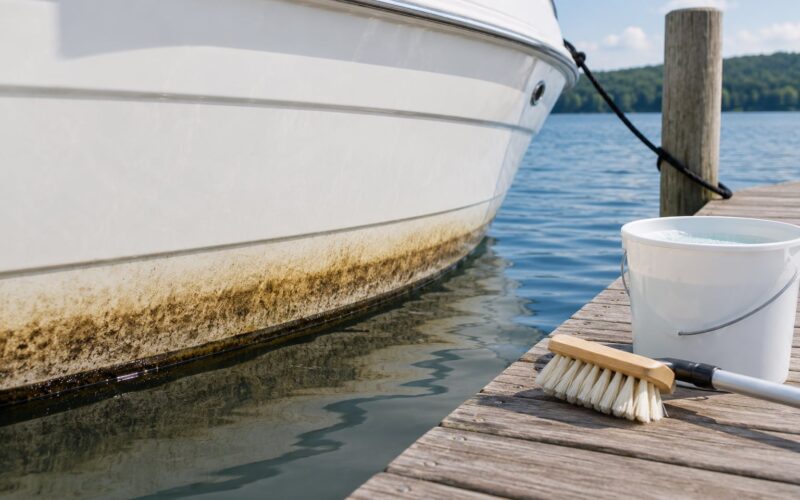
Wash the hull and deck, then dry them. Dirt and salt hold moisture against gelcoat, and a covered boat with a damp hull underneath will come out with a mildew smell you may never fully get rid of.
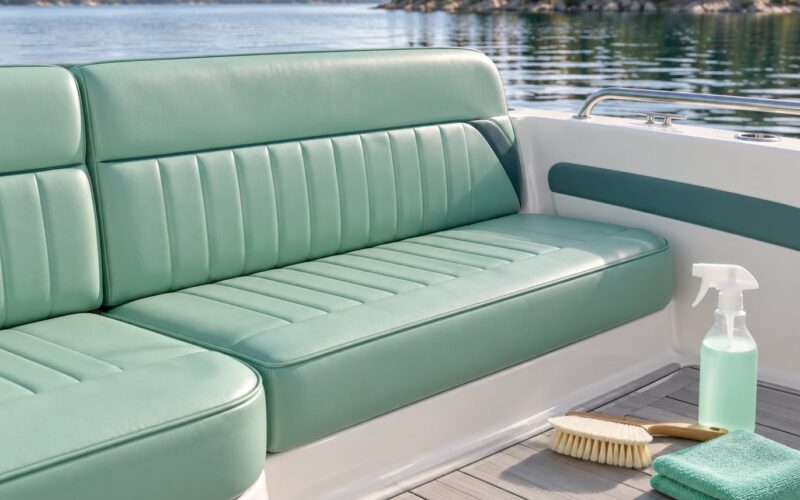
Remove every soft good: cushions, carpet, seat pads, and removable bimini tops go home with you if you can carry them. Wet foam under a cover for five months is the fastest route to a permanently musty cockpit. If you use snap-in carpet mats, clean them fully, dry them hard, then roll them carpet side out so air moves through the loops.
Clear out everything else too. Take the tackle, the coolers, the fire extinguishers, the first aid kit, the life jackets, the chargers, and the loose electronics out of the boat. Anything with a battery inside should come out or be disconnected. Rodents chew wiring for nest material, and a mouse nest inside a console is a genuine problem, not a cartoon one.
You know the boat is ready for storage when every compartment is empty, dry, and open to air.
Step 3: Drain and Protect the Water System
This is the step that decides whether the boat survives the winter, and it is where most failures happen. Open every seacock, every thru-hull, the live well drain, the freshwater tank drain, the water heater, the raw-water cooling inlet, and the head or macerator. Let it all run until it runs dry, then blow out the lines with compressed air. Keep the bilge pump and its float switches clear and dry.
The bilge drain plug question has a simple answer. Leave it out for storage. A plug left in traps condensation in the lowest compartment of the hull, which is exactly where freeze damage starts, and pulling it costs you nothing. If your boat sits in the water, the plug stays in because the hull is not draining anyway. When you reinstall it in spring, snug it to the manufacturer’s torque with a new gasket or plug sealer — do not crank it down to stop a weep, because stripped threads are a real and annoying repair.
Run non-toxic antifreeze through the raw-water cooling system until it comes out of the discharge, and through the freshwater lines, water heater, and head. For an enclosed engine bay, keep a dehumidifier or a moisture absorber running, and leave hatches cracked a finger’s width or run a small vent fan so warm damp air can escape. You want the boat dry and ventilated, not sealed and damp.
Step 4: Service the Engine, Fuel System, and Steering
Start with the manual, because the engine-specific steps differ. For an outboard, change the motor oil, add a new oil filter, change the lower-unit gear lube, and inspect the gearcase. Water in the lower unit or metal particles in it means something is wrong with the seals, and you would rather find out in October than in June.
Stabilize the fuel and top the tank off. Gasoline starts degrading within weeks, and owners on the r/boats winter storage threads argue this one hard: some run the tank nearly empty, others fill it to roughly 95 percent. Check your manual and, when the manual is silent, fill with fresh non-ethanol fuel plus stabilizer. A full tank holds less air and less moisture above the fuel. Run the engine long enough to circulate the treated fuel through the lines, and replace the water separator or fuel filter if the manual calls for it.
Fog the engine. For an outboard, feed fogging oil through the flame arrestor while the engine runs, or through the intake with the engine off if your motor takes it that way. For an inboard, remove the spark plugs, put a mist of fogging oil in each cylinder, then reinstall the plugs. Disconnect the battery before you start so nothing energizes unexpectedly.
Flush the cooling system with fresh water, then drain the block at every plug the manual lists, and fill with antifreeze. Grease the tilt tube, steering linkage, throttle and shift cables, prop shaft, and any universal joint. Owners who winterize themselves report fogging through the flame arrestor and draining the block at five points as the core of their routine, and that is a reasonable pattern for a small inboard or sterndrive.
If you use ear muffs — the clamp and trough that let you run an outboard in a driveway on a supply of fresh water — the muffs only work if you actually run the engine, and you have to keep the raw-water inlet open enough to avoid overheating. Taped-off ports on muffs are how people cook an outboard. Check the coolant discharge and stay within the muffs’ rated run time.
Step 5: Remove, Charge, or Maintain the Battery
Wear eye protection and gloves, and know which battery you are disconnecting. Turn the switch off, then remove the negative terminal first and the positive last. Reverse that order on reconnect in spring.
Inspect for swelling, cracks, or a leaking case. Clean the terminals and top each cell with distilled water if the levels have dropped. Then either leave the battery aboard on a maintainer or carry it to a cool, dry space above freezing — a heated garage is ideal, a cold unheated shed is workable, an unheated shed where the battery will get below its rated freezing point is not.
Never store a lithium battery below its rated cold-storage temperature, and bring a storage charge of about 40 to 60 percent rather than full or empty. A lead-acid battery stored empty will not recover the way it did when you first bought it. A maintainer that connects to a battery in a cold boat is fine in a heated space; in an unheated one, set it to a float or pulse mode so it does not sit at a low charge all winter.
Disconnect shore power so a fault cannot cook a battery or a harness while you are not looking.
Step 6: Seal, Cover, and Secure the Boat
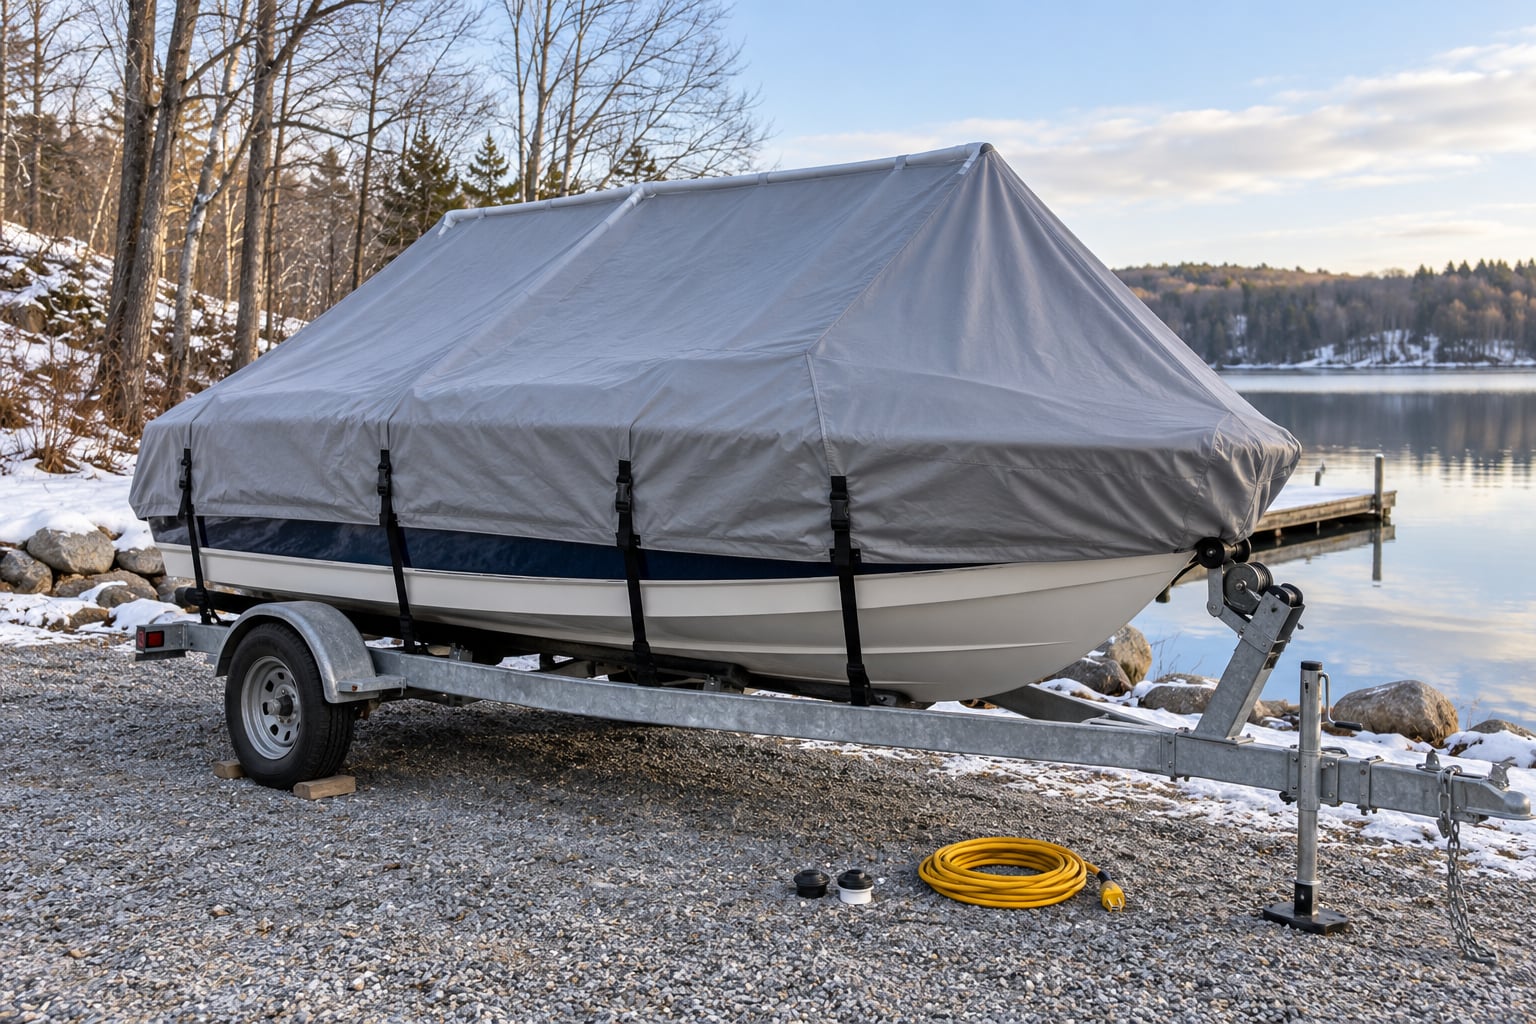
Close every hatch, then go back and crack the ones that trap condensation, or leave a vent open under the cover. Fit a cover that is the right size, breathable, and supported so it does not pond water on the deck. A ridgepole or PVC frame keeps a cover from sagging into the cockpit, which is what causes most cover failures.
Support the hull properly. Chock the trailer tires, drop the tongue onto a support, put a block under the transom area, and set jack stands on plywood pads so frozen ground does not let the stands sink and drop the hull onto the blocks. On grass near a lake, expect ice heave, and set the boat up on a well-drained, hard surface if you can.
Strap the cover so wind cannot get under it, and add a tarp over the top if you store outdoors where gusts are common. Confirm that drains and vents under the hull are clear, and that nothing is pressing on a hull fitting. A gap where a seacock or drain plug stem sits is a common spot for a cover to abrade the coating.
Step 7: Check the Boat During Winter Storage
Put a reminder on your phone for the first weekend of each month and walk the boat. You are looking for a small list of things: standing water in the bilge, a new drip under the hull or from a seacock, condensation under the cover, a chewed wire or a nest, a sagging or torn cover section, and jack stands that have shifted or sunk.
Clear standing water, rake off snow before it loads the canvas, and reset anything that moved. A ten-minute monthly walk is far cheaper than a frozen block.
When spring arrives, work through the reverse order. Fill the raw-water system with fresh water and run it until it is steady and clear of discharge, refill the fuel system with fresh stabilized gas and check the water separator, flush and change the oil, reinstall the prop and check the hub for a freeze-cracked insert, refill the freshwater and head lines with a fresh mix and run it through, reconnect the battery and charge it fully, check the belts and hoses for rodent damage, wash the hull, and inspect the cover area for anything that poked through the canvas.
Special Cases Worth Knowing
Aluminum fishing boats sit in freshwater with low corrosion risk, but aluminum below the waterline still wants protectant and proper support so the hull does not take point loads. On a rigid inflatable boat, spray the tubes with a UV protectant and check the valves and seams, because a freeze cycle can crack a valve stem that looked fine all season. On a trailered sailboat, slack the standing rigging and halyards so shrinking lines do not pull masthead fittings sideways.
When to Winterize, and What If You Missed It
Winterize before the first freeze, not after. Water freezes at 32°F, and by the time you are seeing ice in the shallow of the lake, the practical window has closed. Boat yards in cold regions book up in September and October, so if you want a professional to do it, ask in late summer.
If the freeze already came and went and you did not winterize, the first move is to drain whatever you can and check for ice before you apply heat. Look at the exhaust, water passages, and intake for a plug of ice, and never force a frozen component. Cover the boat and let it thaw slowly if you can afford the time. Call a marine service rather than pouring boiling water into a cooling passage or firing up an engine that has water in it, which is how a bad day turns into a cracked block.
Common Mistakes
These are the failures owners describe on boating forums, and most of them are the same failures over and over. The fix is usually small, and doing it in October is far simpler than doing it in April.
- Water left in the bilge. The most reported cause of freeze damage, and the bilge drain plug left in during storage is a common reason it happens. The fix is to pull the plug, run the bilge pump until the sump is dry, and confirm the pump and float switch are clear.
- A sealed plastic cover over a wet boat. A tight non-breathable tarp traps condensation and can hold a layer of water against the deck, and it may also blow off in a gust. Use a fitted breathable cover, support it with a ridgepole, and stow it only when the boat is bone dry.
- Batteries left depleted and cold. Stored at a low charge in a freezing shed, a battery will not come back next spring. Keep it on a maintainer or store it above freezing at a maintenance charge.
- Skipping the engine service. No oil change, no stabilizer, no antifreeze, no fogging. One owner on r/boating reported a cracked engine block after an unwinterized winter and the boat was a total loss. Ten minutes with the manual is the cheapest insurance in this whole article.
- Supports placed badly or on frozen ground. Jack stands without plywood pads, a trailer with the tongue dropped onto soft dirt, or no block under the transom can let the hull settle onto the supports unevenly and crack a stringer. Put plywood under every stand and chock the tires properly.
- Leaving food, batteries, and electronics aboard. What you leave behind is what the mice build a nest in, and a chewed wiring harness or a swollen lithium pack is a season-ending repair. Take the soft goods, the tackle, and the batteries out with you.
Two more that come up repeatedly: running an outboard on ear muffs with the raw-water inlet restricted, which overheats the motor, and cranking drain plugs down hard instead of torquing them to spec, which strips the threads so the plug will not seat next season.
Frequently Asked Questions
Can a boat be left outside in the winter?
Yes, most boats spend every winter outdoors, and a well-drained, covered, correctly supported boat on a trailer or stands handles it fine. The cover must be fitted, breathable, and held up by a frame so water runs off instead of sitting in the cockpit. Check it monthly for tears, standing water, and shifted stands.
Do I need to winterize my boat if I store it indoors?
Not the full engine procedure, but still more than most people do. Drain the bilge, live wells, freshwater lines, and head, add antifreeze to the plumbing, and remove or maintain the batteries. A warm garage is where mice and condensation do the most damage, so leave vents open and keep the interior dry.
Should I fill the fuel tank before storing a boat for winter?
Usually, yes. Fill with fresh non-ethanol fuel, add a stabilizer that matches the volume, and run the engine long enough to move the treated fuel through the fuel lines and carburetor or injection system. A full tank holds less air and moisture above the fuel. If your manual says otherwise, follow the manual.
Should the bilge drain plug be in or out for winter storage?
Out, for a boat stored out of the water. The lowest part of the hull is where condensation collects, and a plug left in traps it where freeze damage starts. Keep the plug in if the boat is in a wet slip, since the hull is not draining anyway. Torque it back to spec in spring with a fresh gasket.
Do I leave antifreeze in the engine all winter?
In an enclosed engine bay, yes, antifreeze normally stays in the cooling system through storage and gets drained or replaced in spring after a flush. On some outboards the manual calls for draining the block instead, since those engines are self-draining. This is a genuine manual-specific item, so check before you fill.
How do I keep mice out of a boat in winter storage?
Remove everything they can chew or nest in: food, tackle, batteries, loose wiring, and paper. Seal obvious entry points around the transom, hull drain, and console with stainless mesh or expanding foam, then set snap traps inside where the boat cannot reach them. A few dryer sheets in the compartments help some owners with musty odor and pests.
Conclusion
Start with the location decision, because everything else follows from it. Then make a list of every water path in the boat and drain it, keeping the hull drain plug out until launch day.
Owners who store a boat for winter without damage usually have the same habits: fresh stabilized fuel, antifreeze pushed through every line, a fogged and greased engine, a maintained battery, a supported breathable cover, and a ten-minute walk around the boat once a month. Anything you are unsure about belongs in your owner’s manual, and your dealer or marine service can confirm it before the first freeze arrives.