Breaking in hiking boots is a gradual wear process, not a single hard day on the trail. You wear stiff new boots for short sessions at home, then on neighborhood walks, then on easy flat hikes, adding distance and pack weight only once each stage feels clean. Most leather mid boots need two to four weeks and roughly 20 to 30 miles of easy walking before a full day hike; synthetic trail runners often need only a few hours. Here is the exact progression, plus what to do at the first sign of a hot spot.
The whole method rests on one rule: if a session ends with a mark, a blister, or a dull ache that is still there an hour later, you went too far, and you repeat that session rather than moving up. That is the difference between breaking boots in and wearing them down.
Table of Contents
- 1What You Need
- 2Step-by-Step: How to Break In Hiking Boots Safely
- 3Check the Fit Before Your First Wear Session
- 4Wear the Boots at Home for Short Periods
- 5Build Up Outdoor Walking Time Gradually
- 6Adjust Lacing and Sock Combinations
- 7Reduce Friction and Keep the Boots Dry
- 8Run a Pre-Hike Comfort Check
- 9Common Mistakes
- 10Frequently Asked Questions
- 11How long does it take to break in hiking boots?
- 12Can you break in hiking boots by wearing them around the house?
- 13How often should new hiking boots be worn during the break-in period?
- 14Should hiking boots feel tight when first worn?
- 15What can I do if new hiking boots rub or cause blisters?
- 16Conclusion
What You Need
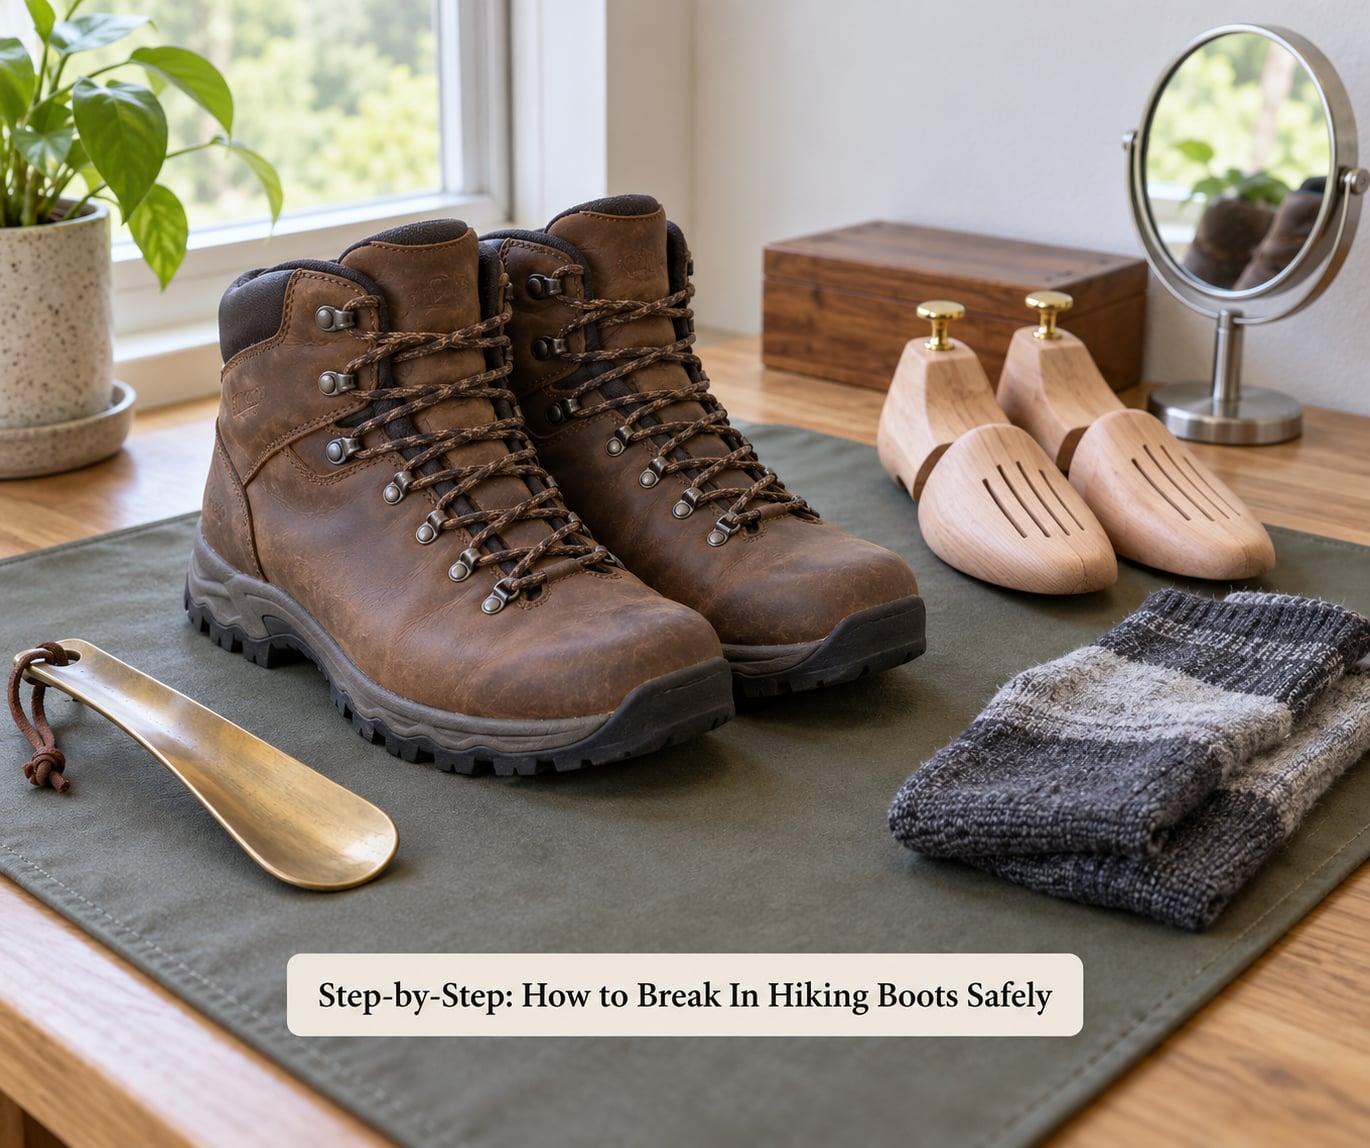
Gather everything before the first session, because stopping mid-way to hunt for a mirror or a shoehorn is how a 20-minute check turns into an hour.
- Clean, dry hiking socks in the thickness you will actually wear on the trail, not cotton crew socks.
- A second pair of socks so you can swap the moment one pair goes damp.
- Boot trees or boot stuff, plus a shoehorn for putting the boots on without crushing the toe box.
- A foot-measuring tool or a ruler, for the toe-gap and heel checks.
- A small mirror to look at the sole, the heel cup, and the inside of the boot without crouching.
- Lubricant recommended by the manufacturer, usually a leather conditioner or an anti-friction balm. Nothing else.
- Neutral padding or tape, such as moleskin or an adhesive blister bandage, for a hot spot you intend to keep walking through.
New boots also arrive with things worth clearing out. Check the lugs for rubber nubs or factory dust packed into the tread, and look inside for cutting threads or adhesive residue from the mold. Wipe the lining out with a damp cloth and let it dry before your feet go anywhere near it.
Step-by-Step: How to Break In Hiking Boots Safely
Six stages, in order. Skipping ahead is what turns a good pair of boots into a blister story, because each stage is a test for the one before it.
Check the Fit Before Your First Wear Session
Fit comes before break-in, because no amount of wear fixes a boot that is the wrong shape for your foot. Sit down, put both boots on, and lace them the way you would on a trail. Then run four checks.
- Bend test. Flex the toe box with your thumb. It should fold without a fight, and the front of the boot should not pinch the top of your toes.
- Toe-gap check. There should be roughly the width of your thumbnail, about a quarter inch, between your longest toe and the front of the boot. That gap is the room your toes need on a descent.
- Heel-lift test. Stand on a step and rise onto your toes. If your heel comes off the footbed by more than a quarter inch, the heel cup is too shallow and no break-in will fix it.
- Width check. Look down at the boot from above. Your foot should sit inside the outline of the boot, not spilling over the sides of the midsole.
Numbness, sharp pressure, or a hot spot that forms within a minute of standing means stop. Tight is fine for the first ten minutes. Pain that does not settle is a fit problem, not a break-in problem.
Wear the Boots at Home for Short Periods
Start with 30 to 60 minutes indoors, in your hiking socks, on carpet if you have it. Seated heel lifts, ankle circles, and a few minutes standing in place are enough for the first two or three sessions. The point is to soften the midsole and lining around your foot, not to test your fitness.
Take the boots off every 15 to 20 minutes and look at your feet. Use the mirror to check the heel and the ball of the foot. You are looking for redness that fades in under a minute, swelling at the toes, and skin that feels warm to the touch. Sit for another 20 minutes and look again.
Keep an eye on the back of your heel and the crease of your ankle, since those are the two spots that quietly rub first. A faint pink mark that vanishes quickly is normal in the first sessions. A deep red spot that stays red is a hot spot forming.
Build Up Outdoor Walking Time Gradually
Move outdoors in stages rather than jumping to a trail. Start with 20 to 30 minute walks on level pavement, then a 45 to 60 minute walk, then a 2 to 3 mile flat loop with a light daypack. Over roughly two to six weeks, add distance first, then elevation, then pack weight, in that order.
Add load last on purpose. A boot that feels fine on a flat walk at six pounds can rub completely differently at twenty-five pounds, because the load changes how your heel sits and how your toes jam into the toe box on descents. A pair of walking shoes you carry for the drive home gives you a clean way out of a long early outing without naming it a failure.
Timelines depend on construction. A soft synthetic trail runner may be trail-ready after a few indoor hours and a handful of miles. A stiff full-grain leather mid usually wants two to four weeks and 20 to 30 miles. A double-density midsole or a mountaineering boot with a shank takes longer, because the rigid plate and the leather have to settle together before the boot stops fighting the ankle.
Do not add distance to a session that already had a hot spot. Repeat the last comfortable distance twice, then go up.
Adjust Lacing and Sock Combinations
When a specific spot starts to hurt, your first move is to change the force distribution, not to ignore it. Skip a set of lace eyelets at the base of the boot, near the toe, to free the forefoot. Tighten the two lowest pairs that sit around the ankle to stop the foot from sliding forward and down into the toe box.
For heel lock, run each lace end back through the loop on the opposite side, then tie as usual. That doubled pass, often called a surgeon’s knot, cuts the up-and-down heel movement that rubs. It is the single most repeated fix in trail forums, and it works in about a minute.
Test every change for five to ten minutes, then take the boot off and look at the same spot. If the mark moved to a new place, the adjustment helped and simply relocated the pressure. If the new spot is worse, undo half of it.
Socks matter as much as lacing. Wool or synthetic moisture-wicking socks move sweat off the skin and dry between stops; cotton holds it and becomes a friction sheet. Thick cotton hiking socks add cushion, but a thin liner plus a thicker outer layer is the combination hikers report cutting blister rates most, because the two layers slide instead of gripping each other. Whatever you choose, change socks the moment they go damp, especially past the ten-mile mark.
Reduce Friction and Keep the Boots Dry
Rubbing comes from motion, so cut the motion and cut the moisture. Apply the manufacturer’s recommended conditioner or anti-friction balm to the lining and to the high-friction zones, the back of the heel, the toe box, and the ankle crease. Work it in with your fingers rather than dabbing it on, then wipe off the excess so the boot is not slippery inside.
After every session, remove the insoles if they lift out and let them dry separately. Stuff the boots with absorbent paper or newspaper and change it when damp. Boot trees, or rolled-up socks in a pinch, hold the shape while the leather dries from the inside out. Air them at room temperature on a boot rack, away from a campfire, a dryer, a radiator, or a parked car dashboard. Direct heat dries the leather, hardens it, and cracks it, and it can damage a waterproof membrane.
Keep the interior clean. Grit left in the tread or the lining is a hot-spot generator, so brush the outsoles and wipe the footbeds after muddy or sandy walks.
Run a Pre-Hike Comfort Check
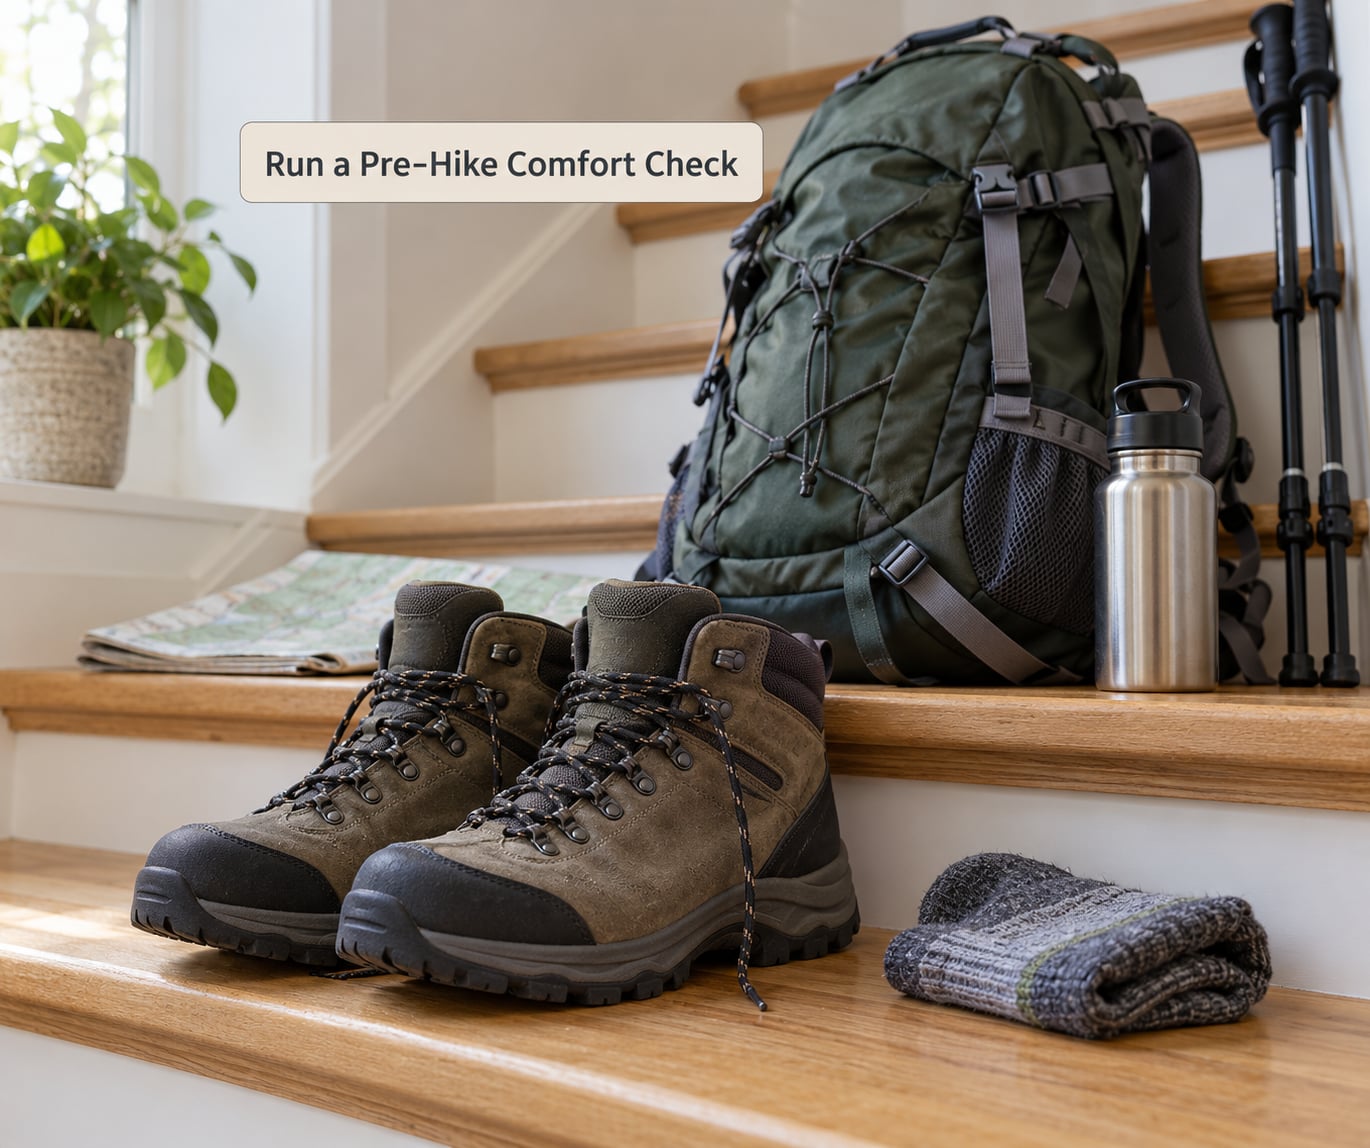
The last stage is a dress rehearsal in the socks and with the pack you will actually carry. Put the boots on, lace them fully, walk ten minutes flat, then climb a flight of stairs. Add pack weight and walk another fifteen minutes on a slight incline. Finish with a few controlled squats, since crouching loads the heel and ankle crease the way a descent does.
You pass when there is no numbness, no sharp pressure, no rubbing, no ankle wobble, and no heel lift that has grown. You pass when the skin under the boot shows no redness that lingers. You fail when a hot spot flares within 30 minutes, when your toes go numb, or when swelling stays with you into the next morning.
A swollen foot after a long day usually means the boot let your foot slide too much or squeezed it too much. Neither one improves with more miles, so treat swelling as a reason to change the fit, not as a reason to keep walking.
Common Mistakes
Most blister stories trace back to one of six habits. Each has a straightforward fix.
- Trying to break boots in during one long hike. Long distance builds friction faster than leather softens. Fix: 20 to 30 minute walks first, and repeat any distance that is not clean.
- Ignoring the first hot spot. A hot spot is the stage before a blister, and it is the cheapest one to treat. Fix: moleskin or an adhesive blister bandage over it, then a shorter session.
- Wearing ordinary thick socks. Cotton holds water and bunches. Fix: wool or synthetic wicking socks, ideally a liner plus an outer layer.
- Using heat to dry boots. Hair dryers, radiators, and ovens harden and crack leather and can ruin a waterproof membrane. Fix: room temperature, absorbent stuffing, boot trees.
- Failing to test with a pack. Weight changes how the foot sits in the boot. Fix: every pre-hike check includes your real pack weight.
- Assuming stiffness will fade on its own. A rigid shank, a narrow toe box, or a shallow heel cup stays exactly as it is. Fix: stretch the boot or change the boot.
A few final notes. Leather and synthetic need different treatment: full-grain leather responds to conditioner and gradual flexing and rewards patience, while synthetics need almost no conditioning and mostly just time on your foot. Nubuck and suede want a dry brush and no soaking, and water marks on them are hard to undo. Ditch damp socks at every rest stop rather than at the end of the day. And if pain or fit cannot be corrected with lacing, socks, and an insole, a cobbler can often stretch a tight toe box, though a size that is simply wrong has to be returned instead.
Frequently Asked Questions
How long does it take to break in hiking boots?
It depends on the construction. Soft synthetic trail runners often feel fine after a few indoor hours and a handful of miles. Full-grain leather mid boots usually need two to four weeks and 20 to 30 miles of gradual walking. Stiff mountaineering boots with a shank take three to four weeks or more. Track time and miles together, because mileage tells you more than the calendar does.
Can you break in hiking boots by wearing them around the house?
Yes, and that is where every break-in should start. Indoor sessions of 30 to 60 minutes in your hiking socks soften the midsole and lining around your foot without the joint and terrain stress of a walk. Remove the boots every 15 to 20 minutes to check for marks and hot spots, then repeat the session the next day. Indoor time alone will not finish the job.
How often should new hiking boots be worn during the break-in period?
Most days, but short. Aim for 30 to 60 minutes indoors or a 20 to 30 minute neighborhood walk, then take a day off between harder sessions. The pattern that works best is one indoor session, one longer walk, and one rest day, repeated for a couple of weeks. Daily wear is fine as long as every session still ends without a mark, a blister, or lingering soreness.
Should hiking boots feel tight when first worn?
A secure, snug feeling is normal and even helpful, because a snug boot keeps the foot from sliding and creating friction. What is not normal is sharp pressure, numbness within minutes, or a deep red spot on the skin. You should have about a quarter inch of space ahead of your longest toe, and your heel should barely lift when you stand on a step. Anything worse is a fit problem.
What can I do if new hiking boots rub or cause blisters?
Stop and treat the spot before it opens. Clean and dry the area, cover a hot spot with moleskin or an adhesive blister bandage, and change your socks. Then re-lace: skip an eyelet near the toe to free the forefoot and tighten the lowest eyelets for heel lock. Shorten your next walk, and if the same spot keeps returning, treat it as a fit problem rather than a break-in one.
Conclusion
Get the fit right first, then wear the boots in short, repeated sessions, then let the distance earn its way up. Stop at the first hot spot and change the lacing or the socks rather than grinding through it. If a session ends clean, you move up; if it does not, you repeat it.
Start tonight. Put on the hiking socks, walk around the house for 20 minutes, take the boots off, and look at your feet.