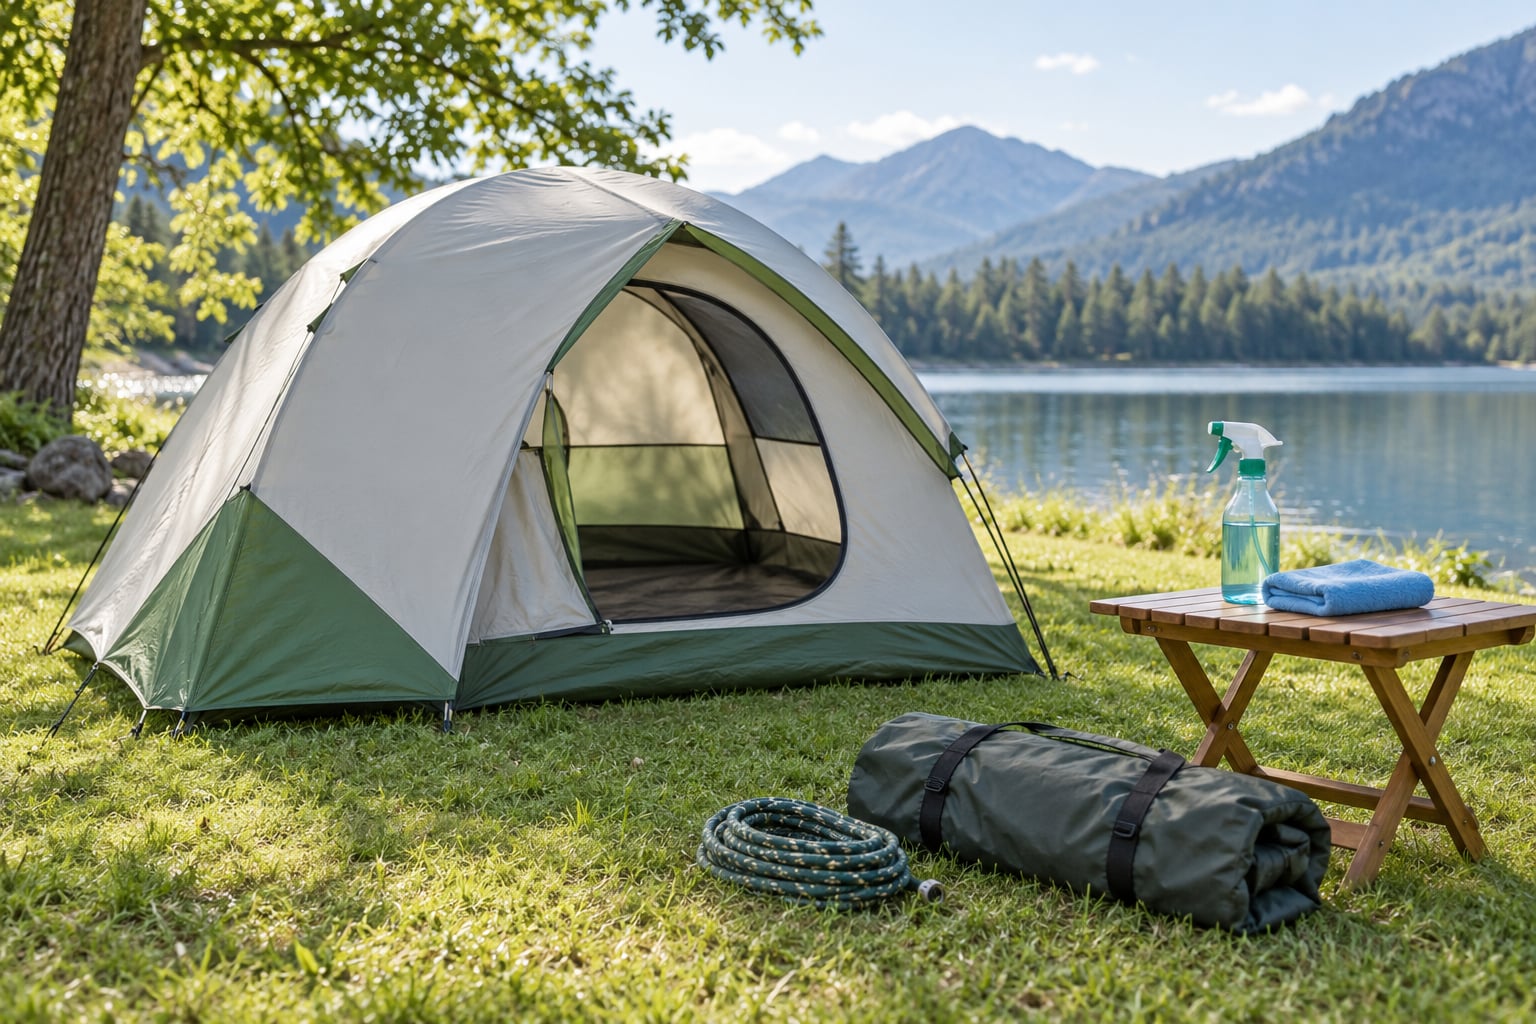
To clean and waterproof a tent, hand-wash the fabric in lukewarm water with a few drops of mild dish soap, let it dry fully in shade, then reseal the seams with a purpose-made sealer and reapply a water-repellent treatment. The whole job takes an afternoon, works at home in a tub or driveway, and needs no special equipment.
Most tents do not fail all at once. They quit beading water, then the seams start weeping, then a musty smell shows up when you unzip the door. Work through the steps in order and the same shelter that soaked your gear last year can go back to shedding rain.
Key takeaways
- Clean first, treat second. Dirt and body oils grind into the coating and stop any new treatment from bonding properly.
- Never put a tent in a washing machine or a dryer. The agitation, heat and detergent strip coatings and glue seams apart.
- Fabric reproofing and seam sealing are two different jobs. Spray will not fix a leaking seam, and sealer will not restore beading.
- Everything must be bone dry before you apply a treatment, and curing takes hours outdoors in shade.
Table of Contents
- 1What You Need
- 2Step-by-Step
- 3Check the Tent Before Cleaning
- 4Dry and Brush Away Loose Dirt
- 5Wash the Tent by Hand
- 6Treat Remaining Stains
- 7Dry the Tent Completely
- 8Reapply or Restore Waterproofing
- 9Common Mistakes
- 10Frequently Asked Questions
- 11Can you wash a tent to clean it?
- 12Can I use a washing machine to clean a camping tent?
- 13What type of waterproofing should I use on a tent?
- 14How often should I waterproof my tent?
- 15How do I test if my tent is leaking?
- 16Why should I let a tent dry before waterproofing it?
What You Need
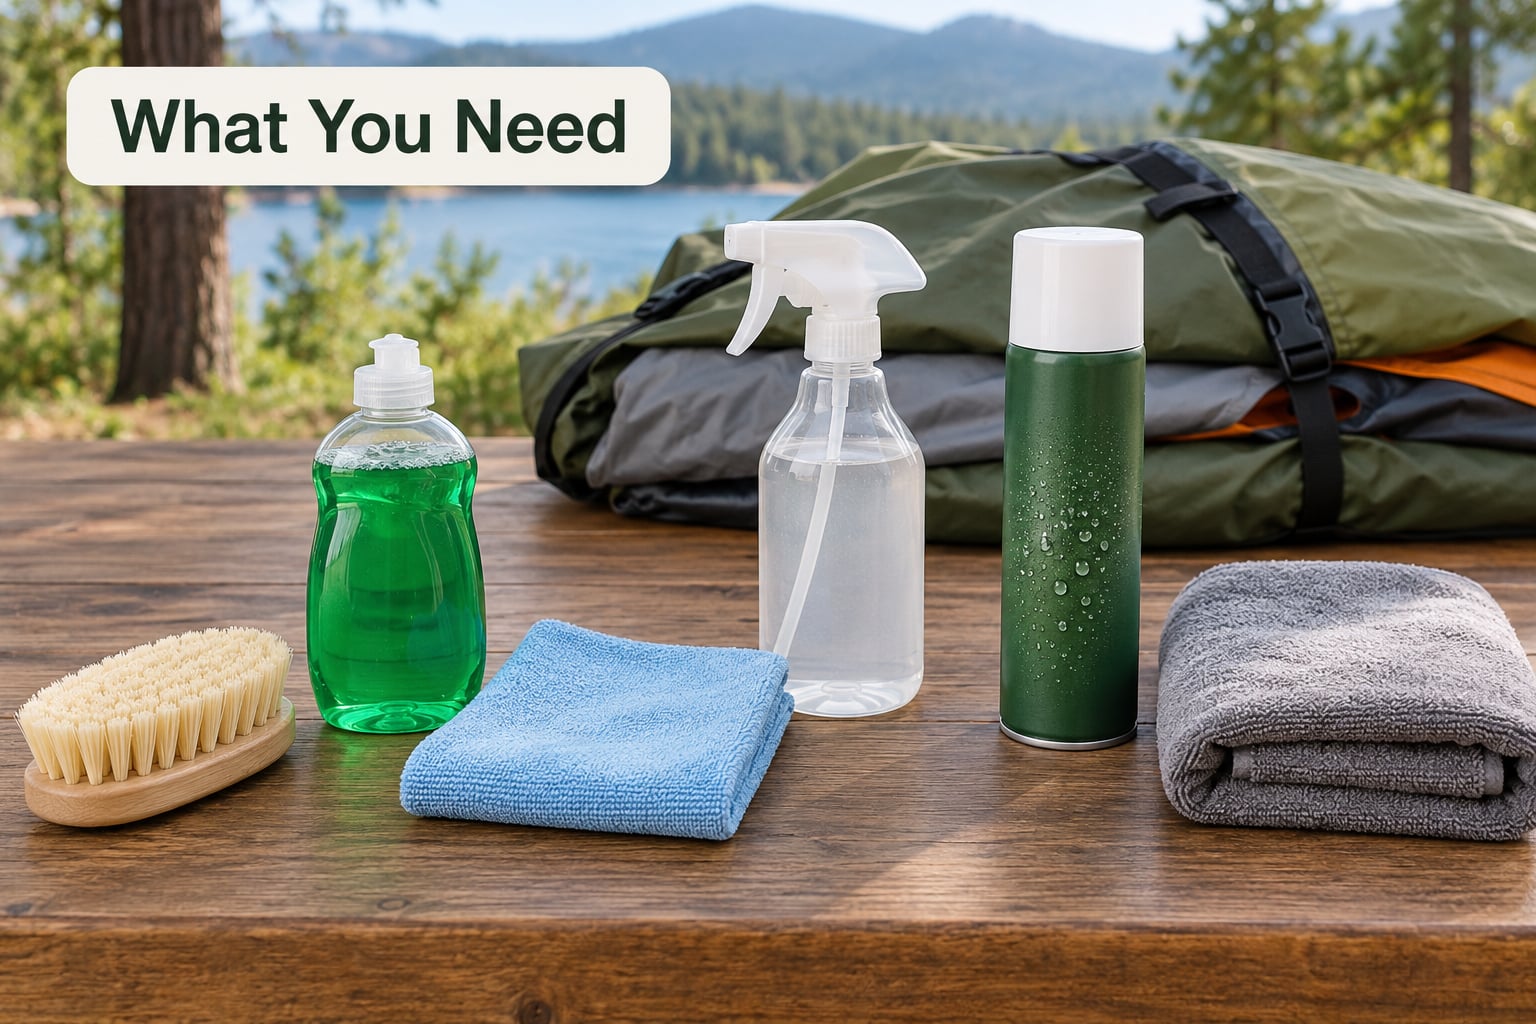
Gather everything before the tent goes up on the line, because stopping halfway to hunt for a brush is how treatments end up splotchy.
- A soft-bristled brush or toothbrush for seams, zippers and stitching. Stiff bristles scratch the coating and give mildew somewhere to start.
- Mild dish soap or hand soap, plus lukewarm water for the wash. That is all most tents need.
- A clean microfiber cloth or sponge for blotting stains without rubbing grit deeper in.
- A spray bottle for a diluted mildew treatment, so you cover the area evenly instead of soaking one spot.
- White vinegar and a soft brush for musty smell and mildew bloom.
- Seam sealer and seam tape if any stitching is weeping. Silicone-based sealer suits silicone-coated fabric; polyurethane sealer suits PU-coated fabric and nylon.
- Waterproofing spray or wash-in treatment matched to the fabric. Silicone and fluorocarbon treatments are more expensive but last longer than the solvent-based ones.
- A bathtub, shower, driveway or lawn for the wash and for curing, plus a folding table if you want to work upright.
- A fan and a clothesline for drying. Homes with no yard and no sun solve this with a fan pointed at the hung tent and a few hours of airflow.
Two items are not optional if you have cotton canvas: a canvas-specific waterproofer and a lot of patience, because canvas moves as it dries. Polyester and nylon tents skip both.
Step-by-Step
Work through this in sequence. Skipping the dry step is the single most common reason reproofing fails.
Check the Tent Before Cleaning
Start by identifying what the tent is made of. Find the care label, then look at the fabric: a coated, slightly shiny and often slippery surface means a polyurethane or silicone laminate, while a matte, weave-visible surface on a heavy shelter is usually cotton canvas. Polyester on its own is not waterproof. It only becomes waterproof when a PU coating is laminated to it, and that coating is what fails first.
Note which seams already have factory tape and whether any tape is lifting or peeling at the corners, where tension is highest. Then check the zippers and the bathtub floor. Look for pinholes clustered along a seam or a dull, chalky patch on the fabric that feels different from the rest.
Before you apply anything, test a small hidden spot. Put a drop of cleaner inside a fold, wait ten minutes, then rinse and look for discoloration or stiffness. Do the same with a drop of your waterproofing treatment, ideally the day before so you can watch it cure.
Dry and Brush Away Loose Dirt
Shake the tent out over a tarp first, outdoors or in a bathtub, and you will be surprised at what comes out. Then brush the fly, inner and floor with the soft brush, always working top to bottom so debris falls away instead of into the weave.
For caked mud, let it dry completely and knock the crust off dry. Trying to scrub mud off while it is still wet just grinds it in. Blot oil spots and ground-in dirt with a damp cloth rather than scrubbing hard. Push, do not pull, on every zipper you find dirty, because yanking sideways is what breaks the slider.
Wash the Tent by Hand
Fill a tub or large basin with lukewarm water and add about one tablespoon of mild dish soap per gallon. Submerge a section at a time, agitate gently with your hands for a minute, and swish the fabric rather than scrubbing it.
Pay attention to the parts that collect grime: the bottom 20 percent of the fly, the bathtub floor seams, the inside of the vestibule and any dark patch under a tree. Rinse with a second tub of plain lukewarm water, pressing the fabric between your palms to push out soap. Do not wring it, and do not leave any panel soaking for hours.
Canvas is different. Cotton canvas can be scrubbed more firmly with a soft brush and it can take a longer soak, but avoid hot water, which shrinks the weave and pulls the fabric out of its seams. Synthetic panels want less handling, not more.
For a large family tent with no bathtub and no yard, spot clean panel by panel on a tarp. Lay it flat, sponge on soapy water, then wipe down with clean water. It is slower and it works.
Treat Remaining Stains
For mildew and musty smell, the recipe that works best is warm water, a splash of dish soap and white vinegar in a spray bottle, roughly one part vinegar to four parts water. Spray it on, let it sit ten to fifteen minutes, then scrub with a soft brush and rinse thoroughly.
Avoid undiluted bleach. On coated and dyed fabrics it bleaches the color, eats the DWR finish and can turn fabric brittle, which is worse than the stain. A very dilute bleach solution is the exception, not the rule, and enzyme cleaners are the gentler option. Whatever you use, dry the tent out afterward in shade, because the smell comes back if damp goes back in the fabric.
Some stains are permanent. If a mildew mark has had weeks to bake in, expect a shadow that stays after cleaning. Test any spot remover on a hidden area first, and skip solvents entirely on waterproofed panels, since they dissolve the coating.
Dry the Tent Completely
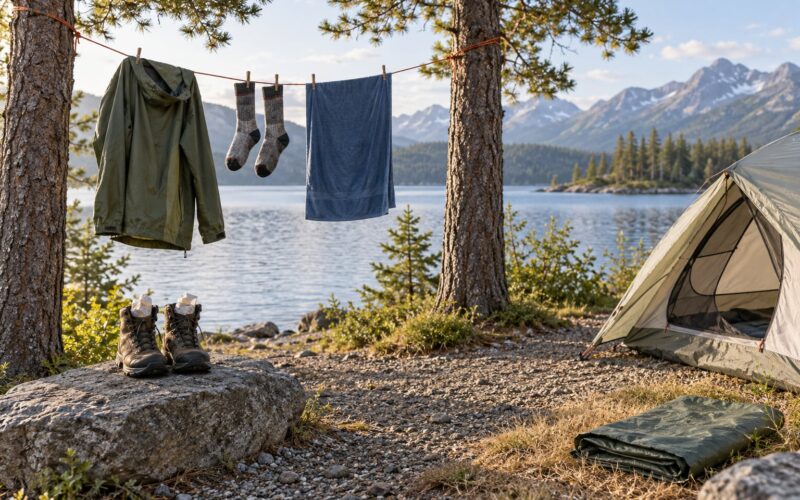
Hang the tent on a line in shade with panels spread apart, and aim for a full day of air. Direct sun on a coated fabric can haze it, fade the color and drive oils into the fibers. A box fan aimed at the canopy speeds things up when the weather is humid.
Check the slow spots before you move on: seam tape edges, the bathtub floor hem, the zipper ends and any pocket or mesh you got wet. Press a dry paper towel firmly against each one. If the towel picks up dampness, give it another couple of hours. A tent that feels dry on the outside can still hold water in a hem, and sealing over trapped water traps the mildew source for the next season.
Reapply or Restore Waterproofing
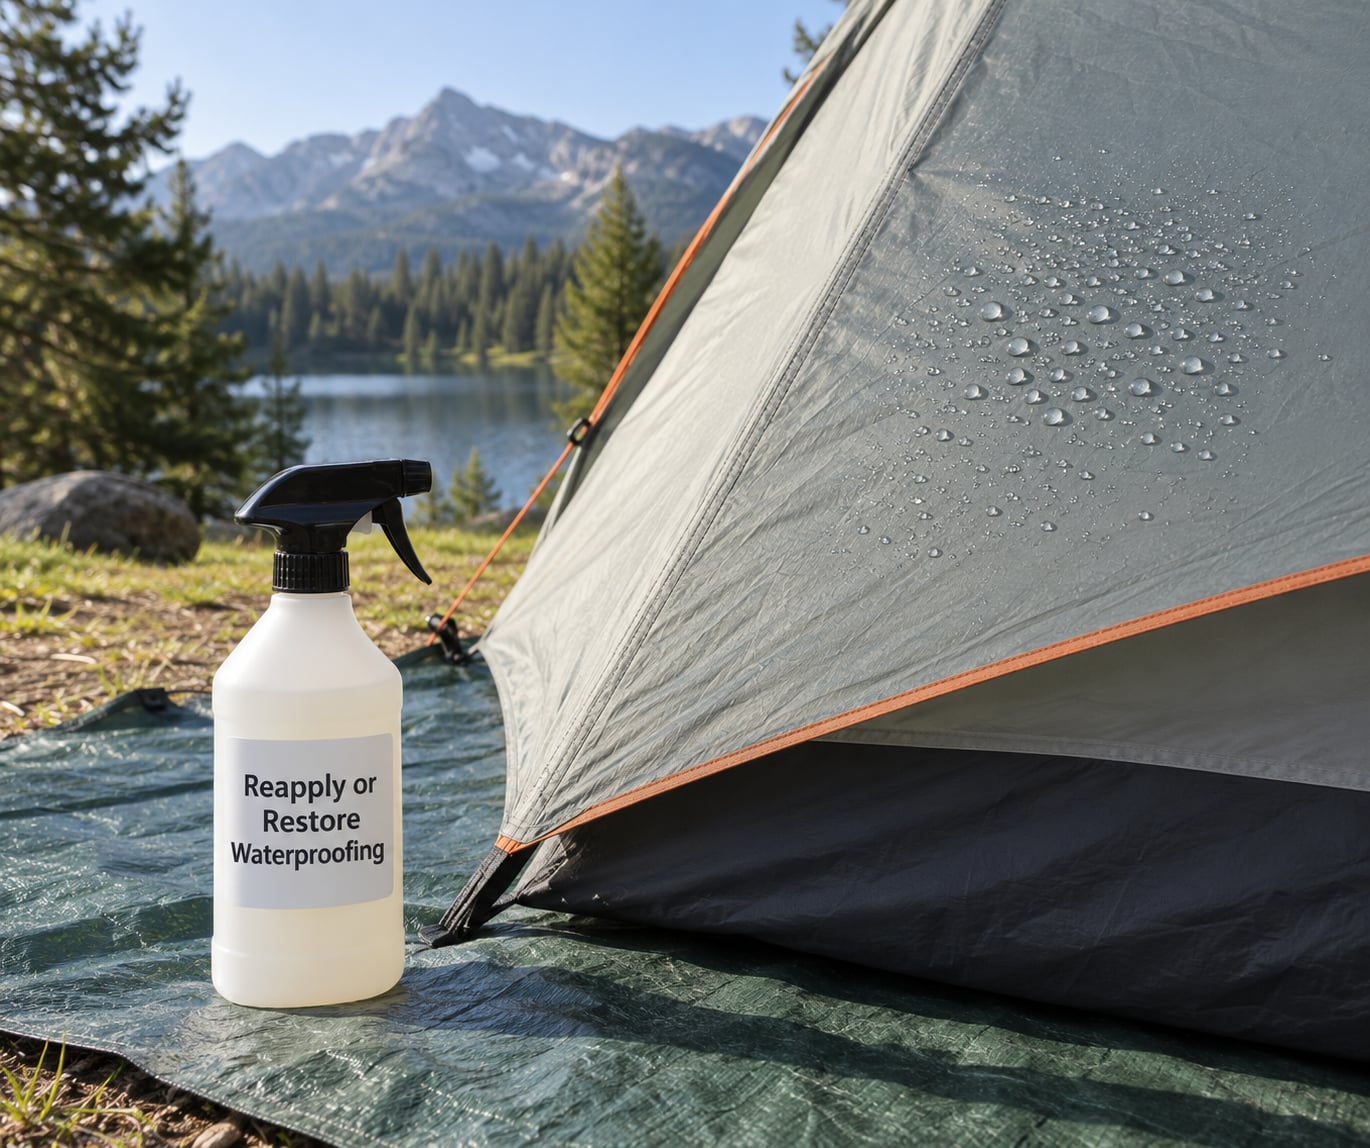
Pick the treatment by fabric, because the wrong one leaves a greasy film that never fully works.
| Fabric | What it is | What to use |
|---|---|---|
| Nylon | Lightweight, often ripstop, with a PU or silicone coating | Silicone or fluorocarbon spray, or a wash-in DWR |
| Polyester | Not waterproof without a laminated PU coating | Wash-in DWR or PU-compatible spray; replace rather than coat if the laminate has delaminated |
| Cotton canvas | Breathable and heavy, naturally water-repellent until the fiber is worn | Canvas-specific waterproofer or seasoning treatment |
| Silnylon | Nylon with a silicone laminate, used in ultralight shelters | Silicone-compatible treatments only |
For seams, seal rather than spray. A seam sealer is a liquid that soaks into the thread and fabric to close needle holes in stitched and lapped seams. Seam tape is a strip bonded to the seam, either by the factory or by you. Apply a thin coat of sealer on the inside face of the seam, let it cure, then add a second coat on the outside. Follow the same order for tape, and never lay new tape over old tape or dirt, since the new layer bonds to the old one instead of the fabric. A steady millimeter-thick line cures in about six hours in shade, and many people give the full 24 hours anyway.
For fabric, spray or wash the treatment on and let it cure. Work outside or in a well-ventilated space, coat the fly and the tent body, and hold the can about 20 centimeters from the fabric to avoid soaking one patch. A fan helps the solvent flash off. Give it a full day outdoors before the tent goes near anything you care about.
Test it before you rely on it. Sprinkle a few drops of water on the dried fly. Healthy treatment makes the water bead and roll; water that soaks flat into a chalky patch means that area needs another coat or a different treatment. Do the same test on a seam, and if it weeps there, the answer is sealer, not spray.
Common Mistakes
Most ruined tents were not ruined by weather. They were ruined by well-intentioned cleaning.
- Machine washing. The tumbling action works factory tape loose and the detergent strips coatings. Fix: hand-wash in a tub, always.
- Machine detergent. The enzymes and surfactants are designed for clothing and leave a residue that attracts dirt. Fix: mild dish soap or a technical wash for technical fabrics.
- Heat drying. A dryer softens glue, shrinks canvas and melts coatings. Fix: line dry in shade with airflow.
- Reproofing damp fabric. Water dilutes the treatment and it runs into streaks. Fix: wait for a full dry-down and press the hems with a paper towel first.
- Spraying the wrong side. Coated fabric has an inside and an outside, and treatment on the coated face behaves differently. Fix: follow the label and test first.
- Storing a damp tent. This is how musty smell and black mildew spots start. Fix: dry it fully, then store it loosely in a breathable bag, not a plastic sack or a hot vehicle.
- Leaving old seam tape in place. New tape or sealer bonds to the old layer and peels off with it. Fix: strip everything, clean the seam with a little isopropyl alcohol, let it dry, then reseal.
- Expecting spray to fix a seam. Waterproofing restores beading on the fabric and does nothing for a leaking stitch line. Fix: seal the seams separately.
One more worth naming: on a single-wall tent, condensation on the inner surface is often mistaken for a leak. If the fabric is damp on the inside and dry on the outside on a night with no rain, the problem is moisture in the air, not waterproofing. More ventilation fixes it.
Frequently Asked Questions
Can you wash a tent to clean it?
Yes, by hand. Soak sections in lukewarm water with a tablespoon of mild dish soap per gallon, agitate gently, then rinse with plain water and press the fabric dry. Machine washing strips coatings and works factory tape loose, so a washer ruins more tents than dirt ever did.
Can I use a washing machine to clean a camping tent?
No. The agitation, heat and machine detergent strip the water-repellent coating, soften seam tape and break down waterproof laminates. A large family tent will also unbalance the drum. Spot clean on a tarp or wash panels by hand in a tub instead.
What type of waterproofing should I use on a tent?
Match it to the fabric. Silicone or fluorocarbon spray and wash-in DWR work on nylon and polyester. Cotton canvas needs a canvas-specific waterproofer, and silnylon needs a silicone-compatible treatment. For leaking seams, use sealer or tape rather than a fabric treatment, since spray does nothing for stitching.
How often should I waterproof my tent?
Check before every season by sprinkling water on the fly. If it beads and rolls, you are fine. Reproof when it soaks flat. A tent used a few times a year usually needs treatment every two to three seasons, while one used constantly or stored damp needs attention every season.
How do I test if my tent is leaking?
Set the tent up in a shower or under a hose for ten minutes with someone inside, then check every seam, the bathtub floor hem and the fly edges. A single drop of water on dried fabric is a simpler test: beading and rolling means the treatment is working, soaking means it needs more.
Why should I let a tent dry before waterproofing it?
Water dilutes the treatment and makes it run into streaks that are hard to fix. Trapped moisture also keeps working on the coating underneath, and mildew can start between the fabric and a sealer in the same window. A dry tent lets the treatment bond evenly and cure properly.
Start with water. Sprinkle some on the fly and see whether it beads, then feel a seam with your hand and check for lifting tape. If the fabric is dirty, clean it and dry it fully. If the stitching weeps, seal it, and if the fabric no longer repels water, reproof it once it has cured. That order takes an afternoon and gives a tent several more good seasons on the lake.