Hiking safely around a lake comes down to four things: know the route and the water before you go, tell someone your plan and carry a way to call for help, wear footwear that grips wet rock, and know exactly what to do in the first sixty seconds after you go into the water. On an inland trail a fall means mud on your knees. On a lakeshore trail a fall can put you in cold water with a drop-off beneath you and no one for miles. Most day hikes around a lake take two to five hours, and the preparation takes about twenty minutes the night before.
The water changes the risk, not the difficulty. Shoreline ground is soaked, rooty and undercut. Rocks at the waterline carry a film of algae and mineral deposit that you often cannot see. Depths change fast, and the calm surface hides current running away at an outlet.
Here is what I check before every lake loop, whether it is a paved one-mile path or a rough track around a mountain tarn.
Table of Contents
- 1What You Need
- 2Step-by-Step: How to Hike Safely Around a Lake
- 31. Check the Route, Weather, and Water Conditions
- 42. Tell Someone Your Plan
- 53. Dress and Pack for Changing Conditions
- 64. Start with a Clear Shoreline Route
- 75. Keep a Safe Distance from the Water
- 86. Watch for Wildlife, Insects, and Other Hazards
- 97. Turn Back Before the Hike Becomes an Emergency
- 108. Know What to Do in an Emergency
- 11Common Mistakes
- 12Frequently Asked Questions
- 13Is it safe to hike around a lake year-round?
- 14What should I bring when hiking around a lake with children?
- 15How should I handle a thunderstorm while hiking near a lake?
- 16Is it safe to walk close to the water while hiking?
- 17How do I stay oriented on a lake trail without cell service?
- 18What should I do if someone falls into the lake during a hike?
- 19Conclusion
What You Need
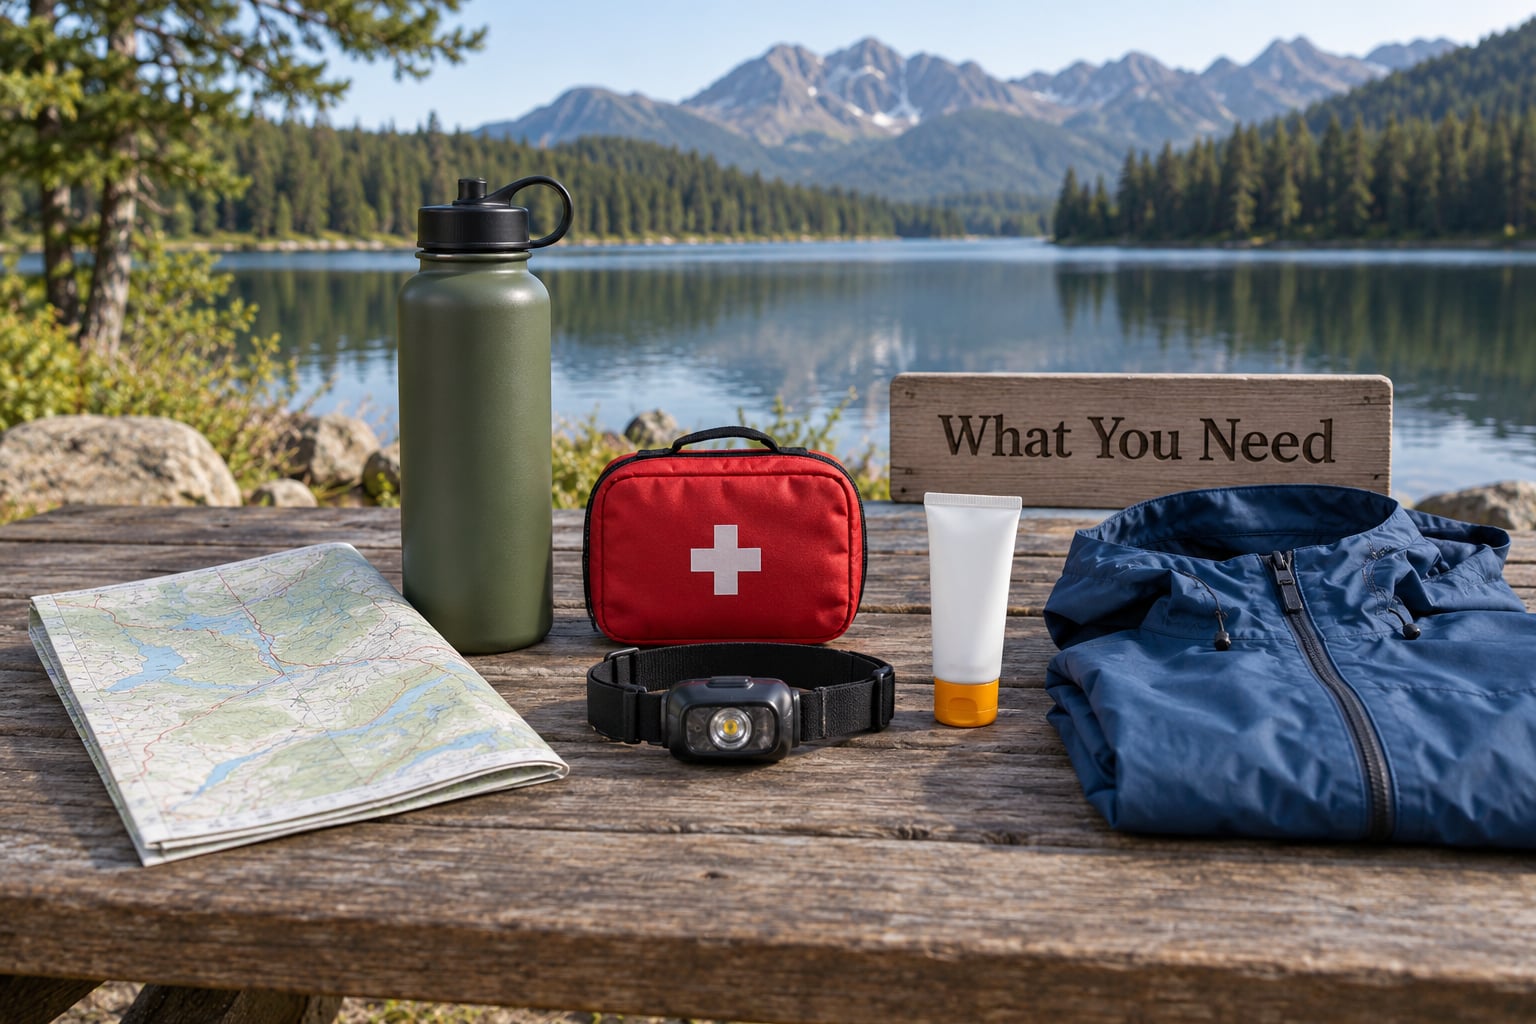
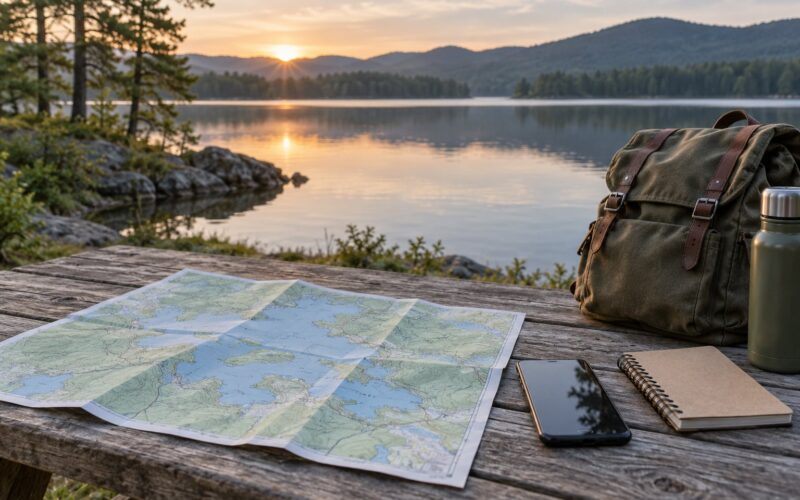
Start with navigation you can read without a signal. A paper topographic map is the baseline, and a phone with the offline map for the area downloaded before you drive out is a useful backup rather than the other way round. Many long shoreline stretches sit in cell dead zones, so treat any map on glass as something you loaded at home, not something you look up at the trailhead.
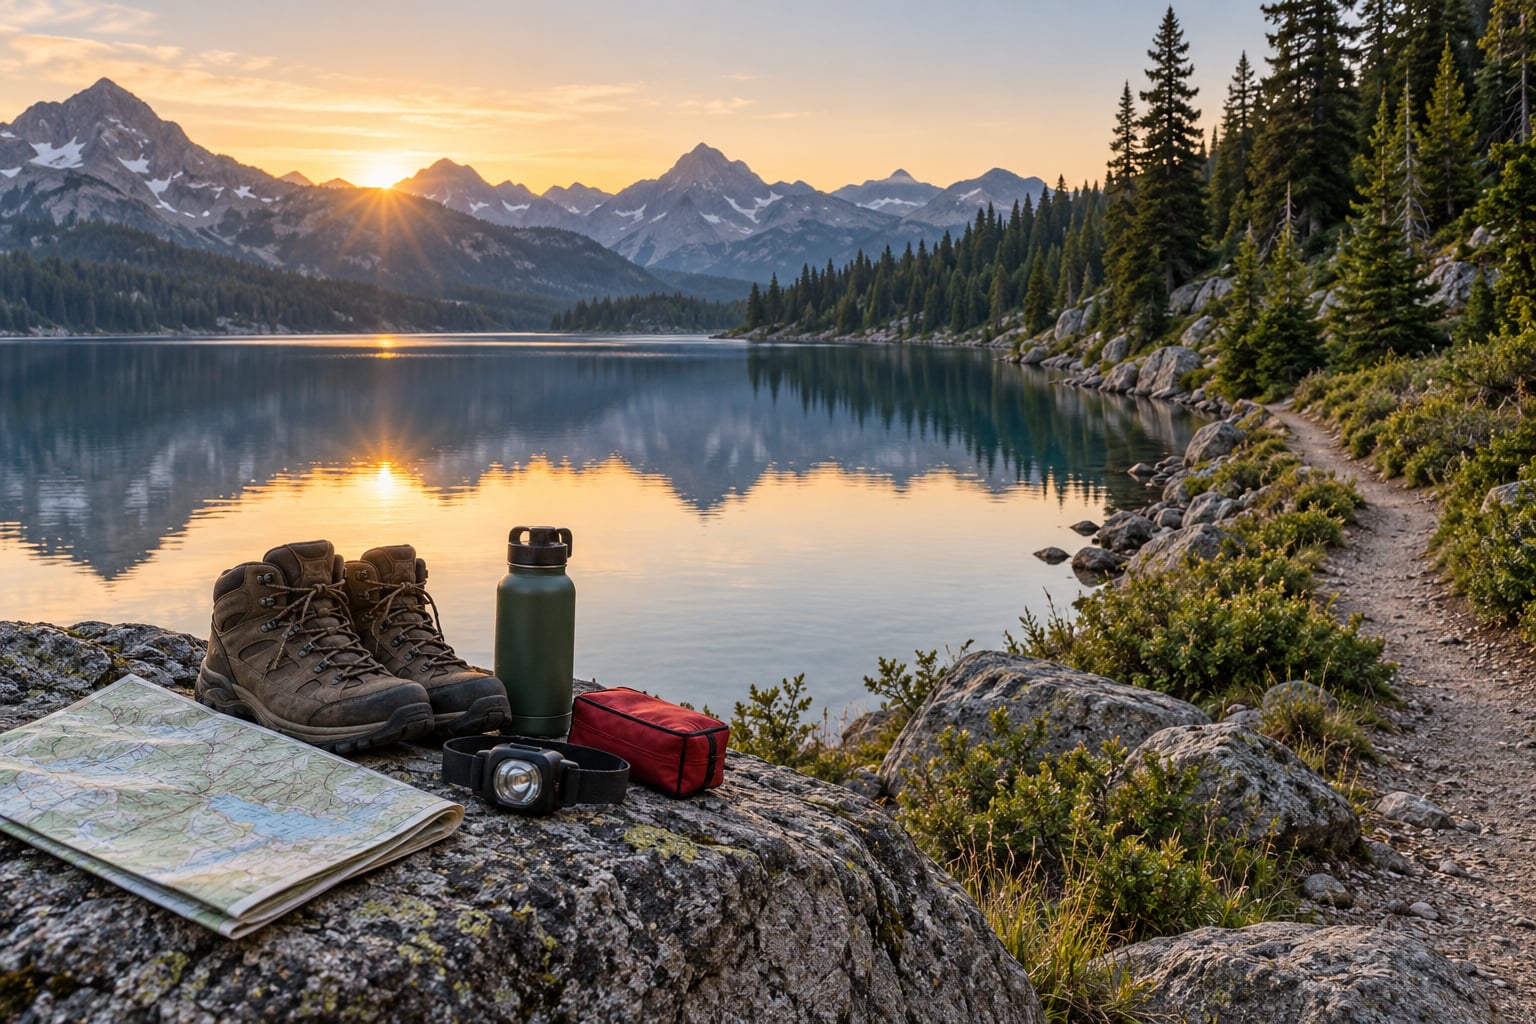
Footwear matters more here than on any other hike. You want aggressive lugs, a rubber compound that stays soft when wet, and a secure heel. Trail runners with shallow siping on smooth rock are the single most common cause of lakeshore slips I hear about. If your boots have worn tread down to smooth blobs, replace them before a shoreline trip rather than during one.
Bring two litres of water per person for a warm day on an exposed shore, and more if the loop is open with little shade. Shorelines dry out faster than forest trails because there is no canopy, and wind picks up off the water with no trees to slow it. Add a water filter or purification tablets if the route passes a stream or inlet and you plan to drink.
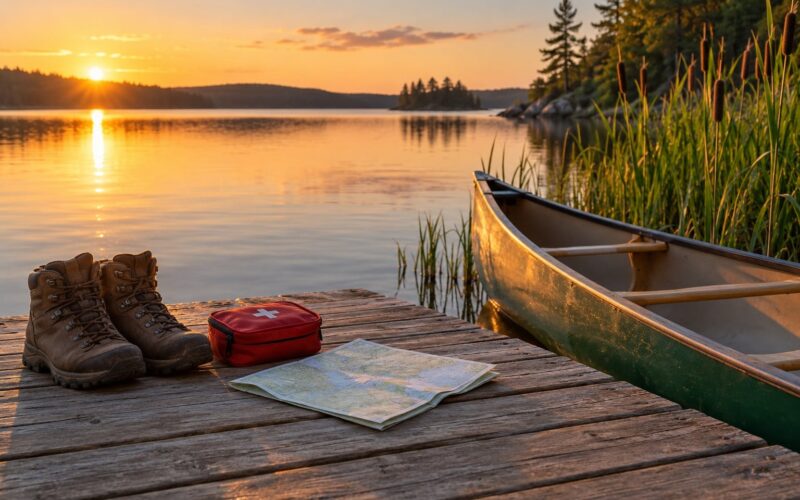
Your first-aid kit should include blister care, tape, an elastic wrap, any personal medication, and a small supply of the waterproof dressings you actually use. Add a whistle, a headlamp with spare batteries or a spare power source, and a charged power bank in a dry bag. The headlamp is not optional: shoreline mist and fog arrive earlier than you expect, and an unplanned lake perimeter does not stay a perimeter after dark.
Communication depends on where you are. In signal range, a phone is fine. Beyond it, carry a satellite messenger or personal locator beacon and know how to turn it on before you need it. On bear country shorelines, where animals come to water, carry bear spray on your hip and inside a quick-draw pocket rather than buried in a pack.
Finally, dress for a range you will probably not get. A wind-resistant shell, a warm mid-layer, spare socks in a dry bag, sun hat and sunscreen cover the common failure modes: wet feet, wind chill after a storm clears, and an exposed afternoon with no shade. Children on the trail add one non-negotiable item, a properly fitted life jacket, because a shoreline trail has water at ankle height everywhere and that is exactly where a toddler can reach it.
Step-by-Step: How to Hike Safely Around a Lake
1. Check the Route, Weather, and Water Conditions
Learn the route before you drive: the trailhead, the access points, the total distance, the elevation gain, and whether there is an escape route partway around. A lake loop that looks trivial on a map often climbs 400 feet in the first mile, because the shore path has to get over the inlet where the valley narrows. Know where you could bail out if you are running late.
Check closures and restrictions the night before, not the morning of. Many shoreline sections close seasonally for nesting birds or for dam safety, and the closure is usually posted at the access point you plan to use.
Then look at weather with the shoreline in mind. A forecast for the valley may ignore wind on open water, and a thunderstorm cell that sits over the forest can move across a lake much faster than across land. Check the heat index for summer afternoons, the wind forecast for exposed sections, and how quickly the daylight is going. Set a turnaround time before you leave and treat it as a hard stop.
Water conditions are the part most people skip. Look at the recent rainfall upstream. High water after rain means flooded trail, stronger outlet current, and streams at the inlet running fast enough to knock you down. Very low water after drought can leave a muddy, unstable shoreline strip with deadfall and cracked clay. If either looks extreme, pick a different route or a different day.
2. Tell Someone Your Plan
This is the single most repeated piece of advice across every hiking forum I have read on this topic, and it is the cheapest thing you will do all day. Leave a written plan with the route name, the trailhead, your vehicle description and licence plate, your companions, your departure time, and a realistic expected return time. Add one hour of buffer to the expected return, because people underestimate perimeter distance more than they underestimate elevation.
Tell that person what to do if you are late. A check-in plan only works if the other side knows when to start worrying and whom to call. Agreeing that someone calls the ranger station or the county emergency number if you are more than two hours past your expected return removes the awkward guesswork and speeds up a search.
When you hike alone, the plan matters even more, because nobody will notice you are missing until the deadline passes. A satellite messenger lets you check in on your own schedule. If you cannot carry one, then shorten the route to something you can walk out of quickly, stay near access roads, and finish well before dark.
3. Dress and Pack for Changing Conditions
Layers are the practical answer to a shoreline day that swings from cold and windy at dawn to warm and bright at noon. A synthetic or merino base layer, a fleece or light insulated jacket, and a packable waterproof shell handle almost everything. Cotton feels fine until it is wet, and wet cotton on an exposed shore in wind is how a pleasant walk turns into a cold one.
Keep spare socks and a warm hat in a dry bag. Cold, wet feet end a lake loop faster than any leg injury, because you cannot finish the perimeter and you do not want to sit out an hour waiting for your feet to dry.
Pack food with more salt and more calories than a normal lunch. A shoreline loop is exposed and often a couple of hours longer than the map suggests, and people commonly under-eat because the walk feels easy at the start. A couple of energy bars that you actually carry, not the one in the glove box, covers the slow-out-the-gate hours.
For rain, add gaiters or waterproof socks and expect mud, because shoreline trails take the wet path more than inland ones do. For hot weather, carry more water than you think, add electrolytes, and plan the walk so the exposed stretch falls in the morning rather than the middle of the afternoon.
4. Start with a Clear Shoreline Route
Identify the actual trail boundary at the trailhead and follow it. Shoreline paths are shared with anglers, paddleboarders, swimmers, cyclists and dogs, so a clear path is not always obvious. Stay on the designated tread, watch for blazes and markers where the trail crosses rock or sand, and never shortcut across a bank because the map suggests the line goes straight.
Obey posted signs and stay off private property, posted beaches and closed nesting areas. Where the trail runs right at the waterline, look for a slightly higher path if one exists, because a raised tread keeps you away from undercut edges.
Pace yourself for the perimeter, not the first mile. Most of the difficulty at the far side of a lake arrives when you are tired, which is exactly when footing matters most. Build in time for photographs, watching a heron work the shallows, and stopping to check the map, then start early enough that daylight is not the thing that ends your day.
5. Keep a Safe Distance from the Water
This is the section that keeps people out of the water. Shoreline rock is dangerous because it is wet, because algae and mineral films add a slick layer you cannot see, and because wave spray and a rising lake keep that film wet. Concrete, wet granite and submerged shelf rock are all more slippery than they look. Slow down on anything rock at the waterline, plant your feet wide, and keep your weight low.
Watch the bank itself. Water erodes the base of a bank and leaves an undercut edge, so the ground you can stand on looks wider than the ground that is actually holding you. A trail that skirting a drop-off may look flat until you are standing on a metre of soil with nothing underneath. Stay back from edges, especially after rain, snowmelt, or when waves have been chewing at the shoreline.
Do not treat the shoreline as a path when there is no path. Mud and clay near water are slick, and they hide drop-offs. If you need to pass a steep bank, go back and find a proper trail or turn around.
Treat every crossing as a hazard until you have read it. Streams at inlets during spring runoff can be fast, deep and waist-high on a calm day, and outlets can pull strongly toward a spillway where the water narrows. Look for a bridge, for a shallow wide crossing, or for a route above the water. If the current is pushing hard enough to move your legs, it is above knee deep in effect and you should not attempt it alone.
And treat ice as unpredictable. On a frozen lake, keep well back from the edge where ice is thawing, stay off pressure cracks and near pressure ridges, and remember that shoreline ice thins earlier than centre ice because of moving water. Nobody should be on lake ice unless local authorities say it is safe.
6. Watch for Wildlife, Insects, and Other Hazards
Animals are drawn to shorelines because of water, salt and the lush plants that grow at the edge, so a quiet lake path can hold more wildlife than an inland trail of the same length. Give bears about 100 yards, and moose, elk and bison roughly 25 yards or more. If an animal stands up or looks at you, you are already closer than you should be, so increase the distance quietly instead of holding position.
Make noise on blind corners and near dense vegetation, and never run. If a bear makes contact, do not play dead. Concentrate on food and rubbish instead, keeping packs zipped and nothing scented in a bear canister where the area requires one. Keep dogs leashed near water and away from wildlife; an off-leash dog is the most common trigger for an aggressive encounter on a shoreline.
Insects peak near still, warm water in summer. Use repellent on exposed skin and treat clothing and boots where ticks hide, check yourself thoroughly after the walk, and treat any attached tick promptly. Mosquito pressure around a lake can be heavy enough to make a late-July afternoon miserable, so carry repellent and use the sections of the loop before dusk.
Also watch for cyanobacteria, the scummy green paint on still water in warm weather. Look for posted no-contact advisories, avoid letting dogs or children drink lake or inlet water, and remember that pet water bowls scooped from a lake can carry the same risk. Give water bodies and muddy ground time to dry after rain, which is when loose soil, deadfall and washouts turn a shoreline into an ankle-twisting surface.
7. Turn Back Before the Hike Becomes an Emergency
Turning around is a skill, and it is much easier to practise at mile two than at mile eight. Set your turnaround time at the start, then reverse the route at the moment you hit it, whatever state you are in. Most people who get hurt on a lake trail get hurt after the decision point, not before it.
Turn back for any of these: the sky changing fast, lightning audible, rain arriving as a downpour, wind making standing difficult, fatigue, an injury, an empty water bottle with more shoreline ahead, navigation that no longer matches the map, the headlamp coming out of the pack, or the light going flat and orange an hour before you expected to finish.
The decision rule I use is simple. Ask whether you would start this hike right now in these conditions. If the honest answer is no, then reverse. Fatigue and low supplies turn a routine stumble on wet rock into a fall with nobody around, which is the exact combination that turns a lake hike into a rescue call.
8. Know What to Do in an Emergency
If someone goes into the water, call emergency services and the local ranger station first, then give the closest access point or trailhead and your coordinates. Location beats description on a shoreline, because a mile of forest looks identical in every direction.
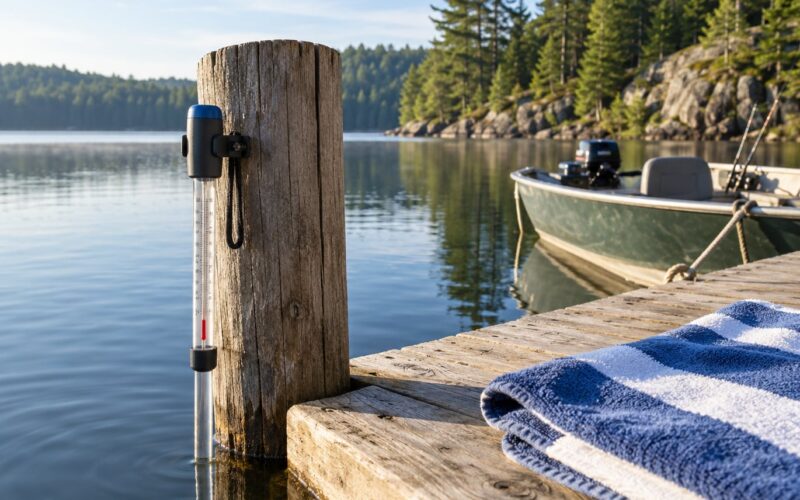
Watch for cold-water shock in the person who went in. In water below roughly 50F (10C) the body responds with an involuntary gasp, heavy breathing and loss of muscle control within the first minute, which is what causes most drownings. Water can be calm and warm-looking in summer and still be cold enough below the surface, and air temperature that feels comfortable on shore says very little about water temperature.
For yourself, if you fall in: stay calm, float on your back, control your breathing, and get your clothes and shoes off if you can do it without exhausting yourself. Do not swim for the shore unless it is immediately adjacent, because cold water drains your heat faster than swimming can warm you and swimming toward an outlet drags you into stronger current. Follow the shoreline or head for a boat ramp or open area where a rescuer can see you. Get out at the first solid footing you find rather than pushing for the trailhead.
Once out, get into dry layers, add something between you and the ground, and do not stop shivering. Warm gradually and keep moving gently. Get medical help even if you feel fine, because cold-water immersion effects can be delayed.
Signal if you need to be found: whistle in three blasts, move toward an access road or open beach, and save your phone battery for calls and messages rather than the map. Then follow the same rule you would use on any hike: stay where you are if the weather is worse than your gear, move only if staying is worse.
Common Mistakes
Starting with no route plan. Not knowing where the inlet crossing or the bail-out point is means you find out about both at the worst possible moment. Read the trail description, check the elevation profile, and pick a turnaround time before you park.
Treating the shoreline as the trail. Where the tread disappears, the waterline looks like an easy flat shortcut. It is wet rock, undercut bank and sudden depth, and it is the reason experienced lake hikers walk well back from the edge even on a mild day.
Underestimating distance. A perimeter feels longer than it looks because the far side never seems to arrive, and shoreline routes often climb more than the flat profile suggests. People underestimate this more than elevation, and they run out of daylight doing it.
Underestimating weather. Wind builds over open water with nothing to slow it, and a thunderstorm that stalled over the far shore reaches you before it clears the trees. Check the hourly forecast, not just the daily one, and watch for the lightning you can hear before the rain arrives.
Hiking without a headlamp. A headlamp weighs almost nothing and covers the most common bad-luck scenario, which is a slower loop than expected on a shoreline that fogs over after dark.
Skipping the check-in. Someone at home who knows your plan can raise the alarm in hours instead of days. Skipping it removes the one asset that does not depend on your own gear or skills.
Leaving food and rubbish behind. Wildlife is drawn to food scents along a shoreline, which turns a peaceful path into a bear problem and puts you between an animal and its dinner. Pack everything out, including wipes and peels, and keep food sealed.
Misreading insects and algae. Standing water in warm weather breeds mosquitoes and ticks, and a green scum on the surface can be cyanobacteria. Cover skin, check yourself afterwards, and keep pets and children out of contact water when advisories are posted.
Frequently Asked Questions
Is it safe to hike around a lake year-round?
Yes, with conditions. Spring brings runoff, flooded tread and strong outlet current. Summer brings heat, mosquitoes, ticks and possible cyanobacteria. Autumn brings leaf litter on wet rock, which hides mud and deadfall, plus shorter daylight. Winter adds ice and unstable shoreline edges, and lake ice is never a safe walking surface. Check the specific season’s conditions, watch the weather, and keep the same gear discipline year-round.
What should I bring when hiking around a lake with children?
Bring a properly fitted life jacket for each child, a spare dry outfit, snacks and water, sun protection, and a first-aid kit with blister care. Stay between the kids and the water on exposed sections, and pick a route with a clear, wide tread rather than a cliff edge. Choose a loop short enough that a tired child still has energy for the walk back.
How should I handle a thunderstorm while hiking near a lake?
Open water is the worst place to be in a thunderstorm because there is nothing overhead to shield you, and shorelines are often the widest exposed ground in the area. If you can hear thunder, head for a building or a hard-sided vehicle, not a tree line. If no shelter is reachable, spread out, stay off the shoreline, stay clear of isolated tall objects and water, and wait out the storm before continuing.
Is it safe to walk close to the water while hiking?
Keep real distance. Shoreline rock is wet and often carries algae or mineral film that you cannot see, and banks are undercut by erosion, so ground that looks solid may have nothing under it. Watch for drop-offs and submerged rocks, avoid walking on ice near moving water, and keep children and dogs well back from the edge.
How do I stay oriented on a lake trail without cell service?
Carry a paper topographic map and compass as the primary tools, with a phone running offline maps loaded at home as a backup. Note the access points, the inlet and outlet crossings, and two or three landmarks you would recognise before you commit. On remote shorelines, a satellite messenger or personal locator beacon lets you check in and share your location, which is worth the weight.
What should I do if someone falls into the lake during a hike?
Call emergency services and the ranger station, then give your exact position with the nearest access point or coordinates. Watch the swimmer for cold-water shock, which causes an involuntary gasp and loss of muscle control in the first minute in water below about 50F (10C). Tell them to float on their back, breathe deliberately and follow the shoreline to the nearest solid footing rather than swimming across the lake.
Conclusion
To hike safely around a lake, check the route, the hourly forecast and the water before you leave, tell someone your plan and expected return, pack grippy footwear with layers, a headlamp and a first-aid kit, and stay well back from the water on undercut banks and wet rock. Then turn back at your turnaround time rather than pushing on. A lake loop is a pleasant day out for anyone who treats the water as part of the terrain.