To patch an inflatable kayak, deflate the damaged chamber, clean and dry the hull thoroughly, then bond a matching patch over the hole with a marine-grade PVC or Hypalon adhesive and let it cure fully before reinflating. Most pinholes and small cuts take under an hour of work and a day of drying. Last checked for accuracy in 2026.
That sounds simple because it is, once you stop overcomplicating it. The repairs that fail almost never fail because the adhesive was wrong. They fail because the surface was dusty, or damp, or because somebody glued a square-cornered patch on top of an old one and called it done.
Owners on r/Kayaking put it more bluntly than I will: the big thing is getting the area you’re patching very, very clean and dry. Everything else on this page is detail on that one instruction.
Table of Contents
- 1What You Need
- 2The core kit
- 3Match the patch to the hull material
- 4Which repair suits which damage
- 5Keep these out of the repair box
- 6How to Patch an Inflatable Kayak: Step-by-Step
- 7Inspect the Damage and Choose a Repair That Will Hold
- 8Clean and Dry the Damaged Area
- 9Apply the Repair Patch
- 10Press, Wait, and Test the Repair
- 11Common Mistakes
- 12Field Repair Tips
- 13When to Stop and Pay Someone Else
- 14Frequently Asked Questions
- 15Can I patch an inflatable kayak with duct tape?
- 16What type of glue should I use on an inflatable kayak?
- 17How long should I wait after patching an inflatable kayak?
- 18Can I use a repair patch on a kayak seam or valve?
- 19How do I know whether the kayak repair is airtight?
- 20What should I do if a patch does not hold?
- 21What to Do First
What You Need
You can patch an inflatable kayak with a purpose-made repair kit, or you can assemble the same materials yourself. The kit is faster. The loose materials are cheaper and you tend to have them on hand.
The core kit
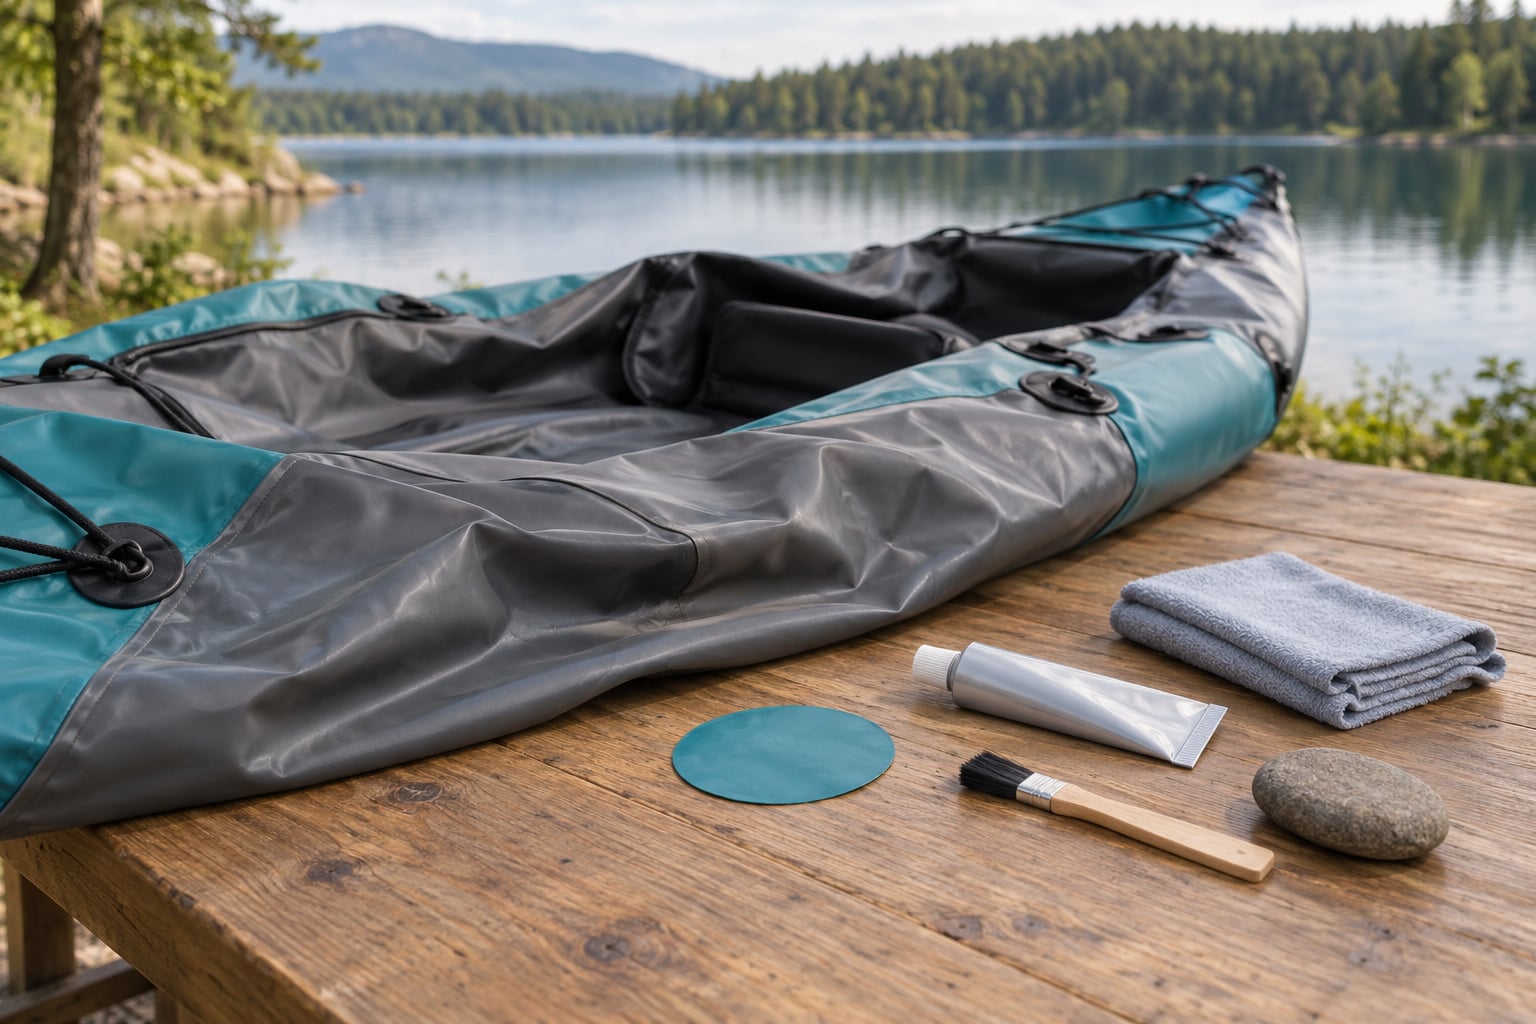
- Patch material matched to your hull: PVC-coated fabric, Hypalon, or the fabric the manufacturer supplied. Enough to overlap the damage by at least half an inch all round.
- Marine-grade adhesive labelled for your hull material. One-part PVC cement for small jobs, two-part PVC adhesive when you need a fast full cure or a structural bond.
- Isopropyl alcohol and clean cloths for degreasing. Two or three fresh cloths, because the first one always picks up more grime than you expect.
- Fine sandpaper or scuff pad, roughly 120 to 220 grit, to scuff the gloss off both hull and patch.
- Applicator: the brush that ships with the glue, a plastic scraper, a squeegee, or a second clean cloth for burnishing.
- A weight — a flat stone, a book, a jar of sand. Anything even and heavy enough to hold pressure on the patch for the full cure.
- Valve wrench for the valve nut, if you are opening a chamber.
- Polyethylene sheet (a freezer bag, a cut plastic grocery bag) for pulling an interior patch into position.
Those materials cover almost every repair a paddler will meet. If you want a single purchase instead, a kit that ships with the manufacturer’s own patch material, a tube of adhesive, a valve wrench, a brush and a small stack of patches in several sizes will carry you through anything from a spine puncture to a cut in the floor. Bigger patch sheets are worth having for drop-stitch boats, where the fabric is thin and tears run further than they look like they will.
Match the patch to the hull material
Getting the material match right matters more than brand loyalty, and owners on r/Inflatablekayak say the compatibility question is what stops them attempting a repair at all.
| Hull material | Patch material | Adhesive |
|---|---|---|
| PVC with a polyester or nylon skin (most entry-level and mid-size kayaks) | PVC-coated fabric or heavy Hypalon | One-part or two-part PVC adhesive |
| Hypalon (chloroprene synthetic rubber, usually coated neoprene) | Hypalon | One-part or two-part PVC adhesive or a Hypalon-rated cement |
| Drop-stitch with fabric skin (high-pressure fishing and touring kayaks) | Matching fabric from the same manufacturer | Two-part adhesive, or the manufacturer’s own repair kit |
| PU or TPU-coated drop-stitch floor | TPU or PU patch | PU/TPU-compatible two-part adhesive |
The word PVC on a flexible inflatable is a bit of a trap. Many of these hulls are PVC-backed polyester fabric with a coating that ordinary solvent-based plastic cement can attack, which is why a marine-grade adhesive rated for inflatable fabric is the safe pick.
Which repair suits which damage
Not every hole deserves the same treatment. This is the table I wish I had when a catfish spine went through the floor in August.
| Damage | Repair | DIY? |
|---|---|---|
| Pinhole, hook or spine puncture | Adhesive alone, or a small patch | Yes |
| Small cut up to an inch | Rounded patch | Yes |
| Cut or tear over an inch | Interior patch first, then exterior patch | Usually |
| Abraded bow or keel wear | Layered abrasion patch, two or three coats | Yes |
| Old failed patch still on the hull | Remove it fully, then re-patch | Yes, if it lifts cleanly |
| Seam separation | Interior patch bridging the seam | Often fails; see below |
| Valve leaking at the centre stem | Replace the valve or glue a patch around it | Yes |
| Valve leaking at the bonded base | Patch over the base | Risky — loaded fitting |
| Lifted D-ring or handle base | Reinforced patch over the webbing | Only if you can reach the threads |
| Floor panel peeling up, drop-stitch bulge | Factory repair only | No |
Keep these out of the repair box
Some adhesives will make a failed patch permanent by dissolving the coating around it, which means your next repair has nothing left to bond to. Leave these alone:
- Plumbing cement / PVC pipe cement made for rigid pipe. Wrong solvent balance for coated fabric.
- Rigid or general-purpose epoxy. Brittle. It holds a static joint and cracks the moment the hull flexes.
- Hot-melt glue gun adhesive. Warps PVC and goes brittle cold.
- Ordinary super glue (cyanoacrylate). It bridges a pinhole, embrittles the surrounding fabric, and blocks any later repair.
- Silicone sealant. Flexible, but it does not bond to the coated fabric well enough for pressure.
Flex Seal and similar rubberised spray cans come up constantly on forums. They handle a temporary field fix on some hulls. They are not a permanent structural repair, and the coating they leave behind usually has to be sanded off before you can glue anything properly.
How to Patch an Inflatable Kayak: Step-by-Step
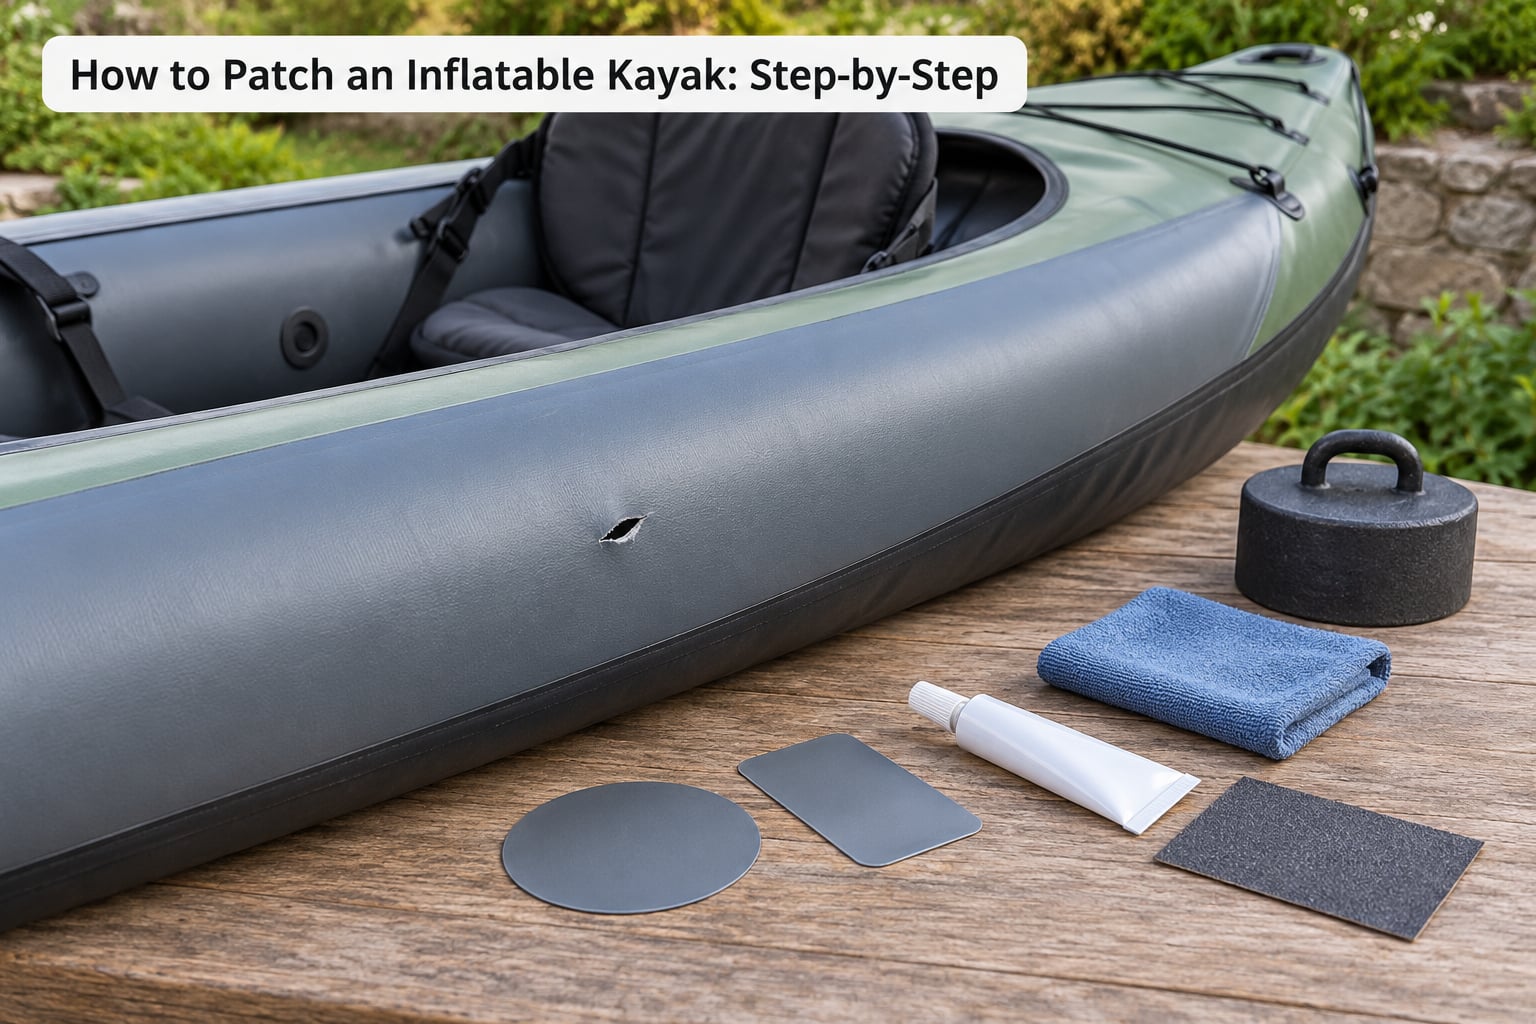
Inspect the Damage and Choose a Repair That Will Hold
Inflate the kayak to its normal working pressure before you hunt for the leak. A soft boat hides pinholes; a firm one pushes air through them hard enough to see.
Three methods work, in rough order of usefulness:
- Soapy water solution. Mix dish soap and water in a spray bottle, inflate fully, and spray section by section. Bubbles mark the leak. This is the one I use nearly every time.
- Submersion. Put the inflated boat in a swimming pool or shallow bay and watch the bubble trail. People on forums.paddling.com describe inflating the boat as far as it will go and submerging the inflated sections to find the spot fast.
- Listen and pressure-log. Put your ear against the hull and move along it in short sections, or pump to a set pressure, note the PSI, and re-check after an hour. For very slow leaks, this beats soap.
Inflated kayaks are built around separate air chambers, which is why a puncture rarely sinks the boat on the spot. It also means a slow leak is easy to ignore for a week, and by then the soft chamber flexes where it should not, the seam takes load it was never meant to take, and a small puncture has turned into a split.
That is worth saying plainly at the top: patch early, not eventually. A repair done properly on day one takes an hour and holds for seasons. The same repair done after two months of paddling on a soft chamber is a guess.
Air temperature changes the pressure reading, and this is the false positive that sends people hunting for holes that do not exist. A boat that gains pressure in the sun and loses it at night has not necessarily got a leak. Record the gauge value, the air temperature and the time, then re-test under similar conditions before you start cutting anything open.
Now identify the material. Look at the manufacturer’s label or manual first. Failing that, PVC-coated fabric feels coated and slightly waxy, while Hypalon feels rubbery and matte with a slightly textured surface.
Finally, decide whether the damage is worth patching. A hole in the outer skin with intact internal layers is a straightforward job. A seam that has opened along its full length, a peeled floor panel, or a tear across the reinforcement threads is a different conversation, and glue cannot restore torn threads.
Clean and Dry the Damaged Area
Deflate the damaged chamber fully. Working on a partly inflated boat is tempting because it keeps the shape, but pressure changes while you work and the patch either lifts at the edges or bonds to a moving surface. Owners ask about this constantly; full deflation is the answer.
Wipe the area with isopropyl alcohol, extending a good inch beyond the damage in every direction. Change cloths until the last one comes up clean. If the hull is muddy or has sunscreen on it, clean and dry the whole panel first.
Lightly scuff the gloss off both the hull and the patch face with fine sandpaper. You want a matte surface, not deep scratches. On Hypalon, some owners scuff more aggressively than that; follow the adhesive manufacturer’s guidance on the specific product.
Let the area dry completely, then check it with the back of your hand. There is no reliable shortcut here. Adhesive applied over a film of moisture will foam, bubble, and let go at the edges within weeks.
Apply the Repair Patch
Cut the patch before you open the glue. It needs to cover the damage with at least a half-inch overlap on every side, and more if the hull is thin or the hole is near a seam. Round the corners with a steady hand — square corners create a peel point, and peel is what eventually pulls a patch off.
For a hole bigger than about an inch, do an interior patch first. Bond the patch to the inside of the hull, then use a piece of polyethylene plastic as a release sheet to push the patch into the curve of the floor. Peel the sheet away, and you are left with a smooth patch already shaped to the interior. Then add your exterior patch over the top.
With the patch cut and ready, work the adhesive:
- Stir or shake the adhesive. Two-part adhesives must be mixed thoroughly, and a bad mix is a weak patch.
- Apply a thin, even coat to the hull. Thin beats thick: a thick bead cures unevenly and leaves a soft core that peels later.
- Wait for the tack stage the label specifies, usually 30 to 60 seconds on a warm day and longer in cold weather. The surface should look tacky, not wet.
- Apply a second thin coat to the patch face if the product calls for a double coat.
- Lower the patch onto the hull, aligned before you touch it down.
- Press from the centre outward. Squeeze out trapped air and wrinkles with a plastic scraper or a clean cloth, working outward in one direction.
Then apply the weight and leave it alone.
For seams, the repair goes on the inside, bridging the seam with the patch centred over the joint. Hold the patch in place against the seam angle with your hand and weight. If a seam has pulled open more than a few millimetres, or if you can see the internal threads, stop and read the seam section in the mistakes list below.
For a leaking valve, remove the valve nut with the valve wrench. A leak at the centre stem is usually a worn valve and is a straight swap for a spare. A leak around the bonded base means the bond has failed, and a patch over that base sits under load every time you inflate.
Press, Wait, and Test the Repair
Leave the weight on for the full cure period. Adhesives pass through distinct stages, and each one has a matching failure mode.
| Stage | Typical timing | What goes wrong here |
|---|---|---|
| Open time | 30 seconds to 5 minutes | Aligning too late; the patch sticks crooked and half the adhesive is wasted |
| Initial set | 1 to 2 hours | Handling the boat. Pressure now lifts the patch edges |
| Dry to the touch | 4 to 8 hours | Flexing the panel. The bond feels solid and is not |
| Full cure | 24 hours, longer in cold or damp conditions | Inflating early. This is the single most common failure |
Cold slows everything down. If you are working below about 50°F, give it 48 hours rather than 24, and consider warming the repair area gently without blasting heat at the glue.
When the cure is done, reinflate in stages rather than all at once. Shape, then half pressure, wait and watch the seam, then three-quarter pressure, then full pressure. A weak patch usually announces itself during that staged inflation, while the boat is still on the shore.
Run a soapy-water test along the whole perimeter of the patch and out over the old repair lines. No bubbles means the bond is sound. Let the boat sit inflated overnight if you can spare the evening; a repair that passes an hour and an overnight hold will very likely hold a season.
On durability, expect more than the marketing suggests. Aquaseal from Gear Aid is the adhesive owners name most often as the one they trust to hold a patch, and on r/Kayaking a patch applied over ballistic nylon is described as still going years later.
Someone on r/Inflatablekayak used Tear Aid on a boat they kept 15 years and reports it lasting those 15 years. Those are field results on hulls someone actually paddles, and they tell you more than the phrase marine-grade ever will.
Common Mistakes
Patching over a dirty, damp, or oily surface. This is the big one. Sunscreen, bug spray, and road film are all enough to stop a bond.
Applying one thick bead instead of thin coats. The outside skins over, the middle stays soft, and the patch peels from within.
Cutting a square-cornered patch. Corners lift first. Round them.
Using the wrong adhesive for the material. A rigid epoxy or a general super glue can permanently thin or dissolve the coating, which ends any future repair option.
Inflating before the cure is finished. Full cure is 24 hours in most conditions. Testing at the dry-to-touch stage is how people convince themselves a failed patch works.
Glue over an old failed patch without removing it. The new patch bonds to the old adhesive, which lets go with everything underneath it.
Trusting a seam repair that has opened wide. If the seam gap is more than a few millimetres, or you can see separated internal layers, an interior patch may hold for a season or may not hold at all. Owners describe seam patches bubbling out in the sun repeatedly, and that is the most commonly reported repair failure there is.
Trying to reach an inaccessible hole. Holes on the underside of the floor or above the deck are genuinely awkward. If you cannot get a finger and a weight onto the patch from the inside, take it to someone who can.
Field Repair Tips
Carry a compact repair kit on every paddle. A short PVC patch, a tube of adhesive, a small brush, and two alcohol pads cost you almost nothing in weight and will get you home.
Know your temporary fix before you need it. On r/Inflatablekayak the standard field answer is a roughly three-inch round of Gorilla Tape slapped over the spot and left pressed for a couple of days while inflated, which is enough to paddle back to shore.
Everyone describing it treats it as strictly temporary. Taped hulls in direct sun are reported peeling within days, and a mountainbuzz.com thread suggests warming stubborn residue with a hair dryer or a carefully used heat gun to get old adhesive off.
That heat tool is a two-edged one. It works well on old glue and it distorts PVC just as fast, so keep it moving and never point it at a seam.
Keep the boat out of sun and heat while a repair cures, and give a patched hull the same courtesy afterwards. Patches on an inner tube in direct sun are a recurring complaint; heat expands the air inside the chamber and works the edges of the patch.
Retire a temporary fix properly. When you get home, remove the tape, clean the area, let it dry, and glue a real patch in. Leaving tape on a hull eventually leaves adhesive residue that needs sanding off before anything else will bond.
Store the boat fully deflated, loosely folded, out of direct sun, and off bare concrete if you can. Coated fabric ages faster in heat and UV than in anything else, and most seams that later separate were simply tired before they were damaged.
When to Stop and Pay Someone Else
There is a point past which a weekend of work and a tube of adhesive is wasted effort. Stop and take the boat to a repair shop, or the manufacturer, when any of these are true.
The repair is holding pressure but the panel has gone soft and floppy. A chamber that will not firm up under a pump is not a leak you can glue your way out of.
The tear runs across the internal reinforcement. Glue restores an airtight film, nothing more. Torn threads under the skin need a machine press to re-laminate, and no kit at home does that.
The floor panel is lifting or a drop-stitch section has bulged. That is a delamination, and it will spread under every load you put on the boat.
A second repair on the same spot has already failed twice. The third attempt will not be different.
A seam has opened along a significant length, or the seam tape has let go inside. Seam failures are the most reported repair problem on paddling forums, and once the gap is wider than a few millimetres the honest answer is that the boat has reached the end of its useful life as a solo craft.
A fitting has torn loose through the threads — a D-ring, a handle base, a seat mount. These carry load and are always under peel and twist stress, which is the hardest case for any patch. If you cannot get a finger and a flat weight behind the repair from inside the boat, do not attempt it yourself.
Compare that against a replacement before you commit. For a cheap boat near the end of its life, a professional repair can cost more than a comparable new hull. For a boat you love and have patched twice already, the shop is usually worth it.
Frequently Asked Questions
Can I patch an inflatable kayak with duct tape?
Duct tape will hold for a trip home and nothing more. Its adhesive softens in direct sun, and heat inside an inflated chamber works it loose from the hull within days. Use it to get back to shore, then remove it and glue a proper patch underneath. Cleaning off the residue before the real repair is part of the job, not an optional extra.
What type of glue should I use on an inflatable kayak?
A marine-grade adhesive labelled for inflatable fabric, matched to your hull. One-part PVC cement is fine for pinholes and small patches. Two-part PVC adhesive gives a faster, stronger, more heat-resistant bond and is the better pick for a seam, a large tear, or a repair you need to be confident in. Avoid rigid epoxy, plumbing cement, hot-melt, ordinary super glue and silicone.
How long should I wait after patching an inflatable kayak?
A full 24 hours is the minimum in ordinary conditions, and 48 hours if the air is cold or damp. Dry to the touch happens in 4 to 8 hours, but that is not full cure. Reinflate in stages and stay on shore for the first test. Most failed patches trace back to someone who could not wait.
Can I use a repair patch on a kayak seam or valve?
Yes, with care. A seam repair goes on the inside, bridging the seam with the patch centred on the joint, and it only works if the gap is a few millimetres or less and the internal layers are intact. A valve leaking at the centre stem is a simple valve swap. A valve leaking around its bonded base is a loaded fitting and a patch over it is a gamble.
How do I know whether the kayak repair is airtight?
Inflate to working pressure, then run soapy water around the patch perimeter and out over the old repair lines. Any bubble means air is still escaping. Then let the boat sit inflated overnight if you can. A patch that survives an hour and an overnight hold at pressure will almost certainly hold a full season of use.
What should I do if a patch does not hold?
Strip the failed patch completely, sand the area back to clean material, and start over rather than layering on top. A bond applied over old adhesive fails with everything underneath it. If the patch keeps lifting from the same spot, the hull under it may be abraded or the coating may already be compromised, and a reinforced layered patch or a professional repair is the better call.
What to Do First
Before anything else, find the leak properly and get the air out. A leak you have mislocated means you patch clean fabric and leave the hole in place.
Then clean and dry the surface until the cloth comes up clean, pick an adhesive that matches your hull material, cut a rounded patch with a half-inch overlap all round, and give it a full 24 hours before it sees pressure.
Keep a small kit in the dry bag from now on. The second repair is always easier than the first, because you already know your hull material and your adhesive works with it.