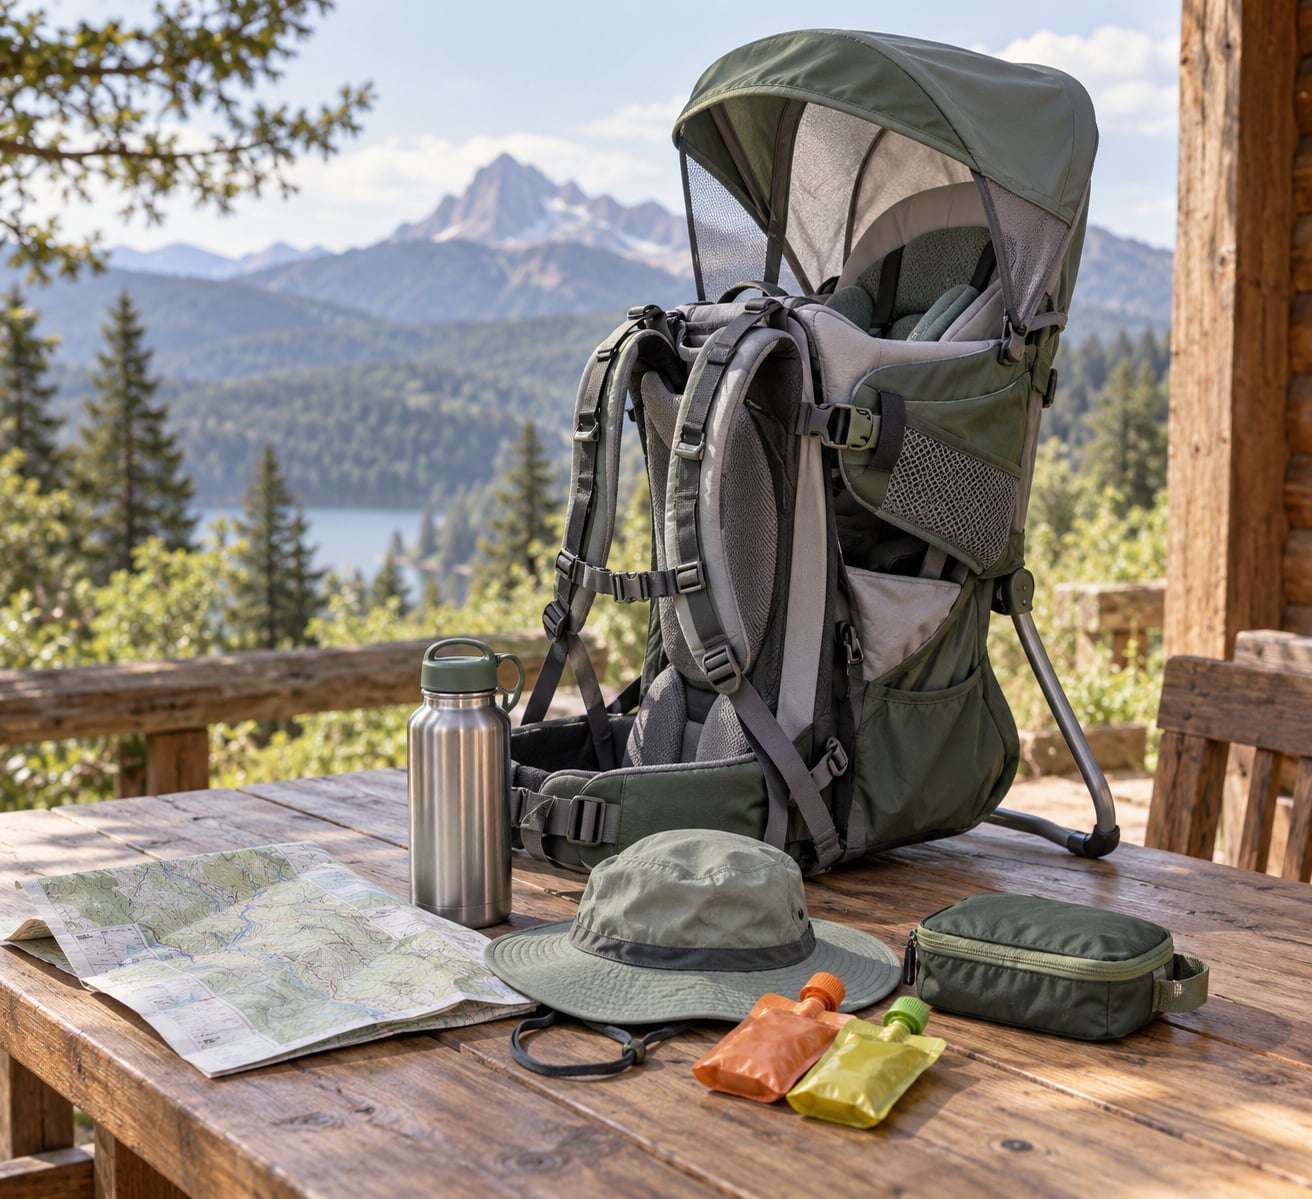
To hike with a toddler in a carrier, pick a pack that fits both of you, test it indoors with your child for a few walks before the trail, choose a short loop under three miles with little elevation, and pack only what a two-hour outing needs: water, snacks, diapers, a change of clothes, sun protection and a small first aid kit. A toddler can usually manage one to two miles of trail on foot, so the carrier is what lets you finish the hike instead of turning back at the first complaint.
The honest version is that the first few trips are about your feet and shoulders, not the view. Most carriers weigh six pounds or more empty, and adding a thirty-pound child turns an easy walk into a shoulder workout. Give yourself three or four practice walks, keep the first real hike in the ninety-minute range, and treat every outing as a chance to learn what your specific child and your specific back can handle.
This guide walks through gear, a step-by-step routine for the day, and the signs that mean you should turn around.
Table of Contents
- 1What You Need
- 2Step-by-Step
- 3Plan the Route and Check the Conditions
- 4Fit the Carrier and Test It First
- 5Pack Supplies for the Child and the Hiker
- 6Start Slowly and Keep a Comfortable Pace
- 7Handle Breaks, Feeding, and Changing Needs
- 8Know When to Turn Around
- 9Common Mistakes
- 10Simple Tips for a Better Hike
- 11Frequently Asked Questions
- 12What is the best way to carry a toddler while hiking?
- 13Can I carry my 2 year old in a carrier?
- 14Can you carry a 3 year old in a hiking backpack?
- 15How far can a 2 year old hike?
- 16What age can you use a hiking carrier?
- 17How do you get a toddler to nap in a hiking carrier?
- 18Conclusion
What You Need
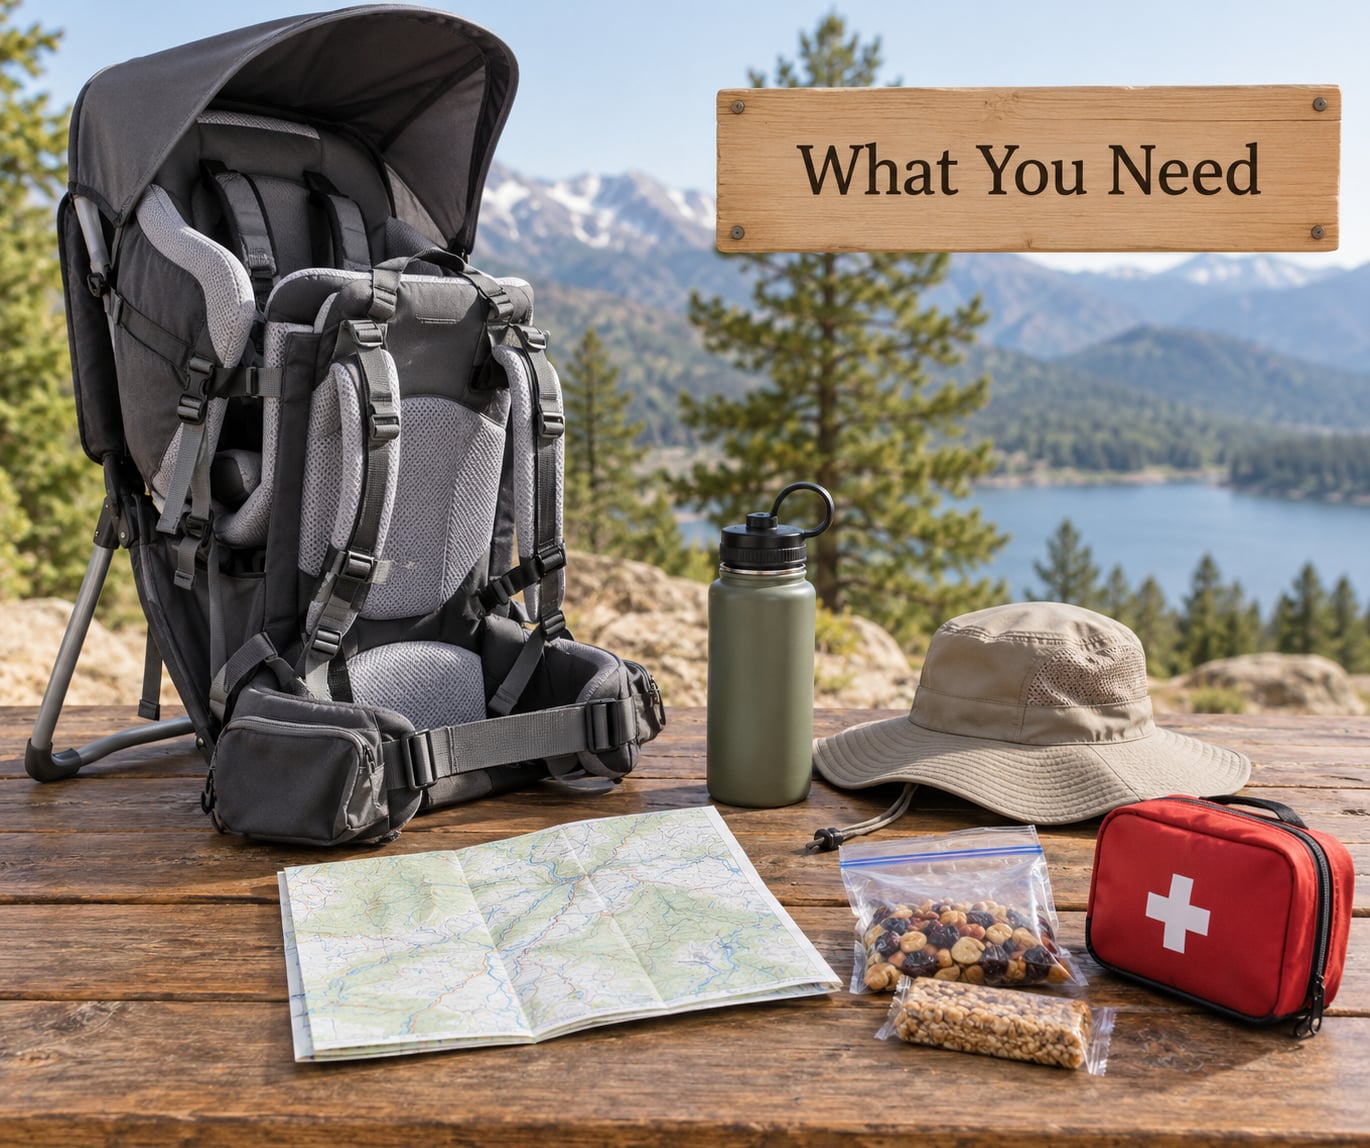
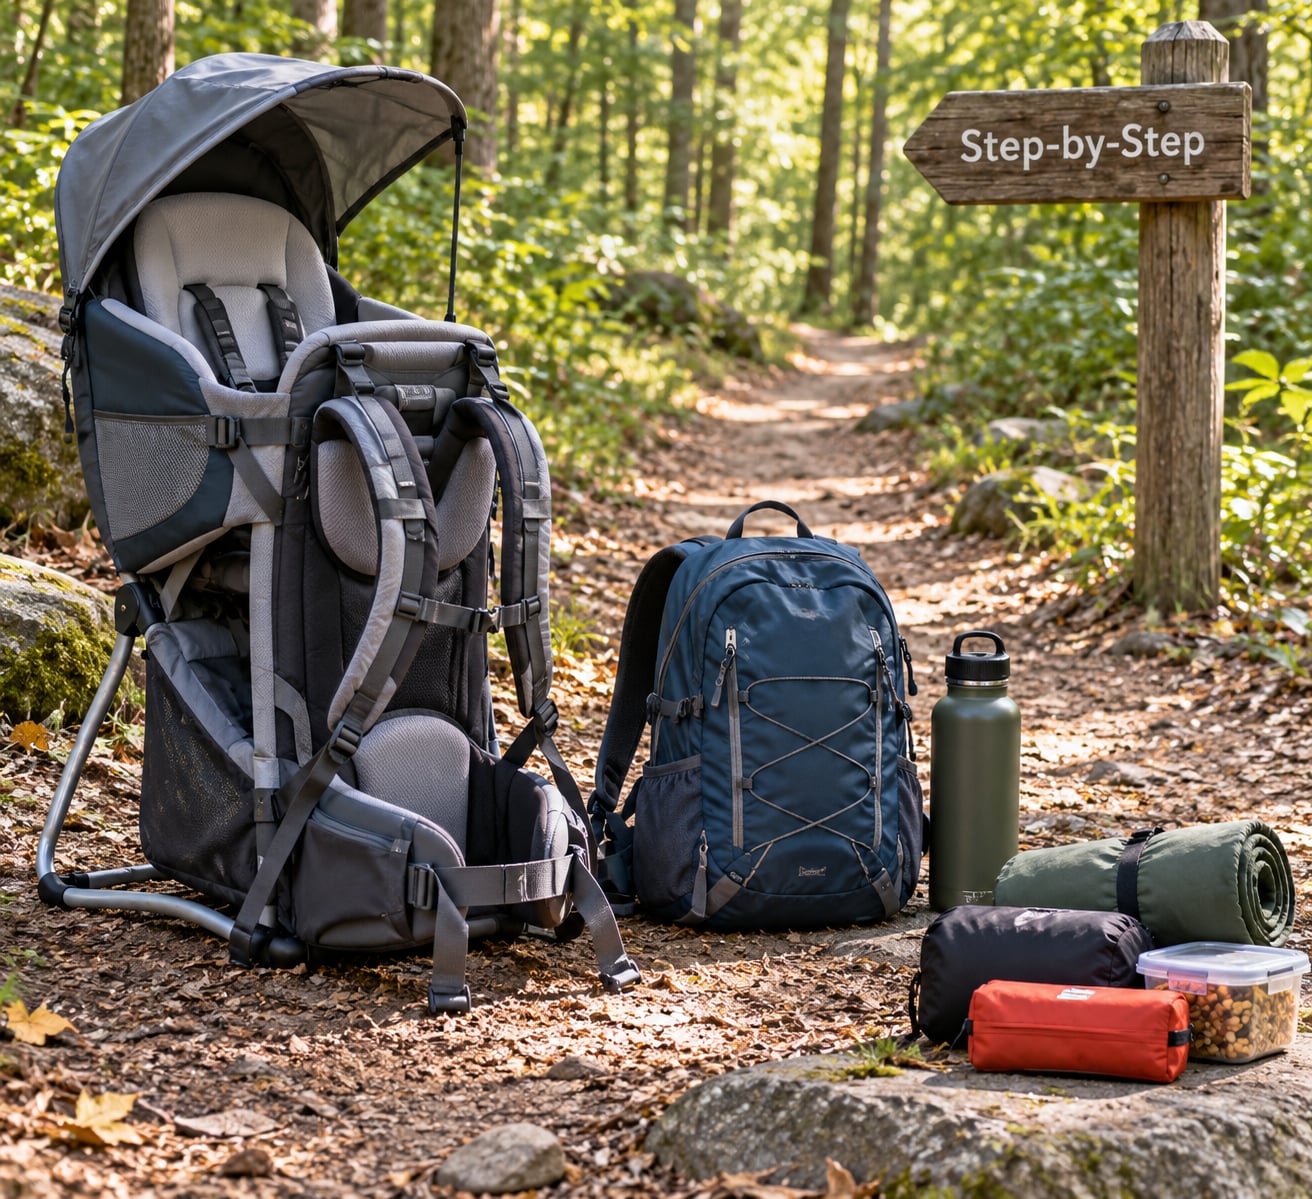
The carrier is the whole decision. Three styles cover almost every family: a soft structured carrier, a hip seat carrier, and a framed backpack carrier. Soft carriers are light and quick to load but usually cap out between 35 and 40 pounds of child weight. Hip seats leave the child’s legs and torso free and let them step in and out without help, which matters more than most gear lists admit. Framed packs hold more weight and more gear, cost you six pounds or more before your child is in them, and are harder to get a squirming toddler into alone.
Whatever you pick, check three numbers before you buy or pack. The child’s maximum weight, your own torso fit range, and the carrier’s empty weight. A pack rated for a heavier child than yours will not adjust tight enough for them, which shows up as a bouncing, uncomfortable load twenty minutes in.
Beyond the carrier, this is the working kit:
- Water for two. A spill-proof bottle for the child and your own, plus electrolyte packets if it will be hot.
- Snacks and a full meal. Easy-handed options like pouches, crackers and fruit. Hungry toddlers on a downhill stretch are a bad combination.
- Diaper supplies. Enough wipes and diapers for two changes, a changing mat, and a bag for the used one.
- A change of clothes. One full outfit for the child including socks, and a shirt for you.
- Sun protection. Broad-spectrum sunscreen applied before you leave and reapplied at breaks, plus a wide-brim hat. Parents on hiking forums single out the child’s head and neck as the worry spot on open terrain.
- Insect protection. Child-appropriate repellent, and a net or cover for the carrier seat.
- A small first aid kit. Adhesive bandages, antiseptic wipes, a dose of children’s pain reliever in the form you already use, and any prescriptions.
- Navigation and emergency basics. Trail map downloaded to your phone, a charged battery pack, and a layer plus rain shell for each of you.
Clothing matters more than people expect. Lightweight cotton dries slowly and stays cold when wet, which is why synthetic or merino layers are the better call for a child who might be sitting still in a wet seat. Pack one more warm layer than you think the forecast needs. Toddlers in carriers run cool because they are not moving their own muscles.
Step-by-Step
Plan the Route and Check the Conditions
Start with a trail that is short, flat and boring. Under three miles, under 500 feet of gain, a loop so you can bail out at any point, and a trailhead with parking close by. Success looks like coming back the way you came, tired but fine.
Skip anything with sustained scramble, exposed edges, narrow ledges or water crossings. One whattoexpect forum thread on hiking with toddlers turns into a running list of parents advising against high elevation and steep rocky routes for exactly this reason.
Then check the practical details. Look up current trail restrictions, recent trail conditions and whether the route is open to children. Check the hourly forecast for the time you will actually be out, not just the high temperature. Note where shade, water and a restroom exist along the way. Set a turnaround time before you leave the car and treat it as a real appointment.
Fit the Carrier and Test It First
Do this inside, where you can see the straps. Adjust the hip belt so most of the weight sits on your hips rather than your shoulders, tighten the shoulder straps so they just touch your shoulders, and pull the sternum strap snug across your chest. The carrier should not rock when you walk.
Adjust the child compartment to fit snugly. If your child can slide more than an inch, or their knees are pressed flat against the front panel, the seat needs tightening. A child positioned with knees bent and hips higher than shoulders is in the right ergonomic spot.
Keep the child’s face clear of the panel and check that their view out is at least partly unblocked. If the carrier has a sun cover, learn to put it on before you need it rather than mid-trail.
Then walk. Two or three ten-minute walks around the block with the child in the pack, once a day for a week, will tell you more than an afternoon of reading. If your shoulders are burning by minute eight, the fit is wrong.
Pack Supplies for the Child and the Hiker
Everything you need mid-hike should be reachable without taking the child out. Diapers, wipes, a snack, sunscreen and your phone belong in the hip belt pockets or the lower pockets of the pack, not buried at the bottom.
Load the rest the way you would any pack, with the heaviest items closest to your back. Keep the child’s weight slightly high on the back panel and near your shoulders rather than hanging low, which makes the whole load feel heavier and pushes the swing onto your lower back.
Tell someone where you are going and when you expect to be back, download the map before you lose signal, and note the nearest hospital to the trailhead. If you go with a buddy, that is worth more than any piece of gear you could add.
Start Slowly and Keep a Comfortable Pace
The first fifteen minutes are for settling, not for covering ground. Walk slower than feels natural and let your body find the rhythm with the extra weight. A steady, slightly slower pace beats fast hiking followed by a long rest.
Watch both people, not just the trail. Signs that the load is wrong for you: numbness in your hands, shoulder pain that sharpens with each step, a forward-leaning posture you cannot correct, or a pack that tips you when you go uphill. Signs the child is not settling: repeated arching, a hot damp neck, or fussiness that starts and stops.
Check the child’s neck and chest with the back of your hand every twenty minutes. Warm and dry means fine. Hot, damp or red means stop, get the sun cover on, and offer water before you move again.
Handle Breaks, Feeding, and Changing Needs
Plan a stop every twenty to thirty minutes whether anyone asks for one or not. Sitting down for a real break, rather than a shuffling pause, saves a lot of friction. Bring the child out of the pack at least once an hour so they can move their legs and look at something other than a seat.
For water and snacks, hand over something they can hold themselves. Offering a bottle in the carrier is hard and usually ends in a wet seat. For food, keep to items that do not crumble, because they will end up in the seat fabric.
When the child wants out mid-trail, the hip seat style is the one that wins here, since they can climb onto and off it without your hands. With a framed pack, plan two or three planned unloading points instead of improvising. Hiking forum discussions about this exact moment usually land on the same advice: give the child ten minutes of free walking before the argument turns into a standoff.
For a diaper change, stop somewhere flat and out of the sun, lay out the mat, and change everything you can. Diaper changes on trail are where a spare outfit earns its weight.
Know When to Turn Around
Turn back early and without debate when any of these show up:
- The forecast turns: thunder, lightning, sustained heavy rain, or wind you cannot comfortably stand in.
- Your child feels hot to the touch, has stopped sweating normally, is vomiting, or has stopped drinking.
- You have shoulder pain, hand numbness, or a loss of balance you can feel coming.
- The trail surface turns to loose rock, roots or mud that you would not happily walk down in the rain.
- The carrier starts shifting, or a strap starts slipping.
- The turnaround time arrives. This one is not negotiable, which is exactly why you set it in the parking lot.
Leaving safely is mostly about not making the retreat harder than the hike. Turn around early rather than at the far point, take the same route back, and stop once to rest halfway home rather than pushing through the last mile in a fog.
Common Mistakes
Starting too far. Most bad toddler hikes are length problems, not gear problems. Halving the route makes the next one better.
Skipping the fit adjustment. A loose hip belt puts the whole load on your shoulders. If you cannot adjust the carrier, fix that first, not the trail.
Overpacking. Every extra pound of diapers and spare gear is a pound your shoulders carry for the whole outing. Bring the minimum and know where the trailhead is in case you need to restock.
Ignoring the temperature change. A stationary child in a carrier cools down faster than you do. Bring the extra layer and change the plan when the wind picks up.
Not checking the child’s fit. A carrier rated for a wider child will not hold a narrow one, and the bounce gets worse with every mile.
Hiking past the turnaround. Decision fatigue after three hours is real, and it is why the plan has to be made while you are still thinking clearly.
Simple Tips for a Better Hike
Practice the load at home in a hallway if you have to. The point is not distance, it is teaching your body the shape of the pack before a trail demands anything from it.
Pick trails with loops and obvious bail-out points. Out-and-back doubles your commitment to a decision you may need to reverse.
Time the hike to your child’s good stretch. Parents weighing whether to skip the nap generally find out the hard way, because the outcome is a tired toddler and a tired adult at the same time.
Give the child jobs: carry a sticker to the next trail marker, name the birds, find the biggest rock. Bored toddlers fight the carrier, and a small task buys you another mile.
Start with the first carrier you buy as a short trip only. Once a walk in the woods with a toddler feels routine rather than an event, graduate to a longer route, an overnight, or a hike where the child walks part of the way on their own.
Frequently Asked Questions
What is the best way to carry a toddler while hiking?
For most families, a hip seat carrier is the easiest option for short day hikes because the child can step on and off without your help. A framed backpack carrier suits longer trips, heavier children and trips where you need to carry gear. Pick based on your child’s weight, the distance, and how often you expect to load and unload mid-trail.
Can I carry my 2 year old in a carrier?
Yes, and a two year old is a comfortable age for carrier hiking. Most framed backpack carriers are rated from around 20 to 35 pounds, which covers most two year olds. Check your specific carrier’s weight limit and torso range, and confirm the child sits with hips higher than shoulders and knees bent rather than straight.
Can you carry a 3 year old in a hiking backpack?
Usually, yes, as long as the child is inside the pack’s stated weight range, which on many models tops out between 40 and 50 pounds. The bigger constraint is your own comfort, since framed packs often weigh six pounds or more empty. Test the loaded pack on several walks before a long trail, and check your own torso fit range.
How far can a 2 year old hike?
On their own, most two year olds manage roughly one to two miles on flat, boring trail before they tire. With a carrier, the limit is your endurance and their patience rather than their legs. Plan loops under three miles for early outings, and expect to cover less ground than the same trail without a child.
What age can you use a hiking carrier?
Soft structured carriers generally work once a baby has good head and neck control, commonly around six months. Framed backpack carriers usually start around age two, when the child can sit upright unsupported and their hips and knees can be positioned properly. Check the manufacturer’s age guidance for the specific carrier before you go.
How do you get a toddler to nap in a hiking carrier?
Most carriers work as a nap spot because the seated position is more restful than being carried in arms. Time the hike to the nap window, use the sun cover or rain cover as a light shade, keep the pack steady and flat, and avoid downhill sections where the jostling wakes them. Expect a fuss when they wake, so plan your route around that.
Conclusion
Your safest first step is boring: a short loop, a carrier you have already walked with for a week, a pack holding only water, snacks, diapers, a change of clothes and a first aid kit, and a turnaround time decided in the parking lot. Do those four things and the outing takes care of itself.
Build from there. A toddler who naps in the pack at ninety minutes will eventually manage two hours, and then a half-day, and eventually walk the trailhead section on their own feet. Nobody gets there by starting with the ambitious route.