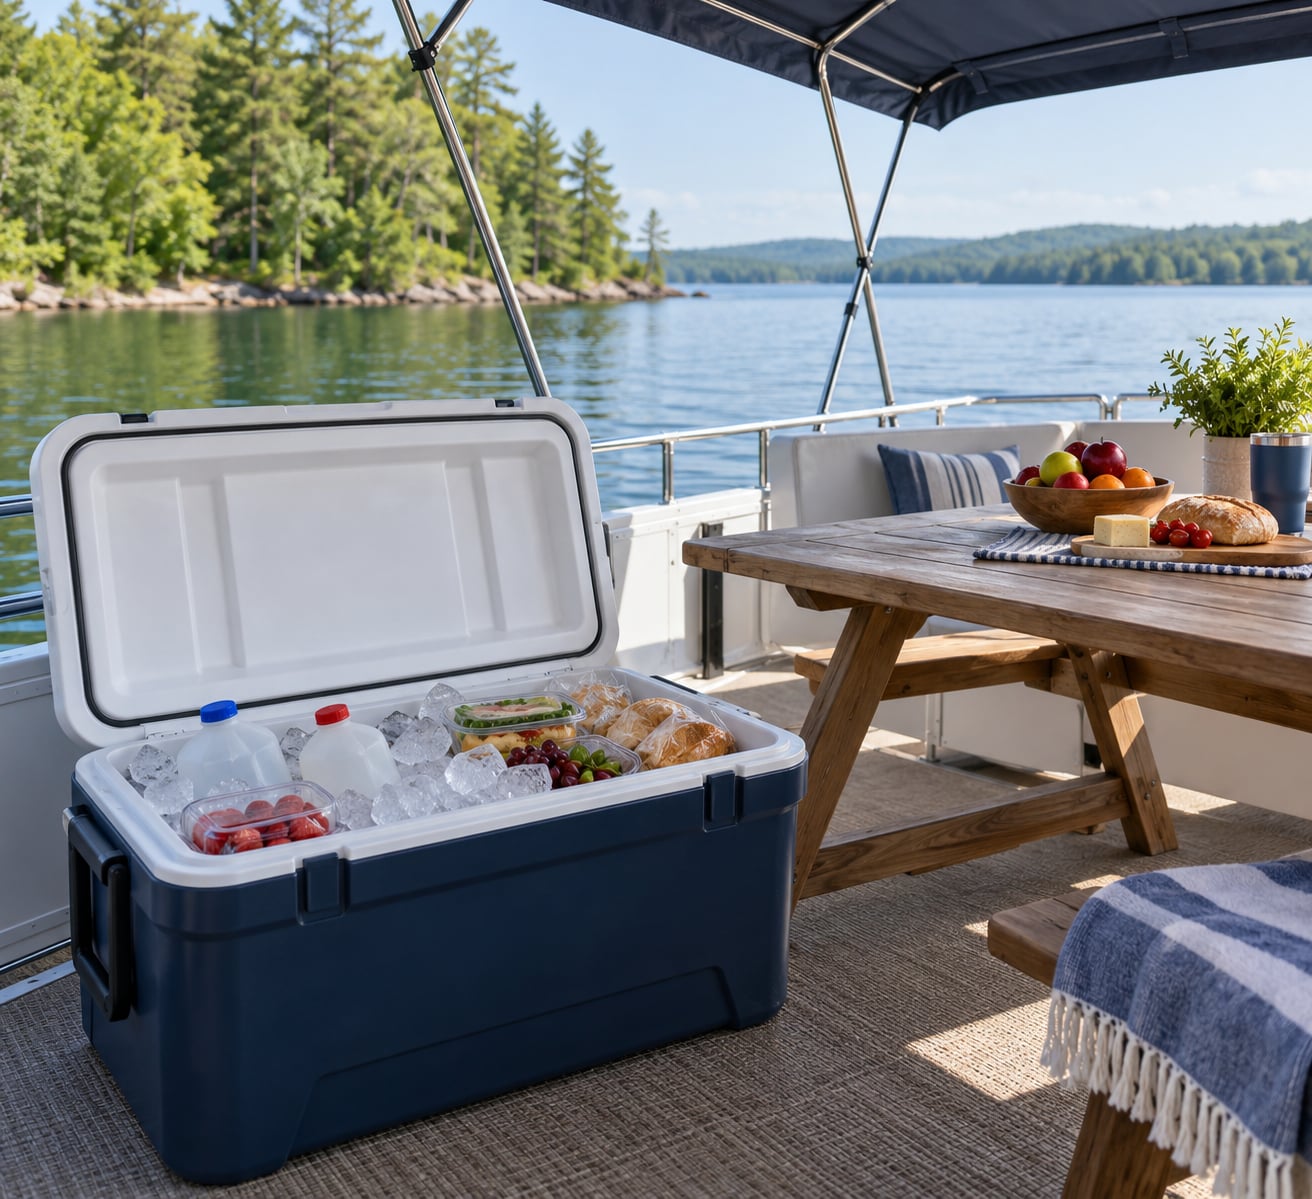
To keep ice from melting in a cooler, pre-chill the cooler and everything going in it, pack block ice or frozen jugs in a solid base layer, fill every air gap, and keep the lid shut and out of the sun. Those four moves decide whether you still have ice at the end of the day or a half cooler of cold water.
Updated for October 2026. This guide covers the setup for anglers, boaters, campers and families who want cold drinks and safe food without buying a new bag of ice every afternoon.
One thing worth saying up front: no cooler stops ice from melting. Heat always finds its way in through the walls, the lid seal and the gaps between contents. What good packing changes is the rate, and rate is the whole game when you are eight hours from the nearest bait shop.
Table of Contents
- 1What You Need
- 2Step-by-Step
- 3Pre-Cool the Cooler and Food
- 4Choose the Right Ice and Insulation
- 5Pack Ice Around What Needs to Stay Cold
- 6Keep the Cooler Closed and Shaded
- 7How to Keep Ice From Melting in a Cooler: By Trip Type
- 8Fishing and boating
- 9Beach and picnic days
- 10Tailgating
- 11Multi-day camping
- 12Common Mistakes
- 13Loading warm food and warm drinks
- 14Draining the meltwater too soon
- 15Leaving the cooler in the sun
- 16Propping the lid open
- 17Leaving air gaps
- 18Using salt to save ice
- 19Relying on foil, wet towels or newspaper
- 20Forgetting food safety
- 21Frequently Asked Questions
- 22How long will a cooler keep ice from melting?
- 23How to keep a cooler cold for 5 days?
- 24Is it better to put an ice pack on top or bottom of a cooler?
- 25Is dry ice good for camping?
- 26Will aluminum foil keep ice from melting?
- 27How to make sure popsicles don’t melt in a cooler?
- 28Start With These Three Moves
What You Need
You need less than most people buy, but the few things you do buy matter more than the count.
- A well-insulated hard cooler with a real gasket. Thick walls and a lid seal you can feel close with your eyes shut are the two biggest levers you control. Soft fabric coolers work fine for a beach afternoon and poorly for a weekend.
- Two kinds of ice. Block or cubed ice for the cooling mass, plus frozen gallon jugs or water bottles to plug the gaps. One shape does not do both jobs well.
- A way to pre-chill. That is a freezer, a basement, or twenty minutes of shade with the lid open. Anything colder than your food works.
- A shaded spot. A tree, a canopy, the shaded side of a vehicle, or the cabin of a boat under a canvas top.
- A towel or a shallow bin. Cheap, and it keeps food out of meltwater.
- Dry ice, only if you need food genuinely frozen. It is sold at many grocery stores and hardware stores, and it comes with real handling rules.
For a weekend or longer, a second cooler is the single best upgrade. One stays packed and closed with food and jugs; the other opens all day for drinks without ever costing you the cold in the food cooler.
Two smaller items are worth more than they look. A cooler with a working drain plug lets you empty dirty water at a rest stop without tipping the whole thing, and a light-colored towel or reflective cover over a dark lid cuts the heat a black surface absorbs in full sun.
A quick note on coolers that are already in your garage. Age matters more than people expect, because foam insulation and gaskets compress and degrade over years in a hot shed. If your lid seal feels loose or crumbly, no amount of packing discipline will compensate, and replacing the seal is usually cheaper than replacing the cooler.
Step-by-Step
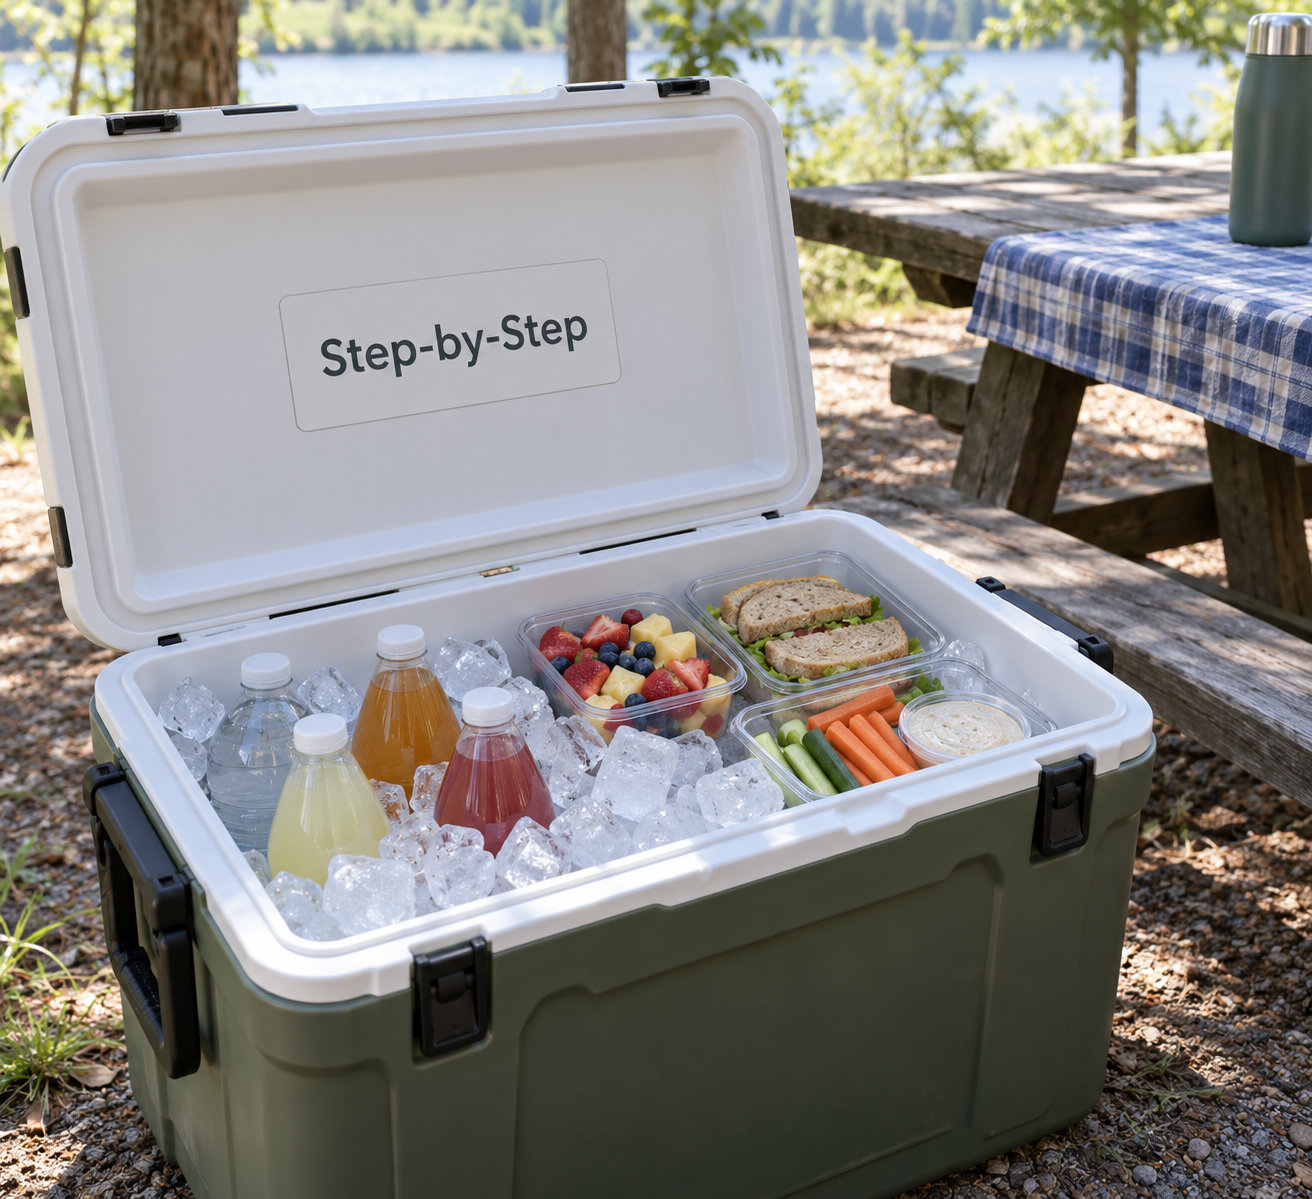
Work in this order. Each step makes the next one work harder, so skipping ahead does not save you anything.
Pre-Cool the Cooler and Food
Ice melts faster when it has to absorb the heat already inside the cooler. A cooler sitting at room temperature, loaded with warm food, is running at a much higher temperature than one that started near freezing.
Here is the simple version: put a bag of ice or a couple of frozen jugs in the empty cooler twenty minutes before you load it, with the lid cracked or closed. Chill your drinks and your perishables in the coldest place you have first, even if that means cutting the meat at home before you leave and putting it straight into a cooler. Every degree you remove before loading is heat the ice does not have to absorb later.
And yes, you can put ice in a cooler the night before. Loading it the evening of a two-day trip is one of the best free improvements available. The cooler starts the day already at ice temperature, which is exactly what you want after sitting in a vehicle or garage all night.
Choose the Right Ice and Insulation
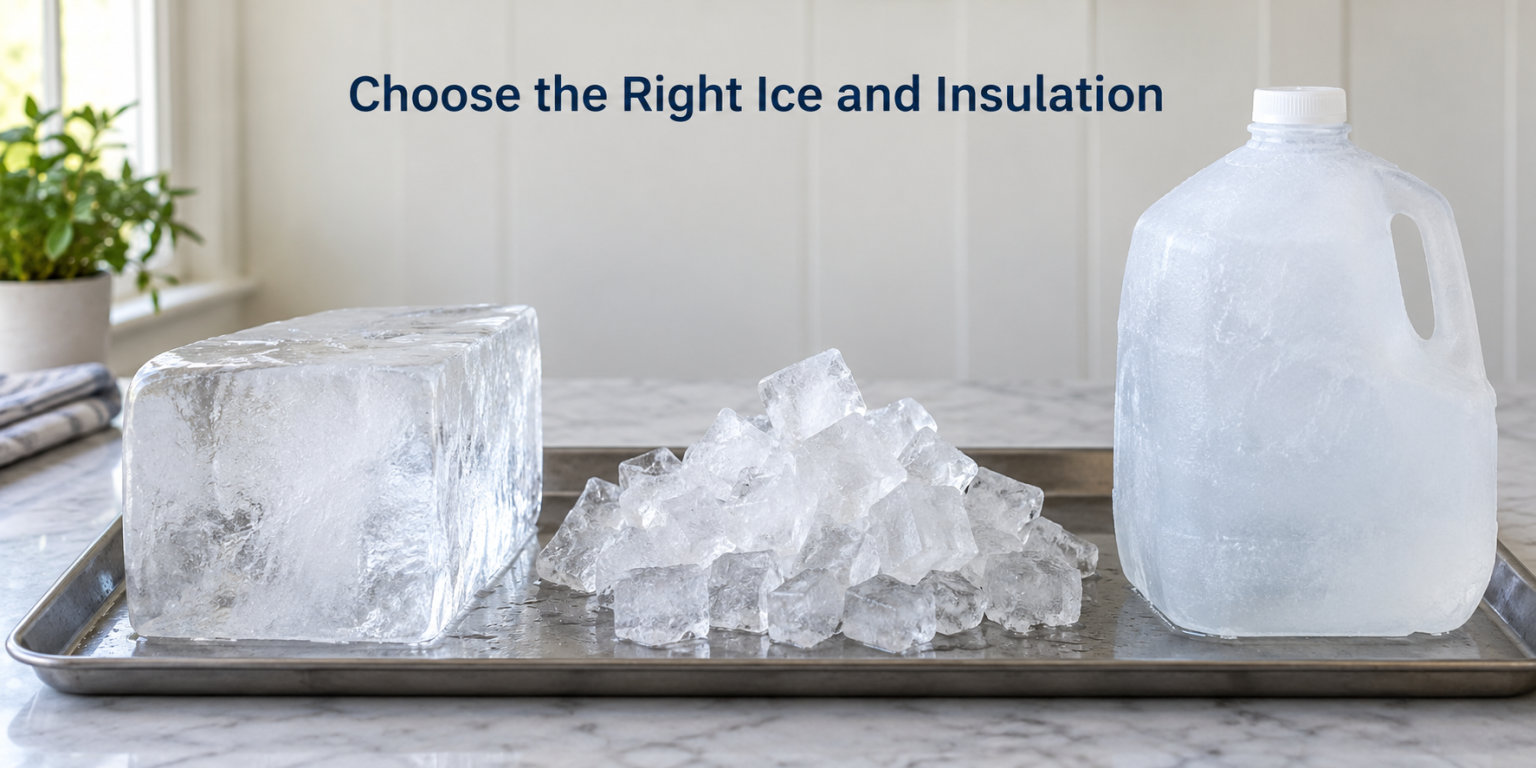
Ice shape changes melt rate more than most people expect. Cubes have a huge amount of surface area for their volume, so they melt fast and they melt evenly. Blocks and frozen jugs expose far less surface, so they give up heat more slowly and last considerably longer.
| Ice type | Melt rate | Best use |
|---|---|---|
| Block ice | Slowest of the wet ice | Multi-day trips; keeps food cold for days |
| Ice sheet or thin layer | Slow | Lining a cooler wall to slow warming |
| Frozen gallon jugs | Very slow | Filling dead space and keeping food cold below |
| Cubed ice | Fast | Day trips where you want a drinkable pool |
| Reusable ice packs | Slow, but limited capacity | Keeping food and treats frozen above 40F, not cooling a whole cooler |
| Dry ice | Sublimates, does not melt | Keeping food frozen for a week; camping and long road trips |
How long should you expect? Real numbers vary with ambient temperature, cooler quality and how often you open it, but these are reasonable planning ranges for a well-insulated cooler in warm weather:
| Trip length | Cubed ice only | Block or jug base plus cubes on top | With dry ice |
|---|---|---|---|
| Same-day boat or beach outing | Often fine | Better, cheap insurance | Unnecessary |
| Overnight or two days | Usually not enough | Reliable | Reliable, colder |
| Three to five days | Will not hold | Workable with top-ups | Best option |
| A week or more | No | Only with regular re-icing | What it is made for |
Thick insulation and a tight gasket are what stretch those hours. If the lid closes with a soft click and stays closed when you tip the cooler, you are getting most of the insulation you paid for. If it rattles or rocks, no packing trick will save the ice.
How much ice you need comes down to trip length. A rough planning figure is one to two pounds of ice per person per day, and perishable-heavy trips push toward the higher end because cold food keeps melting the ice around it. For two people on the lake for a day, a couple of 20-pound bags is comfortable. For a family of five with perishables for three days, you are looking at six to ten bags or the equivalent in blocks, and that is the trip where frozen jugs stop being optional.
Cost follows the same logic. Bagged cube ice is cheap and melts in a day, which means buying it repeatedly, while blocks and a jug base cost more up front and often remove the need for a second purchase. The math works out in your favor on anything past a single outing, especially if you are driving far enough that the gas station ice is the expensive one.
Dry ice deserves its own warning because it is genuinely different. It is frozen carbon dioxide at minus 109F, and it turns straight into gas instead of water. Handle it with insulated gloves or a towel, never bare hands. Never seal it in an airtight container, because the pressure will find a way out. Keep a cooler loaded with dry ice in a ventilated space, and never leave one closed in a parked vehicle or a small room, since the gas displaces oxygen. Many sellers require you to be 18 or older to buy it.
Pack Ice Around What Needs to Stay Cold
Load from the bottom up. Put down a thick base layer of the slowest ice you have, blocks or frozen jugs first, covering the entire floor of the cooler.
Next comes your perishables, packed tightly together and set on the base layer, with a towel or shallow bin between them and any meltwater that collects. Then fill every gap with jugs, bottles or loose ice, because dead air space is what quietly melts your ice. Cold air trapped in a gap is a poor insulator; a solid block of frozen water in the same space is a large cold mass.
Finish with the things you will reach for most, which are usually drinks and snacks, on top so you are not rearranging cold food every time someone wants a beer.
Two habits make a measurable difference. First, put frozen food on top rather than the bottom. Cold air sinks, so items underneath dry ice or a heavy ice layer get colder and stay colder. Second, resist draining meltwater while ice remains. That water is already at freezing temperature, and it forms a cold bath around what is left, slowing further melting. Draining it hands your cooler a fresh problem: warm air rushing in to fill the space you just emptied.
If you take one idea from the fishing and camping forums, it is the two-cooler habit. Campers and anglers keep reporting that a cooler for drinks, opened constantly, and a second cooler for food, opened once or twice a day, beats one cooler opened forty times. It also lets you pack a second base layer of frozen jugs into the food cooler without losing shelf space.
Keep the Cooler Closed and Shaded
Every lid opening lets warm, humid air in and cold air out, and the replacement air is doing melting work the moment it arrives. Open once, take what you need, close it.
Then control the other two heat sources. Keep the cooler out of direct sunlight, because a dark lid in the sun absorbs far more heat than the same lid in shade. And set it on something rather than on the ground, since hot ground, hot boat decking and hot pavement all conduct heat straight up into the walls. A folded towel, a pallet board or a camp chair is enough.
On a boat, the shade under a canvas top is usually the difference between a full cooler and a drained one. Secure the cooler so it does not slide with the wake, and keep the drain plug closed while ice remains, for the reason above.
If the cooler is already half melted, do not despair. Drain off what you do not need, keep the lid shut and in the shade, and top up with whatever cold mass you can find. Most people who stop topping up early do so because they assume the ice is gone. It usually is not.
How to Keep Ice From Melting in a Cooler: By Trip Type
The four steps apply everywhere, but the balance between them changes with the trip. Here is how I would shift the same cooler for the four common cases.
Fishing and boating
Ice, not drinks, is the priority, because you are out past breakfast and the sun is climbing off the water. Blocks or jugs on the bottom, a small amount of cube on top for cold drinks, and the cooler under the canvas top or inside the cabin rather than in the sun on the deck. If you use a drain plug on a multi-day float, drain into a bucket rather than straight into the hull.
Beach and picnic days
This is the one trip where cubed ice earns its place, because you want a cold pool to reach into and drinks that are genuinely freezing. Two or three bags in a soft or hard cooler, packed about half full, with a towel shading the lid. Skip the jugs, they take up space you need for sandwiches and sunscreen.
Tailgating
The failure mode is lid openings, not heat. A two-cooler setup is nearly essential here: one for drinks that stays open on a table, one for food that stays shut in the shade. If you only have one cooler, keep the food in a separate small cooler or insulated bag and let the big cooler be the drinks cooler.
Multi-day camping
Everything above, scaled. A block or jug base, a full load of perishables packed tight, top-ups of cube ice on day two, and dry ice if you want frozen food rather than cold food. Pack the cooler inside the tent or a shaded vehicle rather than in full sun at the site, because ambient shade at a campsite is often hard to find.
In freezing weather the same rules hold but the goal changes. Below freezing, a closed cooler is just an insulated box and your real job is keeping heat in, so pack it tight, fill the gaps with dry material rather than ice, and expect the food to come out at refrigerator temperature rather than frozen.
Common Mistakes
Most melted ice comes down to one of these, and each has a quick correction.
Loading warm food and warm drinks
A warm burger does more damage than the sun does. Chill everything at home first, and if you truly cannot, pack hot food in a separate container so its heat does not sit against the ice.
Draining the meltwater too soon
As above, the cold water insulates what is left. Drain only when it is dirty or soaking your food, and only if there is no ice left to keep cold.
Leaving the cooler in the sun
Shade the cooler or put a towel or light-colored cover over it. Direct sun on the lid is a fast, silent melt.
Propping the lid open
It feels like a convenience and it works exactly like leaving a window open in winter. Close it and take the one-second hit.
Leaving air gaps
That half-empty corner is the most expensive space in your cooler. Fill it with frozen jugs, bottles or loose ice until the contents sit packed.
Using salt to save ice
Salt is not a trick here, it is the opposite. Salt lowers the freezing point of water, so it makes ice melt faster, and it is the reason we can spread salt on icy sidewalks in winter. Use it to get ice cold, never to make it last.
Relying on foil, wet towels or newspaper
Foil lining a cheap cooler helps a little, and a wet towel over food buys maybe an hour. Neither comes close to insulation thickness, and both are worth skipping in favor of a better cooler when you can afford one.
Forgetting food safety
Ice keeps food cold; it does not make it safe forever. Perishable food should stay below 40F, and once it passes into the 40F to 140F danger zone, two hours is the limit, or one hour above 90F outside. That applies as much on the lake as in the kitchen.
Frequently Asked Questions
How long will a cooler keep ice from melting?
A well-insulated hard cooler with a block or jug base layer typically holds solid ice for two to three days in warm weather, and cubed ice alone usually lasts a single day. A budget soft cooler with bagged cube ice may be gone by midafternoon. Dry ice extends that to a week when replenished. Ambient temperature, sun exposure and how often you open the lid move these numbers more than the brand name does.
How to keep a cooler cold for 5 days?
Start with a block or jug base layer, pack perishables tight in the middle with a bin or towel between them and meltwater, fill every gap, and keep the cooler shaded and closed. Expect to top up once or twice with cubed ice. If you want to do it without buying ice at all, use dry ice: five to ten pounds per day in a well-insulated cooler is a common starting point, and it keeps food frozen rather than merely cold.
Is it better to put an ice pack on top or bottom of a cooler?
For cooling, ice belongs at the bottom as a solid base layer, with food and drinks stacked above it. For keeping specific items frozen, put a frozen pack or dry ice on top of them, because cold air sinks onto whatever is beneath. Reusable packs do not cool a whole cooler on their own; they work best for popsicles, sandwiches and anything that would otherwise go soft.
Is dry ice good for camping?
It is the best option for multi-day camping because it keeps food frozen for roughly a week and does not melt into a swamp at the bottom of your cooler. Handle it with insulated gloves, keep the cooler ventilated, and never seal it airtight. Never sleep in a room or vehicle with a closed dry ice cooler inside, since carbon dioxide gas displaces oxygen.
Will aluminum foil keep ice from melting?
It helps a little and not nearly as much as people hope. A foil lining reflects some radiant heat and stops a dented steel cooler from absorbing heat through its walls, which can stretch a cheap cooler by a few hours. In a decent insulated cooler the effect is negligible. Spend the effort on pre-chilling and closing the lid instead, and skip the foil there.
How to make sure popsicles don’t melt in a cooler?
Treat them like frozen food, not like drinks. Freeze them solid, wrap them so they do not sit against meltwater, and bury them at the bottom of the cooler directly on the ice base, with frozen jugs or dry ice underneath. For a beach afternoon, a small soft cooler with two or three reusable packs holds popsicles frozen far longer than a big hard cooler opened all day.
Start With These Three Moves
If you change nothing else this season, do these three things: pre-chill the cooler before you load it, use blocks or frozen jugs as a base layer instead of nothing but bagged cubes, and keep the lid shut and out of the sun. Between them they decide most of how to keep ice from melting in a cooler over a long day in 2026.
For anything longer than a day, add a second cooler for drinks so the food cooler stays packed and closed, and consider dry ice with the ventilation and handling rules above. Keep perishables under 40F and out of the danger zone, and you will have a setup that works whether it is a boat ramp at dawn or a Saturday tailgate.