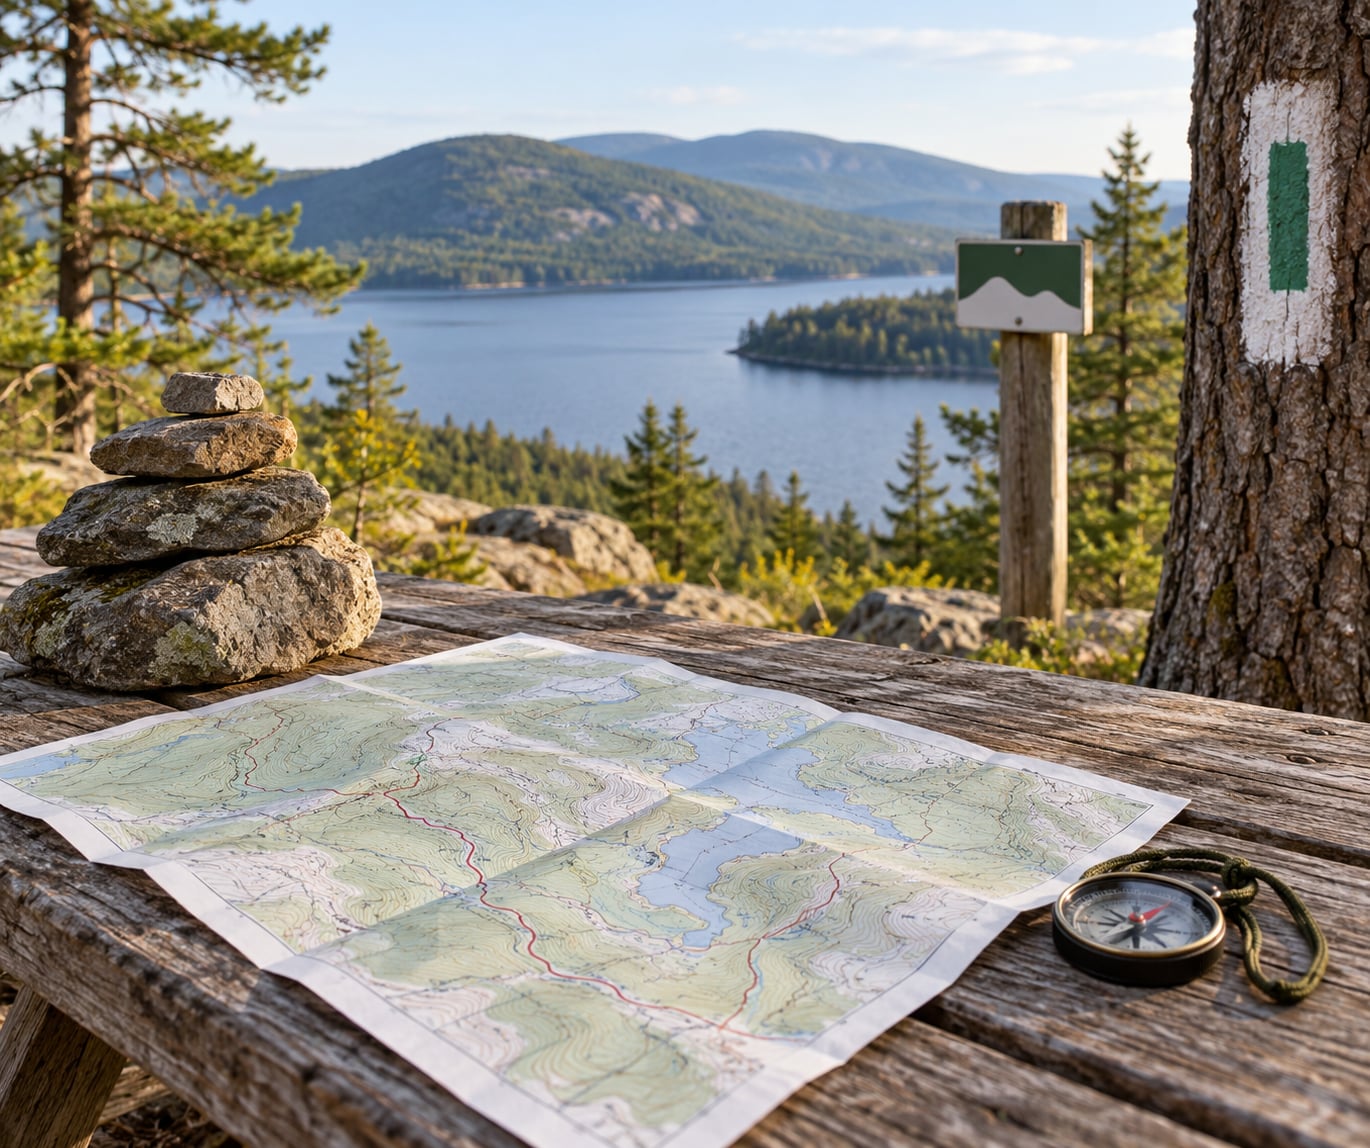
If you want to learn how to read a trail map and markers, treat them as one system: the map tells you what the route looks like over distance, elevation and terrain, and the markers confirm on the ground that you are still on that route. Learn the map before you walk, then use each blaze, cairn or sign as a check on where you are.
That is the whole idea, and it takes about 15 minutes to learn properly. The hard part is not memorising symbols. It is building the habit of stopping at every junction, matching what you see to the line on the paper, and deciding on purpose whether to continue or turn back.
Table of Contents
- 1What You Need
- 2How to Read a Trail Map and Markers: Step-by-Step
- 31. Set the Map to the Correct Scale and Orientation
- 42. Identify Your Route, Trailhead, and Destination
- 53. Learn How to Read a Trail Map and Markers Together
- 64. Match Each Marker to the Map
- 75. Keep Track of Your Position as You Walk
- 86. Use a Compass or GPS as a Backup
- 97. Confirm That You Are Going the Right Direction
- 108. Turn Around or Reorient Safely
- 11Common Mistakes
- 12Frequently Asked Questions
- 13What do different colors of trail markers mean?
- 14What should I do if I cannot find the next trail marker?
- 15How far apart are trail blazes usually placed?
- 16Can I use my phone instead of a paper trail map?
- 17What should I do if my paper map and GPS show different locations?
- 18Conclusion
What You Need
You can start with very little, but these five things cover almost every day hike. Pack them together, keep them in the top pocket of your pack, and the rest is practice.
- The agency trail map. A USGS topographic quad or a land-manager map from the National Park Service, U.S. Forest Service, or your state park. The official map for the trail you are walking beats a generic map of the region.
- A baseplate compass. Any compass with a rotating bezel and a direction-of-travel arrow works. You need it to orient the map and to take a bearing when the weather or the trees make landmarks useless.
- A phone with offline maps downloaded. Download the route before you leave the trailhead, not at the parking lot where you still have bars. A GPS app is a backup, not a substitute for knowing the route.
- The route description or trail guide. Trail names, mileages, junction lists, water sources and bailouts. This is what tells you what the map line is supposed to be called.
- The local marker reference. Read the sign at the trailhead and the managing agency page for that trail. Marker colors are not universal, and the trailhead is where the code for that trail is published.
A few small extras pay for themselves: a waterproof map case or a clear plastic sleeve, a pencil for marking your route and your exit point, a spare battery or a small power bank, and a whistle. If you take kids, a bright tape or flagging on your pack helps them spot the next blaze before you have to point it out.
Check the gear before the trip rather than at the trailhead. Lay the compass on the table and confirm the bezel turns and the declination screw is not stripped. Open the map case. Make sure you can actually see the legend in dim light without unfolding half the sheet.
How to Read a Trail Map and Markers: Step-by-Step
1. Set the Map to the Correct Scale and Orientation
Scale tells you how much ground one unit of paper covers, and it decides whether a line is a footpath or a road. On a 1:24,000 USGS quad, one inch on the map equals about 2,000 feet on the ground, and one centimetre equals roughly 250 metres. On a 1:50,000 map, one centimetre covers about 500 metres.
Rotate the map until north is pointing roughly at the top of the sheet. Use your compass: lay it on the map, line the bezel’s north arrow up with the map’s north arrow, then turn the map, not the compass, until the two match.
Then find the marginalia along the edges. The north arrow, the scale bar, the contour interval printed in the corner and the legend box are all there, usually outside the neat line that frames the map itself. Read them before you read anything inside the frame.
Contour lines join points of equal elevation. The contour interval is the vertical distance between them, commonly 40 feet on most 7.5-minute USGS quads. Every fifth line is an index contour, drawn heavier and labelled with its elevation. Closely spaced lines mean steep ground, widely spaced lines mean a gentle slope, and lines that never close into a shape mean a slope that keeps going in one direction.
Grid references are the map’s address system. A UTM grid or a latitude and longitude grid lets you tell someone exactly where you are, which matters more than it sounds the first time a call goes out.
2. Identify Your Route, Trailhead, and Destination
Find three things and point at them on the paper: where you start, where you end, and the line that connects them. Beginners often start by studying the pretty middle of the map and end up reading the wrong trail entirely.
Note the trail name and number printed along the line, for example a state or forest route number. Then mark every junction on the route, because junctions are the places where you make decisions and the places where a wrong turn looks deceptively reasonable.
Find your bailouts too: the roads, trailheads, bridges and junctions where you could turn back if the weather turns or the light goes. Write down the mileages or distances where they appear, so a sign later that reads 4.2 miles means something.
Look for water access points, campsites and trail shelters along the line. They are often the only landmarks you will recognise on a foggy afternoon, and they are usually marked with a symbol you can look up in the legend.
3. Learn How to Read a Trail Map and Markers Together
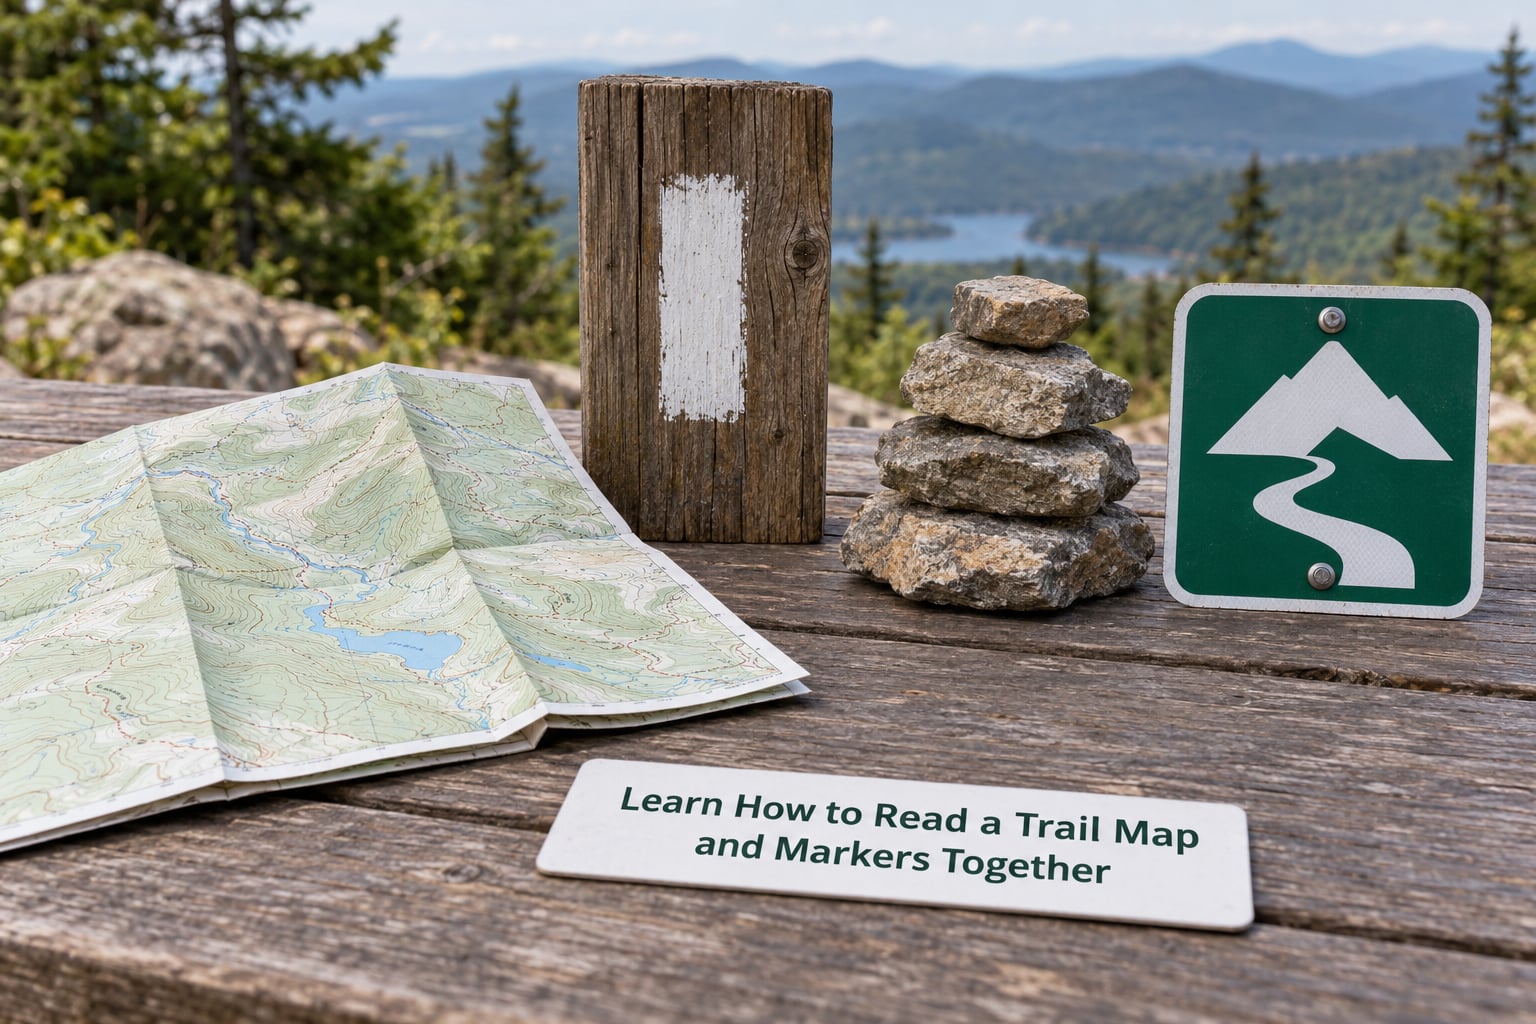
A trail marker is any visual sign that shows you the official route and which way to travel along it: a painted blaze on a tree or rock, a stacked-rock cairn, a signpost, a metal disk bolted to a tree, or flagging tape on a branch. The map draws that route as a line; the markers are the line made physical on the ground.
Paint blazes are the most common. A typical blaze is a vertical rectangle roughly 2 by 6 inches, painted at about eye level so you see it without stopping. Many land managers now use retroreflective paint that flares in a headlamp beam. Spacing varies with terrain, commonly 50 to 100 feet in forest and up to 300 metres in open country.
The rhythm of blazes is worth learning as a feel: you should generally be able to see the next blaze from the current one. If several minutes pass with no blaze in sight, you have probably left the tread.
| Marker | What it looks like | What it usually means | Typical spacing |
|---|---|---|---|
| Single blaze | One vertical rectangle | Stay on the route, continue as the terrain dictates | Visible from the previous one |
| Double blaze | Two marks stacked one above the other | Change ahead: turn, junction, hazard or difficult terrain | Placed just before the change |
| Over-under or offset blaze | Two marks offset diagonally, not stacked | The route turns at the next tree or post; the higher mark indicates the turn direction | Immediately before the turn |
| L-shaped blaze | Two marks at an angle forming a corner | Turn; the corner points toward the new direction | Immediately before the turn |
| Three stacked blazes | Three marks in a vertical column | Start or stop point of a marked route | Single occurrence |
| Side blaze | A small mark offset beside the main route | Marks a branch such as a campsite or overlook; it does not replace the main blaze | Only where a side trail leaves |
| Cairn | Stacked rocks, base 15 to 30 cm across, 30 to 120 cm tall | Waypoint at a junction or on exposed rocky ground | At junctions and above treeline |
| Signpost, disk or flagging | Wood post, metal disk, or ribbon on a branch | Route identification, direction, or a caution; flagging often marks a temporary reroute | Junctions and closures |
Cairns are the marker people trust wrongly. Anyone can stack rocks, and winter damage scatters a good cairn into several small piles across a short span. Multiple haphazard piles close together are usually wreckage, not a route. Only build or rebuild a cairn where the managing agency explicitly permits it, and never knock one down to test it.
Metal trail disks, mileage posts and small aluminum tags usually carry a route number rather than geometry. Read the number and match it to the number on your map, which is often the most reliable check available at a signed junction.
4. Match Each Marker to the Map
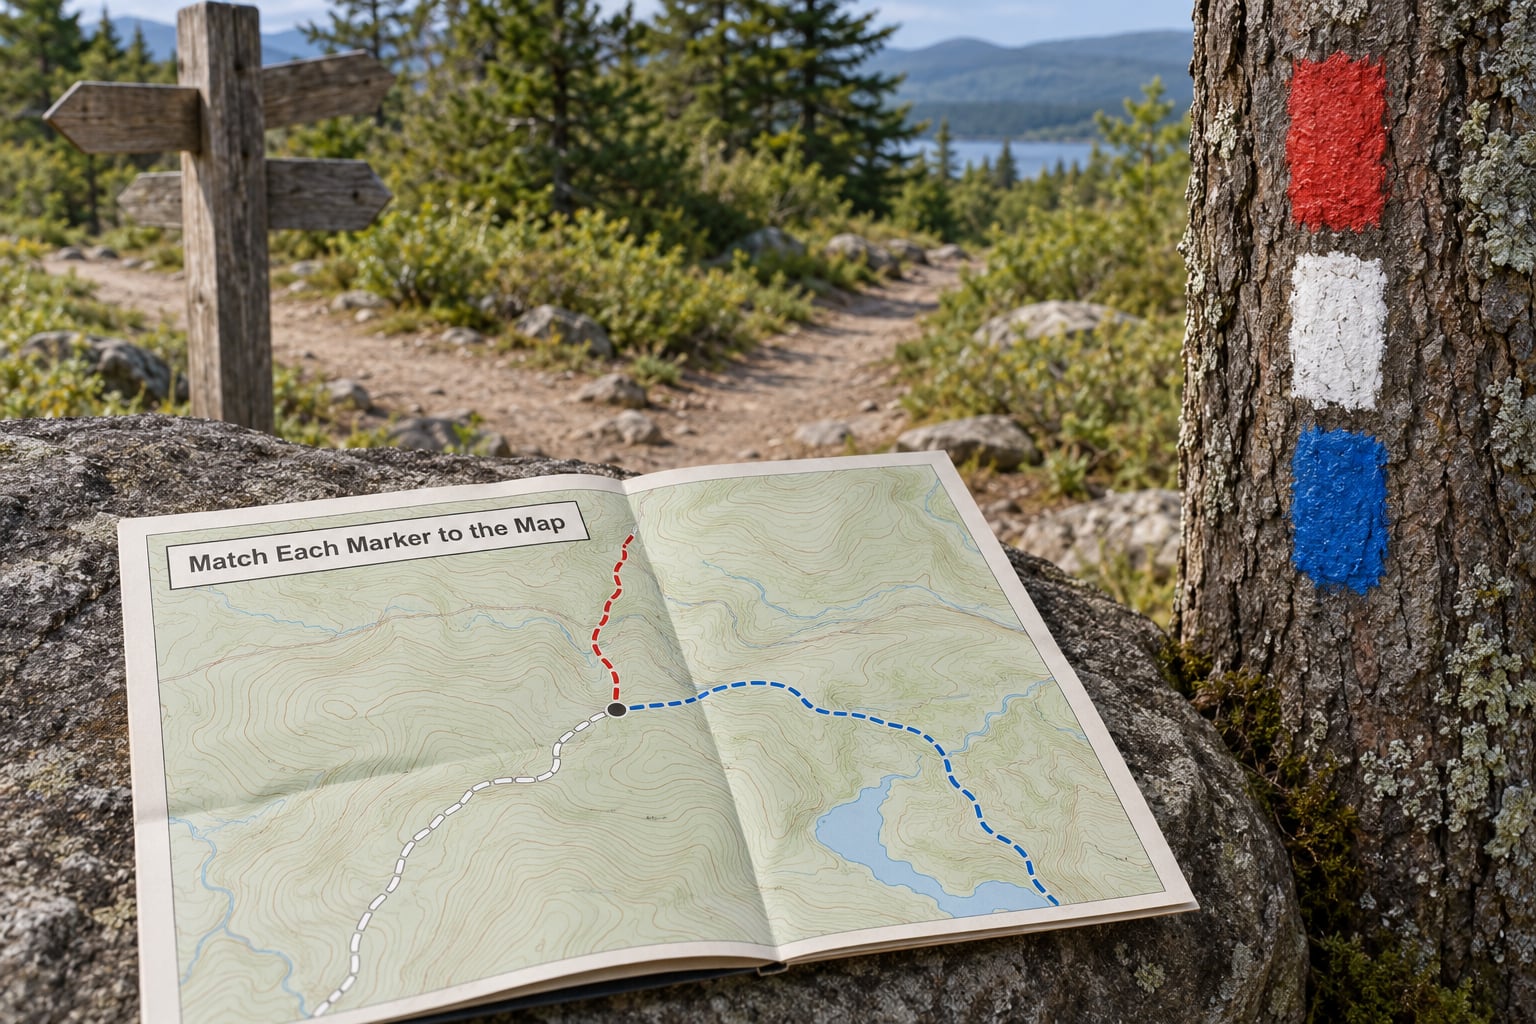
Matching is the core skill, and it takes three checks. Check direction: does the marker point, or is the sign arrow pointing, the way your route line runs? Check distance: is the mileage on the sign consistent with the map? Check terrain: does the ground match the shape drawn on the paper?
Here is a junction worked through. You are following route 12, which the map shows climbing north from a lake outlet and crossing a logging road at 3.1 miles. At the road you find a post with arrows and a blaze painted in your route’s color, plus a second blaze in a different color leading off toward water.
The different-colored blaze is a side trail. It points to something worth seeing, not a place you are going, so the correct move is to stay on your line. You confirm by looking at the map: your route continues up the slope after the road, and the water branch drops toward the shoreline instead.
Color is meaningful only within a system. The Appalachian Trail is marked with white blazes, the Continental Divide Trail uses white markers with a green cap, and some regional trails use yellow. Before you set out, read the trailhead sign and the managing agency page for that route so you know which color leads where and which colors belong to side trails.
Symbols on the map have the same logic. Learn the legend line by line once: the solid line for a maintained trail, the dashed line for an intermittent or unmaintained one, the double line for a road, the thin blue line for a stream, the triangle for a summit, the boundary line for a wilderness or park edge. The USGS topographic map symbol sheet and the National Park Service map legend are the reference documents behind those conventions, and most trail maps print their own legend in a corner.
5. Keep Track of Your Position as You Walk
Look up from the map at regular intervals and match the view to the drawing. The ridge line above you, the creek crossing the trail, the shape of the switchbacks ahead and the road disappearing into trees are all map features rendered in three dimensions.
Update your position after every meaningful junction, and treat that as a scheduled stop rather than something you do when you feel uneasy. Note three things at each junction: which branch you took, what the mileage sign said, and one landmark you can look for on the way back.
Contour lines help you estimate where you are when nothing else matches. Count how many contour lines you crossed since the last known point, check the interval printed on the map, and you have a rough elevation gain. That number is a genuine cross-check on your pace and on whether you have accidentally taken a branch that climbs.
Mark your map as you walk. A pencil line along the route travelled, a small cross at each junction and a note of the time are worth more later than perfect memory, particularly on a foggy descent in fading light.
6. Use a Compass or GPS as a Backup
A compass confirms what the map told you and works with no batteries. Take a bearing to a recognizable landmark, such as a distinct summit or a bridge, then read the bearing off the dial. Repeat the process with a second landmark and compare the two figures.
If the two bearings agree, your map orientation is probably right. If they disagree by a large angle, your map is rotated or you have misidentified the landmark, and that is the moment to reorient before moving on.
A phone or GPS watch gives you a dot on a screen, which is useful but easy to over-trust. The dot can lag under tree cover, drift on a ridge, or lead you confidently onto an old road or closed section that the official map shows as decommissioned. When the phone and the paper map disagree, believe the agency map and your markers.
Download the route offline, dim the screen, and check that your phone can wake from a locked screen without draining the battery in minutes. A GPS unit with a paper map taped to its lanyard is a reasonable choice for long routes.
7. Confirm That You Are Going the Right Direction
Wrong direction is usually obvious once you know what to look at. Reversed marker colors mean you picked up a different route or a side trail. An unexpected trail name on a sign means you are on a different line than you planned.
A path that suddenly widens, is freshly graded, or has vehicle ruts is a road or a logging track, even if it looks inviting and even if blazes appear on it later. Watch the mileage numbers too: if they are counting down when you expected them to climb, you are walking the section backwards.
The subtlest sign of error is a marker that keeps going while the map says your route should be climbing a ridge you are not climbing. Trust that mismatch over the blazes and go back to the last point where the two agreed.
8. Turn Around or Reorient Safely
When markers disappear, stop where you are. Walking in circles while anxious costs distance and light, and it is how people end up off-trail without knowing which way the trail was.
Scan rather than charge. Look back down the trail for the last blaze you passed, look ahead for any mark on a tree or rock in the distance, and look for a cairn at the bend you could be approaching. Then check the tread: the worn path surface is the most reliable marker on any trail, and switchback sections are where lost hikers get disoriented.
Open the map and identify the last place you are certain of, usually the last signed junction. Walk back to it, then re-approach the missing section more slowly, checking for a blaze on the correct side of the trail.
If you still cannot match the ground to the map after backtracking, and the light or the weather is getting worse, turn around toward a known bail road or trailhead. A shorter hike that ends at the trailhead beats a long one that ends in a rescue call. If the situation becomes genuinely serious, stop, get warm, and call for help early rather than waiting.
Common Mistakes
Almost every navigation mistake on a trail comes from skipping one small habit. Here are the ones I see most often, with the correction for each.
Ignoring the legend. People assume they can guess symbols. Read the legend in full before the hike, and note the two or three symbols your route actually uses.
Assuming every blaze means the same thing. Geometry carries the instruction, not the mark itself. A single blaze says continue; a double, offset or L-shaped blaze says something changes ahead. Learn the shapes, then check the local color code at the trailhead.
Never checking direction. Many hikers count blazes without noticing they are walking away from the destination. Read the mileage sign or the arrow at each junction and confirm it matches your map line.
Confusing a contour line with a trail on the ground. Contour lines exist only on paper. On the ground you are looking for tread, blazes, cairns and signs.
Following flagging over paint. Flagging tape often marks a temporary reroute or work-zone detour. Note it, check the trailhead board for closure notices, and follow the agency map unless the closure notice says otherwise.
Trusting the phone more than the map. Stale app data is a live problem, especially on roads and old rerouted sections. Use the phone to confirm, not to lead.
Building or moving cairns on your own. Check whether the managing agency permits it. Leave markers as you found them, and report downed or vandalized markers to the agency that maintains the trail; volunteer trail clubs often repaint faded blazes and rebuild cairns on request.
A short safety routine helps: tell someone your route and expected return time, carry more water than the map suggests you need, turn around early if you are behind schedule, and treat a marker that disagrees with your map as information rather than an obstacle.
Frequently Asked Questions
What do different colors of trail markers mean?
Colors identify routes, not instructions. The Appalachian Trail uses white blazes, the Continental Divide Trail uses white markers with a green cap, and regional trails often use yellow, red or blue. A different color from your route usually marks a side trail to a campsite, spring or overlook, though in some parks two routes share a corridor and share one color. Read the sign at the trailhead or the managing agency page for your specific trail, because colors are not consistent between parks or states.
What should I do if I cannot find the next trail marker?
Stop where you are instead of walking on. Look back to the last blaze you confirmed, scan ahead and to the side for a mark on a tree or rock, and check the tread for the worn path surface. Then open your map and identify the last junction you are sure of, and backtrack to it. If you still cannot match the ground to the map, and light or weather is turning, head for a bail road or trailhead rather than continuing off-trail.
How far apart are trail blazes usually placed?
On well-maintained forest trails, blazes are often close enough that you can see the next one from the current one, roughly 50 to 100 feet apart. In open country, above treeline or across rock and sand, spacing widens, sometimes to 300 metres. Land managers also place extra blazes just before a turn or junction, which can make the spacing look irregular in a good way. Typical blazes are about 2 by 6 inches and sit at eye level.
Can I use my phone instead of a paper trail map?
You can use a phone, but not only a phone. GPS dots lag under tree cover, drift near ridges and can route you onto old roads or closed sections. Download the map offline before the trailhead, carry a power bank, and keep the paper map in a waterproof case as your reference. The phone is quick and convenient for confirming position; the paper map carries the route, the junction names and the bailouts that a stale app may have dropped.
What should I do if my paper map and GPS show different locations?
Trust the official map and your markers over the phone. Before assuming either is wrong, check the date on your paper map, because reroutes and seasonal closures change often. Compare what the GPS dot is doing: if it sits on a road or a closed section, it is probably stale data rather than a true position. If the disagreement persists in open ground with clear sky, note the coordinates, mark both positions on the map, and continue from the position your markers and the map agree on.
Conclusion
The safest habit is short and specific: before you take the first step, find your route line, read the legend, mark your destination and your exit, and note every junction on the way. Then match each marker to that line using direction, distance and terrain, and update your position at every junction instead of when you feel uneasy.
Markers are evidence, not instructions. When a blaze, a cairn and your map all agree, press on. When they disagree, trust the map, backtrack to the last point of agreement, and turn around if the light is fading. That habit alone puts you ahead of most of the hikers who get lost.