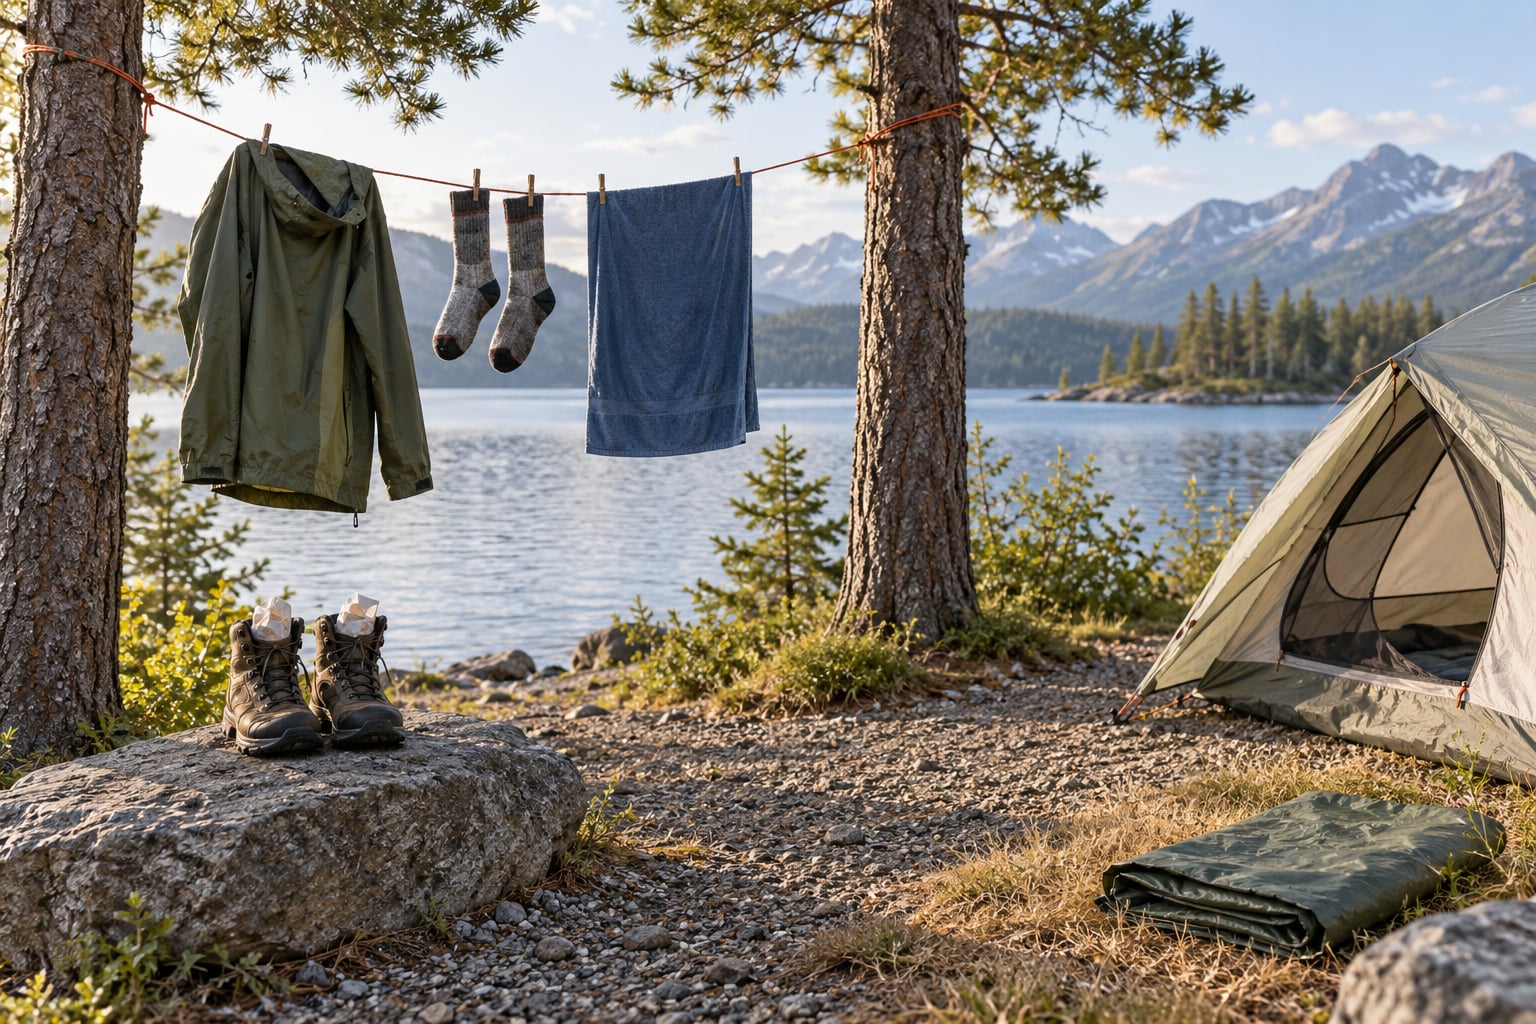
The fastest way to dry wet gear at a campsite is moving air, not heat. Squeeze or roll the water out first, hang each piece where a breeze can reach both sides, and separate damp items from the ones you need dry overnight. A sunny but still line dries slower than a shaded but breezy one.
Quick answer: To dry wet gear at a campsite, remove the water first with a towel roll, then hang items on a clothesline or rack in moving air, out of direct sun on synthetics. Turn pieces every 30 minutes, absorb moisture with towels or newspaper, and use a campfire only for loose, non-synthetic items held well back from the flames.
Rained on at a lakeside site? It is a common enough problem that campers argue about it on every forum thread from r/bikepacking to the Boy Scouts wilderness board. Most of the same answers keep coming back: airflow wins, water removal beats heat, and the gear that packs damp at the end of the trip is what causes mold at home.
Table of Contents
- 1What You Need
- 2Step-by-Step: How to Dry Wet Gear at a Campsite
- 31. Separate and Sort the Wet Gear
- 42. Choose a Dry, Airy Drying Area
- 53. How to Dry Wet Gear Fast: Airflow, Sun, and Absorbents
- 64. Apply Gear-Specific Drying Methods
- 7How Long Does Each Piece of Gear Take to Dry?
- 85. Turn, Shake, and Monitor Until Dry
- 9Common Mistakes
- 10Frequently Asked Questions
- 11How can I dry wet camping gear overnight?
- 12What is the safest way to dry a wet sleeping bag at a campsite?
- 13Can I dry wet clothes or jackets over a campfire?
- 14How do I remove a musty smell from gear that was packed damp?
- 15What is the best way to dry wet shoes or boots at a campsite?
- 16How do I know if my gear is dry enough to pack?
What You Need
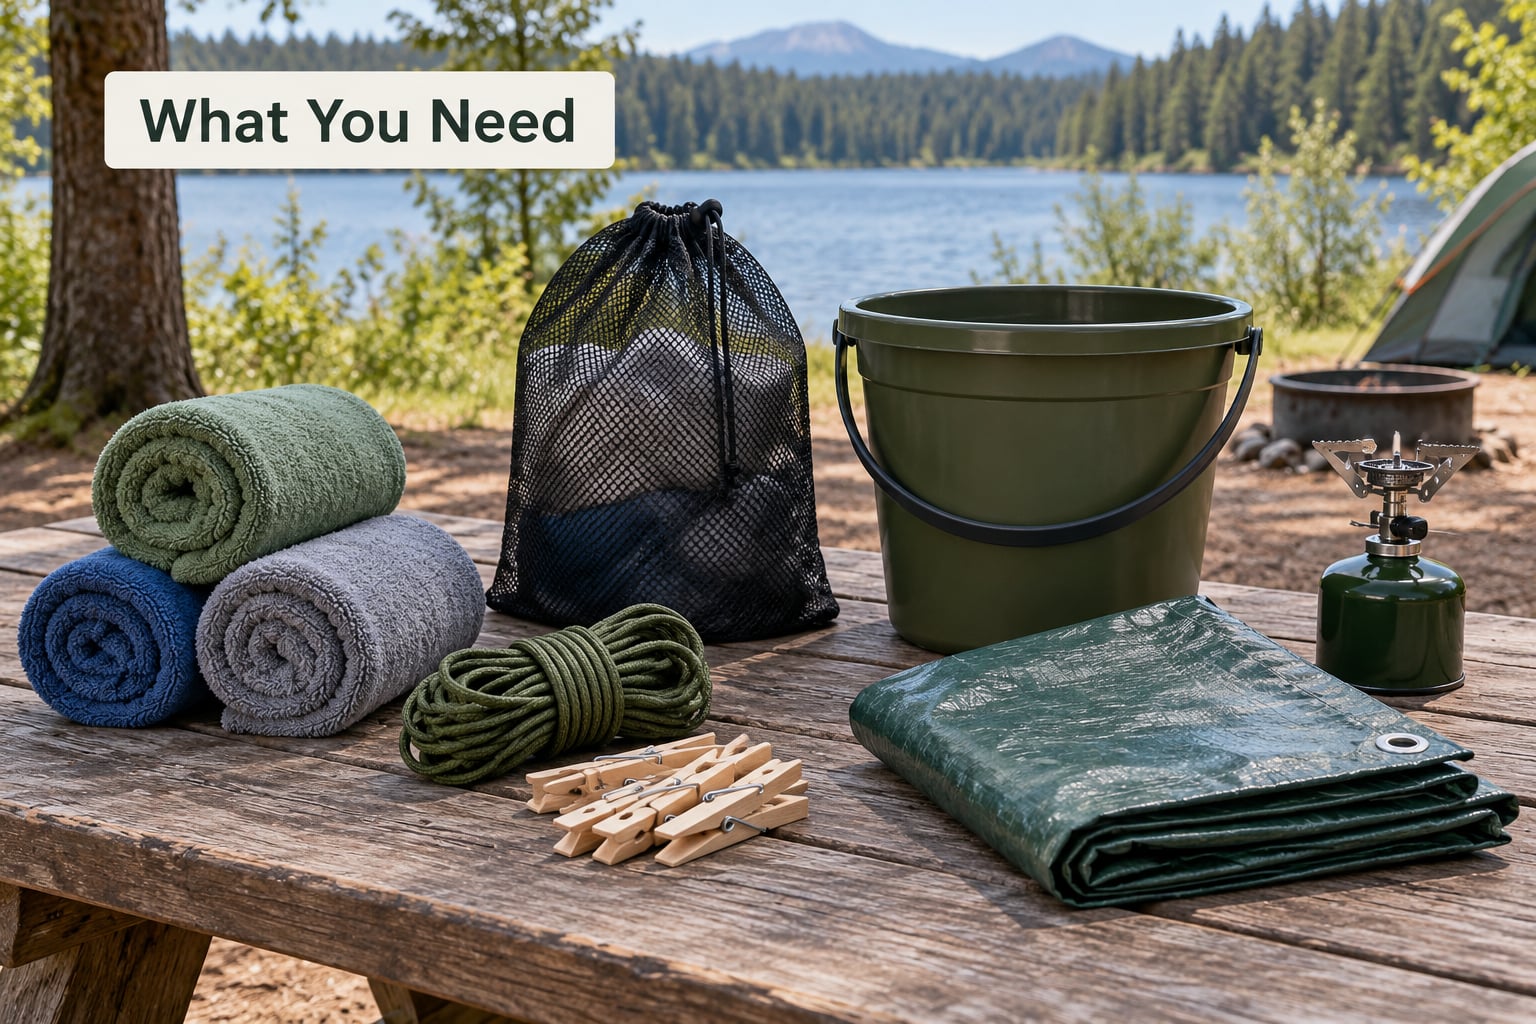
Most of this list is stuff you already own. The point of it is to have the absorbers and the airflow source ready before you need them, because wet gear rarely dries at a convenient moment.
- Absorbent material. Two or three towels or microfiber cloths are the workhorses. They pull surface water out of fabric far faster than hanging alone.
- A line or rack. A 3 to 5 meter cord with a few clothespins, or a folding drying rack. Guy lines from a tent work; the point is that items hang free rather than lying flat.
- Paper for footwear. Newspaper or paper towels. Crumpled loosely inside a boot, they wick moisture from the lining and pull it out of the air inside the shoe.
- A weather cover. A pack rain cover, a silnylon tarp or a poncho, so you can rig a sloping roof over the line when rain returns.
- A dry bag or bin. Wet gear that cannot finish drying needs somewhere sealed. A dry bag full of soaked socks will make its surroundings damp too.
- Optional: a portable fan or a 12V blower. Forced air is the single biggest upgrade for car campers, and it works inside a vehicle with the tailgate or a window cracked open.
Improvised substitutes are fine. A length of inner tube, kite string or packing tape between two trees makes a serviceable line, and safety pins clip fabric to a tent ceiling for an indoor line overnight. Skip the fan if you are backpacking, though: forum consensus is that ultralight hikers simply spread damp items in the sun at meal breaks rather than carrying drying hardware.
Step-by-Step: How to Dry Wet Gear at a Campsite
1. Separate and Sort the Wet Gear
Start by dealing with the heaviest water, not the most delicate item. Shake each piece out, then sort into three piles: heavy soaked items, insulating and waterproof gear, and everything else.
Blot from the outside inward with a dry towel. The towel roll, sometimes called the burrito method, is the fastest way to pull water from a shirt or trousers: lay the garment flat, roll a towel through it, then press the roll hard along its length. Repeat with a second dry section if needed. Campers report being surprised at how much water comes out.
Prioritize in this order: the layer you sleep in, your insulation, rain protection, then footwear. If you only have one dry hour of sun, spend it on the sleeping bag and the shell, not the socks.
2. Choose a Dry, Airy Drying Area
Find a spot that is sheltered from rain but not sealed against air. Lakeside, riverside and coastal campsites usually have the breeze you need, which is why they dry faster than a still inland pitch.
Avoid damp ground entirely. Soil gives moisture straight back to anything resting on it, so hang everything at least a hand’s width above the ground and never lay a sleeping bag or pad flat on dirt. Clear a patch of gravel or put down a groundsheet if you have to work with the ground at all.
Watch three things before you string anything: wind direction (a line across the prevailing breeze dries faster than one along it), insects (a mid-morning line beats an evening one in insect season), and where the evening sun and dew will land. Rain gear that dries out at 6 pm and gets soaked again at 8 pm was never going to dry.
3. How to Dry Wet Gear Fast: Airflow, Sun, and Absorbents
Combining all three is what turns an evening of damp clothes into dry ones by breakfast. Moving air carries evaporated moisture away from the fabric, sun adds warmth that speeds evaporation, and absorbent material removes water from the surface before evaporation has to do all the work.
Hang items with space between them and with air reaching the inside, not just the outside. Turn shirts inside out so the seams and collar are exposed, thread socks onto the line through the cuff rather than folding them over it, and drape a towel underneath a hung item to catch drips and wick escaping moisture.
Use sun carefully. Direct sun fades colors and weakens the finish on waterproof shells over time, and it can get hot enough to scorch or melt a synthetic on a dark line. Bright but cool, with shade on the fabric and sun on the wind, is the better setup. If you have a choice between a still sunny spot and a shaded breezy one, take the breeze.
Re-wet absorbents as they saturate. A damp towel pressed against a wet jacket transfers less water than it started with, and the surface moisture it holds needs its own drying time too.
4. Apply Gear-Specific Drying Methods
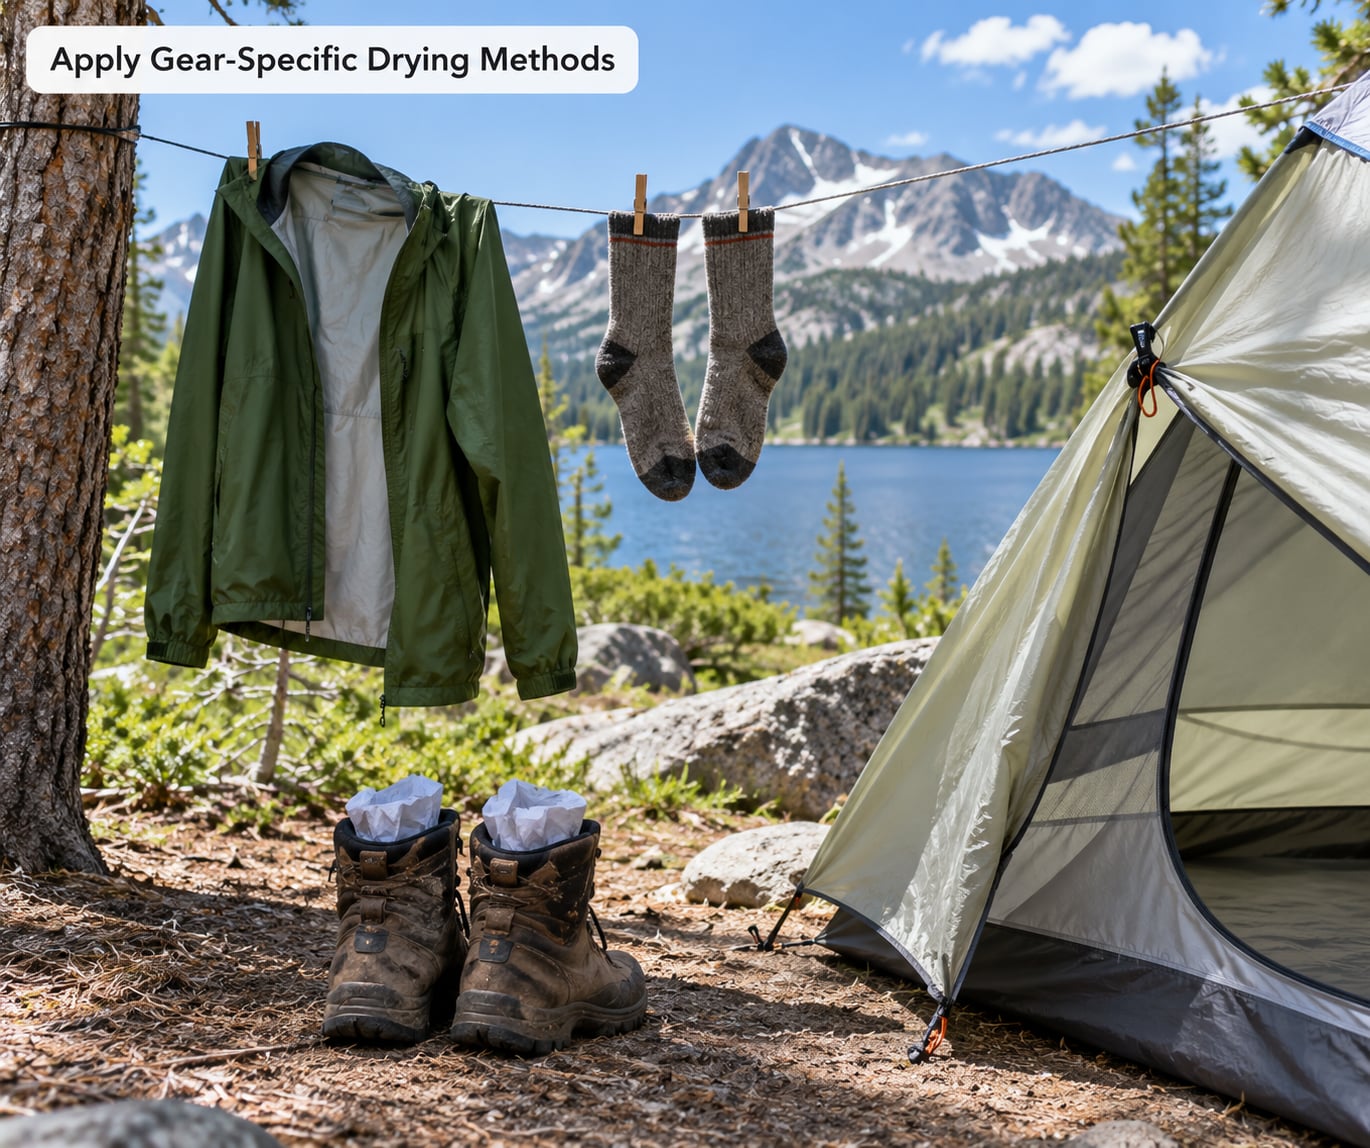
Jackets and rain shells dry fastest of anything you own, usually in one to two hours, because their shells are tight-weave synthetics with almost no absorbency. Widen the shoulders on hangers so the sleeves and body air separately, open every zip and pocket, and expect the hood and collar to be the last damp parts.
Base layers and merino wool take longer but dry well. Wool wicks moisture away from your skin and keeps working when damp, so hang it rather than wringing it, which is what damages the fibers. Cotton denim is the slow one: expect a shirt to take four hours or more, and a wet pair of jeans a good part of a day.
Footwear is the item people give up on. Pull the laces fully out, remove the insoles, stuff crumpled paper or newspaper loosely inside, and swap the paper every hour or two while it is pulling water out. A thin plastic or silnylon layer between your sock and the shoe acts as a moisture barrier and shortens the job further. Some campers simply carry their boots and switch to water socks for the wet section, which is often the smarter move.
Sleeping bags need the slowest treatment of anything cloth. Hang a down bag by the loops at the top with the bottom spread wide so wet loft does not sit in one clump, and give it the whole day. Never shake down insulation, which is what makes it mat. Down that has actually soaked through will not fully recover on the trail, so plan on a low-temperature tumble at home with dryer balls. Wool bags smell worse when wet, so get them dry sooner rather than later.
Sleeping pads dry almost instantly on the surface, but closed-cell foam traps water in the inside and takes a day or two of hanging to lose it. Roll them open rather than tight and stand them on edge. For an inflatable pad, separate the baffles so air circulates between them and open the valve for a few minutes.
Tents are the gear nobody expects to deal with, and they are usually soaked from condensation rather than rain, because wet gear packed inside overnight moves onto the fly. Hang the fly and inner on separate lines, clip the mesh door wide open, and drape the floor clip to the ridge so both faces get air. A wet tent in warm humid air is the fastest route to mildew, and it can start showing gray or green patches within a couple of days.
Backpacks dry in stages. Empty every pocket, unbuckle the hip belt and shoulder straps so they lie flat, pull the frame apart, and turn them inside out if the lining is fabric. Pack the empty shell into itself so the panels stay apart. Salt residue from lake water leaves stiff patches behind if the pack dries with it still in there, so rinse the panels before hanging.
Water filters, cameras and electronics get a gentler approach. Never put anything with a battery near a campfire. Filters and purifiers rinse clean and air dry on a line, away from dust. Wipe cameras and phones down and let them sit open in moving air for a full day before you trust a port or a lens, and never use a campfire or a hot vehicle interior as a drying chamber.
If you are washing at camp, a dry bag makes a poor man’s washing machine: put clothes in with a splash of water and biodegradable soap, roll it, and knead it for a couple of minutes. Rinse, then hang. Wash at midday so the sun and breeze have the rest of the day.
How Long Does Each Piece of Gear Take to Dry?
| Item | Sun and breeze | Shade or still air | Body heat overnight |
|---|---|---|---|
| Rain shell or jacket | 1 to 2 hours | 3 to 4 hours | Overnight |
| Base layer or shirt | 1.5 to 3 hours | 4 to 6 hours | Overnight |
| Socks | 30 minutes to 1 hour | 2 hours | 3 to 4 hours |
| Jeans or heavy trousers | 4 to 6 hours | 8 to 12 hours | Not practical |
| Sleeping bag (synthetic) | 6 to 8 hours | 24 hours or more | Not practical |
| Sleeping bag (down) | 8 to 12 hours with turning | 2 to 3 days | Not practical |
| Boots on stuffed paper | 4 to 6 hours | 10 to 12 hours | 2 to 3 hours |
| Tent fly | 2 to 3 hours | 6 to 8 hours | Not practical |
These are realistic ranges on a normal day. High humidity near water, cold night temperatures and overnight dew can add hours to everything except the fast synthetics.
5. Turn, Shake, and Monitor Until Dry
Wet gear dries unevenly, and the failure points are predictable: the inside of cuffs, the crotch, the collar seam, the bag of a sleeping bag, the tongue of a boot, and anything that was folded when you hung it.
Check every 30 minutes in the first hour and every hour after that. Turn jackets, turn pockets, roll socks back onto the line, and open up any piece that has started to fold onto itself. Squeeze each item in the hand: damp fabric feels cool against the skin, and a cool spot means there is still water in there even when the surface feels dry.
Shake out sleeping bags and packs at every check, gently and from the loops, so water moves from the bottom of the loft to the fabric. When a piece feels dry to the hand, hold it against your neck or forearm for a few seconds before you pack it. Temperature catches what touch misses.
Pack damp gear loosely and separately from dry gear, sealed in a dry bag or a bin bag with a little air inside rather than vacuum-tight. Separating the wet items keeps the mold out of the sleeping bag and the pack walls. Unpack everything the moment you get home, and if anything smells musty, wash it before it sets.
Common Mistakes
Packing gear damp. This is the big one, and the damage happens in the car on the drive home. Spread it out, separate wet from dry, and unpack at home the same day.
Using intense heat on synthetics. A campfire or a hot rock will melt polyester and nylon, and can scorch a shell’s waterproof coating. Keep loose items at least 1.5 meters from any flame and never leave them unattended.
Putting items straight on the ground. Damp soil and grass give water back as fast as the air takes it. Hang or drape instead.
Crowding the line. Six shirts packed tight dry no faster than one shirt on its own. Space them out and rotate the dampest ones to the breeziest position.
Forgetting the hidden damp areas. Zips, collars, cuffs and pocket liners hold water after the surface is dry. Open them all up.
Making an improvised fire you were not supposed to make. Fire restrictions and full fire bans are common in parks, and building an illegal fire can end a trip. Check the current restriction level before you plan on any flame, and read your park’s Leave No Trace rules.
Using body heat as a last resort at a cold night. Wearing damp socks and a wet base layer overnight wicks heat off you and raises the risk of hypothermia and trench foot. Only do it when the alternative is genuinely worse, and change to dry layers first if you have them.
Quick tips that help most: hang everything before you eat breakfast, not after dinner; start the towel roll on the most soaked item first; use the sun to dry your absorbents and the breeze to dry your clothes; and re-hang gear that got rained on rather than piling it into the wet pile.
Frequently Asked Questions
How can I dry wet camping gear overnight?
Start it early, not at bedtime. Wring or towel-roll the water out around four in the afternoon, then hang everything before the evening dew arrives, because dew rewets anything that is still damp. Choose a breezy but rain-sheltered spot, space items apart, turn them once before you turn in, and hold anything that still feels cool against your neck again at dawn.
What is the safest way to dry a wet sleeping bag at a campsite?
Hang it by the loft loops at the top and let the bottom spread wide so wet insulation cannot sit in one clump. Never use a campfire for a sleeping bag: synthetic shells melt and down can scorch. Turn and gently shake the bag every hour, and treat a soaked down bag as a trip-end problem, since it will not fully loft again until it has had a low-temperature tumble at home.
Can I dry wet clothes or jackets over a campfire?
Only for loose, non-synthetic items, and only if fires are allowed where you are. Hold anything you dry at least 1.5 meters from the flames, use a line or stick well above and to the side of the fire, and never leave it unattended. Polyester, nylon and fleece melt or scorch quickly. Under a fire ban, the campfire method is off the table entirely, so use airflow instead.
How do I remove a musty smell from gear that was packed damp?
Get it out of the bag first and let it air for a day, because a smell trapped in a sealed pack only sets deeper. Then wash the item at home with detergent rather than fabric softener, which coats the fibers and holds odor. For a sleeping bag or a wool layer, an extra rinse helps. Dry it fully before packing it away again.
What is the best way to dry wet shoes or boots at a campsite?
Pull the laces right out and remove the insoles so air can move through the shoe. Crumple newspaper or paper towels loosely inside and swap them out every hour while they are pulling water out of the lining and the air. A thin plastic or silnylon layer between your sock and the shoe works as a moisture barrier. If the forecast is more rain, carrying the boots and wearing water socks is faster.
How do I know if my gear is dry enough to pack?
Squeeze the fabric and hold it against the inside of your wrist or neck for a few seconds. Cool means damp, and temperature catches what touch misses. Check the parts that hold water: zips, collars, cuffs, pocket liners, the inside of boots and the bottom of a sleeping bag. Pack damp items loosely, sealed and apart from anything you need dry overnight.
Start with the towel roll on your heaviest wet item, then get everything onto a line in moving air before the evening dew lands. Check it against your neck rather than your fingertips, keep damp gear separated from your sleeping bag, and the rest of the drying happens while you make dinner.