Blisters come from three things working together: friction, sweat, and repeated movement of your foot inside your boot. The right sock fights all three at once, so knowing how to pick hiking socks that prevent blisters is mostly about controlling slippage and moisture, not about finding a magic fabric. Pick a close-fitting sock in a moisture-managing material, size it to your boots, test it indoors before the trail, and you will remove most of the risk before you take a single step.
A few things have to be true before you start reading labels. Knowing where your blisters appear tells you which part of the sock matters most. Knowing your boot volume tells you how much room the sock has to slide around in. And knowing your hike length tells you how much cushioning can survive a full day of walking.
Table of Contents
- 1What You Need
- 2Step-by-Step
- 31. Choose the Right Fabric Blend
- 42. Match Sock Thickness to the Terrain
- 53. Get the Fit Right
- 64. Look for Friction and Moisture Features
- 75. Test the Socks Before a Long Hike
- 86. Care for the Socks Between Hikes
- 9Common Mistakes
- 10When Hiking Socks Cannot Prevent Every Blister
- 11Frequently Asked Questions
- 12What socks are best for preventing blisters on a long hike?
- 13Are merino wool hiking socks better than synthetic socks for blister prevention?
- 14Should I wear two pairs of hiking socks to prevent blisters?
- 15How thick should hiking socks be for a long walk?
- 16Does wearing cotton socks cause blisters?
- 17Can a blister on my foot mean I need different hiking socks?
- 18Conclusion
What You Need
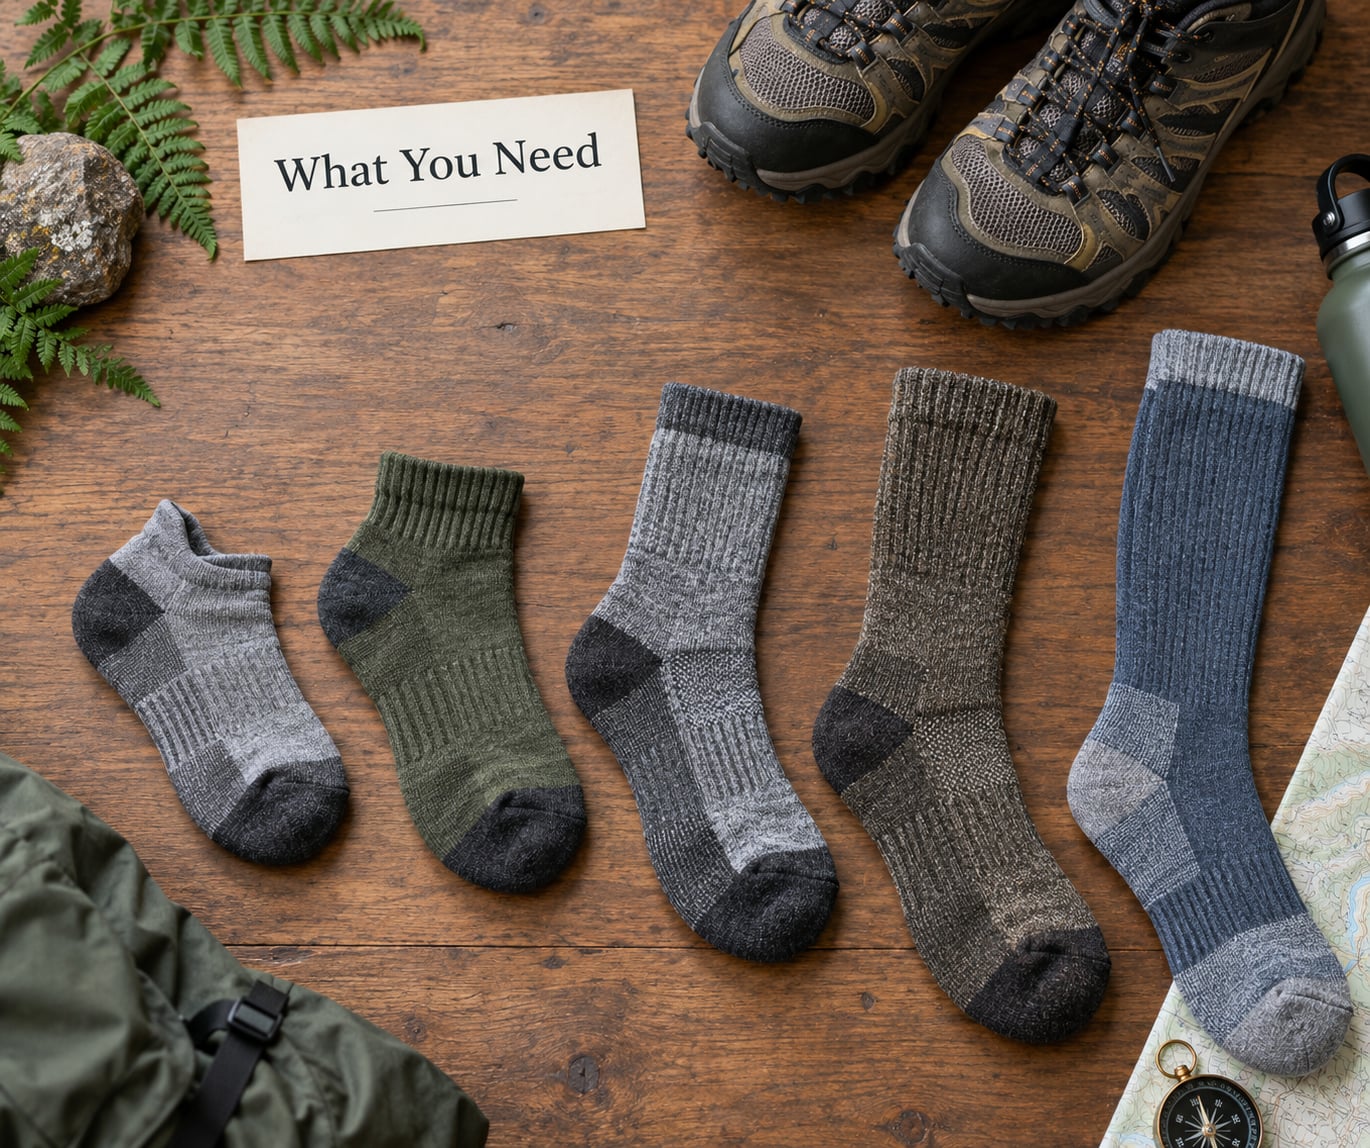
You do not need a gear list to do this well. You need your own trail history and one honest look at your feet.
Your blister map. Blisters that appear in the same place every hike are telling you something specific. Toe tip blisters point to toe box volume. Blisters between the toes point to toes rubbing each other. Ball-of-foot blisters usually mean the sock is sliding forward. Heel blisters mean the sock is riding up or the sock back is too low-cut. Write down where yours show up, because that narrows the search faster than any fiber label.
Your boot volume. Socks and boots have to be sized together. If your boots are a half size up from your street shoe, that extra room is where socks slide, wrinkle, and grind. Buy the sock to fit the boot, not to match your street size.
Your hike profile. A three-hour afternoon walk and a two-week backpacking trip do not want the same sock. Note the distance, the pack weight, and the temperature. Cold feet and hot feet are solved in opposite directions.
One dry test walk. Wear your current socks with the exact boots you will use in the trail, indoors, before buying anything new. Ten minutes is enough to reveal slipping and pressure that a product photo never will.
Step-by-Step
1. Choose the Right Fabric Blend
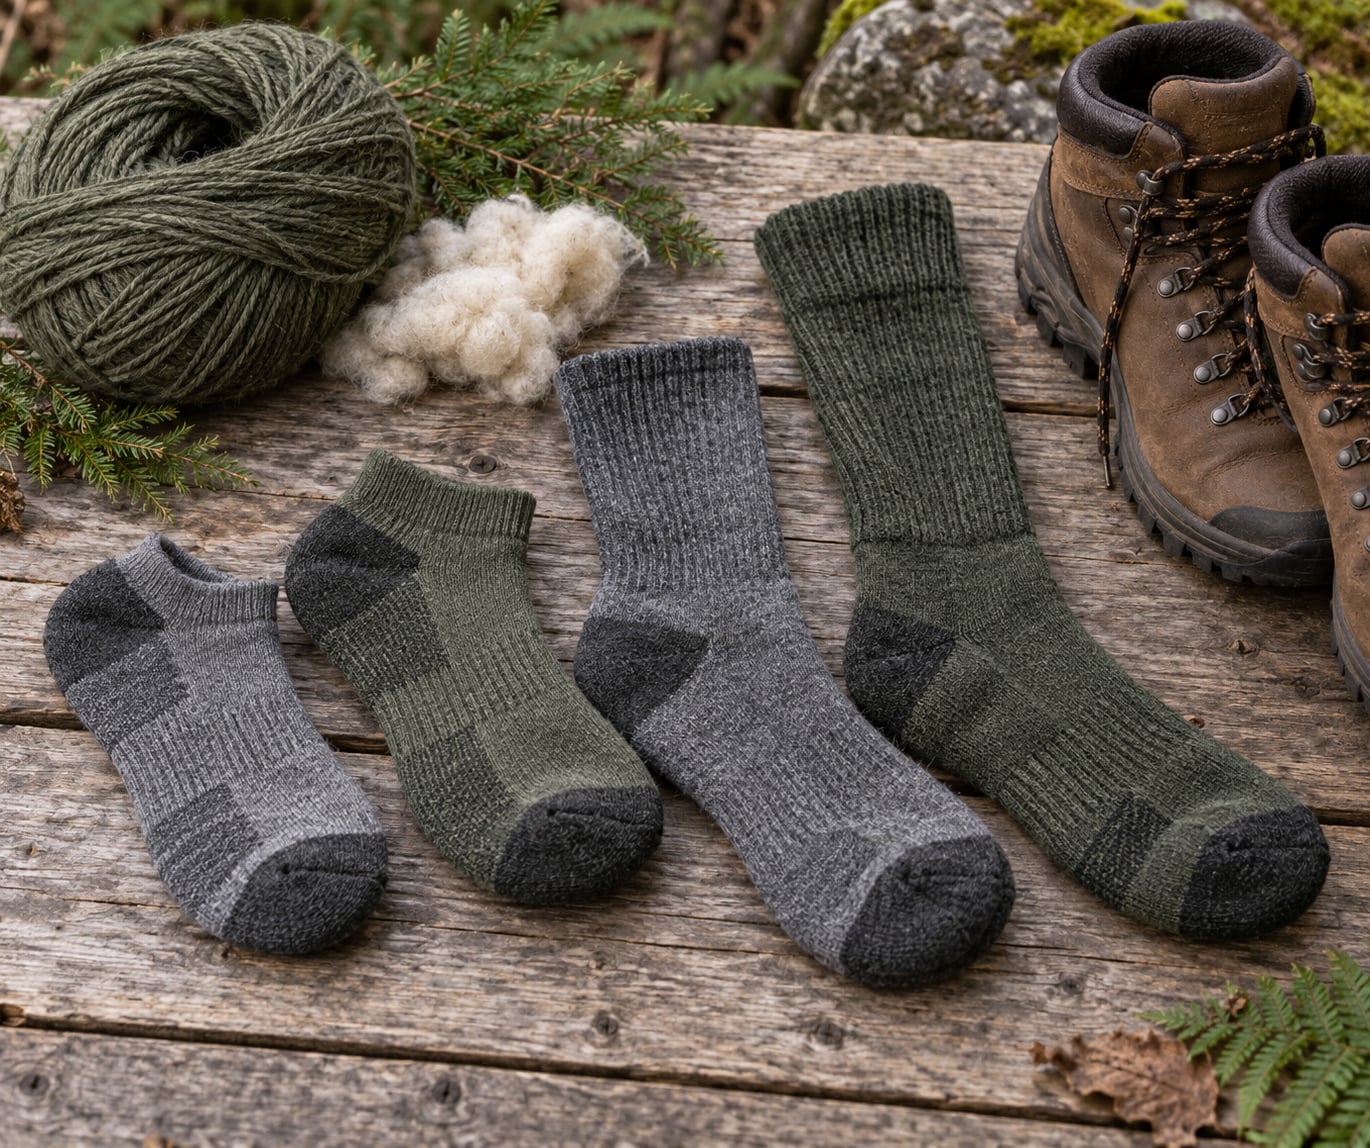
Merino wool, synthetic fibers, and cotton behave very differently against sweaty skin, and that difference is the whole game. Wool keeps moving moisture away from your skin and keeps working when damp; synthetics dry faster and last longer; cotton does the opposite of both.
Merino wool regulates temperature well, resists odour, and stays comfortable when it gets slightly damp, which matters on a humid trail or a wet stream crossing. Coarser wool sits closer to the skin and lasts longer than fine merino. Most hikers run 20 to 30 percent merino blended with nylon and spandex, which adds durability and elastic recovery.
Synthetic fibers such as polyester and nylon wick moisture quickly and dry fast, which is why they dominate in hot weather and why many runners prefer them. They also tend to outlast wool. They hold odour longer, though, and cheaper all-polyester versions can feel clammy in deep heat.
Cotton is the one to leave at home. It absorbs sweat rather than moving it, dries slowly, and once wet it stays wet against your foot for hours. That combination is exactly how a hot spot turns into a torn blister, and it is why cotton socks are sometimes called the worst possible hiking choice.
Silk and bamboo rayon show up mainly as thin liners. Silk is smooth, low-friction, and stays cool against the skin. Both are softer than wool and less durable, which is why they work as the inner layer of a two-sock system rather than as the outer sock.
Spandex is not a material choice so much as a fit tool. A small percentage keeps the sock from stretching and bagging out, which is what stops it from bunching in the toe box.
2. Match Sock Thickness to the Terrain
Thicker is not automatically better. More cushioning adds warmth and bulk, but bulk inside a boot that is already slightly too big is exactly what creates wrinkles and pressure points. Thickness should follow the terrain, the temperature, and your boot volume, in that order.
Lightweight socks suit hot trails, fast day hikes, and low-volume footwear. They move moisture well and leave no lump. They give you almost no protection when a rock finds a boot edge.
Moderate cushioning is the workhorse choice for most backpacking and multi-day hiking. It handles a loaded pack, uneven ground, and variable weather without adding much volume.
Heavy socks belong in winter, on snow, with heavy packs, or for anyone whose feet run cold. They are bulkier, warmer, and they need a boot with room to spare. Pairing them with a boot that is already tight is a reliable way to create new hot spots.
Targeted cushioning is the smarter version of heavy padding: extra density only in the heel, ball of the foot, and toe, where impact actually lands. You get protection without a bulky sock that shifts around.
How do you tell a sock is failing? Watch the heel and toe after a hike. A sock that feels slick, slides, or shows a raised ring of fabric where your toes sit is not protecting you, no matter what the label says.
3. Get the Fit Right
Sizing is where most blister-prevention advice quietly fails, because a sock is judged on how it looks on your foot rather than inside the boot. Two failure modes matter, and they are opposites.
Too large socks have extra fabric to bunch and wrinkle. Those folds are hard little ridges that grind against the skin with every step, and the sock slides around your foot as you climb. Too small socks stretch under load, lose their shape by midday, press on your toes, and pull at the arch. Both produce hot spots. They just produce them in different places.
Toe room is a good check. You want roughly a thumbnail of space beyond your longest toe, because feet swell over a long day of walking downhill. If the toe seam presses on your big toe, the sock is wrong for that boot.
Heel hold is the other check. The sock should not slide down inside the boot when you lift your foot. That comes from a well-shaped heel pocket and enough elastic through the arch rather than from a tight top band, which just leaves a pressure mark at the cuff.
On sock types: hiking socks are the outer layer, usually crew height, built with heel and toe reinforcement. Crew socks sit about 6 inches up the calf and work with mid and high boots. No-show socks stay inside low shoes, though most trail shoes have no real volume for one. Liner socks are thin, smooth base layers worn under something thicker, and they are the single most useful trick experienced hikers use.
Arch support also matters on long days. Elastic support through the midfoot keeps the sock from migrating and takes some of the fatigue out of your arch. It is not a brace, but it holds the sock in the shape your foot needs.
4. Look for Friction and Moisture Features
Construction details do more for blister prevention than any fiber does, because they control where your foot rubs and how much air reaches it.
A seamless or flat-toe closure removes the thick seam that sits across the highest-pressure part of the toe box. On long hikes this is often the single most noticeable upgrade.
Reinforced heel and toe zones add durability in the two places that wear out first. A sock that has gone thin at the heel has lost its protection there, and a thin spot is where the skin starts to break down.
Mesh ventilation zones or breather panels sit over the top of the foot and instep, moving warm damp air out. They matter most on hot, humid terrain.
Individual toe pockets, the design used in toe socks, stop your toes from rubbing against each other and reduce movement inside the toe box. For hikers who blister between the toes or on curled toes, this is the feature that finally solves a decade-long problem. The cost is that many boots and shoes have a toe box too narrow to hold five separate toes without crowding.
Turn-up welts and flat seams are a small but real comfort win, since a raised cuff edge rubs against the shin and ankle.
And the two-layer idea deserves its own emphasis, because it appears again in every long-distance hiker forum thread I have read. Wearing a thin, smooth liner sock under a thicker outer wool sock means your foot never rubs directly against wool. The layers move against each other instead of against your skin, which is a much lower-friction surface. Long-distance hikers on the Camino and in the backpacking community consistently name this combination, usually a thin synthetic or silk liner under a merino outer, as the setup that finally ended their blisters.
5. Test the Socks Before a Long Hike
New socks go straight onto your feet with your actual boots, indoors, before any trail. This step takes ten minutes and catches more problems than any amount of label reading.
Put them on and stand up. Walk around the room, then walk up and down stairs. You are looking for one thing: movement. The sock should stay where you put it.
Next, walk in a straight line for a few minutes, heel to toe, the way you walk on trail. Pay attention to the ball of your foot, your toes, and your heel. Any spot that draws your attention is a spot that will blister on a longer walk. Write it down.
For a new boot-and-sock pairing, take the walk outdoors, on pavement or a short loop. Flat indoor surfaces hide toe-box problems because your foot is barely flexing. On a real surface you will immediately feel where the toe box presses.
Keep walking the loop for 20 or 30 minutes if you can. Many hot spots only announce themselves after the foot has swelled and started to sweat, so a 30-minute test tells you far more than a 5-minute one.
Buy two pairs of whatever passes. Socks wear out at the heel and toe long before the rest of the fabric fails, and rotating pairs gives each one a day to recover its shape and dry out fully.
6. Care for the Socks Between Hikes
Most of the protective qualities of a good sock disappear through careless washing, not through wear. A sock that has been baked dry still works. A sock washed hot with softener and tumbled at high heat has lost its elasticity and its wicking behaviour.
Wash them cool or cold, and skip the fabric softener. Softener leaves a coating that blocks wicking and holds odour. Wash socks inside out in a mesh bag so the toe seam and heel do not get abraded by zippers.
Dry them flat or on a low setting, and never on a radiator. Direct high heat shrinks the elastic and can felt wool. If you must use a dryer, low only.
Air them out after every hike rather than wearing the same pair two days running. Bacteria need moisture and time, and giving the sock a full night to dry removes most of the smell before it starts.
Replace a sock when the heel or toe is visibly thinner than the rest, when the cuff has lost its grip and rides down, or when the toe box no longer holds its shape. A sock past that point is no longer protecting the areas you most need protected, and replacing it is cheaper than treating a blister.
Common Mistakes
Wearing cotton. Cotton holds moisture against your skin and dries slowly, so your foot stays damp and abraded. Fix: retire cotton socks from hiking entirely, even the cheap ones from the top of the pack.
Buying sock size from street size. If your boots are a half size up, a same-size sock slides and wrinkles inside them. Fix: size the sock to the boot, and check toe room with the boot on, not the sock in your hand.
Wearing brand-new socks on a long hike. Untested socks and untested socks-plus-boots combinations are where blisters get discovered at mile twelve. Fix: run the indoor and outdoor test walk before the trip.
Ignoring that feet swell. A sock that fits at breakfast pinches at lunch. Fix: buy with a thumbnail of toe room and do not size up further for a long day on descent.
Pairing thick socks with tight boots. Extra bulk in a low-volume boot is the same as no sock at all, because it creates pressure instead of protection. Fix: drop a cushioning level, or move to a boot with more room.
Assuming anti-blister socks eliminate blisters. They reduce risk. A badly fitted boot or an awkward downhill gait will still win. Fix: treat the sock as one part of the system alongside boot fit, gait, and taping.
Using adhesive blister pads on an empty blister. Gel pads applied over unbroken skin can create a new high-pressure point somewhere else. Fix: address hot spots before the skin breaks, and let a formed blister breathe rather than sealing it.
When Hiking Socks Cannot Prevent Every Blister
No sock stops every blister. Socks manage friction and moisture at the skin surface, and they cannot fix a boot that rubs, a lacing pattern that puts pressure on a tendon, or a downhill gait that drives your toes into the front of the toe box.
If your blisters always appear in the same spot no matter which socks you wear, the sock is probably not the problem. Boot fit is the next thing to check, and gait is the one after that. Toe blisters on steep descents are very often gait-related rather than fabric-related, which is why toe socks, liners, and taping the individual toes tend to fix them when nothing else does.
Intervene early. The ache that precedes a blister, a hot spot that feels warmer than the skin around it, is your window. Change your socks at lunch, dry your feet properly, and keep going. Hikers who change socks on a long day are doing the same thing hikers who pre-tape their known hotspots are doing, just later.
And stop walking if you need to. A blister that is hot, weeping, spreading redness, or increasingly painful is an infection risk rather than a gear problem. Clean it, cover it with a non-adhesive dressing, and get medical advice, especially if you have diabetes, poor circulation, or reduced feeling in your feet.
Frequently Asked Questions
What socks are best for preventing blisters on a long hike?
The best socks for a long hike are close-fitting, moisture-managing ones with a seamless toe and reinforced heel and toe, usually a merino wool or synthetic blend and never cotton. On multi-day trips, add a thin smooth liner sock under a merino outer so your foot never rubs directly against wool. Sizing to your boot volume matters as much as the material.
Are merino wool hiking socks better than synthetic socks for blister prevention?
Neither wins everywhere. Merino regulates temperature, resists odour and stays comfortable when damp, which suits variable or cold conditions. Synthetics wick faster, dry quicker and last longer, which suits hot trails and multi-day wear. Both keep moisture off the skin as long as they are not cotton. Choose for the weather and your foot, not for a rule.
Should I wear two pairs of hiking socks to prevent blisters?
Yes, and that is a two-layer setup rather than two heavy socks. The inner sock should be a thin, smooth synthetic or silk liner, and the outer sock a thicker merino hiking sock. Your foot then rubs against the smooth liner rather than wool, and the layers slide against each other. Long-distance hikers credit this combination with ending chronic blisters.
How thick should hiking socks be for a long walk?
Moderate cushioning suits most long walks and multi-day backpacking. Heavy socks belong in winter, on snow, or under a heavy pack. Lightweight socks work for hot trails and low-volume shoes. Whichever you choose, do not add thickness inside a boot that is already snug, since bulk creates pressure points that blister faster than cushioning prevents them.
Does wearing cotton socks cause blisters?
Regular cotton socks are a common cause. Cotton absorbs sweat instead of wicking it away, dries slowly, and stays damp against your skin for hours. That combination of moisture and repeated friction is precisely how a hot spot becomes a torn blister. Cotton has no place on a hiking trail, no matter how warm the weather is.
Can a blister on my foot mean I need different hiking socks?
Sometimes, but check the pattern first. Blisters that always appear in the same spot usually point to boot fit, gait or a toe box issue rather than the sock fabric. Toes blistering on descents often call for toe socks, liners, or taping rather than a change of material. Switch socks if they are wrong in fit, height, thickness or moisture management, then reassess the boot.
Conclusion
Start by putting on a correctly sized, moisture-managing sock with your actual hiking boots and walking indoors for ten minutes. Whatever moves, pinches, or draws your attention is the spot that needs a different sock. Then adjust thickness for the terrain, add a smooth liner for multi-day trips, and buy a second pair so you always have a dry set.