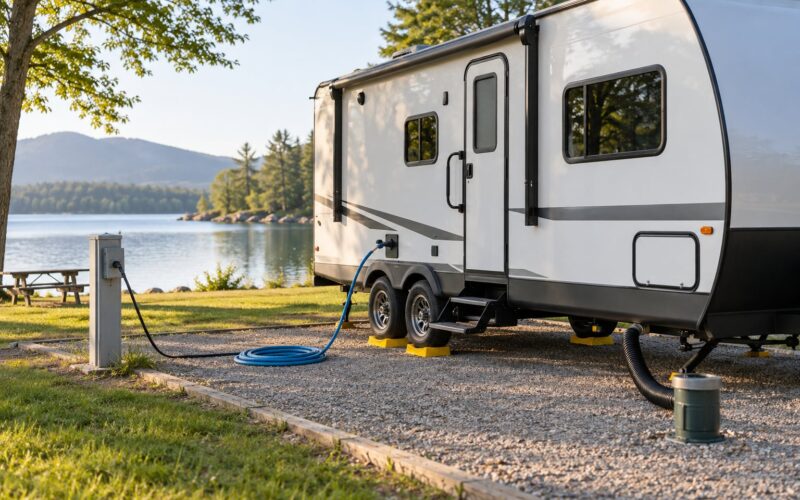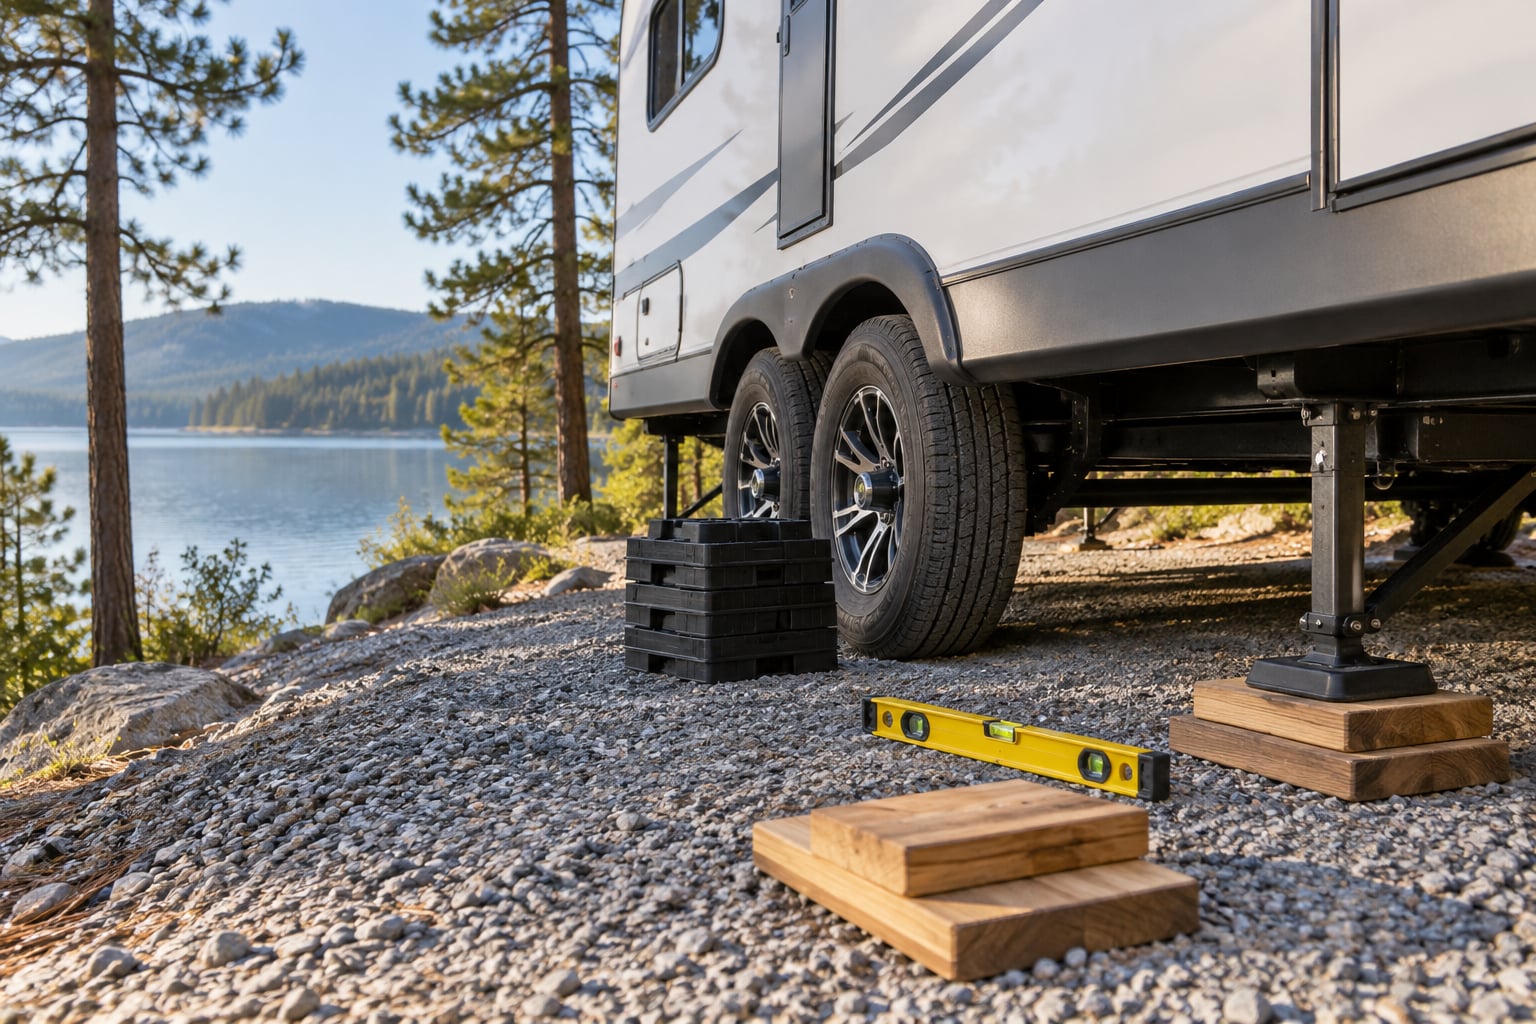
To level an RV at a lakeside site, you drive or back the low-side wheels onto stacked leveling blocks, then use the tongue jack or landing legs to bring the front-to-back pitch square. Finish with wheel chocks, stabilizers on jack pads, and a walk-around to confirm nothing shifted. On a good pad it takes 15 minutes; on soft ground at the water’s edge it can take an hour and a second attempt.
Lakeside pads are different from the flat concrete pads most leveling guides describe. The ground tilts toward the lake, the fill under an old pad can be silt or sand, and runoff pools on the low side. Leveling well there is as much about the ground as about the rig.
Table of Contents
- 1What You Need
- 2Step-by-Step: How to Level an RV at a Lakeside Site
- 31. Inspect the Lakeside Campsite and Assess the Slope
- 42. Choose the Best Parking Position
- 53. Position the RV and Stabilize It
- 64. Measure Which Side or End Is Low
- 75. Place Leveling Supports
- 86. Adjust the RV in Small Increments
- 97. Confirm Level and Secure the Campsite
- 10Common Mistakes When You Level an RV at a Lakeside Site
- 11Trusting the RV’s built-in display for side-to-side tilt
- 12Using the stabilizer jacks to level
- 13Parking on the wet margin near the water
- 14Stacking risers too high
- 15Extending the slide-outs before leveling
- 16Skipping jack pads and chocks
- 17Never re-checking after rain
- 18Frequently Asked Questions
- 19How do you level an RV at a lakeside site with no room to move it?
- 20Does my camper need to be perfectly level?
- 21What happens if an RV is not level?
- 22Can you use wood or cinder blocks to level an RV?
- 23How do I keep a camper level on a seasonal campsite?
- 24What is the 4-4-4 rule for camping?
What You Need
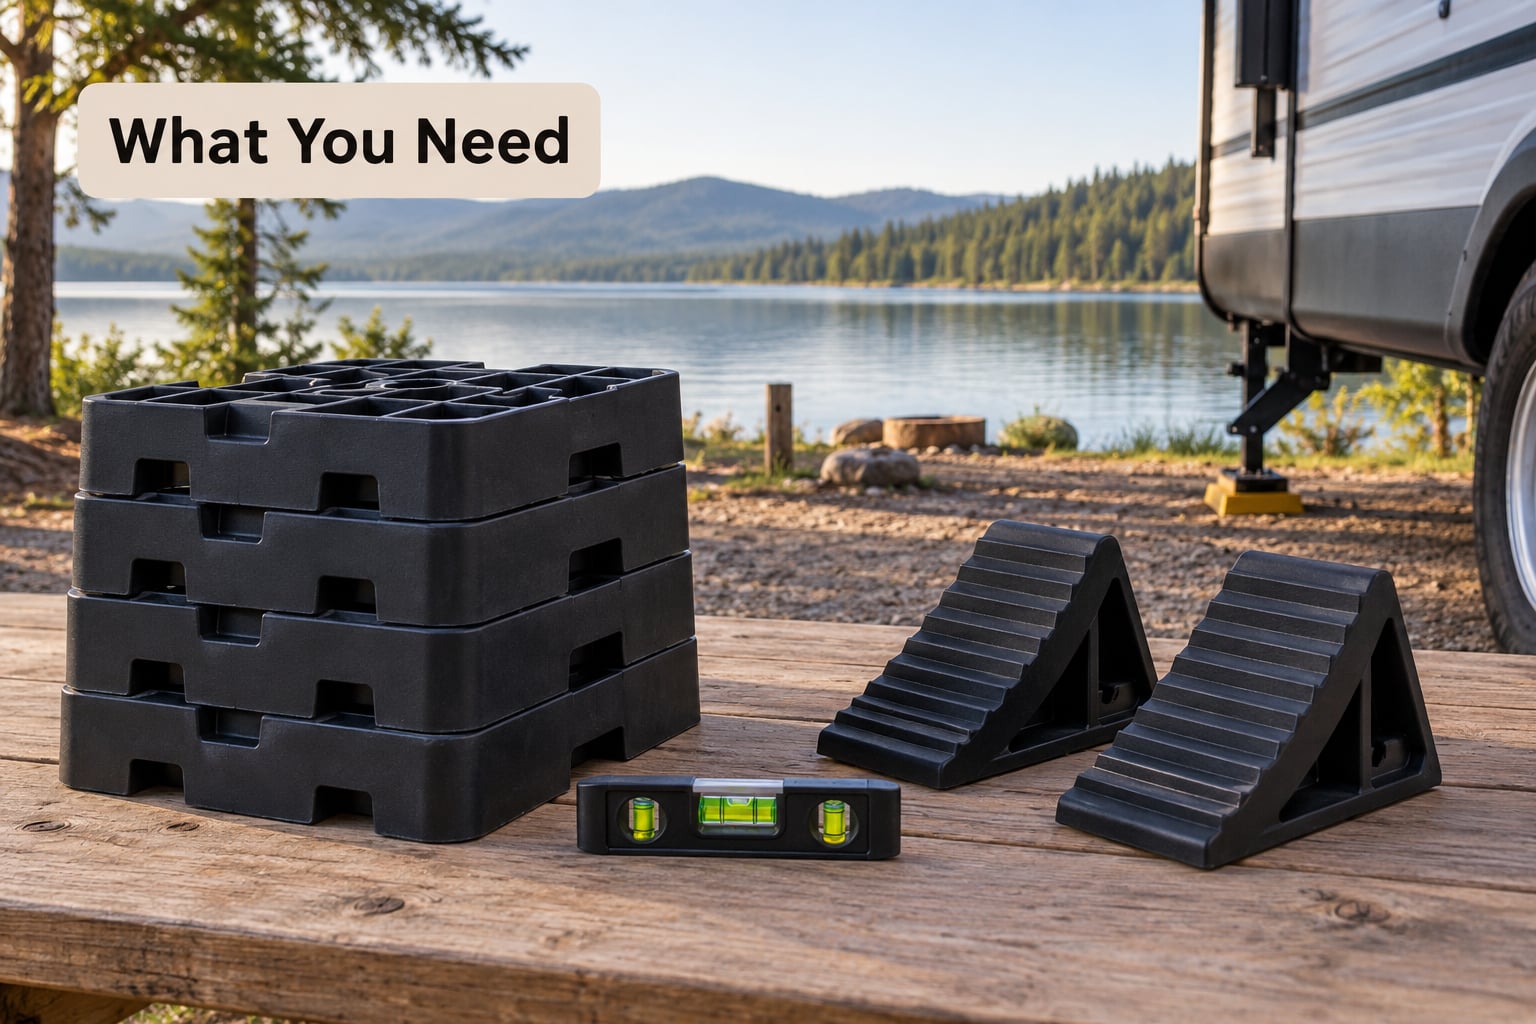
Most of this list is short, and two items matter more than the rest: risers with enough height range, and pads that stop the rig sinking after a rain.
- Leveling risers — molded plastic or scissor-jack style blocks. Each one-inch riser adds one inch of rise, so count the bubble offset before you drive on. A set covering one to five inches handles most lake pads.
- Bubble level or electronic inclinometer — the RV’s own level indicator tells you the front-to-back pitch; for side-to-side you need to check at the rear, and again at the front, with a level you can see. A stick-on exterior level makes matching the same pad quick on a return trip.
- Wheel chocks — two of them, one behind each wheel on the downhill side. Chock before you unhitch, not after.
- Jack pads — 12 by 12 inch square blocks of wood or composite. Stabilizer jacks sinking a half inch is the most common cause of a rig that was level on arrival and tilted by morning.
- Tongue jack with a working handle, or landing legs on a fifth wheel, plus a 3/4 inch socket for a cordless drill if your jack is manual crank.
- Plywood or a ground tarp — two wide sheets for the soft shoreline cases in step 1.
- A spotter — someone watching the tire and block alignment from outside the driver’s seat.
Wood 2×6 blocks and cinder blocks get used constantly and work fine on hard ground. Some manufacturers allow it explicitly, some warn about it, so read your owner’s manual before stacking anything under a tire that isn’t rated as a ramp.
Step-by-Step: How to Level an RV at a Lakeside Site
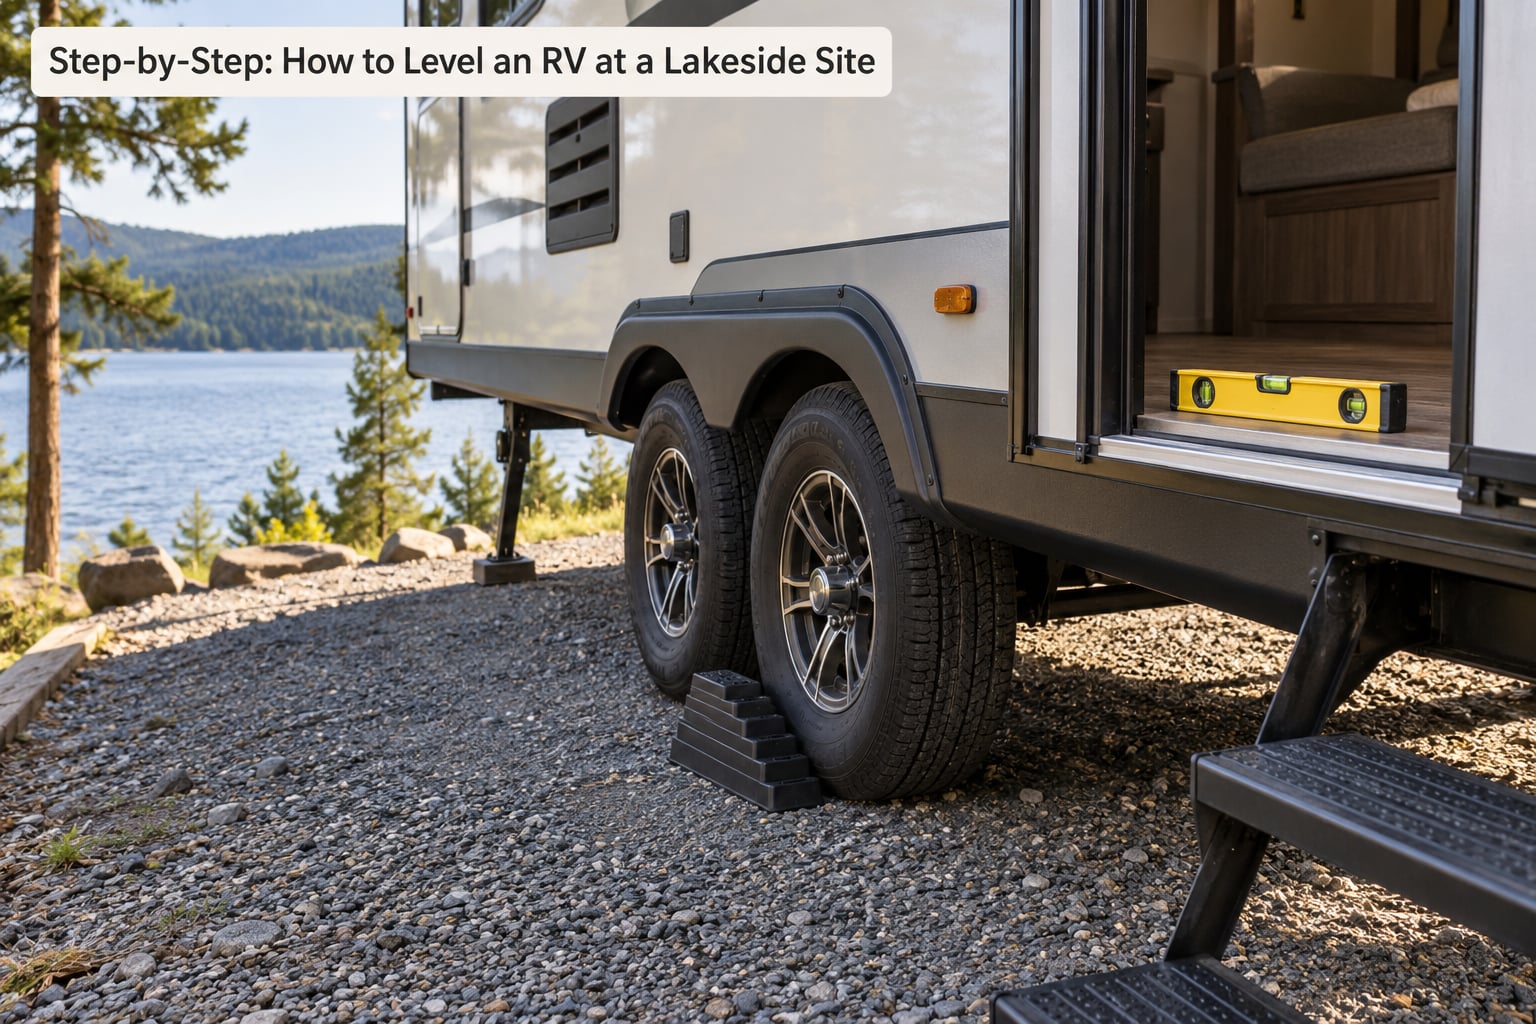
1. Inspect the Lakeside Campsite and Assess the Slope
Walk the pad before you move the rig onto it. Look for soft spots that hold water, exposed roots, rocks, and old stumps from a pad that was cleared years ago.
Check the ground between the pad and the shoreline. The last three feet before the water is often saturated silt that holds a footprint but not a tire, and the fill level changes with the lake.
Estimate the tilt by setting your phone inclinometer on the ground, or by setting a 4 foot level across the pad and reading the bubble offset. Then translate it with the table below.
Percent grade is inches of rise per ten feet of run. A 6% slope drops about 7.2 inches over 10 feet, which sounds small until you apply it to a 34 foot trailer.
- 2 to 5% (about 1 to 3 degrees) — normal. One riser per inch of bubble offset, stabilize, move on.
- 5 to 10% (about 3 to 6 degrees) — workable but tight. Park along the fall line if you can, and expect two or three risers on the low side.
- Over 10% (past 6 degrees) — move the rig if you have room. If you don’t, treat it as a single-night park, keep slide-outs in, and watch it more than once a day.
For a 34 foot trailer sitting lengthwise on a 6% grade, front-to-back pitch works out to roughly two inches end to end. Side-to-side on the same pad could be ten inches or more across the width, which is why a cross-slope is the harder of the two.
2. Choose the Best Parking Position
Direction matters at a lake. A cross-slope forces you to block one whole side and gives you no choice about how much; a lengthwise slope only needs the tongue gear to fix.
When the pad allows it, run the long axis of the rig along the fall line rather than across it. That means pointing the front wheels toward the drop, or the back wheels, so the pitch is handled by the jack and the tilt by one set of blocks.
For a Class A or Class C on a cross-slope, park the front wheels downhill so the rear drive wheels stay loaded. Leave the door side on the high ground if you can, so runoff goes away from your step, and check that the slide-out has clearance before you commit.
3. Position the RV and Stabilize It
Pull into the site along your chosen line, then stop short of where you think the blocks go. Have your spotter guide the tire toward the stack while you creep forward in low range.
Set the parking brake, shift into park, and leave the engine running briefly if you need power for the jack. Do not put anyone under the rig, and keep hands clear of the block stack while the wheels are moving.
4. Measure Which Side or End Is Low
Check front-to-back first with the RV’s own level indicator. Correct any pitch with the tongue jack before touching blocks, because raising one end can change how the side reads.
For side-to-side, put your bubble level on the floor inside near the rear, then walk to the front and read it again. If the bubble is off in the same direction at both ends, the whole side is low. If it is off in opposite directions, the rig is cross-sloped and one corner is the problem.
A sight glass on the side of the rig is worth ten minutes of crawling in and out on a lake site with uneven flooring.
5. Place Leveling Supports
One inch of bubble offset usually means one inch of rise, so count the offset and build the stack to match. Slide the top riser under the highest tire contact point so the stack is square, not cocked against a tire shoulder.
Keep the stack to three risers on a single wheel. Taller stacks need a wedge, not a steeper tower, because tires roll onto a ramp far more safely than they climb a wall. If you cannot get level with a reasonable stack, back out and reset the angle rather than building taller.
For soft ground, put plywood or a tarp under the block and under the tire contact patch. Jack pads go under the stabilizer feet before the jacks come down.
6. Adjust the RV in Small Increments
On a tight lakeside site with a tree line or a neighbor’s awning behind you, level without re-parking. Add one riser, check, add another, check again.
For the remaining side-to-side error, the tongue jack alone can fix a surprising amount if the rig is light and the error is small: crank it down a few turns and re-read the level at the rear. Many campers never realize how much tilt the jack can pull out before the hitch load changes.
Any time you do move the rig, set the brake, use a spotter, and go forward rather than sideways. Wheels sideways across a riser is how you shear a block or bend a trailer axle.
7. Confirm Level and Secure the Campsite
How to level an RV at a lakeside site ends the same way it starts, with a walk-around: level at the rear, level at the front, jack at the tongue, chocks behind both downhill wheels, stabilizers down onto jack pads.
Then confirm it will hold. Push hard on the corner of the rig and watch the level. Check that no tire is bearing weight on a chock edge, that the tongue weight is still on the ball for a travel trailer, and that nothing sits where runoff will run.
On a multi-night stay, re-level every morning. A hard rain saturates fill and can settle one corner two or three tenths of an inch overnight, which is enough to make a bed tilt and a fridge vent complain. Check the level and the jack pads again after any storm.
Common Mistakes When You Level an RV at a Lakeside Site
Trusting the RV’s built-in display for side-to-side tilt
Most built-in indicators read front-to-back pitch only. They will tell you the rig is level while one whole side sits four inches low. Fix: read an external level at the rear and the front, every time.
Using the stabilizer jacks to level
Stabilizing jacks are designed to hold weight, not to raise a corner. Using them to lift and shim with wood creates side loading and is a common cause of jack failure on the road home. Level with blocks and the tongue gear, then let the stabilizers do their job on flat pads.
Parking on the wet margin near the water
That strip of darker sand above the waterline is soft at the top of the season and quicksand after two days of rain. It also sits inside most shoreline setback rules and will erode under your tires. Fix: park on the pad above the wet margin and check the park’s setback distance before you set up.
Stacking risers too high
Three risers on one wheel is the practical ceiling. Past that, use a proper ramp-style wedge or pick a different spot, and never build a stack you have to climb or a curb tall enough to stop a tire dead.
Extending the slide-outs before leveling
A slide on a tilted rig carries the whole slide weight on one roller. Level first, then run the slides, unless your owner’s manual says otherwise.
Skipping jack pads and chocks
Stabilizer jacks on bare dirt sink slowly all night. Chock before you unhitch, on the downhill side, and accept that a rig alone on a 6% grade with the brake released is a trailer that is going somewhere.
Never re-checking after rain
Settlement is the norm at lakeside sites, not the exception. A thirty-second check with a level and a glance at the jack pads each morning catches it before the fridge, the slide, and your back notice.
Frequently Asked Questions
How do you level an RV at a lakeside site with no room to move it?
Build the stack incrementally instead of re-parking. Count the bubble offset, add one riser, re-read the level, and repeat until side-to-side reads square. Many campers can also remove a surprising amount of remaining tilt by cranking the tongue jack down a few turns and re-checking. If the block stack would exceed three risers, the angle of the pad is the problem, not the equipment, and moving to a different spot is the only safe fix.
Does my camper need to be perfectly level?
No. Aim for level front-to-back and as close as you can get side-to-side. Within about two inches front to back and a couple of inches side to side is good enough for sleeping, slide-outs and a residential-style refrigerator. A three-way fridge can hold a safe temperature while slightly tilted, but running it on its side or steeply downhill shortens its life and can shut it down.
What happens if an RV is not level?
Refrigerators and slide-outs stop working correctly, doors refuse to latch, water pools in the shower pan and runs across the floor, and beds feel wrong to sleep on. On a slope at a lake, an unlevel rig also creeps downhill as the ground softens, and a trailer that moves with its occupants inside is the real hazard. Chock the wheels and re-level after rain.
Can you use wood or cinder blocks to level an RV?
Plenty of campers do, and on firm ground it works. The concern is that a wood or cinder block is not a rated ramp: it can split, shift or crumble under a loaded tire. Some manufacturers permit it and some warn against it, so check your owner’s manual. If you use them, use full 2×6 lumber rather than scraps, square the stack, and never build past what the tire can safely roll onto.
How do I keep a camper level on a seasonal campsite?
Start with a wide base: plywood or pads under every load point, jack pads under the stabilizers, and chocks on the downhill side. Check the level and the blocks every few days rather than once a week. Rain, freeze-thaw and a rising water table all move fill, so expect a small correction every week or so and re-level before the slide-outs and the fridge get stressed.
What is the 4-4-4 rule for camping?
It is a campsite spacing guideline, not a leveling rule: roughly four feet between adjacent tents, four feet from a vehicle or picnic table to a tent, and four feet around an open fire pit where practical. You will see the numbers rearranged in different versions. For leveling an RV, ignore it and use a bubble level or inclinometer instead.
Do this first, before anything else: walk the pad, find the direction of the fall line, and park along it. Once the rig is pointed well, the rest is risers, the tongue jack, chocks, and a thirty-second check each morning to see whether the ground has moved under you.