Learning how to camp in an RV for the first time comes down to two habits: book a site your rig actually fits, and run the same setup sequence every single time you pull in. Practise that routine once at home and setup at the campsite drops to roughly 30 to 45 minutes.
Most first-time campers spend their whole first trip tangled up in leveling blocks, wheel chocks, a pressure regulator and a breaker panel all at once. None of it is complicated. It is just unfamiliar, and unfamiliar feels a lot harder than it is.
RV camping means parking a motorhome, travel trailer, camper van or pop-up at a campsite and living in it for a night or a few. You get a real bed, a real kitchen, a bathroom and a roof over your head, which is a serious upgrade from a tent once the weather turns. The trade-off is that you are now looking after a small building full of tanks, valves and gauges.
This guide walks through the whole thing in order: what to sort before you leave, how to set up when you arrive, how to keep the place comfortable, and how to reverse every step without leaving something behind. If you only remember one line, remember this one: arrive before dark and level the rig before anything else.
Table of Contents
- 1What You Need
- 2The RV itself
- 3The campsite
- 4Supplies
- 5Documents
- 6Clothing
- 7Safety gear
- 8Step-by-Step
- 9How to Plan Your First RV Camp Trip
- 10How to Inspect and Prepare Your RV Before Leaving
- 11How to Arrive and Set Up at the Campsite
- 12How to Make the RV Comfortable for Your Stay
- 13How to Leave the Campsite Safely
- 14Quick Fixes When Something Does Not Work
- 15Common Mistakes
- 16Frequently Asked Questions
- 17Do I need an experienced RV camper to handle setup?
- 18What should I check before booking an RV campsite?
- 19How do I know if my RV is level?
- 20Can I camp in an RV with children or pets?
- 21Is it safe to use a generator and propane stove at an RV campsite?
- 22What should I do if the weather is very hot or cold?
What You Need
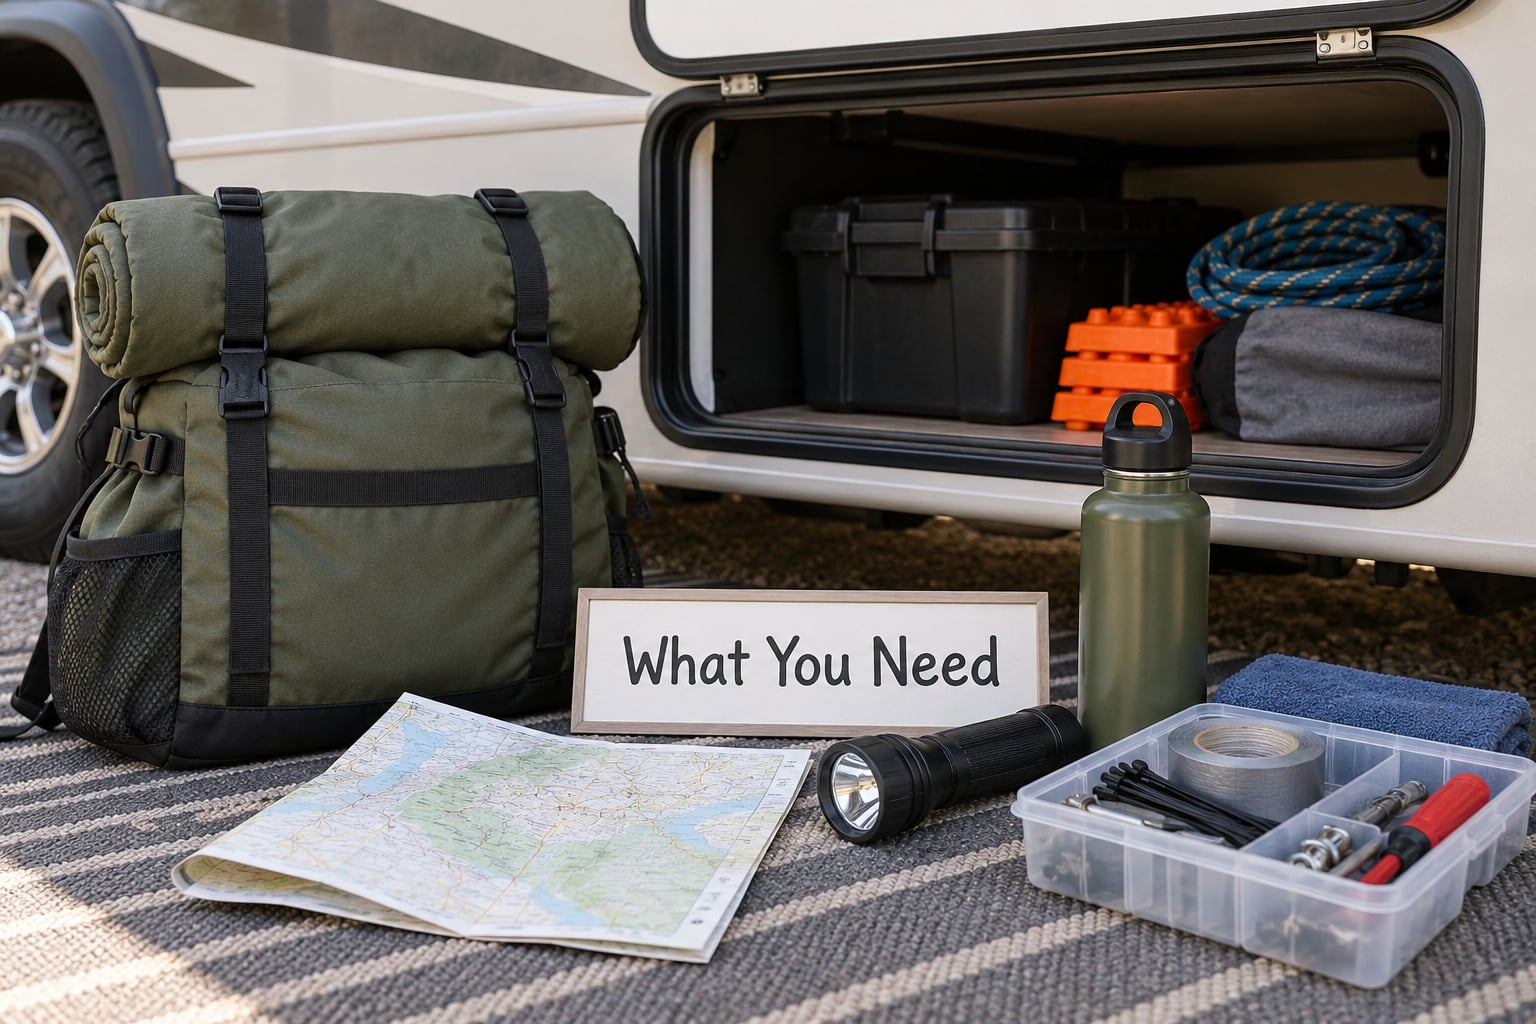
You need four things lined up before the trip: an RV, a campsite that accepts it, a packed kit, and a short list of safety gear. The first two take planning, the last two take an afternoon.
The RV itself
You do not need the biggest rig on the market. For a first trip, a small travel trailer or a Class C motorhome is easier to drive and easier to fit on a site than a 40-foot coach.
The one rule to know is the 3-3-3 rule: under about 30 feet long, under about 3,000 pounds unloaded, and it should fit on a standard 30-amp site with a pull-through or back-in pad. Stay under 30 feet and you can get into small state parks and most private RV parks without booking a special site.
Renting is the lowest-risk way to start. You get the systems without the maintenance bill, and you find out whether you actually enjoy it before you commit. A weekend rental tells you more in two nights than a month of reading does.
The campsite
You need a campsite your rig fits, and you need to confirm that in writing before you drive. Site length, width and the electrical amperage all matter more than the photos suggest.
Ask three questions when you book: how long is the pad, does it take 30-amp or 50-amp power, and does it include water, sewer and electric, or just electric? A site listed as full hookups gives you all three at one pedestal.
For lakeside camping, also ask whether the site sits on the shoreline or across a road from it, whether a boat ramp is on site, and where quiet hours fall. Shoreline sites at public ramps tend to run noisy from dawn, which is exactly the wrong first experience.
Supplies
Pack less than you think. The rig already has a bed, a stove, a sink, a toilet and storage, so you are filling gaps rather than building a camp from scratch.
- Hookup gear: a drinking-water-safe hose, a pressure regulator that holds 50 to 55 psi, a 30-amp or 50-amp surge protector, a sewer hose with the correct elbow, and a 30-amp or 50-amp power cord.
- Setup gear: a set of leveling blocks, at least two wheel chocks, and a long bubble level stored somewhere you will actually find it.
- Everyday gear: paper towels, dish soap, a sponge, matches and a lighter, a basic tool kit, duct tape, a flashlight with spare batteries, and a first-aid kit.
- Comfort gear: bedding that fits the RV beds, a bottle opener, a headlamp per person, and a small fan for warm nights.
- Storage: a folding camp table, camp chairs, and dry bags for anything that has to stay dry in storage bays.
Documents
Carry your driver’s licence, registration, proof of insurance, a copy of any rental agreement, and campsite confirmation details offline on your phone. Download the map area before you leave rather than relying on cell service at the gate.
Clothing
Layer it. Campsites are 15 to 20 degrees cooler after sunset than they were at noon, even in summer, and mornings can be genuinely cold near water. Closed-toe shoes matter more than most people expect, because the ground under an awning gets muddy and sharp.
Safety gear
Confirm the rig has working LP and carbon monoxide detectors, a fire extinguisher, a first-aid kit, and a breakaway cable on anything you tow. Know where the battery disconnect switch is before you leave home, not during your first breakdown.
Step-by-Step
Here is how to camp in an RV for the first time, in six moves: plan the trip, inspect the rig, set up on site, make it comfortable, break it down, and fix what goes wrong. Take them in order and the weekend stops being stressful.
How to Plan Your First RV Camp Trip
Plan backwards from the site, not forwards from the calendar. Pick a campground that accepts your rig, reserve a numbered site, then build the rest of the trip around it.
Reserve ahead. Popular lake and national park sites fill weeks ahead in summer, and showing up hoping for a walk-in spot is the single most common way a first trip goes wrong.
Choose shoulder season when you can. Late spring or early autumn gives you empty sites, lower nightly fees, cooler crowds, and generally milder weather. For lakes, weekday arrivals mean you get the good site near the water instead of whatever is open.
Check weather and road conditions a day before and the morning of. Summer thunderstorms produce lightning that you do not want an awning or a metal roof sitting under, and mountain passes close more often than people expect.
Match the trip length to your experience. Two nights within a two-hour drive of home is a good first trip. Twelve hours of driving is a completely different test, and it is not one you want paired with a campsite you have never seen.
How to Inspect and Prepare Your RV Before Leaving
Walk the entire rig with a checklist before you pack it. Tires including pressure and spare, lights and brake lights, fluid levels, and the condition of every hose and seal.
Test the propane system the way a technician would: mix water and dish soap, brush it on every fitting and connection, and look for bubbles. No bubbles means no leak. Then confirm your LP and CO detectors respond to their test button.
Flush and inspect the water system if it has sat unused, and fill the fresh water tank the day before you travel so you are not doing it in a gas station parking lot at 7am.
Spend a night in the RV in your own driveway first. This is the highest-value hour of advice in this whole guide. Practise leveling with blocks, connecting the city water inlet through a regulator, deploying a slide and the awning, running the water heater, and switching on the furnace or roof air. Check whether your municipality or HOA allows overnight RV parking where you live before you do it.
One useful thing to learn in that driveway night: most RV systems run on 12-volt battery power, and almost everything that appears broken comes down to a switched-off battery disconnect switch or a tripped breaker. That single fact solves more first-trip problems than any other.
How to Arrive and Set Up at the Campsite
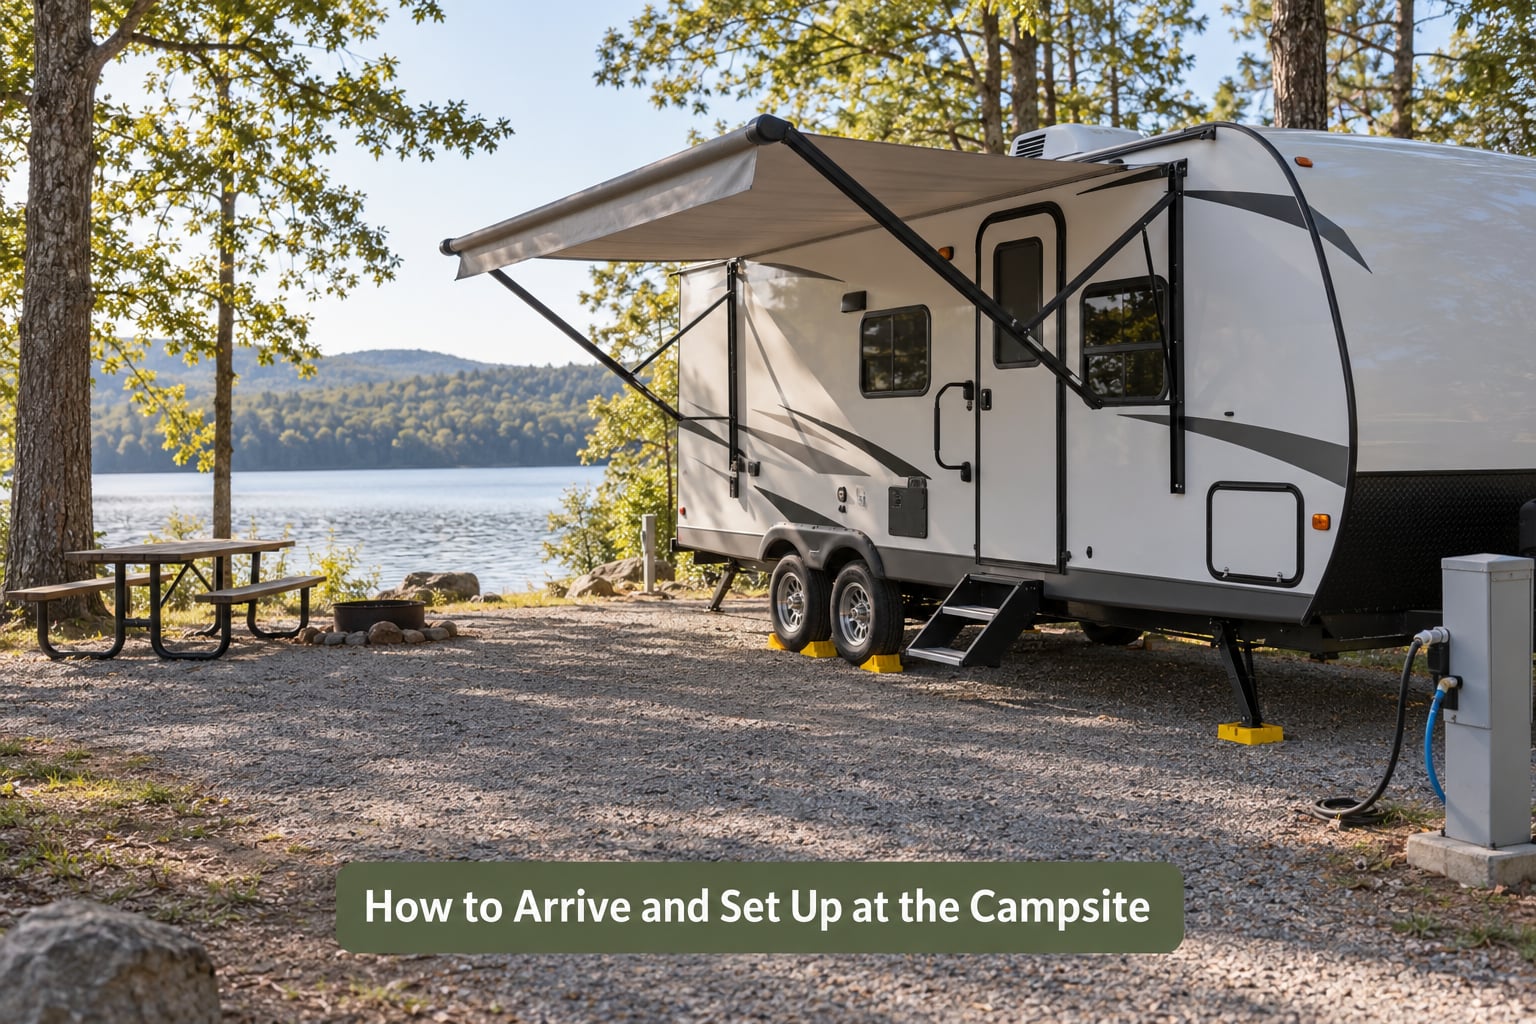
Set up in the same order every time. The sequence below takes 30 to 45 minutes once you have practised it, and it stops you from blocking your own hookups.
- Pull in and assess. Walk the site before you uncouple anything. Check the pad length, the height of any tree branches, the slope, and where the pedestal, water spigot and sewer inlet actually are.
- Position the rig. Aim for straight on the first try. Watch the roof line and mirrors continuously, and use a spotter whenever one is available.
- Level side to side first. Place a block under the low side, at the front and rear tires. Check the level inside on the slide-out floor, not out on the pad.
- Disconnect the tow vehicle and lower the tongue jack or landing gear before you adjust anything front to back.
- Level front to back. Adjust the tongue jack at the front and the rear stabilizer or blocks at the back until the interior bubble level sits centered in both directions.
- Extend the stabilizers. Lower the rear and front stabilizer jacks, then retract the tongue jack fully so the stabilizer carries the front weight.
- Chock the wheels. On a sloped site, place chocks on the downhill side of each wheel. On a trailer with two axles, an X-chock across the pair works well.
- Connect electric. Set the RV breaker to off, plug the cord into the pedestal, plug in your surge protector, then connect the RV to the surge protector, then switch the RV breaker back on.
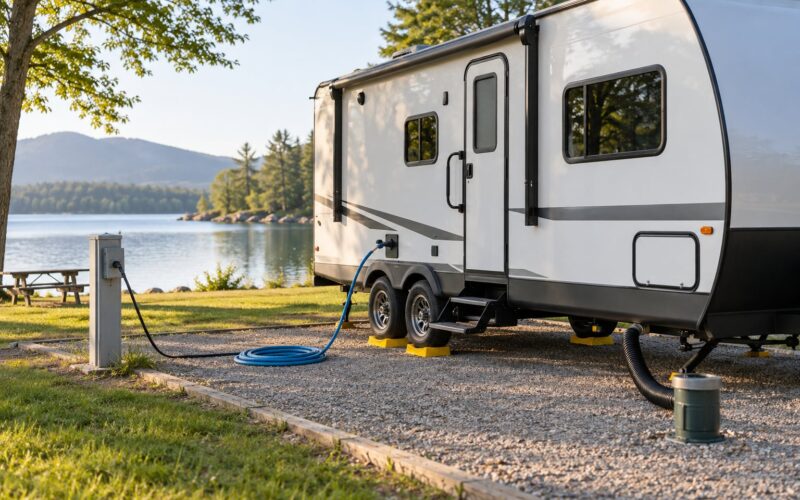
- Connect water. In order: spigot, pressure regulator set to 50 to 55 psi, inline filter, drinking-water-safe hose, 90-degree elbow, city water inlet. Open the RV’s main water valve last.
- Connect sewer. Attach the sewer hose to the RV’s discharge valve, run it to the site inlet, and secure it. Open both the black and gray discharge valves.
- Deploy slides and awning. Check ceiling clearance first, confirm nobody is standing on the roof or under the awning rails, then run them out.
- Confirm clearance before you leave the site. Re-walk the perimeter with the slide and awning out. Check the height against branches and wires and the width against tree trunks and site markers.
If you are travelling with family, assign roles before you start. One person on power and water, one on leveling and stabilizers, and the argument about who does what disappears before it starts.
How to Make the RV Comfortable for Your Stay
Comfort in an RV comes down to light, air, temperature and water. Get those four right and the rest is furniture.
For lighting, switch off interior lights you do not need and use the exterior fixtures at dusk. Overhead LEDs on a 30-amp circuit add up fast, and a runtime fridge draws far less than an open door does.
For ventilation, run a fan or crack a window before you turn on cooling. Opening the roof air conditioner first and the windows later can chill the sensors and confuse a thermostat.
For temperature, remember that a rig without much insulation heats up in the afternoon sun and cools fast after dark. Opening a window on the shaded side and closing it during the day gives you more control than you would expect.
For water, plan around roughly 15 to 25 gallons per person per day for drinking, cooking, hand washing, dishes, showers and toilet flushing combined. That range covers a careful household; paper towel cleanup and long showers sit at the top of it. Track your use for the first trip and you will know your real number for every trip after.
For food, keep the fridge stocked the way you would at home, and keep perishable items in the cold part. On a 12-volt compressor fridge the same running-time rule applies as with lights.
For privacy and sleeping, use the window shades and blackout curtains, and check whether the bed platform blocks a slide. A fold-out or Murphy bed in a small rig often conflicts with the slide-out, which is worth knowing before you park.
How to Leave the Campsite Safely
Leaving camp is the setup sequence in reverse, done with more care than you did arriving. Most campers who forget something forget it in the storage bays, not in the hookups.
- Dump the black and gray tanks before you leave, or note exactly how full they are and where the next dump station is.
- Disconnect sewer first, then close both discharge valves and cap the fitting.
- Disconnect water at the RV inlet, then close the RV’s main water valve, then remove the regulator and hose.
- Switch the RV breaker off before unplugging, then unplug from the surge protector, then from the pedestal.
- Retract the awning and every slide, and check the roof and the rear ladder.
- Close the propane valves, put the tank cover back on, and check nothing is close to a burner or pilot light.
- Remove all food from storage bays and passenger areas. That is how you end up with a bear sighting on your first trip.
- Pull chocks, raise stabilizers, and retract the tongue jack or landing gear.
- Walk the site on foot. Look behind the rig, under the steps, inside the awning rails and around the tires.
- Check your steps are up and the door is latched before you pull away.
Quick Fixes When Something Does Not Work
Almost every RV problem on a first trip comes down to one of four things: battery, breaker, water supply, or a sensor. Start at the top of that list before you start taking things apart.
Nothing runs on 12-volt power. Check the battery disconnect switch first, then the main breaker. This one fix covers dead ceiling lights, a fridge that will not cool, a water pump that will not run, and slides that will not move.
A slide or the awning will not move. Reset the breaker, then confirm there is no mechanical obstruction. If it is a slide, make sure nobody is standing on it. Persistent resistance means stop and call service rather than forcing it.
The water is cold or the shower has no pressure. Check the water heater switch first. On a camper or trailer the bypass valves must be set correctly or the system is drawing from the wrong side, and a pressure regulator that is set too high makes the flow weak at every fixture.
The fridge is not cooling. An absorption fridge runs on propane and takes hours, so give it time. A 12-volt compressor fridge will not run at all if the battery is switched off, and both models need airflow left open around them.
Common Mistakes
These are the trip-level mistakes first-time campers make, with the correction for each. Setup mishaps are covered separately above.
- Arriving without a reservation. The fix is simple and non-negotiable: book a numbered site before you drive. Walk-in sites at popular lake and national park campgrounds regularly fill by mid-afternoon in summer.
- Arriving after dark. Backing a trailer into an unfamiliar site at night is where beginners bend mirrors and clip branches. Aim to be parked and hooked up at least an hour before sunset.
- Not leveling. An unlevel rig sends the fridge, the shower and the bed downhill, and it makes slides jam. Level side to side, then front to back, and check the bubble level inside on the slide floor.
- Guessing the site dimensions. The advertised length often excludes the slide, awning or hitch. Reserve by the actual rig length, and confirm clearance against the trees on your specific site when you arrive.
- Overpacking. Weight affects braking, steering and fuel use, and you end up hauling a lot of gear you never unpacked. Bring less than you think, with a plan for where each item goes.
- Overloading a 30-amp circuit. A 30-amp site supports roughly 2,400 watts. Space heating, the water heater, the microwave and a hair dryer together will trip it. Run one high-draw appliance at a time.
- Storing or dumping water the wrong way. Fill fresh water with a proper potable hose, not a garden hose. Use a designated dump station for black water rather than a storm drain, shower or the ground, and keep the sewer hose secured and sealed while connected.
- Skipping the departure walkaround. Setting the steps down, leaving a light on, or leaving food in a storage bay ruins the last hour of the trip. Do the walk every time, even after a long drive.
- Leaving children and pets loose around the vehicle. Kids and dogs get under low-clearance RVs in seconds. Keep them away during setup and departure, confirm whether your site allows pets at all, and check the campground rules on leashes and shoreline access before you arrive.
Renting before you buy is worth repeating. People on first-RV forums consistently advise picking a rig you can afford to maintain rather than the one with the most features, and the same advice applies to your first trip: keep the distance short and the nights few.
Frequently Asked Questions
Do I need an experienced RV camper to handle setup?
No. The setup sequence is about ten steps and takes 30 to 45 minutes once you know the order. Nearly every first-timer does it badly the first time and well the second. The single best training is one night in your own driveway, practising leveling, the water hookup and the slide-out before you rely on it at a campsite.
What should I check before booking an RV campsite?
Check that the site length fits your rig including the slide and awning, that the pad is wide enough to open the slide, and whether the electrical service is 30-amp or 50-amp. Ask whether hookups include water, sewer and electric. For a lakeside site, also ask about boat ramp access, quiet hours and where shoreline swimming is permitted.
How do I know if my RV is level?
Use a bubble level on the floor inside the rig, usually on the slide-out, not on the campsite pad. Center the bubble side to side, then front to back. A cheaper check is a ball of glass or a coin on the counter. If it rolls to a wall, the rig is not level and needs blocks or jack adjustment.
Can I camp in an RV with children or pets?
Yes, and most campgrounds welcome both, but verify before you book. Some parks are adults-only, some limit pets to certain areas, and lakes often restrict shoreline access for dogs. Keep children and pets away from underneath the rig during setup and departure, where clearance is lowest and movement is highest.
Is it safe to use a generator and propane stove at an RV campsite?
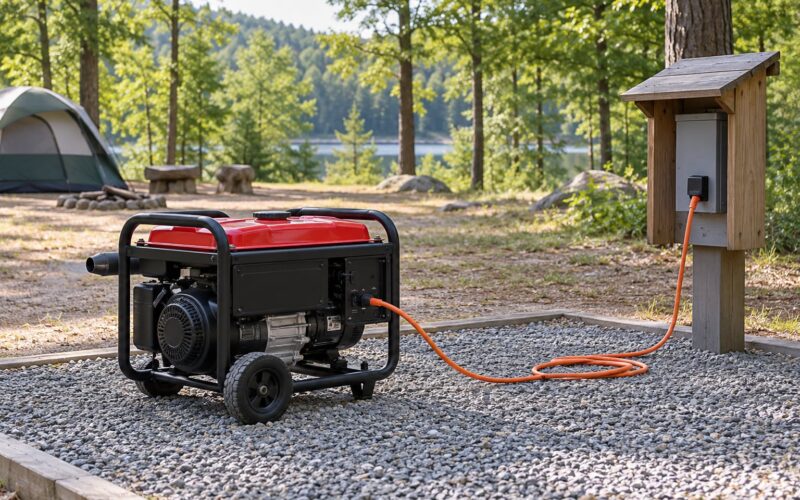
It is safe when you follow a few rules. Run the generator outdoors, away from the awning, windows and any opening, and never inside a storage bay or an enclosed shelter. Confirm the LP and CO detectors work, keep the fire extinguisher within reach, and shut the stove burners and propane valves off when you leave.
What should I do if the weather is very hot or cold?
In heat, park for shade if you can, open windows before running air conditioning, and close them during the hottest hours. In cold, use the furnace rather than a space heater on 30-amp power, which burns through the circuit limit, and use extra blankets rather than raising the thermostat past what your system can hold.
Start with the driveway night. Connect water through the regulator, run the slides and the awning, sleep in the bed, and find the battery disconnect switch. After that, book a site your rig actually fits, arrive an hour before sunset, and work the setup list in the same order every time you pull in.
You will almost certainly feel overwhelmed the first time. That is normal and it fades fast. The weekend that feels awkward at check-in becomes the one you plan the next trip around.