To avoid blisters on a long hike, the plan is simple: start with footwear that has already been walked in, wear moisture-wicking socks, and deal with a hot spot the moment you feel warmth rather than waiting to see a blister. Most of the work happens in the first hour of the trail, not in the kit you carry.
The part most guides leave out is timing. A hot spot caught early costs you three minutes of taping. The same spot caught two hours later, after twenty-five miles of downhill, ends your day. This guide walks through what to prepare at home, what to do step by step on the trail, and the handful of mistakes that undo everything else.
If you have walked long distances before, you already know where your feet fail. Somebody’s heel blisters every steep climb, somebody else’s pinky toe gets pinched on descent. Treat that history as a map rather than a complaint, and most of the work is done before your boots touch the trailhead.
Table of Contents
- 1What You Need
- 2Step-by-Step: How to Avoid Blisters on a Long Hike
- 3Choose Footwear That Fits Properly
- 4Control Moisture Inside Your Boots
- 5Reduce Friction Before It Becomes a Hot Spot
- 6Use a Lace and Footcare Technique That Limits Movement
- 7Choose the Right Socks for the Trail
- 8Manage Pace, Terrain, and Plantar Pressure
- 9Check Your Feet at Planned Breaks
- 10Carry a Small Footcare Kit
- 11Dry and Care for Your Feet at the End of the Day
- 12Common Mistakes
- 13Frequently Asked Questions
- 14Do two socks prevent blisters?
- 15Why do hikers use vaseline?
- 16Should you pop a hiking blister?
- 17Why do hikers get blisters?
- 18Is moleskin or Leukotape better for blisters?
- 19When should a blister stop a hike?
- 20Conclusion
What You Need
A blister kit is small. Everything that matters fits in a quart-size pouch, and most of it weighs less than a sandwich.
- Footwear that has been walked in. Trail runners for most terrain, mid boots for cold and rough ground, and at least one pair you have already put 20 to 30 miles on before the long hike.
- Moisture-wicking socks. Merino wool or a synthetic blend, crew height, in the size that does not compress your toes when you lace up.
- A dry backup pair of socks. Sleeping socks make excellent walking socks when the pair you started in goes wet. This is the single most useful item in the kit.
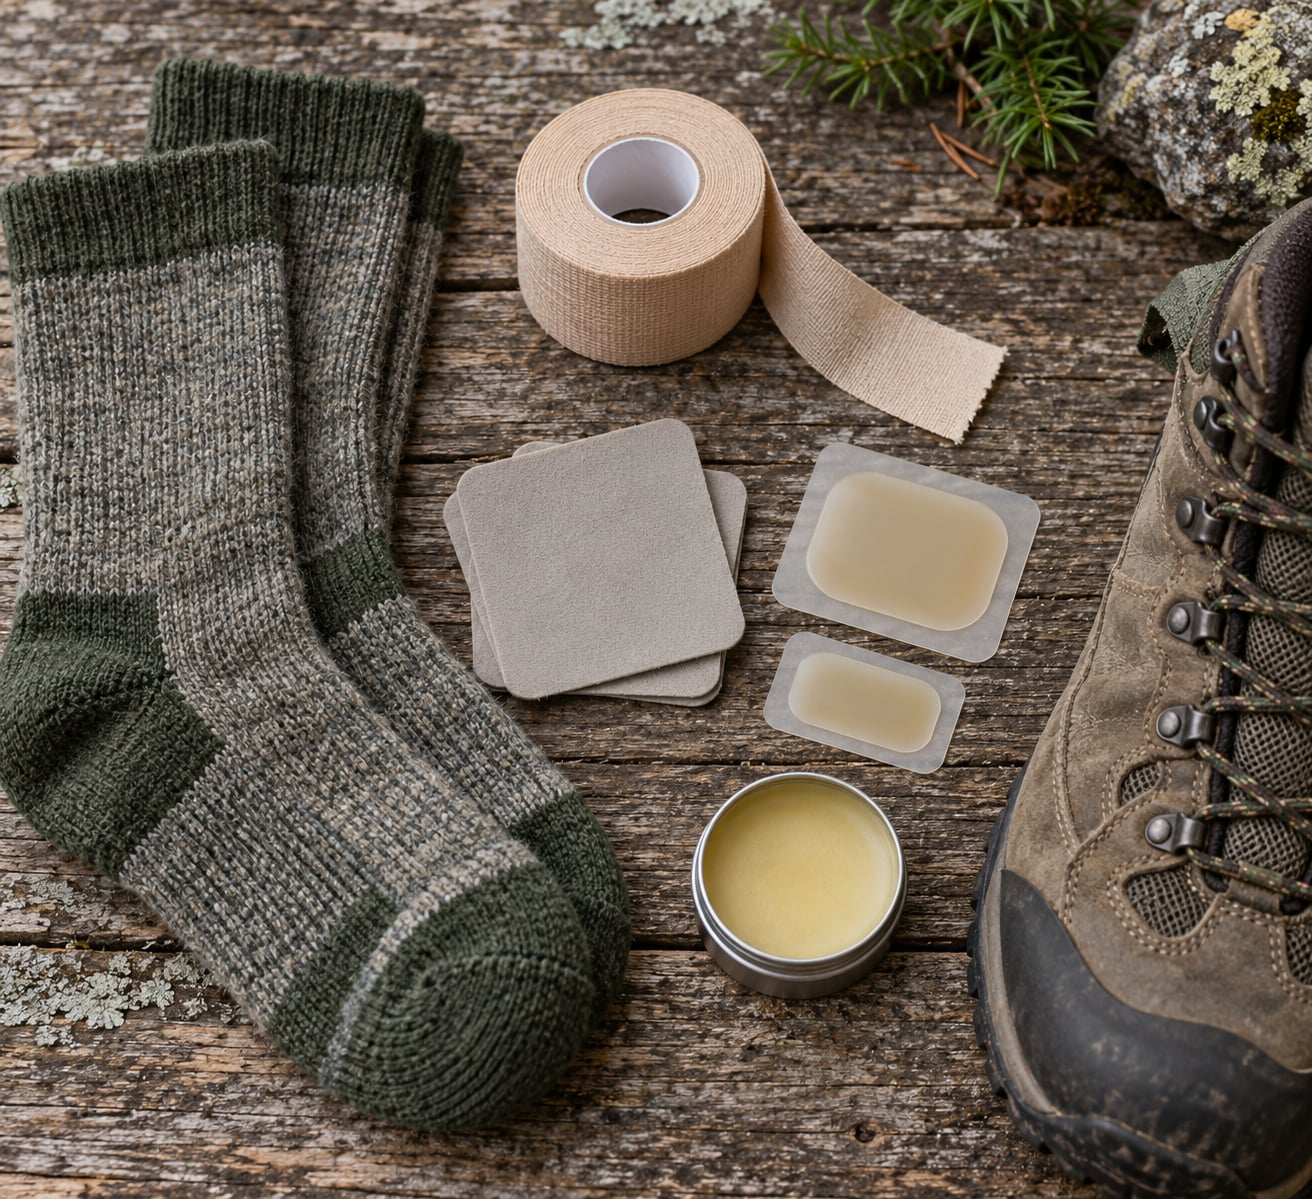
- Tape. Leukotape or Leukotape P is the one hikers reach for most. It sticks to skin, survives sweat and rain, and can be applied above a hot spot before the skin breaks.
- Moleskin. Best as a donut around a forming blister so the fluid is pushed off the raw center. Useful but thicker than tape.
- Hydrocolloid dressings. A Compeed-style blister plaster handles a fluid-filled blister on its own and needs nothing underneath it.
- Lubricant. Body glide, anti-chafe balm, or plain petroleum jelly. Thin layer, applied to the foot before the sock goes on.
- A small first aid kit with antiseptic wipes, sterile gauze, small scissors, clippers, antibiotic ointment and a few adhesive bandages. Band-aids on the feet rarely survive a long day, so pack them for other people.
- Optional: a heel-cup insole such as a Superfeet-style insert, trail gaiters for debris and crossing water, and gel toe caps if you get pinch blisters on the little toe.
Set all of it out a few days ahead and check it. Dried-out lubricant, a tape roll whose edges have lifted, and a backup pair of socks you have since worn for sleeping are all common finds, and all easier to fix at home than at mile twelve.
Step-by-Step: How to Avoid Blisters on a Long Hike
Choose Footwear That Fits Properly
Your longest toe should sit about a thumb’s width from the front of the boot when you are standing with your weight forward, which is the position your foot spends most of the hike in. A boot that fits fine while you stand still can still push into your toes on a descent, because the foot slides forward under load.
Signs it is wrong: numbness within 30 minutes, redness across the top of the toes that fades in ten minutes, a heel that lifts when you walk uphill, or a foot that slides around when you lift it off the ground. A boot that is a half size up is usually about right, since swelling pushes your foot forward and your heel deeper over a long day.
New boots and new trail runners both need mileage. Wear the pair on shorter walks for two to three weeks, with the socks and insoles you plan to use on the long hike, and treat any redness that appears as a signal to adjust rather than push through.
Control Moisture Inside Your Boots
Wet skin loses the slight oil that keeps it moving, and dry skin stretched over moving surfaces is exactly what produces a friction blister. Sweat, wet grass, a stream crossing, and rain all end up in the same place.
Open laces at the top of the boot during any stop so the whole foot can air, and pull the sock liner out a few inches so the skin dries without you taking the boot off. Swap to your dry pair before the damp pair has time to cool, not after. If your feet are soaked, take the boots off, wipe them, and change socks at the first planned break rather than pushing on to the summit.
How you know it is working: your socks are damp at the top and dry near the skin, and the inside of the boot at the end of the day is not cool and clammy.
Reduce Friction Before It Becomes a Hot Spot
A hot spot is the warm, tender patch you feel before anything visible happens. This is the window that matters. In the first few minutes, the skin is still intact, and taping or lubricating it does the whole job.
Stop where you are, take the pack off, take the sock down, and look at the area. If the skin is unbroken, apply a thin layer of petroleum jelly or anti-friction balm, put a moleskin donut or a strip of Leukotape over the spot, and put the sock back on before the skin has fully dried. If the spot is right where you know it always shows up, tape above it rather than on it. Hikers on the long-distance walking forums report tape applied a few centimetres above the usual trouble spot lasting several days, even through rain, which is far better than re-taping a broken spot hourly.
What not to do: keep walking because the trail is flat right now, or keep a blister under a thick pad of cotton that rubs as much as the shoe did. A hot spot is information. Acting on it takes minutes.
Use a Lace and Footcare Technique That Limits Movement
Almost all trail blisters come from the foot moving inside the shoe rather than from the shoe rubbing the foot in one fixed spot. Your job is to remove movement without cutting off circulation.
Skip two eyelets near the top of the boot so you can lace above the ankle bone and lock the heel down. Start at the toe, keep the tension even, pull each crossing snug, and leave the ankle bow tie untied until last. Test it by flexing your foot hard inside the boot. If your foot stays put, the lacing works. If your toes go numb or feel cold, loosen it a notch, because tight laces create a pressure blister on the top of the foot and instep of their own.
On descents, re-lace before the slope starts rather than mid-way down it, and check again at the bottom. If your heel still lifts, the fix is a higher heel cup insole, not tighter laces, and over-tightening to solve heel slip is one of the most common ways hikers end up with a new blister somewhere else.
Choose the Right Socks for the Trail
Do two socks prevent blisters? Yes, when both are thin. The two-sock, or liner sock, method means a thin inner sock against your skin and a slightly heavier outer sock over the top. The outer sock slides across the inner one instead of dragging your skin, and the gap between them moves the friction off your foot.
Material matters more than thickness. Merino wool and synthetic blends pull moisture away from the skin and dry fast. Cotton holds water against your skin, dries slowly, and gets heavier with every hour, which is why long-distance hikers generally avoid it entirely. Aim for a high stitch count, a seamless toe, and crew length that covers the ankle bone, since a low cuff leaves that bone exposed to the boot collar.
Build the system to match the day. Hot and long: a thin liner plus a breathable outer, with a third pair carried dry. Cool or cold: a heavier single merino sock, because insulation matters more than wicking once the air drops. Carry the dry pair either way. That is the item people leave behind and then wish for the most.
Manage Pace, Terrain, and Plantar Pressure
Blister risk is not proportional to distance. A ten-mile flat walk can be gentler on your feet than four miles with a long descent at the end, because repeated downslope braking drives the foot forward into the toe box and the ball of the foot takes the load for thousands of steps.
Take shorter steps on descents, land flat-footed rather than heel-first, and slow down before the pace feels hard rather than after. A trail runner fits most people better than a boot for a fast pace because it lets the foot move naturally, and on very long days a pair of camp sandals at lunch buys you more than anything else in the kit, because ten minutes out of the boot resets swelling and sweat.
How to tell the routine is working: at the end of the day you find warmth, not pain. Soreness in the arch or the ball of the foot on day two is normal. A specific spot that hurts more every hour is not.
Check Your Feet at Planned Breaks
Set the routine by distance rather than by feeling. Every 30 minutes for the first three hours, then at every water stop and every decision point where you are standing still anyway. Look at the toes, the ball of the foot, the heel, the top of the foot under the laces, and anywhere you have blistered before.
Four things to look for: skin that is pink or red and does not fade, a spot that is tender to a light touch, swelling in a single area, and any separation of the skin layers. Redness alone means stop and tape. Redness plus tenderness plus a soft raised fluid patch means you have a blister, and you drain and cover it rather than leave it to rub.
Ten minutes at a break can be the difference between a full day and a shortened one, and ten minutes of walking changes what the rest of the day feels like entirely.
Carry a Small Footcare Kit
Keep the blister supplies in a separate pouch at the top of your pack rather than buried in the first aid kit. You should not have to unload a tent, a sleeping bag, and a kitchen to reach a roll of tape at mile nine.
A workable kit: Leukotape or Leukotape P, a few moleskin squares, two or three hydrocolloid dressings, a small tube of anti-friction balm or petroleum jelly, antiseptic wipes, sterile gauze, small scissors, antibiotic ointment, and one spare sock. Clippers belong in the personal kit for toenails. Add tape scissors or a blunt needle if you expect to drain a blister on the trail, and keep it in a sterile wrapper.
Under a pound for the whole set, and the tape and the spare sock do most of the work. Many hikers carry the tape and hand it to strangers on the trail, which is a good way to never need it yourself.
Dry and Care for Your Feet at the End of the Day
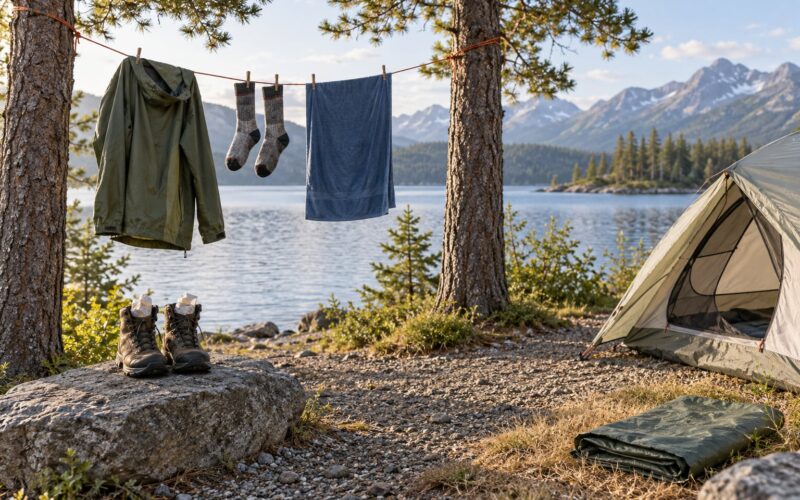
Camp foot care decides how tomorrow feels. Take the boots and socks off, wash or wipe the feet, and air them for 15 to 20 minutes. If the socks are damp, turn them inside out and drape them somewhere with airflow, and roll the socks loosely so they dry rather than sitting in a wet lump.
For damp boots, pull the insoles out, open the tongues wide, and loosen the lacing so air can move through. If you crossed water, stuff the boots loosely with dry socks or a towel to draw moisture out overnight, and take them off at breakfast before you put them back on. People who dry their feet properly at camp report far fewer problems on the second morning than people who sleep in damp socks and deal with it later.
Before the first light, take a minute with a mirror and check that the skin is intact, trim any nail that has already torn a corner, and tape the spots that showed up at the last check. Day two is when most blisters appear on a multi-day trip, and the damage is usually caused the night before.
Common Mistakes
Nearly every blister on a long hike traces back to one of a short list of mistakes, and each one has a specific correction.
- Wearing new boots on a long trail. Correct it by walking the pair on shorter hikes for two to three weeks first. This applies to trail runners and to fabric boots, not just leather.
- Wearing cotton socks. Correct it with merino or synthetic, and swap the pair at the first break when they go damp.
- Walking in wet socks with no dry pair. Correct it by always carrying one, and by treating a sock change as a legitimate reason to stop, not a luxury.
- Overtightening laces to fix heel slip. Correct it with heel lockdown lacing plus a higher heel cup insole. Tight laces trade a heel blister for a blister on the top of the foot.
- Ignoring a hot spot because it is not a blister yet. Correct it by treating warmth as the signal. That is the whole point of step three.
- Taping badly. Correct it by pulling the tape smooth, anchoring the ends on either side of the spot, and rubbing the edges down. Wrinkles and folds cause as much rubbing as the shoe did.
- Skipping the midday foot check. Correct it by attaching it to something you already do, like eating lunch.
- Wearing one heavy sock in hot weather. Correct it with a thin liner plus a breathable outer.
A few adjustments worth knowing. In hot, dry desert conditions, sweat rate is extreme and salt residue builds up on the skin, so rinse and dry the feet at every water stop and expect to change socks twice as often. In cold, wet conditions, the risk flips from heat to moisture, and waterproof boots help less than expected because they dry slower; a changeable sock beats a sealed boot. High insteps need a different lacing pattern, usually skipping a lower eyelet pair, because the pressure lands on the top of the foot. Wider feet need toe room, and a narrow toe box plus a swollen foot on a long day is the setup for pinch blisters on the little toe.
Frequently Asked Questions
Do two socks prevent blisters?
Yes, when both socks are thin. A thin liner sock next to your skin and a slightly heavier outer sock over it lets the outer layer slide across the inner one instead of dragging your skin back and forth. The gap between them moves the friction off your foot and absorbs sweat before it pools. Keep both socks short of compression at the ankle so they do not push your toes into the boot.
Why do hikers use vaseline?
Petroleum jelly and similar balms form a slick film that reduces the grip between your skin and the inside of your sock, so the skin moves less and shears less. Apply a thin layer before the sock goes on, concentrating on heels, the ball of the foot and any spot that has blistered before. It works as prevention. Once a blister has formed, use tape or a hydrocolloid dressing instead of grease.
Should you pop a hiking blister?
Leave an intact blister alone and cover it with a hydrocolloid dressing. If it is large, tense and painful, drain it at the edge with a sterile needle, keep the roof, and cover it. The roof is your best protection against dirt and infection, and removing it turns a minor problem into an open wound that may not heal on a multi-day trip. Clean the site with antiseptic first.
Why do hikers get blisters?
Mostly from shear, which is the skin sliding back and forth inside the shoe faster than it can adapt, rather than from rubbing alone. Heat, sweat and moisture make it worse because wet skin loses the oil that lets it move freely. Your foot also swells and lengthens over a long day, so footwear that fit at mile zero can pinch by mile twenty, and descents push the foot forward into the toe box faster than anywhere else on the trail.
Is moleskin or Leukotape better for blisters?
For a hot spot with unbroken skin, Leukotape wins. It is thin, waterproof, sticks to sweaty skin, and you can apply it above a known trouble spot before anything breaks. Moleskin is thicker and better used as a donut around the centre of a forming blister so fluid is pushed off the raw area. Once a blister is open and draining, a hydrocolloid dressing beats both.
When should a blister stop a hike?
Stop and treat the blister if redness spreads beyond the sore area, feels warm to the touch, or swells, and treat it seriously if there is pus, a bad smell, or pain that gets worse instead of better. Also stop if you develop chills, a fever, or red streaking running away from the blister. On a long hike, an open blister in a damp sock is infection risk. See a doctor, and do not keep walking.
Conclusion
If you take five actions from this guide, make them these: walk your footwear for two to three weeks before the trip, put on the sock system you will actually use, tape or lubricate the first hot spot the moment you feel it, carry a dry pair of socks, and check your feet every 30 minutes for the first three hours. That combination handles nearly every blister before it forms.
And listen to what the foot is telling you. Persistent pain, redness spreading past the sore spot, warmth with swelling, drainage, or a blister that makes walking unbearable all need a doctor rather than another mile. How to avoid blisters on a long hike is mostly preparation and early response, but knowing when to stop is the part that protects the rest of your trip.